6 Best Expert-Level Vegetable Garden Tool Kits
The scent of bruised tomato foliage and damp, high-organic-matter earth signals the start of the production season. Success in the vegetable patch is not a matter of luck; it is a calculation of soil physics and cellular turgor. To maintain high turgor pressure within the xylem, a gardener must possess a high-functioning inventory. Investing in the best vegetable garden tool kits ensures that every incision is surgical and every soil displacement is precise. Using inferior equipment leads to jagged tissue tears that invite pathogens and increase the metabolic cost of healing. For the serious grower, the kit is an extension of the hand, designed to manage the rhizosphere without compromising the structural integrity of the plant. High-carbon steel and ergonomic weight distribution are the baseline requirements for tools that will withstand the rigorous demands of an intensive cropping cycle. This guide examines the mechanical specifications and horticultural applications of the highest-caliber toolsets available to the modern agronomist.
Materials:

Vegetable production requires a friable loam with a **Cation Exchange Capacity (CEC) above 15**. This substrate texture allows for maximum root penetration and gas exchange. The ideal soil pH for most vegetable crops ranges from **6.2 to 6.8**, a window where nutrient bioavailability is optimized. When selecting a tool kit, consider the specific NPK requirements of your target crops. Heavy feeders like brassicas require a **10-10-10** ratio during the initial vegetative stage, while fruiting crops like solanaceous plants (tomatoes and peppers) require a shift toward **5-10-15** to support reproductive development without inducing excessive foliar growth. Your kit should include a soil probe to monitor the density of this substrate. A high-quality kit must handle the physical resistance of clay-heavy soils while remaining delicate enough for the fine-grained silts often found in raised bed systems.
Timing:
The biological clock of the garden is dictated by the photoperiod and the thermal accumulation of Growing Degree Days (GDD). In Hardiness Zones 5 through 7, the window for cool-season crops begins when soil temperatures consistently reach 45 degrees Fahrenheit. Transitioning from the vegetative to the reproductive stage is a critical physiological pivot. For example, determinate tomato varieties will terminate their vertical growth once the apical meristem converts to a flower cluster. Understanding the frost-date window is paramount; a late spring frost can cause intracellular ice formation, leading to cell wall rupture and immediate senescence. Tools must be ready for the "hardening off" phase, where seedlings are gradually exposed to outdoor conditions to thicken their cuticle layer and increase their resistance to environmental stress.
Phases:
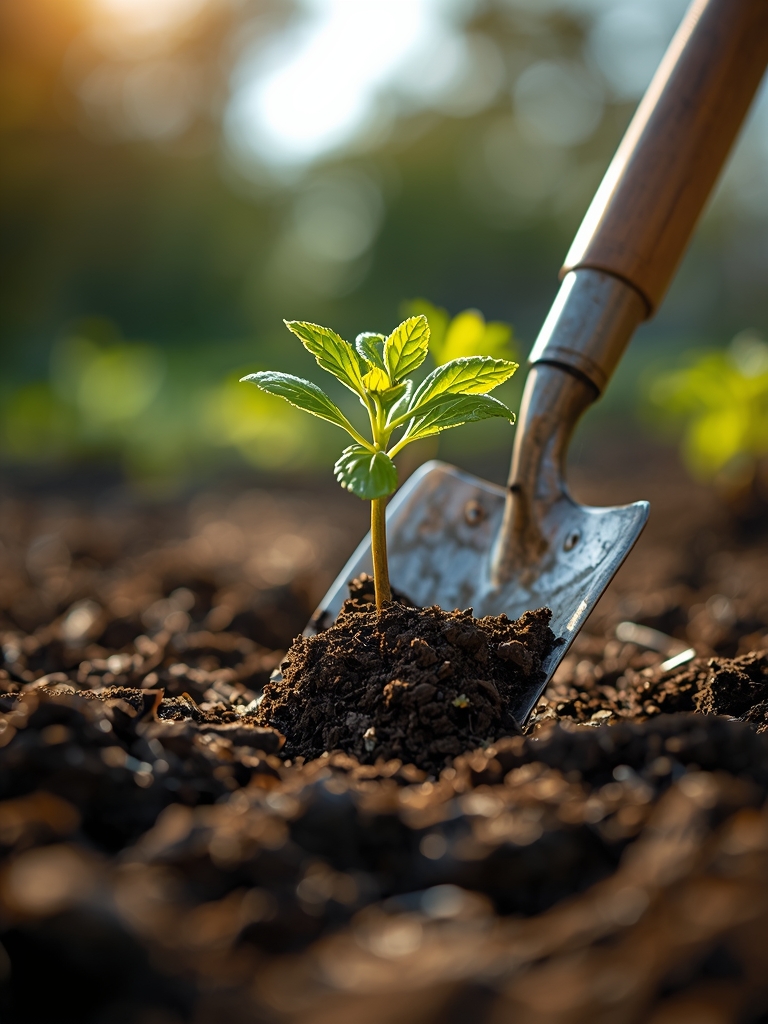
Sowing
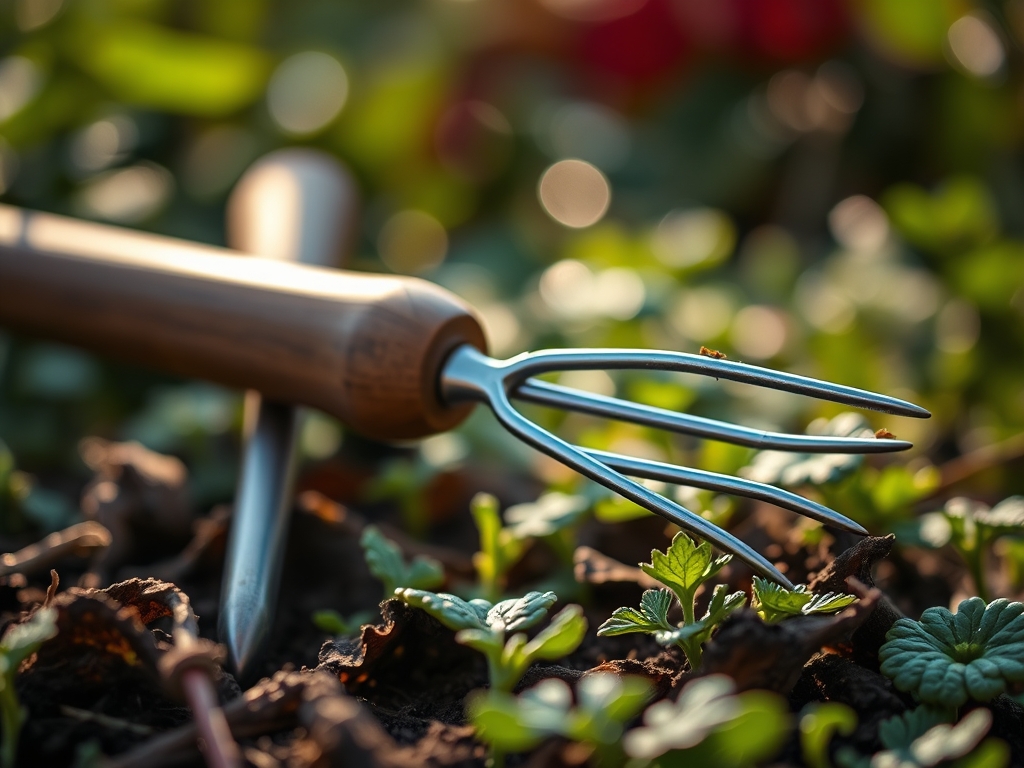
Precision seeding requires a kit with a dedicated dibber and a fine-tined rake. Seeds must be placed at a depth exactly 2 to 3 times their diameter to ensure adequate moisture contact without exhausting the endosperm's energy reserves before emergence.
Pro-Tip: Proper seed-to-soil contact facilitates imbibition, the physical absorption of water that triggers the metabolic processes of germination. Without this contact, the seed remains dormant or suffers from desiccation.
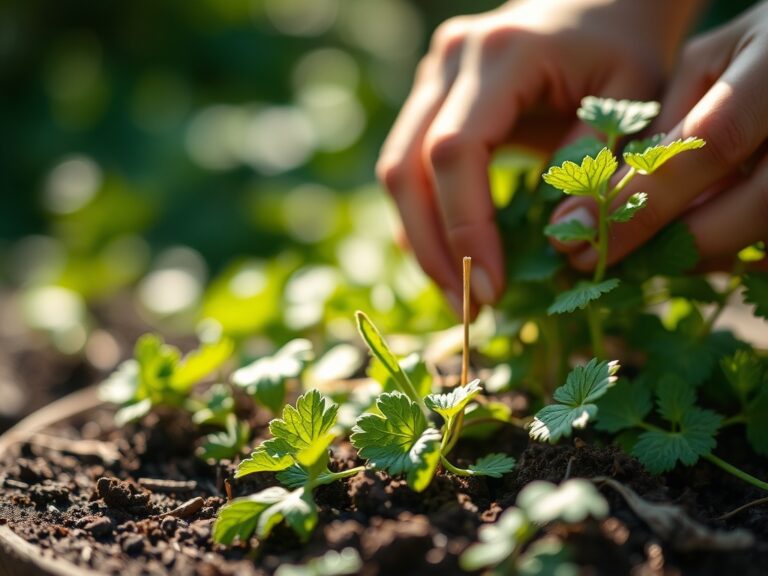
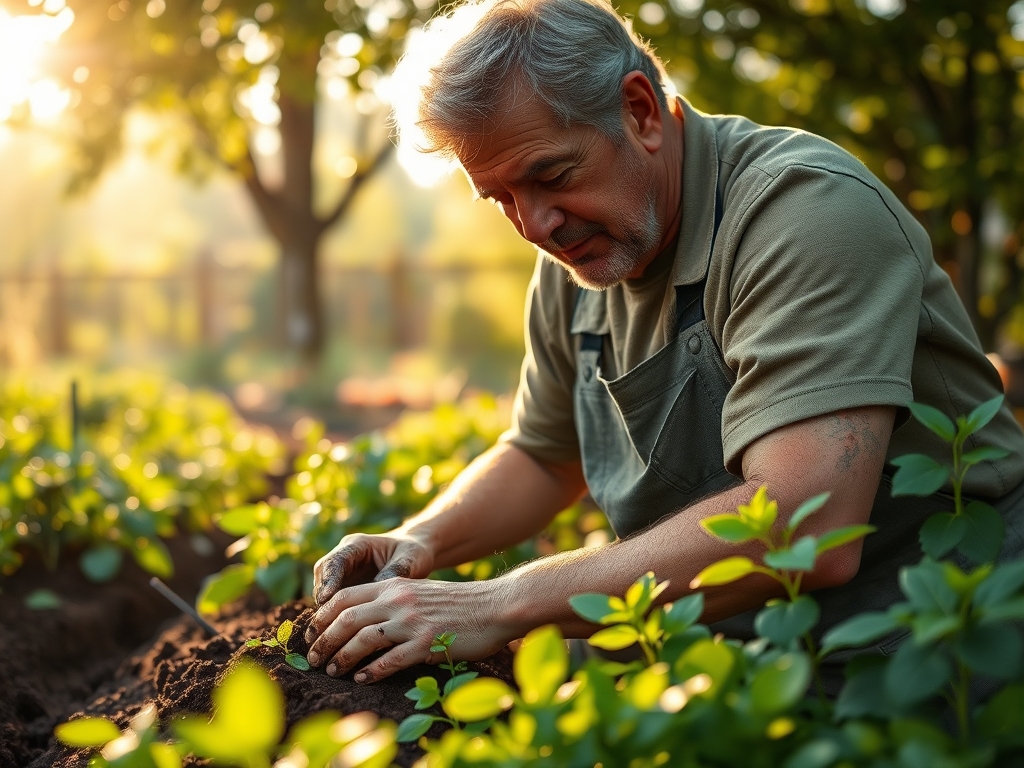
Transplanting
When moving seedlings from a controlled environment to the field, use a hori-hori knife to minimize root disturbance. The goal is to preserve the delicate root hairs that are responsible for the bulk of nutrient uptake.
Pro-Tip: Mycorrhizal symbiosis is established during this phase. By minimizing root trauma, you allow beneficial fungi to colonize the rhizosphere more effectively, increasing the plant's reach for phosphorus and water.
Establishing
Once the plant is in the ground, the focus shifts to auxin management and structural support. Use bypass pruners to remove axillary buds (suckers) in indeterminate varieties to focus energy on the primary terminal leader.
Pro-Tip: Auxin suppression occurs when the apical bud is removed, stimulating lateral branching through the activation of dormant axillary buds. This technique, known as "pinching," creates a bushier plant architecture with more fruiting sites.
The Clinic:
Physiological disorders often mimic disease but are rooted in environmental or nutritional imbalances.
- Symptom: Blossom End Rot. This appears as a necrotic, sunken lesion on the distal end of the fruit. Solution: Correct the calcium transport by stabilizing soil moisture. It is rarely a lack of calcium in the soil but rather a failure of the transpiration stream to deliver it to the fruit.
- Symptom: Nitrogen Chlorosis. The older, lower leaves turn a uniform pale yellow while the veins remain green. Fix-It: Apply a high-nitrogen liquid fertilizer with a ratio of 4-1-1 for rapid uptake.
- Symptom: Bolting. Leafy greens suddenly produce a thick central stalk and flowers. Solution: This is a response to heat stress or photoperiod changes. Use shade cloth to keep soil temperatures below 75 degrees Fahrenheit.
- Symptom: Interveinal Chlorosis. New growth appears yellow between the veins, indicating a Magnesium or Iron deficiency. Fix-It: Check the soil pH; if it is above 7.2, iron becomes locked and unavailable to the plant.
Maintenance:
Precision maintenance is the difference between a surviving plant and a thriving one. Vegetables generally require 1.5 inches of water per week delivered directly at the drip line to avoid foliar fungal pathogens. Use a soil moisture meter to ensure the root zone at a 6-inch depth is consistently hydrated. Tools require their own maintenance protocol. Wipe high-carbon steel blades with isopropyl alcohol after every use to prevent the cross-contamination of viral pathogens like Tobacco Mosaic Virus. Sharpen bypass pruners with a diamond file at a 20-degree angle to ensure clean, "day-one" cuts that heal rapidly. Store all metal implements in a bucket of sand mixed with mineral oil to prevent oxidation and maintain the edge.
The Yield:
Harvesting is the final physiological intervention. For most fruiting crops, harvest just before full ripeness to allow for "climacteric" ripening off the vine, which can prevent splitting. Use a sharp knife to sever the peduncle; never pull the fruit, as this can cause vascular damage to the main stem. For leafy greens, harvest in the early morning when turgor pressure is at its peak to ensure maximum crispness and shelf life. Post-harvest, immediately move produce to a cool, shaded area to reduce the "field heat" and slow the rate of respiration. This preservation of sugars and acids ensures the highest nutritional density and flavor profile.
FAQ:
What is the best material for garden tool blades?
High-carbon steel or stainless steel is superior. High-carbon steel holds a sharper edge for precise vascular cuts, while stainless steel resists oxidation in high-moisture environments. Both ensure minimal tissue trauma during pruning and harvesting.
How do I prevent rust on my garden tools?
Clean tools after every use to remove sap and soil. Dry them completely and apply a thin layer of linseed or mineral oil. This creates a hydrophobic barrier that prevents oxygen from reacting with the metal surface.
Why are bypass pruners better than anvil pruners?
Bypass pruners act like scissors, using two blades to make a clean slice. Anvil pruners crush the plant tissue against a flat surface, which damages the xylem and phloem, significantly increasing the risk of infection and slow recovery.
How often should I calibrate my soil moisture meter?
Check your meter at the start of every season using a saturated soil sample. Accurate readings are vital because over-watering leads to root hypoxia, while under-watering triggers the production of abscisic acid, causing the plant to drop its fruit.