6 Light-Exposure Steps for Treating Indoor Plant Edema
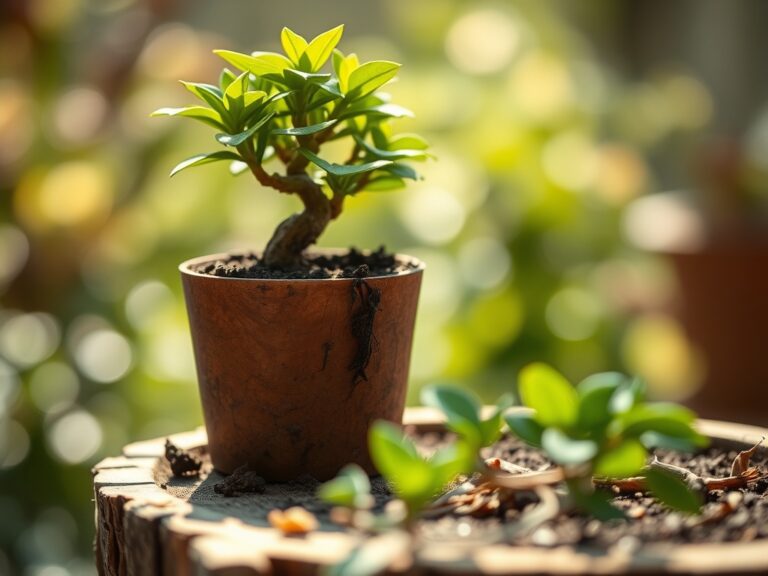
The smell of damp, oxygenated earth indicates a healthy rhizosphere, but the sight of blistered, corky bumps on the underside of a leaf signals a failure in transpiration. This physiological disorder, known as edema, occurs when a plant absorbs water faster than it can evaporate it through its stomata. Managing cellular turgor pressure requires a precise calibration of environmental variables. Implementing specific steps for treating edema with light involves manipulating the rate of photosynthesis to balance internal water pressure. When light intensity increases, the plant accelerates metabolic processes, effectively drawing excess moisture out of the parenchymal cells. This process prevents the rupture of cell walls that leads to permanent scarring. A successful intervention relies on understanding the relationship between photon flux density and the plant's hydraulic system. By adjusting the photoperiod and intensity, a grower can stabilize the internal fluid dynamics of a specimen. This guide provides the technical framework to rectify moisture imbalances using light as the primary regulator.
Materials:
To address edema, the substrate must facilitate rapid drainage and gas exchange. The ideal medium is a **friable loam** with a high concentration of perlite or coarse sand to increase macropore space. Aim for a **soil pH between 6.0 and 6.8** to ensure optimal nutrient bioavailability. The **Cation Exchange Capacity (CEC)** should be moderate to high, allowing the soil to hold essential ions while shedding excess water.
Regarding nutrition, avoid high-nitrogen fertilizers which can lead to soft, succulent growth that is more prone to cell rupture. Utilize a low-nitrogen, high-potassium formula with an NPK ratio of 5-10-15. Potassium is critical for regulating stomatal opening and closing; it manages the osmotic potential within the guard cells. Supplement with Calcium (Ca) and Magnesium (Mg) at a ratio of 4:1 to strengthen cell wall integrity.
Timing:
Indoor plants are often shielded from the external environment, but their biological clocks remain tethered to seasonal light shifts. In Hardiness Zones 5 through 7, the risk of edema peaks during the transition from autumn to winter. As ambient temperatures drop and humidity rises, the "frost-date window" usually marks the point where indoor heating systems begin to dry the air while light levels plummet.
The biological clock of the plant dictates its water needs. During the vegetative stage, the demand for nitrogen and water is at its zenith. However, if the photoperiod drops below 12 hours of light, the plant may enter a state of semi-dormancy where its metabolic rate cannot keep up with high soil moisture. Treatment must begin at the first sign of leaf "sweating" or guttation.
Phases:
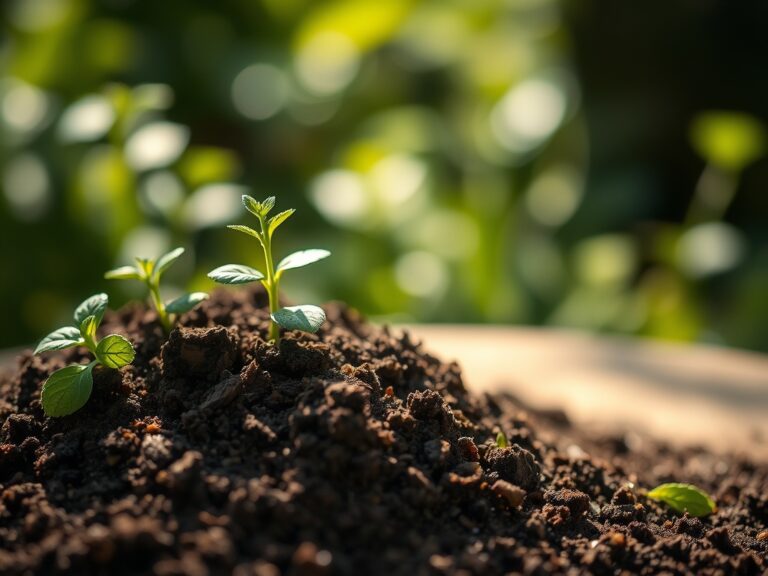
Sowing and Initial Light Exposure
When starting seeds or cuttings, provide 14 to 16 hours of light daily using full-spectrum LED or fluorescent fixtures. Maintain a distance of 6 to 12 inches from the canopy to prevent etiolation. High light intensity at this stage builds thick cell walls.
Pro-Tip: High light intensity triggers photomorphogenesis, which produces shorter, sturdier internodes. This structural density makes the plant less susceptible to the cell wall expansion that characterizes edema.
Transplanting and Light Adjustment
When moving a plant to a larger vessel, ensure the new container has a 20 percent drainage capacity. Immediately after transplanting, increase light intensity by 15 percent to stimulate transpiration. This prevents "wet feet" during the critical period when roots are colonizing new substrate.
Pro-Tip: Increasing light post-transplant leverages auxin suppression in the apical meristem. This encourages lateral root development and increases the overall surface area for water processing.
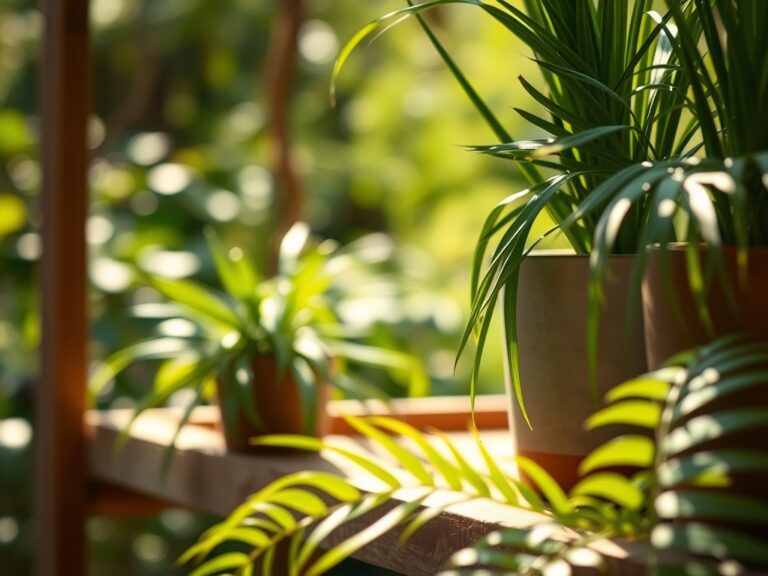
Establishing and Stabilizing
Once established, the primary goal is maintaining a consistent Vapor Pressure Deficit (VPD). Use a light meter to ensure the plant receives at least 400 to 600 micromoles of light per square meter per second (PPFD). If edema persists, extend the light cycle by 2 hours to force the stomata to remain open longer.
Pro-Tip: Consistent light exposure supports mycorrhizal symbiosis in the root zone. These fungi help regulate water uptake, acting as a biological buffer against sudden surges in soil moisture.
The Clinic:
Identifying physiological versus pathogenic issues is vital for proper treatment.
Symptom: Water-soaked spots on the underside of leaves that turn tan or charcoal over time.
Solution: This is classic edema. Increase light intensity and air circulation immediately. Reduce watering frequency until the top 2 inches of soil are dry.
Symptom: Interveinal chlorosis (yellowing between leaf veins) on new growth.
Solution: This indicates an Iron (Fe) deficiency, often caused by a pH above 7.0. Lower the pH using sulfur or an acidic fertilizer to unlock the iron.
Symptom: Lower leaves turning uniform pale yellow.
Solution: Nitrogen chlorosis. The plant is scavenging nitrogen from old growth to support new shoots. Apply a balanced liquid fertilizer with a 10-10-10 NPK ratio for rapid uptake.
Fix-It for Light Scorch: If steps for treating edema with light result in bleached patches on the leaf surface, the light is too close. Move the light source back 4 inches and monitor for 48 hours.
Maintenance:
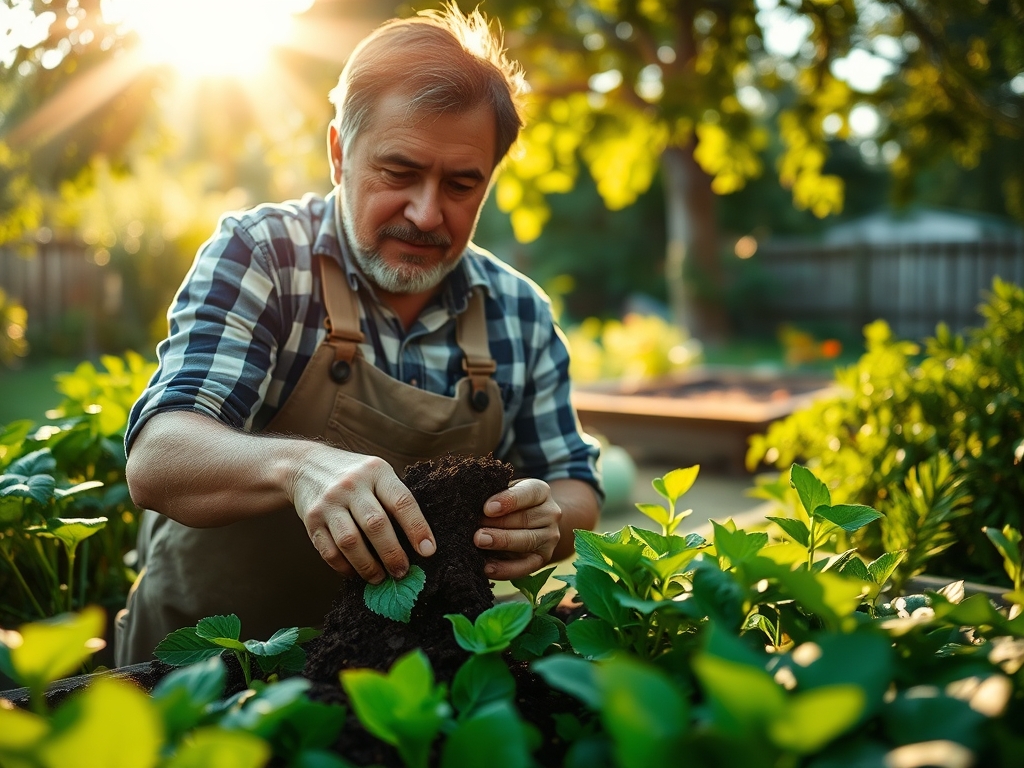
Precision is the hallmark of a master horticulturist. Use a soil moisture meter daily to check the root zone; do not rely on surface appearance. Most indoor plants require approximately 1.5 inches of water per week, delivered directly to the drip line to avoid wetting the foliage.
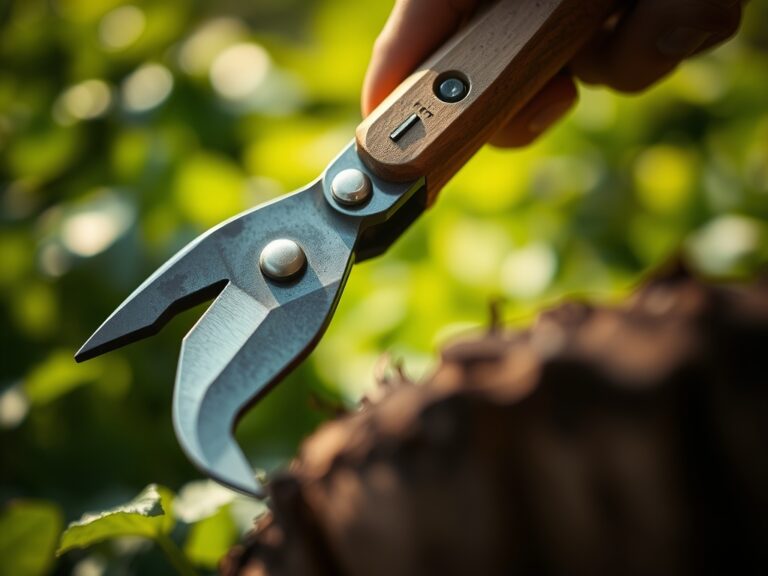
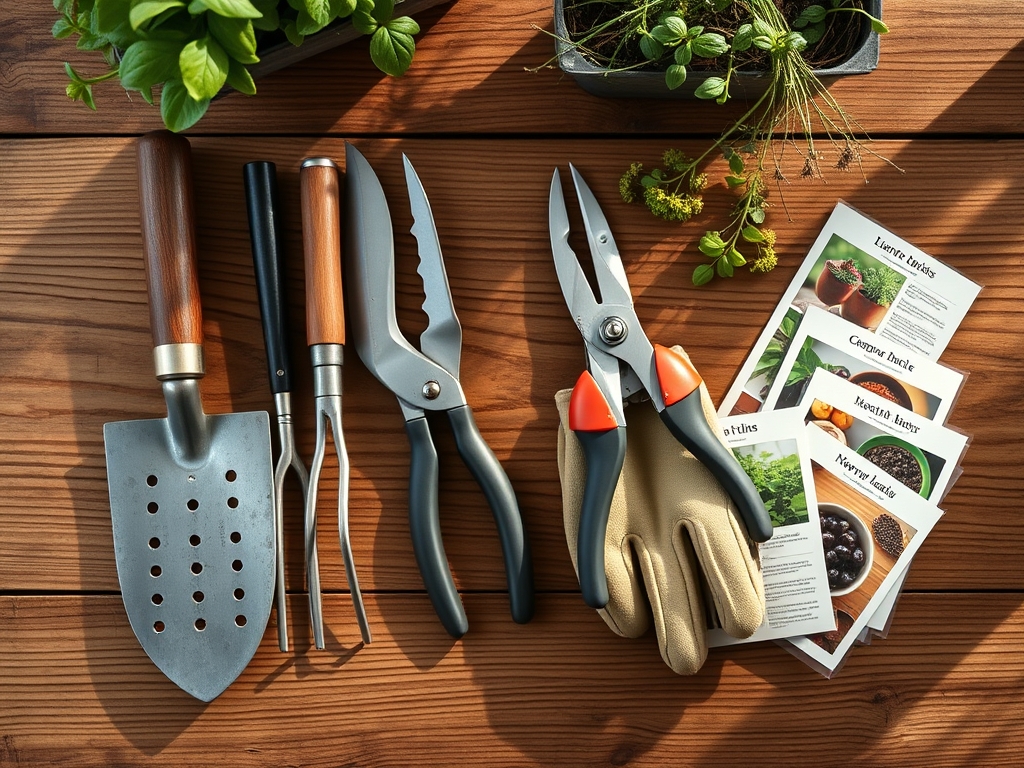
Keep a hori-hori knife on hand for aerating the soil surface if it becomes compacted; compaction limits oxygen to the roots and exacerbates edema. Use bypass pruners to remove any leaves where more than 50 percent of the surface area is scarred by edema. This allows the plant to redirect energy to healthy, transpiring tissues. Clean tools with 70 percent isopropyl alcohol between plants to prevent the mechanical transfer of pathogens.
The Yield:
For those growing indoor herbs or flowering species, timing the harvest is a matter of chemistry. Harvest herbs just before the photoperiod begins in the morning. This is when essential oil concentrations are highest and the plant is at maximum turgidity.
Use sharp snips to make clean cuts at a 45-degree angle to prevent water from pooling on the wound. For "day-one" freshness, immediately submerge the stems in 60-degree Fahrenheit water. This sudden temperature drop slows down senescence, the biological aging process, and preserves the structural integrity of the cell walls.
FAQ:
Can LED lights cure edema?
Yes. Increasing the intensity of LED lights boosts the rate of transpiration. This forces the plant to process excess water stored in its tissues, effectively reducing the internal pressure that causes the cells to rupture and scar.
Is edema contagious between plants?
No. Edema is a physiological disorder, not a biotic disease. It is caused by environmental factors like high humidity, overwatering, and low light. However, if multiple plants share the same environment, they may all develop symptoms simultaneously.
Should I mist my plants if they have edema?
No. Misting increases local humidity and slows down transpiration. When treating edema, the goal is to lower humidity and increase the evaporation of water from the leaf surface. Keep the foliage dry and improve air circulation.
Will the scars from edema disappear?
No. Once the cell walls have ruptured and formed corky, brown tissue, the damage is permanent. However, by following the steps for treating edema with light, you can ensure that all new growth remains healthy and symptom-free.