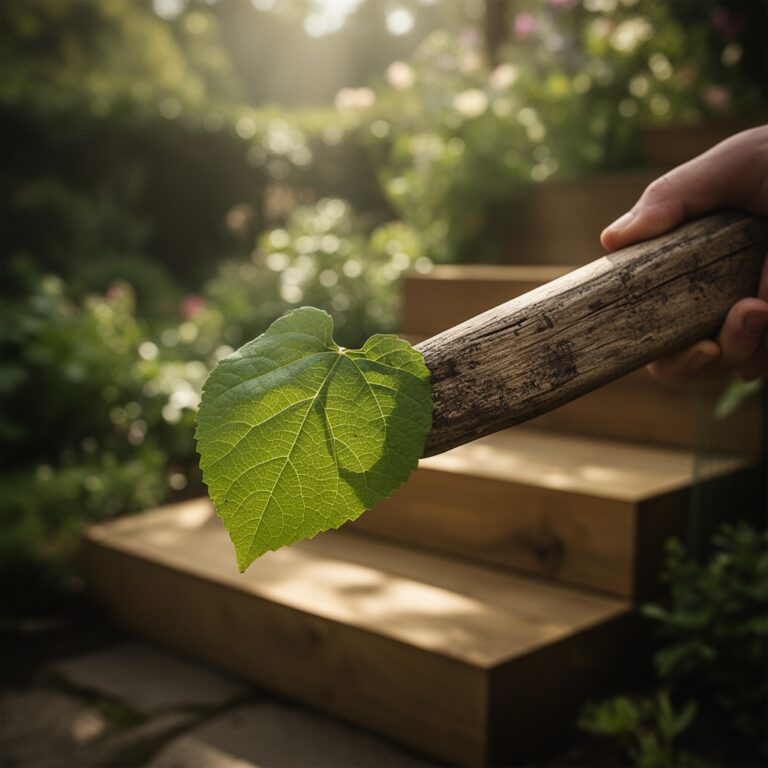
6 Steps to Build a Custom Tailored Garden Pergola
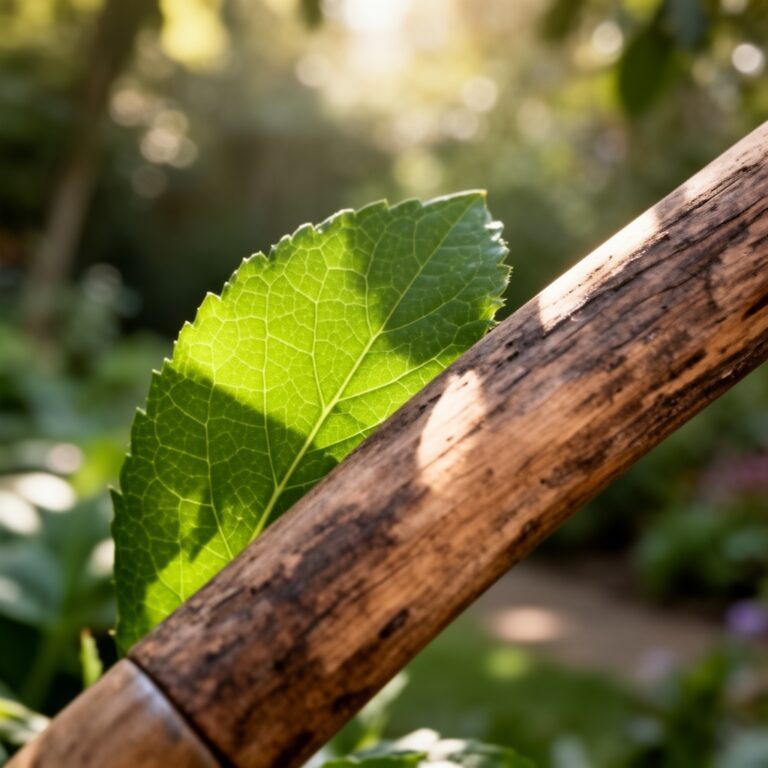
The scent of petrichor rising from a freshly turned friable loam marks the beginning of any serious structural installation. A pergola is not merely an aesthetic addition; it is a framework for vertical horticulture that alters the microclimate of the rhizosphere below. Mastering the steps for building a garden pergola requires an understanding of how timber and soil interact under the weight of climbing biomass. You must calculate the structural load against the turgor pressure of the vines you intend to support.
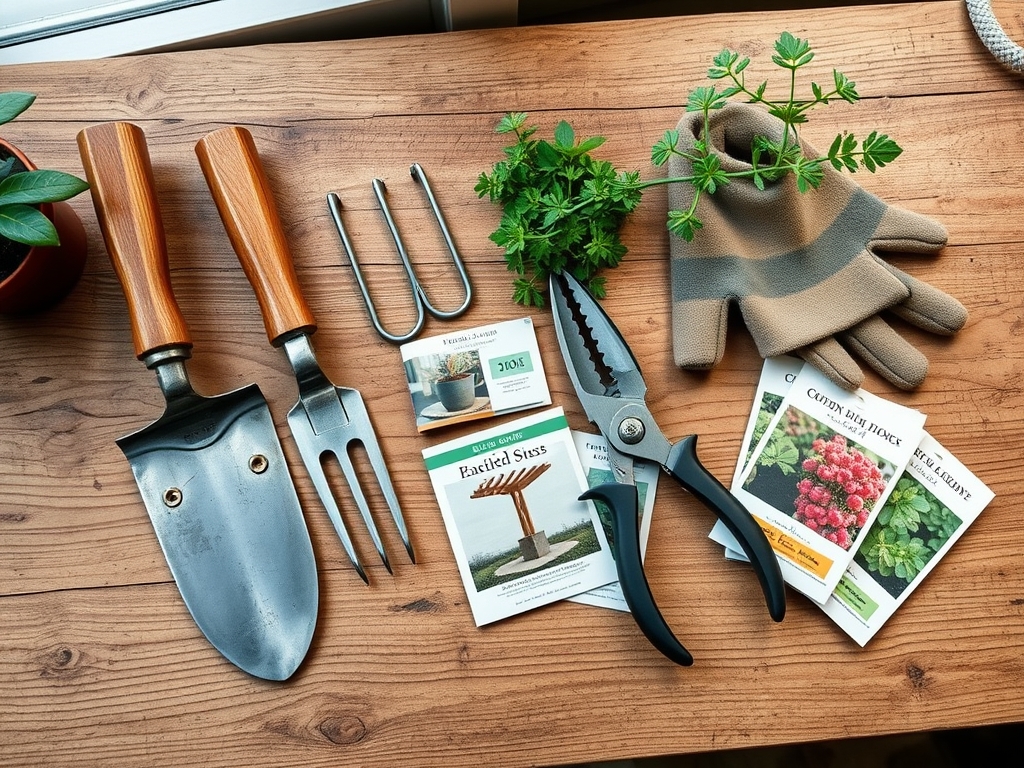
Materials:
The foundation of a pergola begins in the substrate. For the surrounding planting beds, aim for a pH between 6.2 and 6.8 to maximize nutrient availability. A high Cation Exchange Capacity (CEC) ensures that the soil retains essential minerals like calcium and magnesium. Use a 10-10-10 NPK ratio for initial soil amendment to support the heavy vegetative growth of climbing perennials.
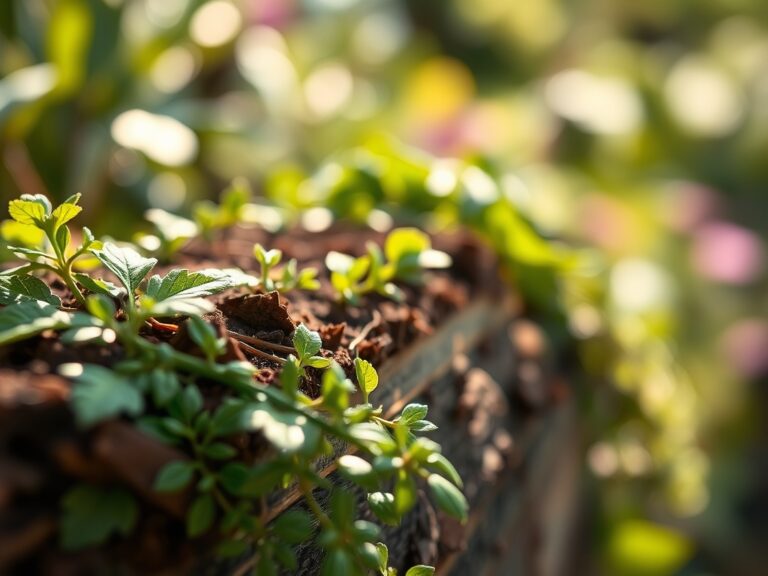
The physical texture must be a friable loam; this ensures adequate pore space for oxygen to reach the roots of vines like Wisteria or Vitis vinifera. Avoid heavy clay that compacts around the pressure-treated 6×6 posts. Use stainless steel hardware to prevent oxidation. If you are planting at the base, integrate organic matter to reach a 5 percent organic carbon threshold. This creates a biological sponge that regulates moisture levels near the structural footings.
Timing:
Successful installation depends on your USDA Hardiness Zone. In Zones 5 through 7, construction should occur during the dormant season, typically late autumn or early spring, to avoid compacting soil during peak microbial activity. The "Biological Clock" of the garden dictates that structural work be completed before the transition from the vegetative to the reproductive stage of your climbers.
For those in Zones 8 and 9, the window is wider, but you must account for the heat of mid-summer which can cause timber to warp rapidly if not sealed. Aim for a soil temperature of 55 degrees Fahrenheit before setting any concrete footings. This ensures the ground has thawed and settled, preventing heaving that could de-align the overhead rafters.
Phases:

Sowing the Foundation
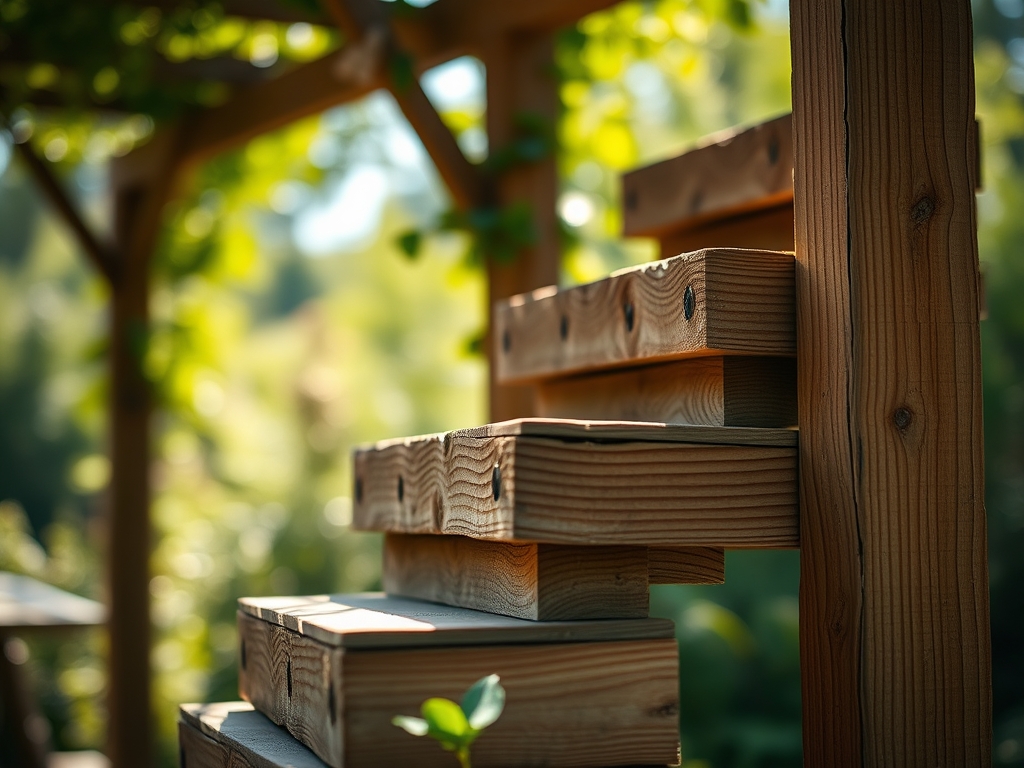
Excavate post holes to a depth of at least 36 inches or below the local frost line. Leveling is critical. Use a laser level to ensure the tops of the posts are perfectly horizontal. Any deviation will cause uneven water runoff, leading to localized rot and fungal pathogens.
Pro-Tip: Ensure the drainage at the base of the post includes a 3-inch layer of crushed gravel. This prevents "wet feet" and root rot in nearby plants by facilitating rapid drainage away from the wood-soil interface. This manages the hydrostatic pressure around the foundation.
Transplanting the Support Flora
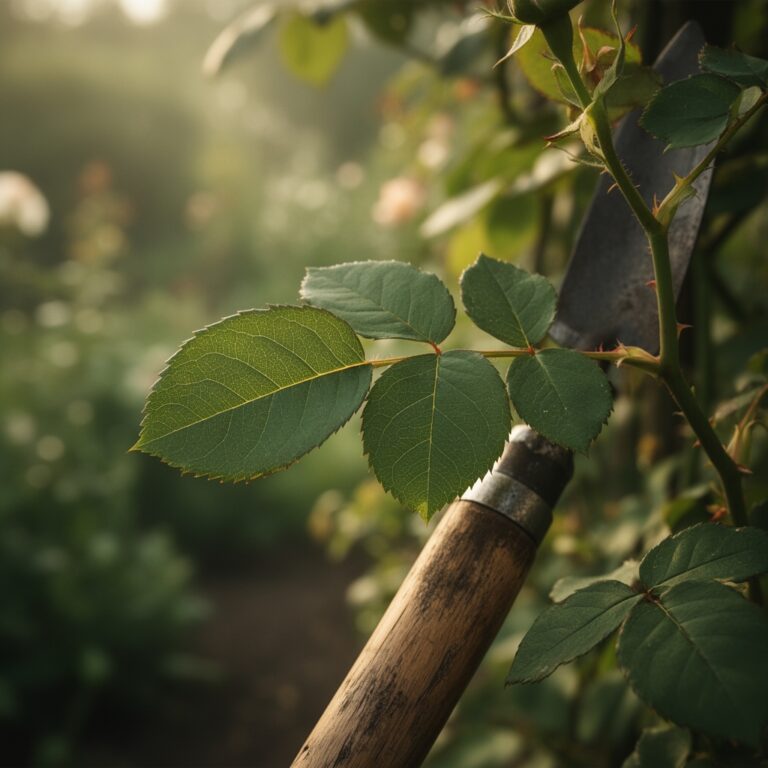
When placing climbers at the base of the pergola, dig a hole twice the width of the root ball. Position the plant at a 45-degree angle toward the post. This encourages the plant to utilize its natural thigmotropism; the directional growth of a plant in response to touch.
Pro-Tip: Do not over-fertilize during transplanting. High nitrogen levels can cause a surge in vegetative growth that the root system cannot yet support via transpiration. Focus on phosphorus-rich amendments to encourage root architecture.
Establishing the Canopy
As the vines reach the rafters, use soft ties to guide the primary leaders. Prune lateral shoots to encourage a thick overhead screen. This creates a shaded microclimate that can reduce ground temperatures by up to 10 degrees Fahrenheit, protecting shade-loving understory plants.
Pro-Tip: Practice auxin suppression by pinching off the terminal buds of the main leaders once they reach the desired height. This redirects the plant's hormones to the lateral buds, creating a denser, more robust canopy.
The Clinic:
Physiological disorders can compromise both the plant and the wooden structure. Monitor for these specific symptoms:
- Nitrogen Chlorosis: Yellowing of older leaves while veins remain green. Solution: Apply a water-soluble fertilizer with a high N-value to restore chlorophyll production.
- Iron Deficiency: Interveinal chlorosis in new growth, common in high pH soils. Solution: Lower the pH using elemental sulfur or apply chelated iron.
- Powdery Mildew: White fungal patches on leaves due to poor airflow. Solution: Increase spacing between rafters and prune for better air circulation.
- Stem Canker: Sunken, dark lesions on the vine. Solution: Prune infected wood 6 inches below the lesion using sterilized bypass pruners.
Fix-It Section: If your pergola vines show stunted growth and purple undersides on leaves, you likely have a phosphorus deficiency. Incorporate bone meal into the top 2 inches of soil to boost ATP production and energy transfer within the plant.
Maintenance:
Precision is the hallmark of a healthy pergola system. Provide 1.5 inches of water per week at the drip line; do not spray the foliage directly, as this invites fungal spores. Use a soil moisture meter to verify that the moisture has penetrated at least 8 inches deep.
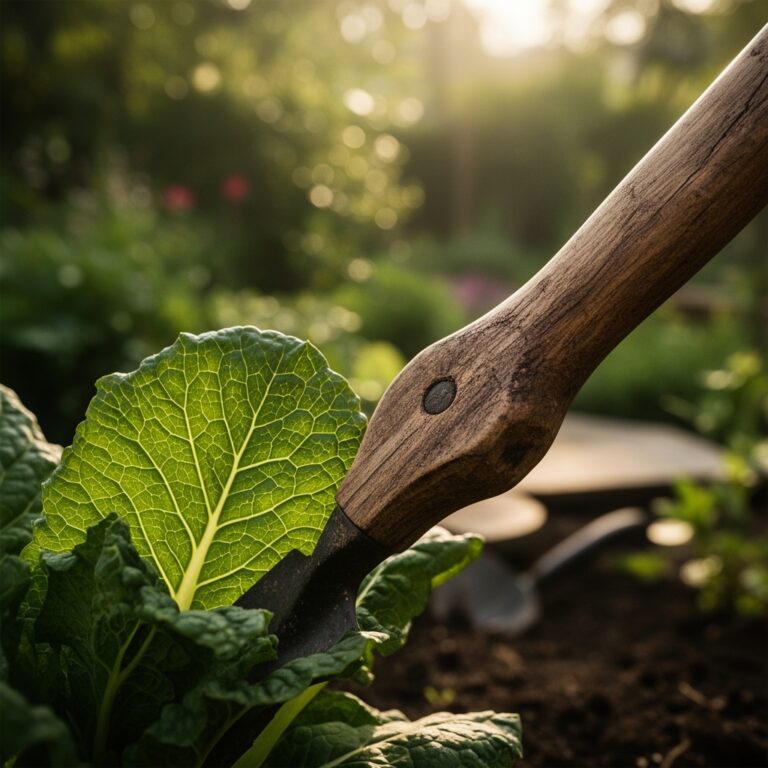
Twice a year, inspect the structural integrity using a hori-hori knife to probe the base of the posts for soft spots. Use bypass pruners to remove any dead or senescent wood that could harbor pests. Apply a UV-rated sealant to the timber every two years to prevent cellular breakdown of the wood fibers.
The Yield:
For those growing grapes or hops on their pergola, harvest timing is determined by Brix levels (sugar content). For wine grapes, a Brix reading of 22 to 25 is ideal. Use sharp snips to cut the clusters, leaving a small portion of the peduncle attached. To maintain "day-one" freshness and high turgor, harvest in the early morning when temperatures are lowest and the plant is fully hydrated. Store the yield in a cool, dark environment immediately to slow the rate of respiration.
FAQ:
How deep should pergola posts be buried?
Posts should be buried at least 36 inches deep or below the frost line. This prevents shifting during freeze-thaw cycles and provides the necessary leverage to support the weight of heavy mature vines and wind loads.
What is the best wood for a garden pergola?
Western Red Cedar or Black Locust are superior choices due to their natural resistance to rot and insects. Pressure-treated lumber is a cost-effective alternative but requires a sealant to prevent chemical leaching into the surrounding rhizosphere.
How do I prevent my pergola from leaning?
Ensure all footings are set in concrete with a diameter of at least 12 inches. Use diagonal bracing on the upper corners to resist lateral forces. Regularly check the vertical alignment with a spirit level during the first year.
Which vines grow fastest on a pergola?
Campsis radicans (Trumpet Vine) and Clematis armandii are aggressive growers. They can cover a standard pergola within two growing seasons. Ensure the structure is robust, as these species add significant weight through thick woody stems and dense foliage.