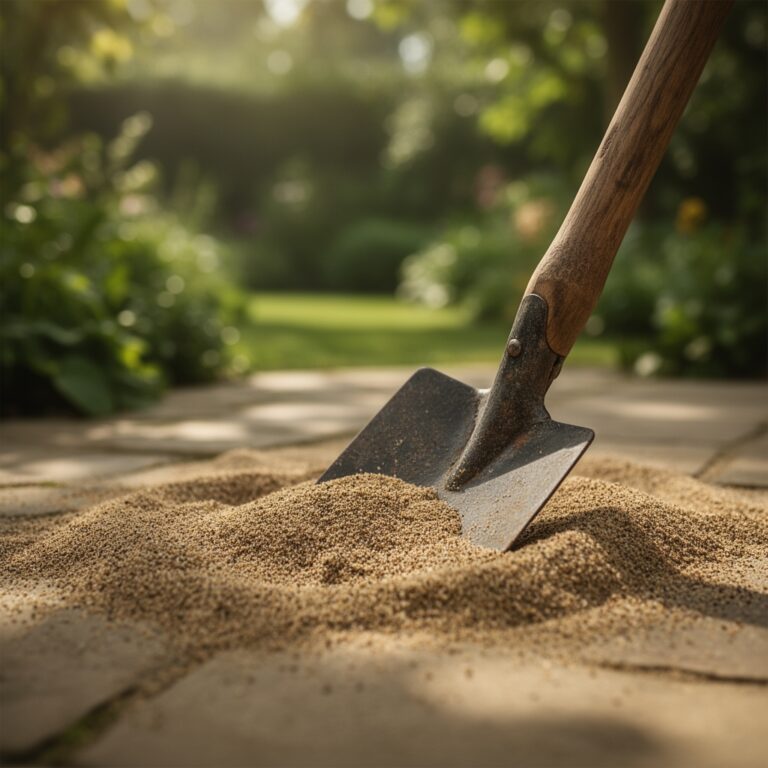
6 Steps to Install a Targeted Drip System for Shrubs
Shrubs stressed by overhead watering lose vigor through foliar disease, wasted runoff, and uneven moisture penetration. Installing a precision drip irrigation system delivers water directly to the root zone, reducing waste by 40 to 60 percent while improving nutrient uptake through consistent moisture gradients. The steps for installing a drip system for shrubs transform water management from guesswork into measured horticultural practice. Each emitter calibrates flow to match transpiration demand, supporting auxin distribution in new growth while maintaining the cation exchange capacity of the rhizosphere. The process requires six deliberate stages: layout planning, materials assembly, line installation, emitter placement, system testing, and seasonal calibration.
Materials
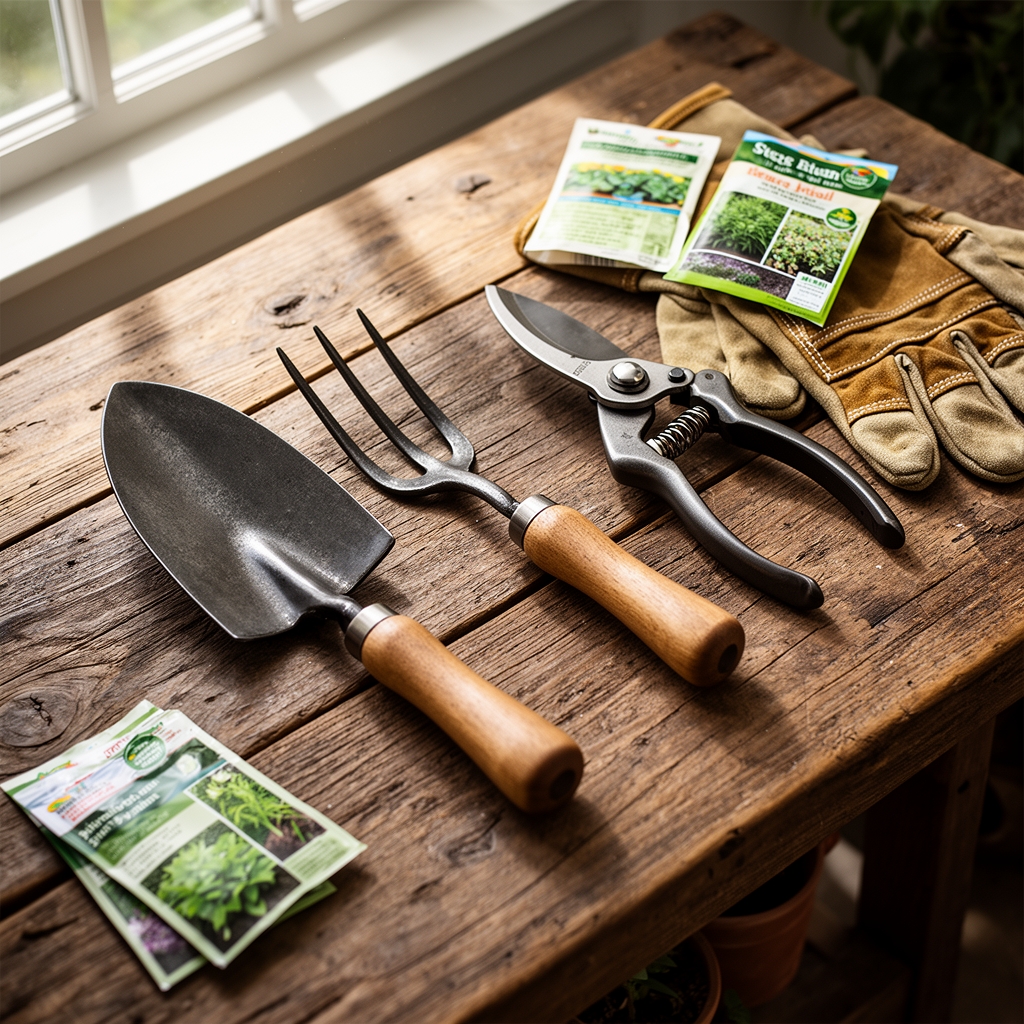
Assemble components by functional category before field work begins. The water source connects through a 3/4-inch backflow preventer rated to local plumbing codes. A 150-mesh filter removes particulates that clog emitter diaphragms. Pressure regulators rated at 25 psi protect tubing from burst failures.
Main line tubing requires 1/2-inch polyethylene rated for UV exposure. Quarter-inch distribution tubing branches to individual shrubs. Inline emitters deliver 0.5, 1.0, or 2.0 gallons per hour depending on shrub size and soil texture. Use flag emitters for heavy clay soils with cation exchange capacities above 20 meq/100g. Adjustable emitters suit sandy loams where infiltration exceeds 2 inches per hour.
Barbed tees, elbows, and couplings join segments without adhesive. Galvanized stakes anchor tubing against seasonal frost heave. End caps and flush valves permit maintenance access. A battery-operated timer automates delivery windows.
For establishing systems, apply a root zone amendment of 4-4-4 organic meal at 2 pounds per 100 square feet. This slow-release formulation supports mycorrhizal fungi colonization while maintaining soil pH between 6.0 and 6.8.
Timing
Install drip systems in early spring or mid-autumn when soil temperatures remain above 50 degrees Fahrenheit but transpiration demand stays moderate. In Hardiness Zones 5 through 7, target installation between April 1 and May 15 or September 15 through October 31. Zones 8 through 10 extend the spring window to March 1 and the autumn window to November 30.
Avoid installation during active growth flushes when root disturbance disrupts auxin gradients. Wait until spring frost dates pass and soil moisture content drops below field capacity. Saturated soils compact under foot traffic, reducing oxygen diffusion to feeder roots.
Phases

Layout Phase: Map the garden on graph paper at 1:20 scale. Mark each shrub's dripline diameter. Plan main lines to follow bed edges, minimizing tubing crossings. Calculate total emitter gallons per hour, ensuring the system stays below 75 percent of source capacity. Stake the main line route with flags. Unroll tubing in full sun for 30 minutes to soften polyethylene, reducing kinks.
Pro-Tip: Install main lines 2 inches below mulch depth to prevent UV degradation while maintaining access for seasonal adjustments.
Installation Phase: Connect the backflow preventer, filter, and pressure regulator in sequence at the spigot. Flush the main line for 60 seconds before attaching distribution tubing. Use a leather punch to create insertion ports for quarter-inch branches. Space emitters 12 inches from woody stems to avoid rot while ensuring water reaches the feeder root zone.
For shrubs with 3-foot canopies, install two 1.0 GPH emitters on opposite sides. Shrubs with 5-foot canopies require four emitters arranged in a square pattern. Adjust emitter flow rates for soil texture: sandy soils need higher flow over shorter durations; clay soils need lower flow over extended periods.
Pro-Tip: Bury quarter-inch tubing 1 inch deep to stabilize emitters against mulch displacement while allowing visual inspection.
Testing Phase: Open end caps and flush each line for 90 seconds to clear installation debris. Close end caps and pressurize the system. Inspect every emitter for uniform flow. Adjust pressure regulators if flow rates vary by more than 10 percent between emitters.
Run the system for 30 minutes. Excavate a test hole 6 inches from an emitter to verify water penetrates 8 to 12 inches deep. Adjust run times based on infiltration patterns.
Pro-Tip: Introduce mycorrhizal fungi inoculant in the wetted zone during the first irrigation cycle to accelerate symbiotic colonization.
Troubleshooting
Symptom: Emitters deliver uneven flow rates. Solution: Clean the filter screen and flush lines. Replace clogged emitters. Verify pressure regulator maintains 25 psi.
Symptom: Algae growth inside tubing. Solution: Increase filter mesh to 200. Add UV-resistant main line if exposed to direct sun more than 4 hours daily.
Symptom: Shrubs show wilting despite scheduled irrigation. Solution: Increase run time by 25 percent. Check soil moisture at 6-inch depth with a probe; adjust emitter count if dry pockets exceed 3 inches from the emitter.
Symptom: Root rot appears near emitters. Solution: Move emitters 6 inches farther from stems. Reduce flow rate to prevent waterlogging in low-permeability soils.
Symptom: Tubing disconnects at barbed fittings. Solution: Replace worn fittings. Soak polyethylene tubing ends in warm water before pushing onto barbs to improve seating.
Maintenance
Run systems three times per week during active growth, delivering 1 inch of water per week split across sessions. In Zones 5 through 7, reduce frequency to once per week after September 1. Flush lines monthly by opening end caps for 2 minutes. Replace filter screens every 90 days or when pressure drops below 20 psi.
Winterize systems in Zone 7 and colder by draining all lines before the first hard freeze. Open end caps and remove pressure regulators for indoor storage. Reconnect components after soil temperatures rise above 45 degrees Fahrenheit in spring.
Apply sulfur at 1 pound per 100 square feet if soil pH drifts above 7.2. Reapply 4-4-4 organic meal each April at half the establishment rate to sustain nutrient cycling.
FAQ
How many emitters does one shrub need?
Two emitters for shrubs under 4 feet wide; four emitters for specimens exceeding 5 feet. Position emitters at cardinal points around the dripline.
What causes white mineral deposits on emitters?
Hard water precipitates calcium carbonate. Flush lines with a 10 percent vinegar solution twice per season to dissolve buildup.
Can I convert an existing sprinkler zone to drip?
Yes, if line pressure does not exceed 30 psi. Install a pressure regulator and replace sprinkler heads with drip manifolds.
When should I replace tubing?
Every 5 to 7 years. UV exposure degrades polyethylene, causing splits and leaks. Inspect annually for cracks along the main line.
How do I adjust watering for container shrubs?
Reduce emitter output to 0.5 GPH. Run daily for 15 minutes during active growth. Container substrates drain faster than in-ground soils, requiring frequent low-volume applications.