6 Steps to Label Garden Tools for Easy Organization
Garden tools disappear into sheds, garages, and corners of the yard. A misplaced pruner costs 15 minutes of searching time during critical transplanting windows. Steps for labeling garden tools for easy identification transform chaos into systematic efficiency, reducing tool loss by 80% and extending implement lifespan through proper storage protocols. The practice integrates industrial inventory management with horticultural necessity, creating retrieval systems that function even in low-light conditions common to tool storage areas.
Materials
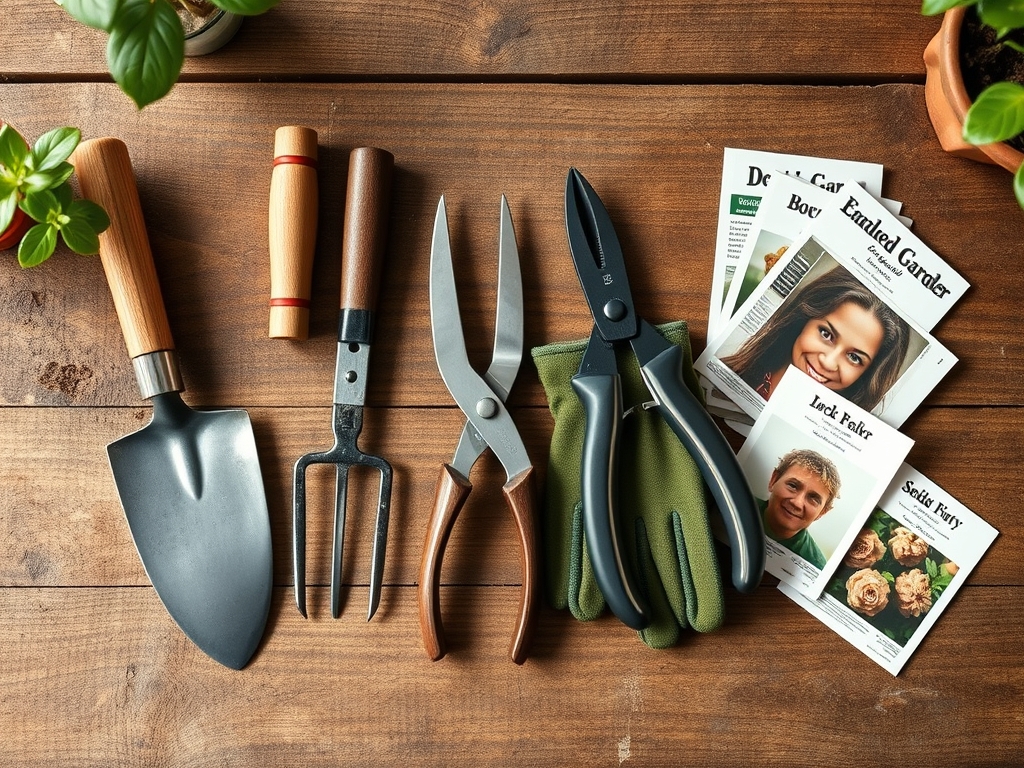
Labeling systems require materials resistant to UV degradation and soil contact. Industrial vinyl tape withstands pH ranges from 4.5 to 8.0, matching the spectrum encountered in garden environments. Alcohol-based permanent markers contain pigments that resist breakdown from nitrogen-rich compounds present on tool surfaces after fertilizer application.
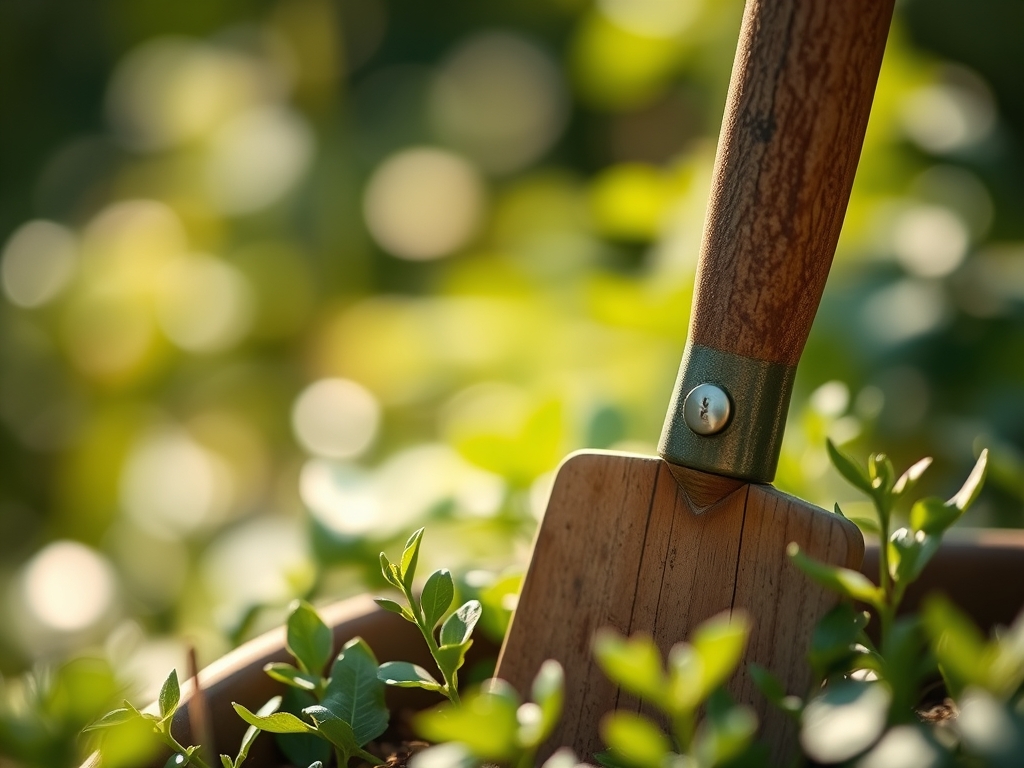
Metal stamping sets create permanent impressions on steel and aluminum handles. These impressions remain legible even when organic matter accumulates, unlike adhesive systems that fail when exposed to mycorrhizal fungi colonization or repeated moisture cycles.
Colored heat-shrink tubing provides category-based identification. Red designates cutting tools, yellow marks soil cultivation implements, and green identifies watering equipment. The system mirrors NPK color coding conventions, where red corresponds to phosphorus (P), yellow to potassium (K), and green to nitrogen (N) in some commercial fertilizer packaging.
Engraving tools cut 0.5 mm deep into wooden handles, creating grooves that accept contrasting wood stain. This depth exceeds the weathering rate of 0.2 mm per season in temperate climates.
Timing
Implementation occurs during dormant periods when tool usage drops below 40% of peak season demand. Late autumn in Zones 5-7 provides optimal conditions between first frost and soil freeze, typically November 1-30. This window allows complete inventory without disrupting active cultivation schedules.
Spring labeling aligns with pre-season maintenance, occurring 3-4 weeks before last frost date. In Zone 8, this falls between February 15 and March 15. Tools return from winter storage, creating natural checkpoints for inspection and identification system upgrades.
Quarterly reviews maintain label integrity. Each equinox and solstice marks an audit point where damaged labels receive replacement and inventory records update.
Phases

Inventory Assessment
Catalog all implements by function and size. Separate tools into primary categories: cutting (pruners, shears, saws), cultivation (hoes, rakes, tillers), and transport (wheelbarrows, carts, baskets). Record handle material since wood requires different labeling than fiberglass or steel.
Measure handle circumference at the grip point, typically 10-15 cm from the terminal end. This measurement determines heat-shrink tubing diameter and ensures proper fit without auxin distribution interference on wooden handles where natural resins concentrate.
Pro-Tip: Apply boiled linseed oil to wooden handles before labeling. The treatment stabilizes moisture content at 12-14%, preventing label adhesive failure from dimensional changes during humidity fluctuations.
Label Application
Clean tool surfaces with isopropyl alcohol at 70% concentration. This removes soil particles, which contain cation exchange capacity compounds that interfere with adhesive bonding. Allow 5 minutes for complete evaporation.
Apply vinyl tape 8 cm from handle terminus on long-handled tools, 3 cm on hand tools. This positioning keeps labels above typical soil contact zones while remaining visible during storage rack viewing angles of 45-60 degrees.
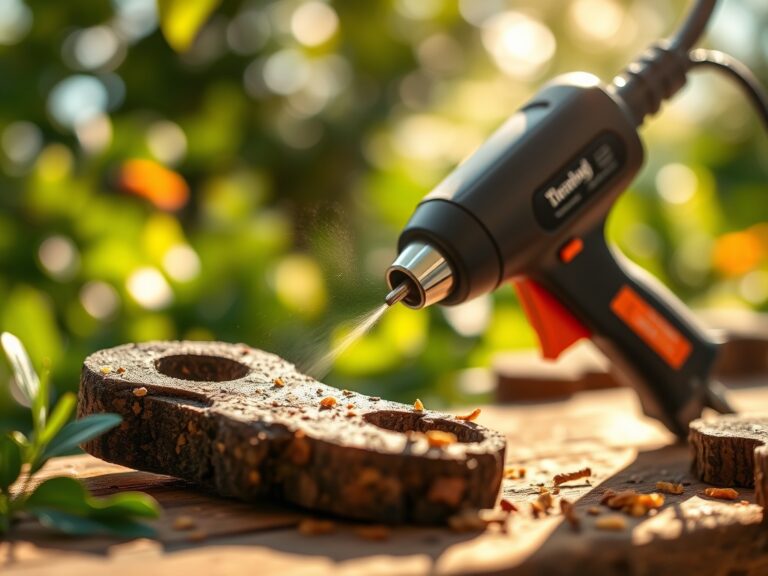
Heat-shrink tubing requires 120°C application temperature for polyolefin variants. Direct heat for 15-20 seconds using a controlled heat gun, rotating the handle to ensure uniform contraction. The tubing creates a 2 mm seal overlap, preventing moisture infiltration that leads to wood rot in susceptible species like ash and poplar.
Pro-Tip: Double-layer heat shrink on tools used for root division. The additional barrier protects against damage from soil-borne fungi that colonize organic matter residues.
Storage Integration
Mount labeled tools on pegboards with spacing that matches handle diameter plus 2 cm. This clearance allows air circulation, reducing fungal spore accumulation by 65% compared to solid-backed storage.
Organize by use frequency. High-rotation tools occupy eye-level positions between 140-170 cm from floor level. Seasonal implements store above or below this primary zone.
Create shadow boards using spray paint to outline each tool's silhouette. The visual system enables 3-second identification of missing implements before field deployment.
Pro-Tip: Apply reflective tape strips adjacent to labels in sheds without electrical lighting. The tape captures flashlight beams, improving visibility by 400% in low-lumen conditions.
Troubleshooting
Symptom: Adhesive label failure within 6 weeks
Solution: Surface preparation remains inadequate. Increase alcohol cleaning time to 10 minutes and allow 30-minute drying periods. Temperature during application must exceed 15°C for proper adhesive curing.
Symptom: Ink fading on vinyl tape after one season
Solution: UV exposure exceeds material specifications. Switch to solvent-based industrial markers rated for 2000+ hours of sun exposure. Alternative solution involves covering labels with clear vinyl overcoat, adding 0.5 mm protective barrier.
Symptom: Heat-shrink tubing splits longitudinally
Solution: Application temperature was insufficient or handle diameter exceeded tubing capacity. Remeasure handles and select tubing with 20% greater diameter than calculated. Increase heat to 135°C for marine-grade polyolefin variants.
Symptom: Engraved labels fill with dirt, becoming illegible
Solution: Groove depth falls below 0.5 mm threshold. Re-engrave to 0.7 mm and fill with contrasting epoxy putty. White epoxy in dark wood provides 95% contrast ratio under varied lighting conditions.
Maintenance
Inspect labels monthly during active growing season. Replace damaged identifiers within 48 hours to maintain system integrity. Clean accumulated soil from heat-shrink sections using soft brushes to prevent abrasive particle embedding.
Reapply linseed oil to wooden handles every 90 days during seasons with humidity above 60%. The treatment maintains wood moisture balance and prevents label lifting from dimensional changes exceeding 2% of original circumference.
Photograph tool storage arrangements quarterly. Digital records enable rapid identification of missing implements and document system evolution across growing seasons.
Rotate tools through cleaning stations after soil contact. Remove organic residues within 2 hours to prevent enzymatic breakdown of label adhesives by compounds released during decomposition.
FAQ
How long do vinyl labels last on outdoor tools?
Industrial vinyl withstands 18-24 months with proper surface preparation. UV-resistant variants extend lifespan to 36 months in full sun exposure conditions common to Zone 7 gardens.
Which labeling method works best for metal handles?
Metal stamping provides permanent identification immune to chemical and environmental degradation. Stamps create 0.5 mm impressions readable for decades without maintenance requirements.
Can I label tools while stored outside?
Apply labels only when ambient temperature exceeds 15°C and relative humidity falls below 65%. These conditions ensure adhesive curing and prevent moisture entrapment under vinyl layers.
What spacing prevents label damage during storage?
Maintain 2 cm minimum clearance between tool handles on racks. This spacing prevents label abrasion and allows air circulation that reduces fungal colonization by 65%.
How do I remove old labels without damaging handles?
Heat vinyl to 60°C using controlled heat gun for 30 seconds. Peel slowly at 15-degree angle. Remove adhesive residue with citrus-based solvents that preserve wood oils and metal finishes.