6 Steps to Prepare a Level Backyard Fire Pit Site
Learning how to prepare a garden for a fire pit transforms unused lawn into a safe gathering space where soil compaction, drainage, and vegetation removal become critical factors. The process demands precision with grade adjustments, base materials, and clearance zones to prevent root damage and ensure stable combustion surfaces. Proper site preparation protects nearby plantings from radiant heat while creating a level foundation that channels water away from the fire zone.
Materials
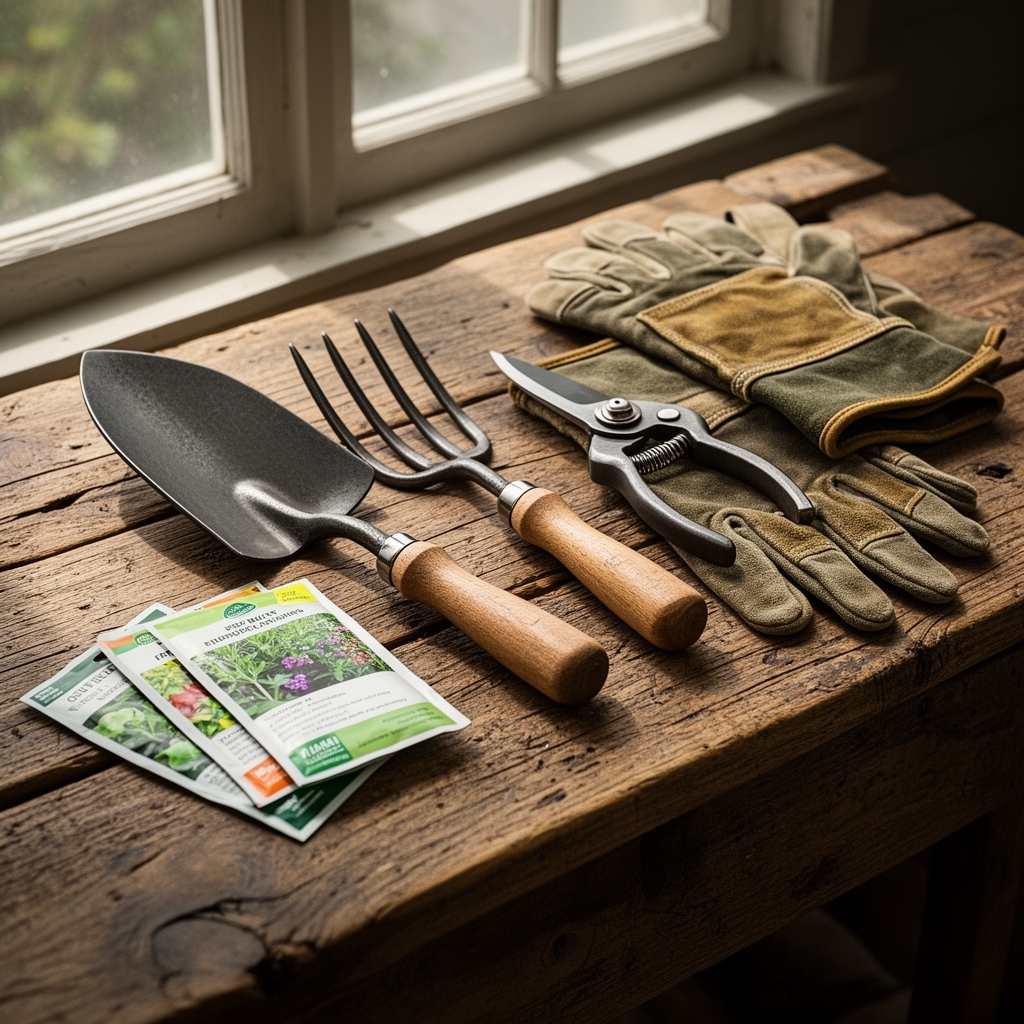
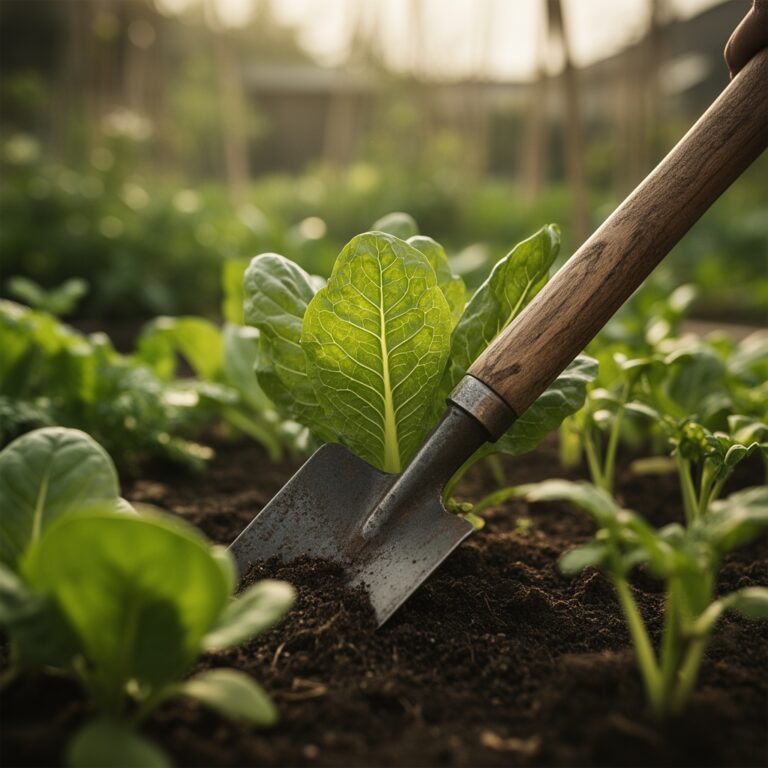
Collect a flat-edge spade for clean sod removal, a 4-foot builder's level for grade verification, and a hand tamper rated for 150 pounds per square foot compaction. Base materials include crushed limestone screenings (0.25-inch minus) for drainage, paver base aggregate, and coarse sand with particle sizes between 0.5 and 2.0 millimeters.
Mark the perimeter with landscaping spray paint or gypsum powder (calcium sulfate dihydrate, pH 6.5-7.0). A wheelbarrow, steel rake, and plate compactor accelerate the leveling process. For soil amendment around the perimeter plantings, use a balanced 4-4-4 organic meal to compensate for nutrient displacement during excavation. Keep a tape measure, string line, and stakes for establishing precise radius measurements. Safety gear includes leather gloves, steel-toe boots, and safety glasses rated ANSI Z87.1.
If replanting the cleared zone edge, source mycorrhizal fungi inoculant (Rhizophagus irregularis) to restore symbiotic networks severed during excavation.
Timing
Hardiness Zones 5 through 9 allow site preparation from late March through October, when soil moisture content sits between 15 and 25 percent. Avoid working saturated ground, which collapses under compaction and develops poor cation exchange capacity. Zones 3 and 4 require completion by mid-September to prevent frost heave from destabilizing the base layer.
Schedule excavation two weeks after the last spring frost when soil temperature reaches 50 degrees Fahrenheit at a 6-inch depth. This timing allows grass roots to resume active growth, making sod removal cleaner. Fall installations benefit from cooler air temperatures that reduce heat stress on adjacent plantings. Complete base compaction during dry weather windows lasting at least 72 hours to achieve proper particle interlocking.
Phases

Excavation Phase
Drive a center stake and tie a string line at the desired radius plus 18 inches for the clearance zone. Mark the circle with spray paint. Remove sod in 2-inch-deep sections using the flat spade at a 30-degree angle to preserve root structure for composting. Excavate to 6 inches below grade, sloping the base 2 percent away from the fire pit center to direct water runoff.
Test soil composition by squeezing a handful. Sandy loam crumbles freely and requires minimal base depth. Clay soil holds shape and demands 8 inches of aggregate base to prevent settling. Check level every 12 inches across the diameter using the 4-foot level.
Pro-Tip: Preserve topsoil separately from subsoil during excavation. Mix the topsoil with aged compost at a 60:40 ratio to amend beds receiving displaced plantings, boosting auxin distribution for faster root establishment.
Base Installation Phase
Spread 3 inches of crushed limestone screenings across the excavated area. Rake to uniform thickness and mist lightly to reduce airborne particles. Compact using overlapping passes in perpendicular directions until the tamper rebounds without leaving surface impressions.
Add a second 3-inch layer of paver base aggregate (0.75-inch angular stone). Compact again to 95 percent maximum density. Pour coarse sand to fill voids, sweeping it into gaps with a push broom. The final surface should sit 1 inch below surrounding grade to accommodate the fire pit base and prevent water pooling.
Pro-Tip: Install landscape edging at the perimeter before final compaction. Poly edging spiked every 18 inches prevents aggregate migration and maintains clean borders for 8 to 10 years.
Establishment Phase
Set the fire pit structure on the compacted base, checking level in four directions. Backfill the clearance zone with decorative gravel, river rock, or decomposed granite to extend the non-combustible buffer. Maintain a minimum 10-foot radius free of overhanging branches to comply with fire safety codes.
Water the surrounding soil to settle particles displaced during excavation. Apply a 2-inch layer of shredded hardwood mulch around perimeter plantings to conserve moisture and regulate temperature fluctuations. Allow the base to cure for 48 hours before the first fire to complete compaction settling.
Pro-Tip: Inoculate the cleared zone edge with mycorrhizal fungi by mixing 1 tablespoon per gallon of water and drenching the soil 6 inches deep. This restores fungal networks within 14 to 21 days, improving drought tolerance in adjacent plants.
Troubleshooting
Symptom: Uneven settling after three fire cycles
Solution: Remove the fire pit and add 1 inch of limestone screenings to low spots. Re-compact and verify level before reinstalling. Poor initial compaction or organic matter decomposition causes subsidence.
Symptom: Water pooling at fire pit base
Solution: Increase perimeter grade by adding topsoil 3 inches out from the pit edge, creating a 3 percent slope away from center. Compact lightly to avoid disrupting the base layer.
Symptom: Grass encroachment into gravel zone
Solution: Install a 6-inch-deep metal or composite edging barrier. Remove encroaching roots manually and apply corn gluten meal (10-0-0) at 20 pounds per 1,000 square feet as a pre-emergent in early spring.
Symptom: Cracking in adjacent hardscape
Solution: Verify that excavation did not undercut patio or walkway bases. Fill voids with polyurethane foam designed for landscape stabilization, then compact surrounding soil to 100 percent density.
Symptom: Heat stress on nearby plantings
Solution: Extend the non-combustible zone to 12 feet or install a 4-foot-tall tempered glass wind guard on the exposed side. Supplemental watering at 1.5 inches per week during fire pit use maintains plant turgor pressure.
Maintenance
Inspect the base level every spring using a 4-foot level across multiple diameters. Add and compact aggregate to correct settling exceeding 0.25 inches. Rake decorative rock monthly to redistribute stones displaced by foot traffic and maintain uniform depth at 2 inches.
Remove ash buildup after every five fires to prevent alkaline compounds (pH 9.0-11.0) from leaching into surrounding soil. Dispose of ash in a metal container, keeping it dry for 72 hours before garden application at rates not exceeding 15 pounds per 100 square feet on acid-loving plantings.
Trim overhanging branches annually to preserve the 10-foot vertical clearance. Prune at a 45-degree angle 0.25 inches above the branch collar to promote rapid wound closure. Apply a balanced 10-10-10 fertilizer at 2 pounds per 100 square feet to perimeter plantings each spring, compensating for nutrient export from clipping removal.
Reapply landscape edging spikes if frost heave loosens the perimeter. Check that the edging protrudes no more than 1 inch above grade to prevent tripping hazards.
FAQ
How deep should fire pit excavation extend?
Excavate 6 inches below grade for sandy or loamy soils, 8 inches for clay. This depth accommodates a 6-inch compacted aggregate base that prevents settling and provides adequate drainage.
Can I install a fire pit over tree roots?
Avoid placing fire pits within the drip line of mature trees. Radiant heat above 140 degrees Fahrenheit damages cambium tissue and disrupts xylem function. Maintain a clearance equal to 1.5 times the canopy radius.
What aggregate type works best for bases?
Crushed limestone screenings (0.25-inch minus) and angular paver base compact to 95 percent density with superior interlock. Avoid rounded river rock, which shifts under load and lacks structural stability.
How do I prevent weed growth in gravel zones?
Install landscape fabric rated 3.0 ounces per square yard before spreading gravel. Apply corn gluten meal pre-emergent at 20 pounds per 1,000 square feet in early spring for 60 percent weed suppression.
When can I light the first fire after installation?
Wait 48 hours after final compaction to allow particle settling and moisture evaporation. Conduct a level check before the inaugural fire to verify that no subsidence occurred during the curing period.