6 Steps to Prepare a Shovel for Digging in Heavy Clay
The smell of damp earth signals a high concentration of geosmin; it indicates a soil profile saturated with moisture and microbial activity. In heavy clay, this moisture increases surface tension and adhesion; the soil clings to metal with a tenacity that halts progress. Learning how to prepare a shovel for digging in clay soil requires understanding the friction between high-density silicates and carbon steel. Without preparation, the tool becomes a heavy club rather than a surgical instrument. You must reduce the drag coefficient to maintain efficiency in the rhizosphere.
Clay particles are smaller than 0.002 millimeters in diameter. This microscopic size creates a massive surface area that holds water through capillary action. When a shovel blade enters this medium, the vacuum created by the displacement of air and water binds the soil to the steel. To overcome this, the metal must be polished to a mirror finish and treated with a hydrophobic barrier. This process ensures that the turgor pressure of the surrounding vegetation is not compromised by excessive physical trauma to the root zones during excavation.
Materials:
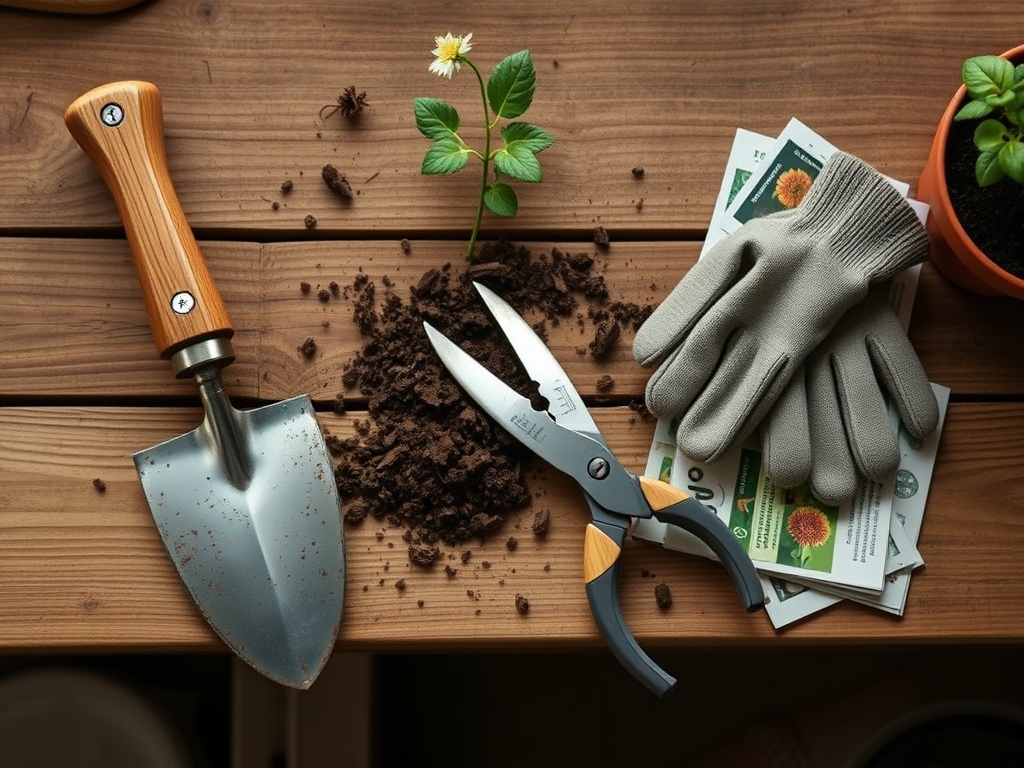
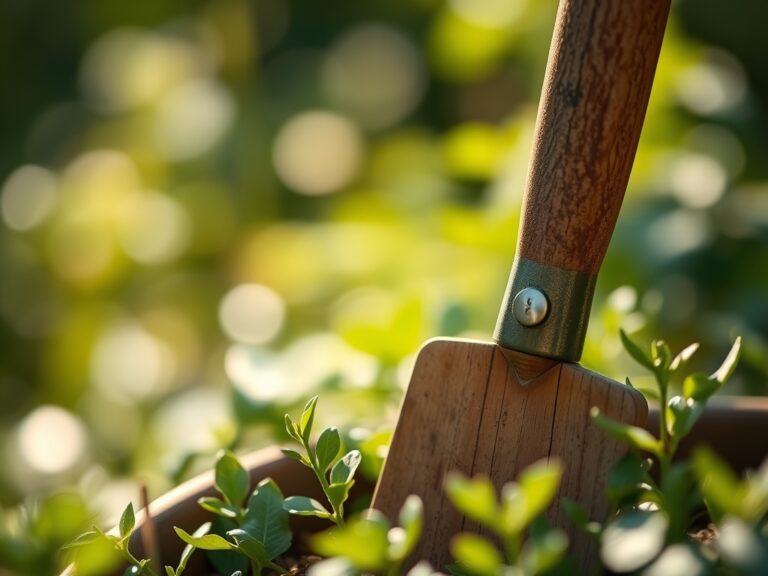
Success in clay management starts with an assessment of the substrate. Ideal garden soil is a **friable loam** consisting of **40% sand, 40% silt, and 20% clay**. However, heavy clay often presents a **pH between 7.5 and 8.5**, which limits the availability of phosphorus and micronutrients. To manage this, you need a high-carbon steel spade, a **10-inch mill bastard file**, and **80-grit to 220-grit sandpaper**.
For soil amendment during the digging process, keep a supply of elemental sulfur to lower pH and gypsum (calcium sulfate) to improve the Cation Exchange Capacity (CEC). Gypsum displaces sodium ions with calcium; this process flocculates the clay particles, turning a monolithic mass into manageable crumbs. Maintain a nutrient ratio of 10-20-10 (NPK) for new transplants to encourage root development without overstimulating vegetative growth.
Timing:
The window for digging in clay is narrow. In Hardiness Zones 5 through 7, the ideal time occurs between the final spring thaw and the first week of June. You must avoid digging when the soil is at field capacity; the weight of the shovel will compress the macropores and destroy soil structure. Conversely, digging during the summer senescence phase when clay is baked dry is like striking concrete.
Monitor the biological clock of your target plants. For perennials, the transition from vegetative to reproductive stages marks the end of the safe transplanting window. Digging should occur when the plant is in a state of low transpiration, typically early morning when turgor pressure is highest. This prevents the vascular system from collapsing during the move.
Phases:

Sowing and Site Prep
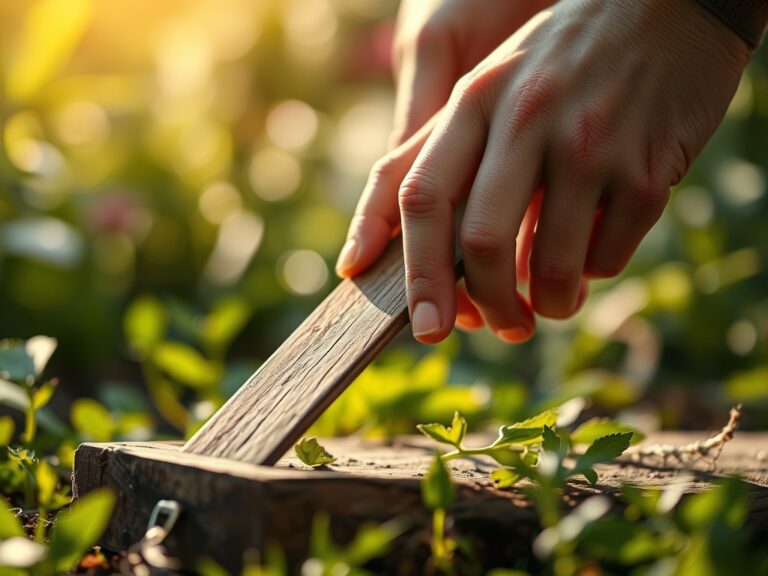
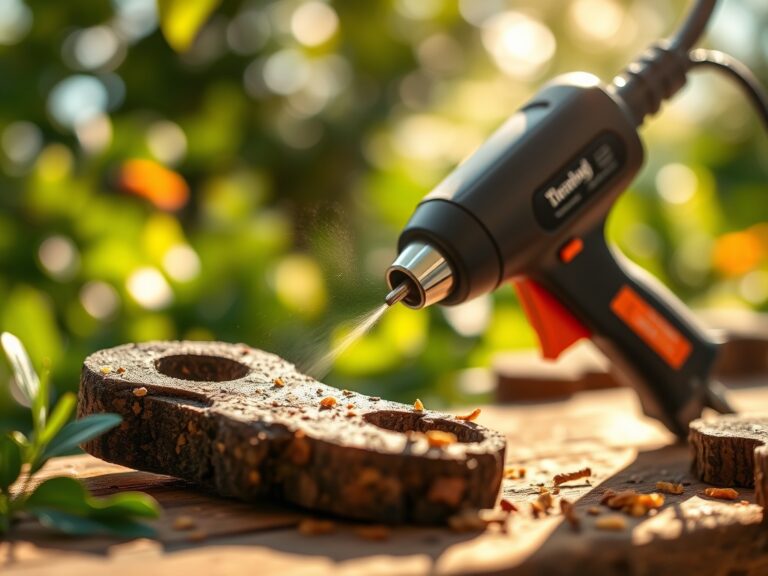
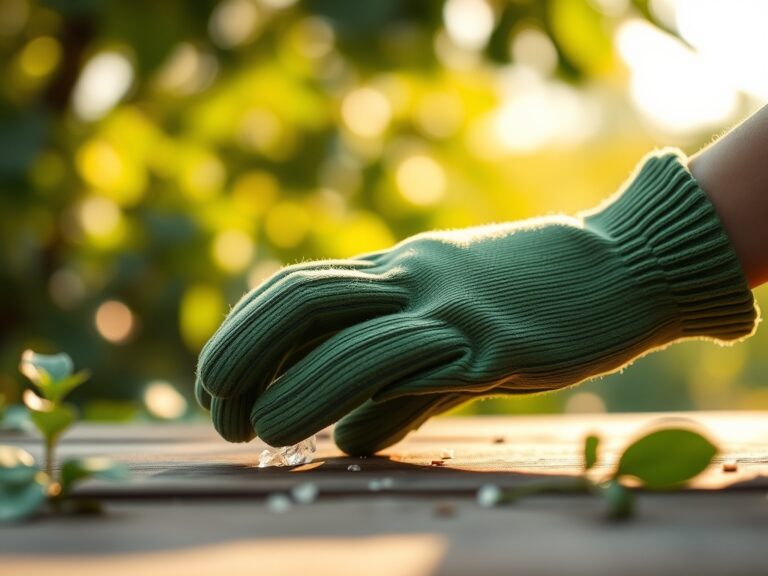
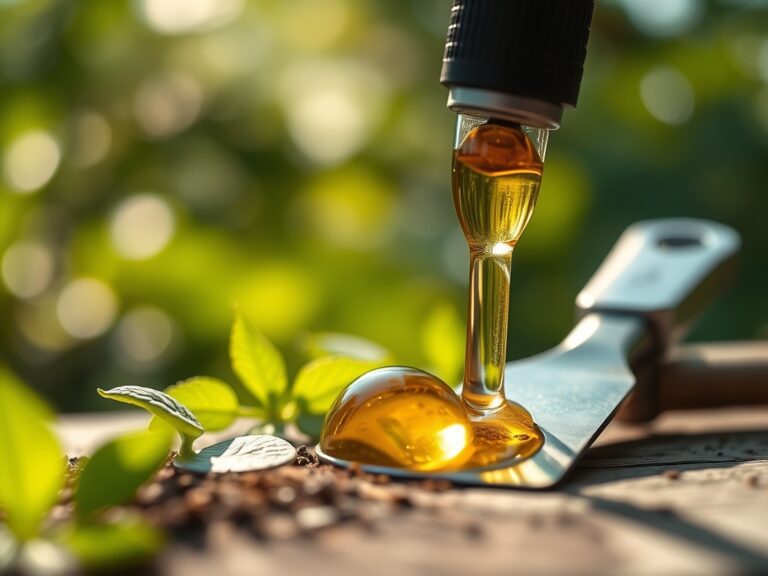
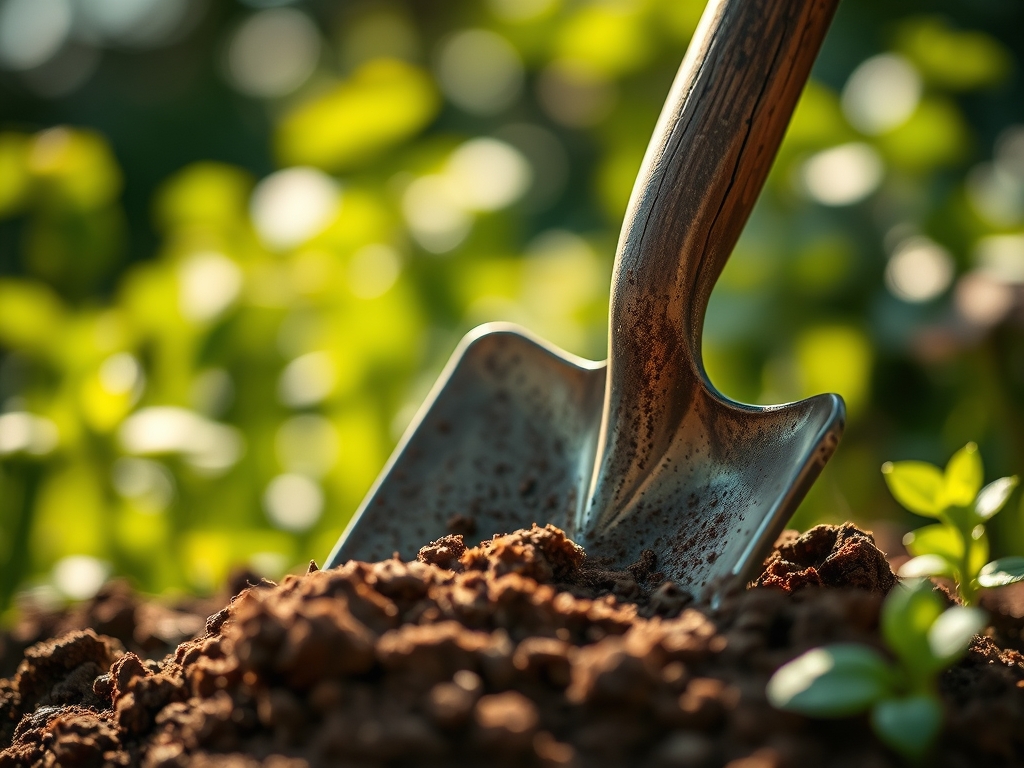
The first phase involves mechanical sharpening. Use the mill file to create a 45-degree bevel on the front side of the shovel blade. A sharp edge severs roots cleanly rather than crushing them. After sharpening, sand the blade until the metal is bright. Apply a thin layer of silicone spray or linseed oil. This creates a non-stick surface that allows clay to slide off the face of the tool.
Pro-Tip: Maintaining a sharp edge prevents the ragged tearing of root tissue. This limits the release of ethylene gas, a stress hormone that can trigger premature senescence or signal opportunistic pathogens to invade the wound site.
Transplanting
When entering the clay, use a vertical "slicing" motion rather than a heavy prying motion. If the clay sticks, wipe the blade immediately. Use a soil moisture meter to ensure the ground is between 25% and 50% moisture. If it is higher, wait. If it is lower, irrigate the area with 1 inch of water 24 hours before digging to soften the silicates.
Pro-Tip: Clean cuts preserve the mycorrhizal symbiosis within the soil. These fungal networks extend the root system's reach; preserving the interface between the root and the fungus ensures the plant can continue absorbing phosphorus even in high-pH clay.
Establishing
Once the hole is dug, "scarify" the sides of the pit. Clay often "glazes" when hit with a shovel; this creates a smooth, impenetrable wall that roots cannot pierce. Use a hori-hori knife to scratch the interior walls of the hole. This allows the lateral roots to penetrate the surrounding soil rather than circling the hole like a pot-bound plant.
Pro-Tip: Scarifying the hole walls prevents auxin suppression. When roots hit a hard barrier, auxin levels shift to stop elongation and start branching; if this happens too early, the plant develops a shallow, unstable root architecture.
The Clinic:
Clay soil often leads to physiological disorders due to poor drainage and high alkalinity.
- Symptom: Interveinal Chlorosis.
- Cause: Iron deficiency caused by high pH levels in clay.
- Solution: Apply chelated iron or elemental sulfur to the root zone.
- Symptom: Root Rot (Phytophthora).
- Cause: Anaerobic conditions from standing water.
- Solution: Increase the CEC by adding organic matter and ensuring the shovel-cut walls are scarified for drainage.
- Symptom: Stunted Growth.
- Cause: Nitrogen chlorosis.
- Solution: Apply a quick-release 20-0-0 fertilizer to jumpstart the vegetative cycle, followed by a slow-release organic mulch.
Fix-It: For Nitrogen chlorosis, ensure you are not over-mulching with fresh wood chips, which can "lock up" nitrogen as microbes work to break down the carbon. Use composted manure instead.
Maintenance:
After the shovel work is complete, the site requires strict hydration management. Provide 1.5 inches of water per week delivered at the drip line. Do not water the foliage; use a soaker hose to deliver moisture directly to the rhizosphere.
Clean your tools immediately. Use bypass pruners to trim any damaged roots before backfilling. After use, plunge the shovel into a bucket of sand mixed with motor oil or mineral oil. This removes residual clay and prevents oxidation. Check the soil with a soil moisture meter every three days during the first month of establishment to ensure the clay has not shrunk away from the root ball, creating air pockets.
The Yield:
For those growing root crops or flowers in clay, harvest timing is critical. Root crops should be harvested when the soil is slightly dry to prevent "skinning" or tearing the epidermis. Use a digging fork alongside your prepared shovel to lift the soil mass without bruising the produce.
Post-harvest, cool the produce immediately to 40 degrees Fahrenheit to slow the metabolic rate. This preserves the sugars and prevents the loss of turgor, keeping the harvest crisp. For flowers, cut at a 45-degree angle and submerge in water immediately to maintain the transpiration stream.
FAQ:
Why does clay stick to my shovel?
Clay particles carry a negative electrical charge that attracts water molecules. This creates a powerful adhesive bond between the soil and the flat surface of the metal tool. Polishing and oiling the blade breaks this surface tension.
Can I add sand to fix my clay soil?
No. Adding sand to heavy clay without sufficient organic matter can create a material similar to low-grade concrete. Instead, focus on adding organic compost and gypsum to improve the soil structure and Cation Exchange Capacity.
How often should I sharpen my shovel?
Sharpen your shovel every 10 to 15 hours of active digging. In abrasive or stony clay, the edge will dull faster. A sharp blade reduces the physical force required by 30% and protects plant health.
What is the best oil for shovel maintenance?
Boiled linseed oil is the professional standard for wooden handles and metal blades. It creates a durable, water-resistant barrier that prevents rust on the steel and cracking in the wood without leaving a greasy residue.