6 Tips to Use a Heat Gun for Removing Old Labels
The smell of damp earth and the crisp turgor of a healthy leaf define the rhythm of a productive greenhouse. When a tool enters the rotation, its utility is often obscured by adhesive residue that harbors pathogens or traps moisture against the steel. Using a heat gun for removing old tool labels is the first step in maintaining a sterile, professional inventory. Adhesives left to rot in the high humidity of a potting shed attract fungal spores; removing them ensures your implements remain as clean as a freshly tilled seedbed.
Materials:
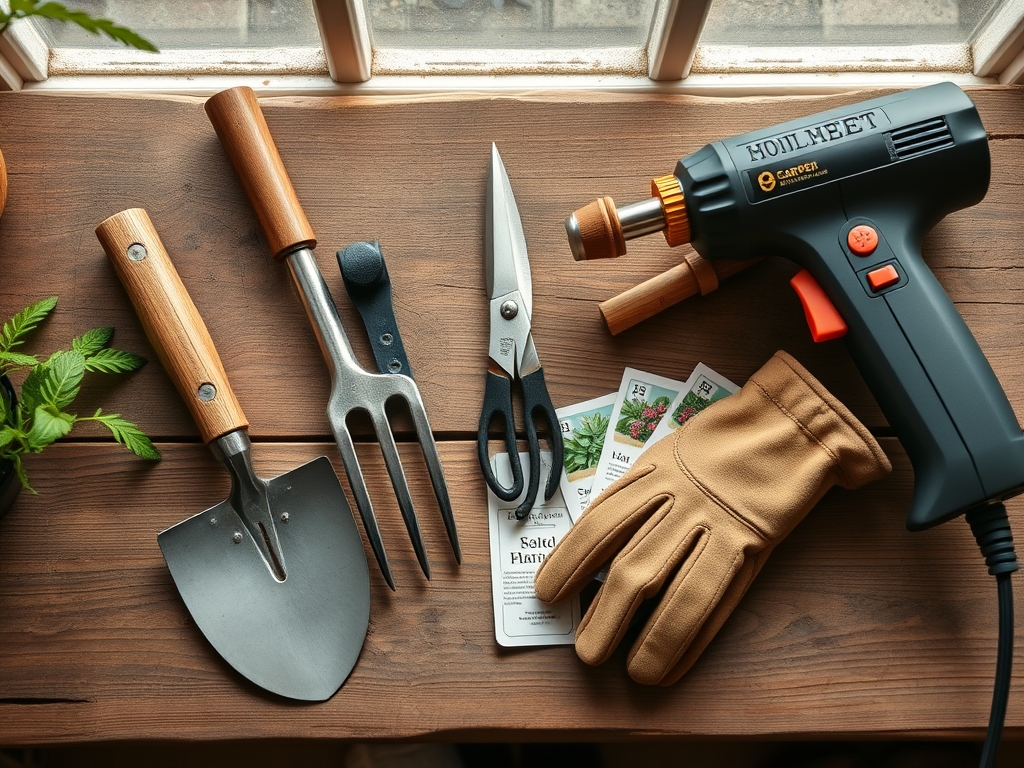
While preparing your workspace, consider the substrate where these tools will eventually operate. A **friable loam** with a **Cation Exchange Capacity (CEC) of 15 to 25** provides the ideal environment for nutrient uptake. The soil should maintain a **pH of 6.2 to 6.8** to ensure phosphorus availability. For heavy feeders, integrate a balanced **10-10-10 NPK ratio** into the top six inches of the soil profile. Ensure you have a high-output heat gun capable of reaching **750 degrees Fahrenheit**, a stainless steel scraper, and isopropyl alcohol for final decontamination.
Timing:
Hardiness Zones 4 through 8 dictate a strict window for tool maintenance. Perform label removal during the dormant winter months, specifically between the first hard frost and the spring thaw. This timing aligns with the plant's senescence, a period where physiological activity ceases and the gardener's focus shifts from the rhizosphere to the machine shed. By preparing tools before the photoperiod extends beyond 12 hours, you ensure that equipment is ready for the rapid vegetative growth phase of early spring.
Phases:
Sowing the Preparation
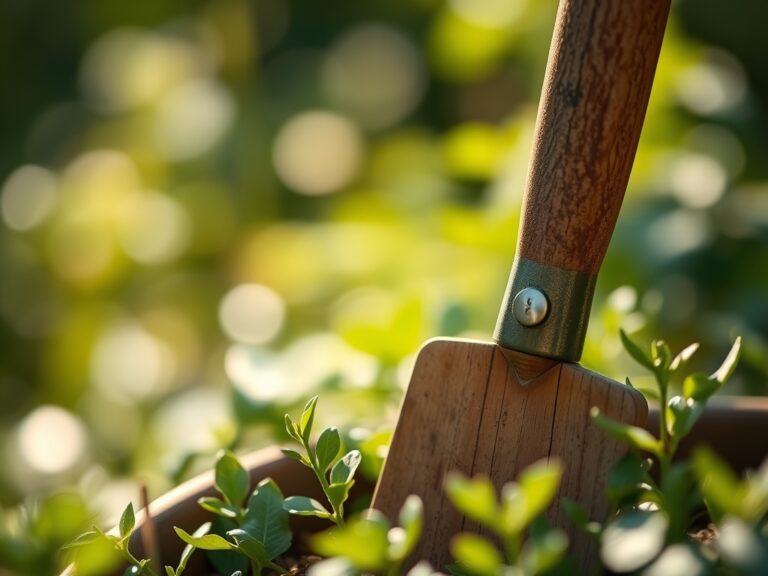
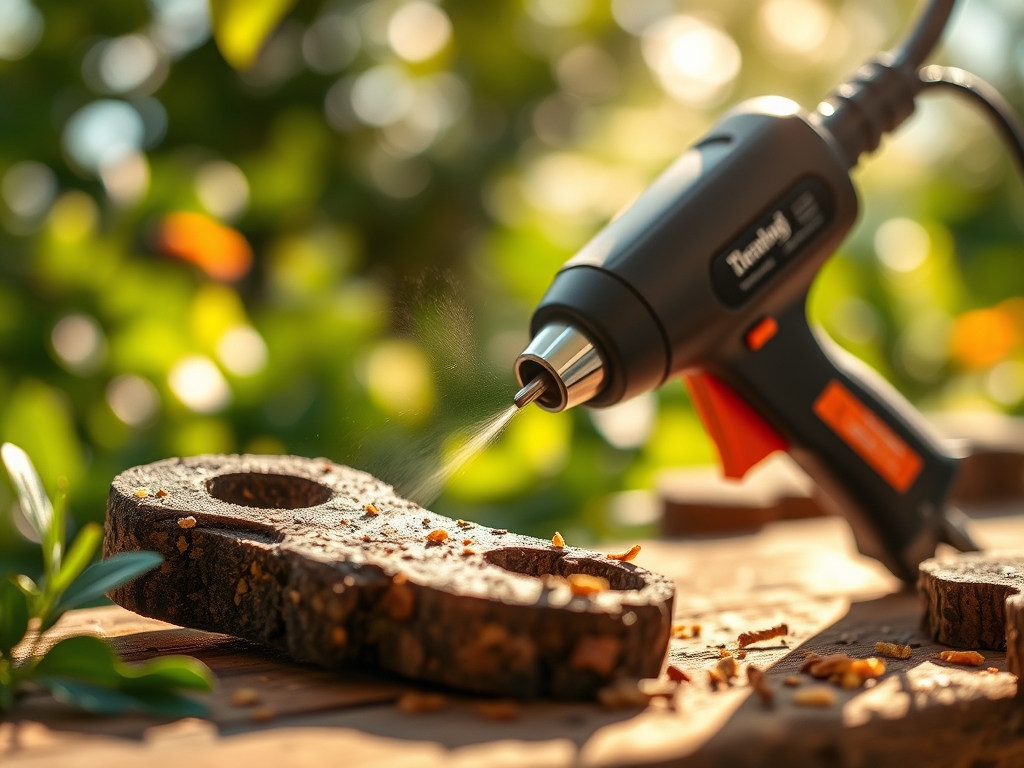
Place the tool on a non-flammable surface. Set the heat gun to a medium setting, approximately 400 degrees Fahrenheit, and maintain a distance of three inches from the adhesive. Sweep the nozzle in a consistent lateral motion to prevent localized overheating of the metal, which can alter the tempering of high-carbon steel.
Pro-Tip: Proper heat application mimics the thermal scarification required by certain seeds to break dormancy. By warming the adhesive, you lower its viscosity, allowing the polymer chains to release their grip on the tool surface without mechanical scarring.
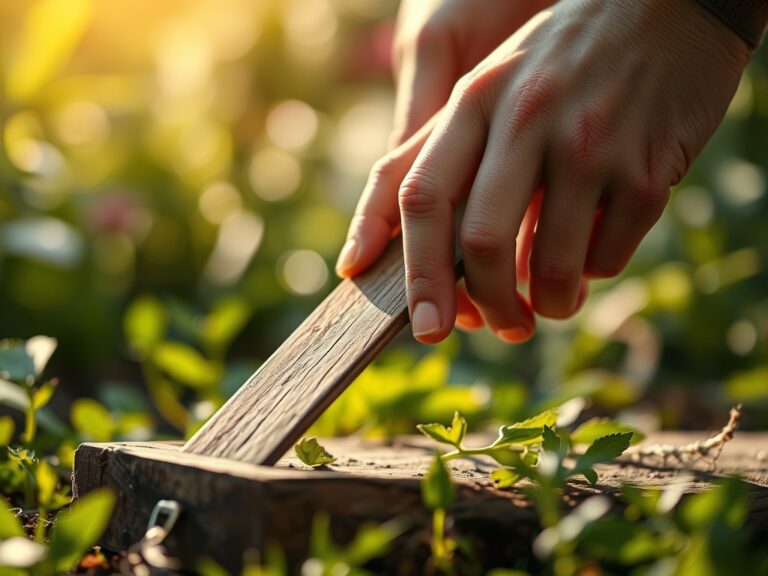
Transplanting the Label
Once the adhesive reaches a semi-liquid state, use a flat-edge blade to lift the corner. Pull the label back at a 45-degree angle while continuing to apply low heat. This technique prevents the paper from tearing, which would leave behind "islands" of residue that could later host bacterial necrosis if the tool is used in a sensitive propagation environment.
Pro-Tip: Maintain steady tension to avoid auxin suppression in your own workflow. In botany, auxins regulate growth direction; in the workshop, steady pressure ensures the adhesive "flows" away from the metal substrate in a single, clean motion.
Establishing a Clean Surface
After the bulk material is removed, the tool surface often remains tacky. Apply a solvent to a microfiber cloth and wipe the area until the friction coefficient increases. This ensures that when the tool enters the soil, it does not carry chemical contaminants into the mycorrhizal symbiosis zone where root hairs interact with beneficial fungi.
Pro-Tip: Cleaning the tool surface prevents the accidental introduction of synthetic polymers into the soil. Excessive foreign matter in the soil can disrupt capillary action, preventing water from reaching the root zone during critical dry spells.
The Clinic:
Physiological disorders in the garden often mirror poor tool maintenance. Observe the following symptoms and apply the necessary fixes to your horticultural practice.
Symptom: Nitrogen Chlorosis
Yellowing of older leaves indicates a nitrogen deficiency.
Solution: Apply a quick-release fertilizer with a high N-value (e.g., 21-0-0) to restore chlorophyll production and increase turgor pressure in the stems.
Symptom: Blossom End Rot
Sunken, leathery spots on the base of fruit indicate a calcium transport issue.
Solution: Maintain consistent soil moisture levels. Calcium moves via the transpiration stream; if the soil dries out, the plant cannot move calcium to the developing fruit.
Symptom: Interveinal Chlorosis
Yellowing between green veins suggests a magnesium deficiency or high pH.
Solution: Test the soil pH. If it is above 7.5, apply elemental sulfur to lower the pH and increase the solubility of micronutrients.
Fix-It for Nutrient Lockout:
If the CEC is too low, nutrients leach away before the plant can absorb them. Incorporate organic matter to increase the soil's ability to hold onto positively charged ions like potassium and magnesium.
Maintenance:
Precision is the hallmark of a master horticulturist. Use a soil moisture meter to ensure your beds receive exactly 1.5 inches of water per week delivered at the drip line. When pruning, use bypass pruners for living tissue to ensure a clean cut that heals quickly; reserve the hori-hori knife for weeding and planting at specific depths. Every three months, recalibrate your heat gun and sharpen your blades to a 20-degree bevel to minimize tissue trauma during harvest.
The Yield:
Harvesting is the culmination of the biological clock. For leafy greens, harvest in the early morning when turgor pressure is at its peak to ensure "day-one" freshness. For fruiting bodies, wait for the "slip" stage or specific color changes that indicate peak sugar accumulation. Post-harvest, immediately move produce to a cooling area at 40 degrees Fahrenheit to slow the rate of respiration and preserve the integrity of the cellular structure.
FAQ:
Can I use a hair dryer instead of a heat gun?
A hair dryer lacks the BTU output to reach the 400-degree threshold required for industrial adhesives. Using a heat gun for removing old tool labels is more efficient and prevents the tool from being exposed to prolonged, ineffective heat.
Will the heat gun damage the tool's wooden handle?
Excessive heat causes wood fibers to undergo pyrolysis, weakening the handle. Keep the heat gun moving and directed at the metal. If the wood reaches 300 degrees Fahrenheit, it may char, compromising the structural integrity of the tool.
What is the best way to remove remaining sticky residue?
After using a heat gun, apply a small amount of mineral oil or isopropyl alcohol. This breaks down the remaining chemical bonds without affecting the soil pH or introducing harmful toxins into the rhizosphere during subsequent planting sessions.
Is it necessary to remove labels from new tools?
Yes. Labels and their adhesives can harbor oomycetes or fungal spores in the crevices. Removing them ensures a sterile surface, which is critical when performing delicate grafts or pruning high-value specimens sensitive to cross-contamination.
How do I prevent the tool from rusting after cleaning?
Once the label is removed, apply a thin coat of food-grade linseed oil. This creates a hydrophobic barrier that prevents oxidation while remaining safe for the soil microbiome and preventing the disruption of cation exchange during tool use.