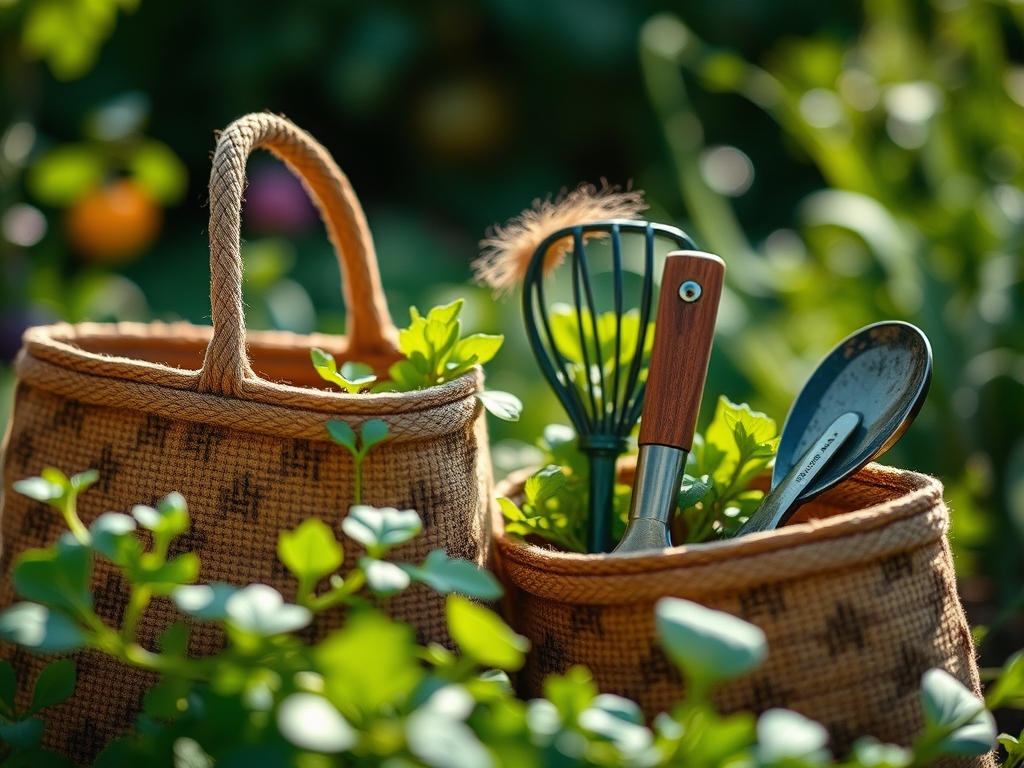
7 Best Heavy-Duty Canvas Bags for Vegetable Gardens
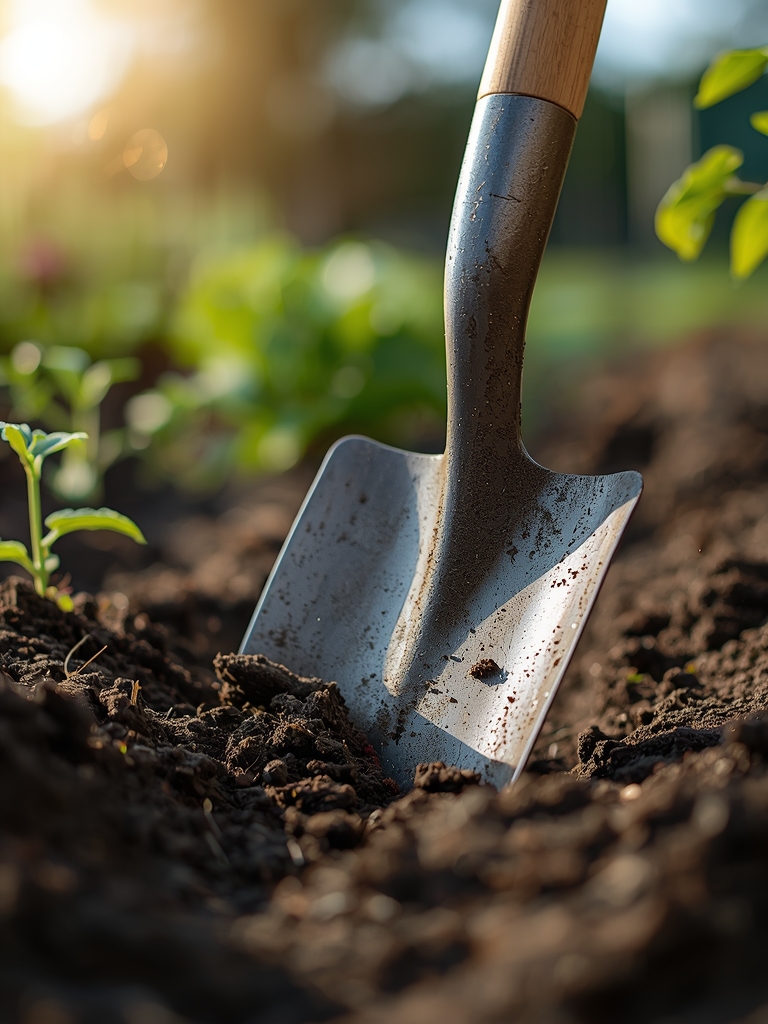
The scent of damp, disturbed earth signals the start of the season as the soil temperature reaches a steady 55 degrees Fahrenheit. This is the threshold where microbial activity accelerates and the turgor pressure of emerging seedlings begins to push against the resistance of the crust. Success in the vegetable patch requires more than just biological timing; it demands mechanical efficiency. Selecting the best vegetable garden tool bags is a functional necessity for maintaining a high-yield rhizosphere. A heavy-duty canvas bag serves as the mobile command center for a horticulturist, housing the steel and wood required to manage the physical properties of the land. Without a centralized, durable carrier, the gardener loses critical minutes traversing the distance between the tool shed and the rows. Efficiency in the garden translates directly to the health of the crop. When tools are accessible, weeding happens before competition for nutrients begins, and pruning occurs exactly when the plant enters its reproductive phase. A bag must withstand the abrasive nature of silt and the corrosive effects of moisture while keeping sharp implements organized.
Materials:
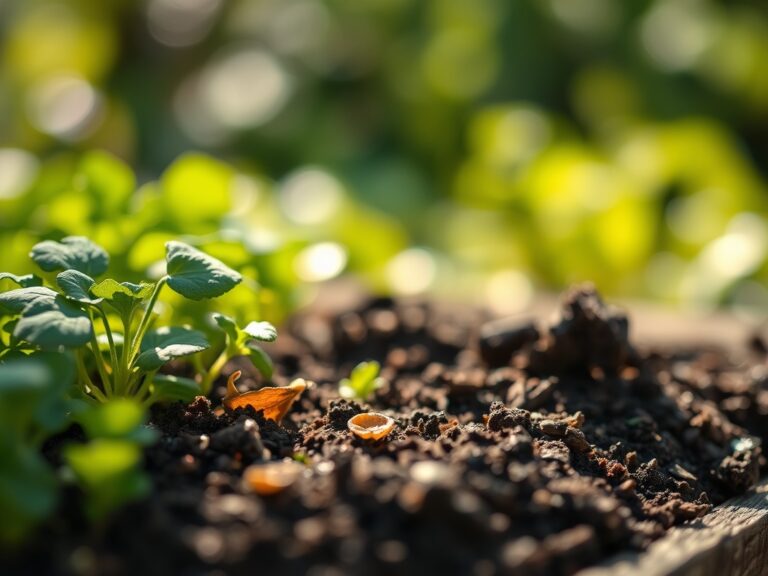
Vegetable production thrives in **friable loam** with a **Cation Exchange Capacity (CEC)** between **15 and 25 milliequivalents per 100 grams**. This soil structure allows for optimal gas exchange and water retention. To achieve this, your canvas bag should carry the amendments necessary to balance the soil chemistry. Most vegetable crops, such as *Solanum lycopersicum*, prefer a **soil pH between 6.2 and 6.8**.
When preparing the substrate, focus on the NPK ratio. For leafy greens, a 10-5-5 ratio supports rapid vegetative growth. For fruiting crops, transition to a 5-10-10 ratio to prioritize phosphorus and potassium for flower and fruit development. The canvas material of your bag must be at least 18-ounce industrial-grade cotton or a high-denier polyester blend to resist tearing when carrying heavy bags of bone meal or rock phosphate. The physical texture of the ideal substrate should crumble easily under slight pressure; it should never form a hard, anaerobic ball when squeezed.
Timing:
Timing is governed by the Hardiness Zone and the specific frost-free window of your microclimate. In Zones 6 through 8, the primary planting window opens when the risk of a killing frost (temperatures below 28 degrees Fahrenheit) drops to less than 10 percent. This usually occurs between late April and mid-May.
The Biological Clock of the plant dictates the transition from the vegetative stage to the reproductive stage. This shift is often triggered by the photoperiod, where the ratio of light to dark hours signals the plant to produce hormones like gibberellins. For example, short-day onions require specific dark intervals to begin bulb formation. Monitoring these windows ensures that the plant has sufficient biomass to support the energy demands of fruit production before the onset of senescence in late autumn.
Phases:
Sowing
Direct sowing requires a seedbed prepared to a fine tilth. Seeds should be planted at a depth roughly three times their diameter. Ensure the soil remains consistently moist to facilitate the imbibition of water through the seed coat.
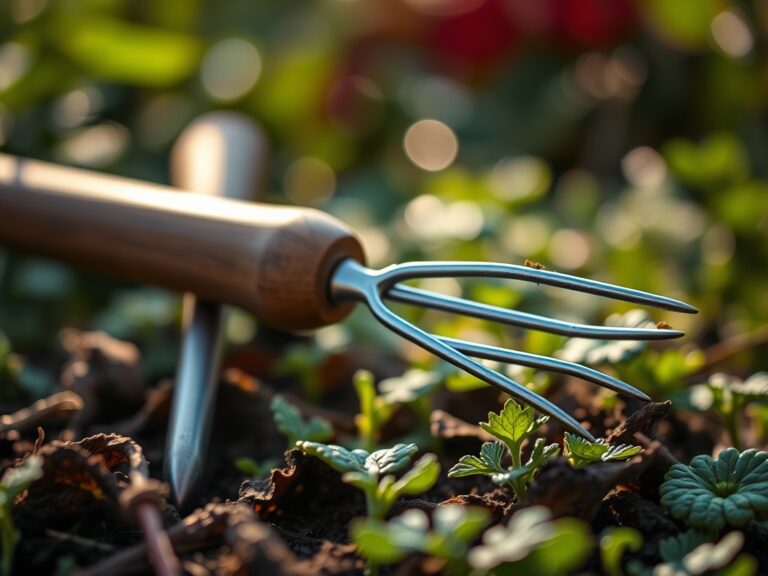
Pro-Tip: Utilize a hori-hori knife to create precise furrows. This maintains soil structure and prevents unnecessary compaction. The biological why involves geotropism; seeds need a stable environment to correctly orient their radicle (root) downward and plumule (shoot) upward.
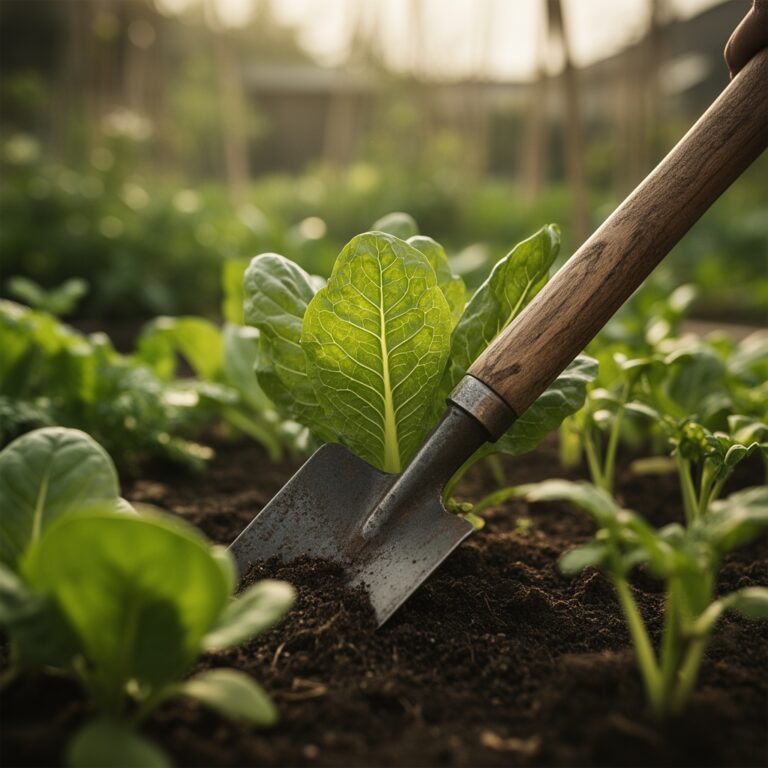
Transplanting
When moving seedlings from the greenhouse to the field, ensure they have at least two sets of true leaves. Dig a hole twice the width of the root ball to allow for easy lateral root expansion into the surrounding soil.
Pro-Tip: Dust the root ball with mycorrhizal fungi before backfilling. This establishes a mycorrhizal symbiosis that increases the surface area of the root system by up to 100 times, significantly improving phosphorus uptake.
Establishing
The establishment phase lasts roughly 14 to 21 days post-transplant. During this time, the plant focuses on root development rather than vertical growth. Maintain a consistent moisture profile to prevent wilting and cellular collapse.
Pro-Tip: Pinch off early flower buds on young pepper plants. This causes auxin suppression in the apical meristem, redirecting the plant's energy toward root and leaf biomass, which ultimately leads to a higher total yield later in the season.
The Clinic:
Physiological disorders often mimic disease but are usually the result of environmental stress or nutrient imbalances.
- Symptom: Blossom End Rot (dark, leathery spots on the bottom of fruit).
Solution: This is a localized calcium deficiency. Ensure consistent irrigation to facilitate the transport of calcium through the xylem.
2. Symptom: Interveinal Chlorosis (yellowing between green leaf veins).
Solution: This indicates a magnesium deficiency. Apply a foliar spray of Epsom salts (magnesium sulfate) at a rate of one tablespoon per gallon of water.
3. Symptom: Nitrogen Chlorosis (uniform paling of older leaves).
Fix-It: Apply a high-nitrogen organic fertilizer like blood meal. Nitrogen is a mobile nutrient; the plant moves it from old growth to new growth when soil levels are depleted.
4. Symptom: Bolting (premature flowering in lettuce or spinach).
Solution: This is a response to heat stress or increasing day length. Use shade cloth to lower the soil temperature by 5 to 10 degrees.
Maintenance:
Precision maintenance is the difference between a surviving garden and a thriving one. Vegetables require exactly 1.5 inches of water per week delivered at the drip line to avoid wetting the foliage, which can invite fungal pathogens. Use a soil moisture meter to verify that the moisture has penetrated at least 6 inches deep.
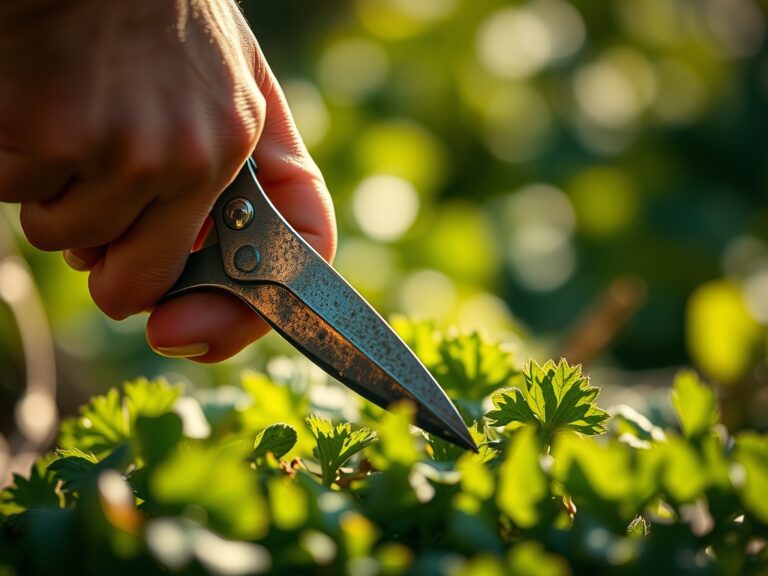
Keep your bypass pruners sharp and sanitized with a 10 percent bleach solution between plants to prevent cross-contamination. When weeding, use a hori-hori knife to extract the entire taproot of perennial weeds. Mulch the rows with 3 inches of organic matter to suppress weed germination and maintain a stable temperature in the rhizosphere.
The Yield:
Harvesting should occur during the "cool of the day," typically before 10:00 AM, when the plant's turgor pressure is at its peak. For fruiting crops like cucumbers or squash, harvest frequently to prevent the plant from entering its final reproductive shutdown. Use a sharp knife to make clean cuts; tearing the stem creates a large surface area for pathogens to enter.
Post-harvest, "field heat" must be removed immediately. Submerge leafy greens in cold water or move fruiting vegetables to a shaded, ventilated area. This slows down the rate of respiration and preserves the sugars and vitamins within the plant tissues, ensuring day-one freshness for several days.
FAQ:
What is the best material for a garden tool bag?
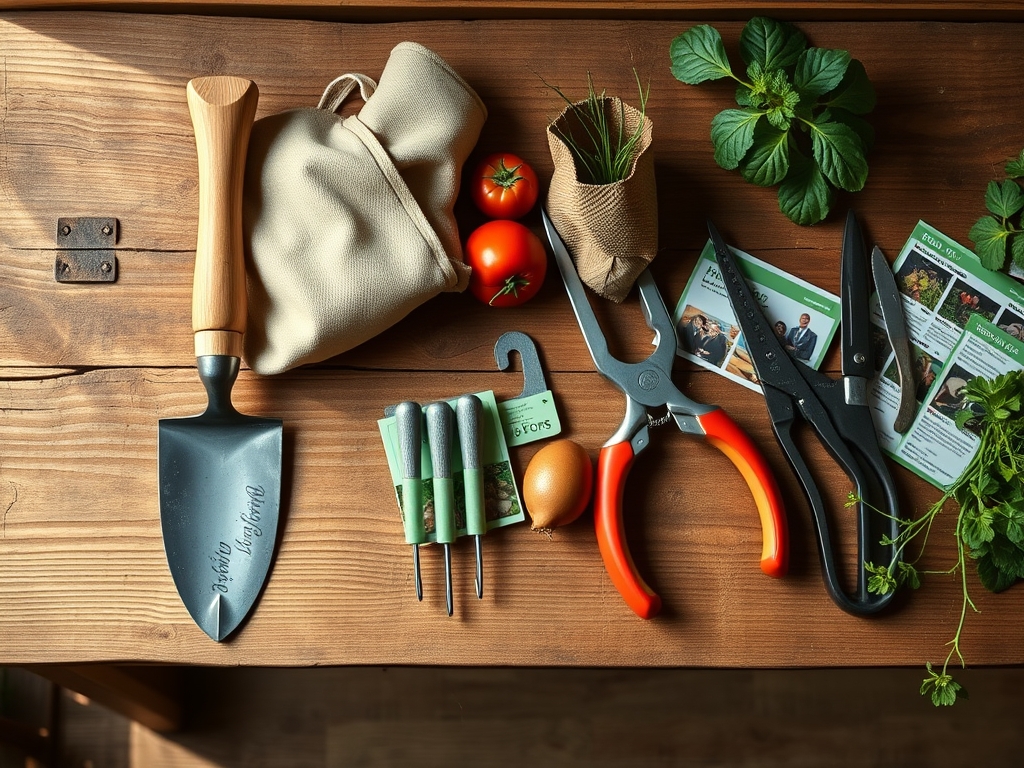
Industrial-grade 18-ounce canvas or high-denier polyester is best. These materials provide the structural integrity to hold sharp steel tools like a hori-hori knife without puncturing or tearing under the weight of wet soil and heavy equipment.
How do I prevent my tool bag from molding?
Ensure the bag has a reinforced, waterproof base, often made of molded plastic or rubber. Always empty the bag of damp debris and store it in a ventilated area with low humidity to prevent fungal growth on the canvas fibers.
How many pockets should a vegetable garden bag have?
A minimum of eight external pockets is ideal. This allows for the separation of hand tools, seed packets, and marking pens, preventing small items from being lost at the bottom of the main compartment during intensive planting sessions.
Can I wash a canvas garden tool bag?
Most heavy-duty canvas bags should be spot-cleaned with a stiff brush and mild soap. Avoid machine washing, as it can break down the specialized coatings or waxes used to provide water resistance and structural stiffness to the fabric.