7 Steps to Build an Elevated Garden Viewing Platform
Establishing an observation point above your garden beds transforms maintenance schedules and allows early detection of nutrient deficiencies across all zones. The steps for building a garden viewing platform begin with site assessment: measure sunlight exposure (minimum 6 hours for most edibles), evaluate soil compaction beneath proposed footings, and identify underground utilities before excavation. A properly engineered structure elevates your sightline 4 to 6 feet, providing unobstructed canopy views while distributing load through concrete piers that preserve root zones.
Materials
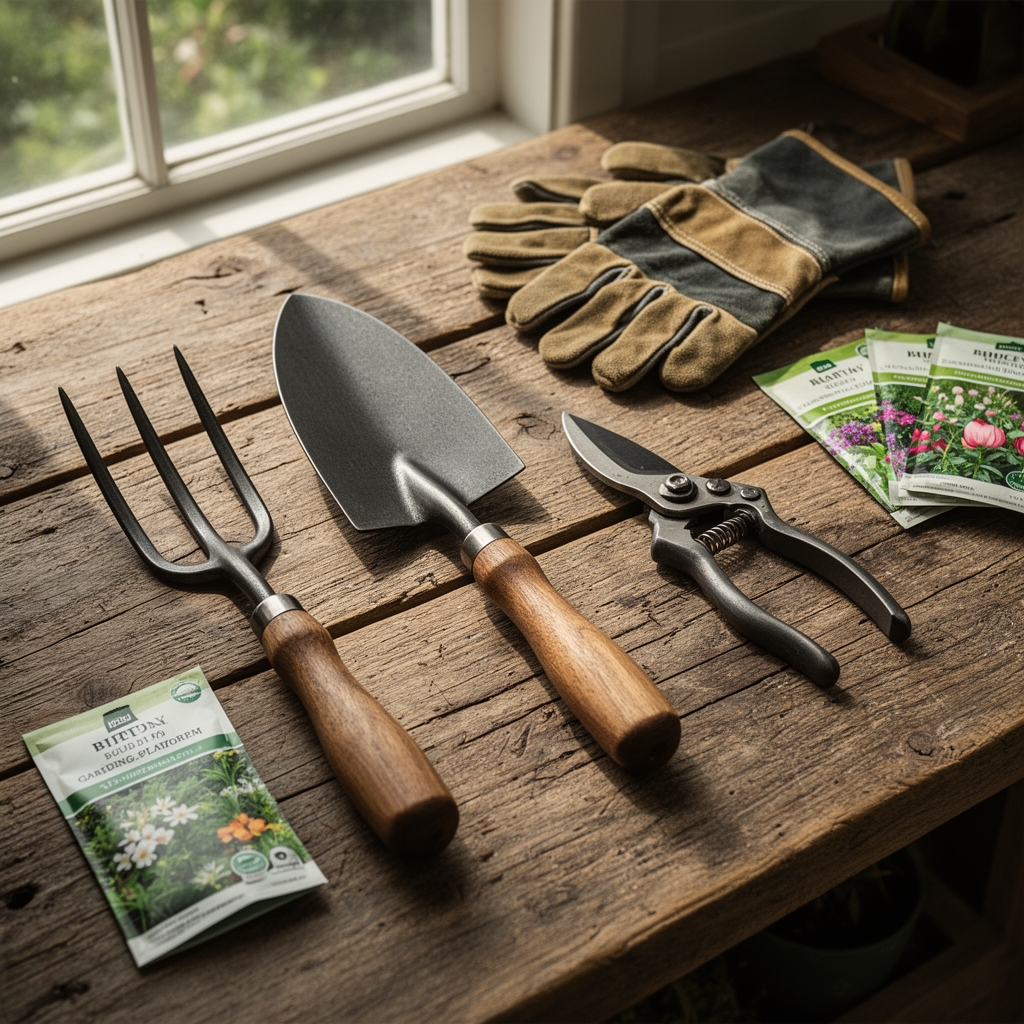
Pressure-treated lumber (rated for ground contact, minimum 0.40 retention) forms the primary frame. Select 4×4 posts for vertical supports, 2×8 joists for horizontal spans, and 5/4×6 decking boards for the walking surface. Galvanized joist hangers (16-gauge minimum) and 3-inch structural screws resist corrosion in high-moisture environments.
Concrete mix (3000 PSI minimum) anchors footings below the frost line. In USDA Zones 5-6, dig 42 inches deep. Zones 7-8 require 30-inch depth. Add crushed gravel (3/4-inch diameter) for drainage, creating a 6-inch base layer beneath each pier. This aggregate maintains neutral pH (7.0) and prevents water accumulation that causes frost heave.
Soil amendments around the platform perimeter include composted pine bark (pH 4.5-5.5) for acid-loving understory plants and alfalfa meal (approximate 3-2-2 NPK) to boost nitrogen without chemical burn. Blood meal (12-0-0) accelerates vegetative growth in adjacent herb spirals. Bone meal (4-12-0) supports root development in perennial borders flanking the structure. Mix amendments at a ratio of 2 pounds per 10 square feet, incorporating to 8-inch depth.
Timing
Construction windows align with soil temperature and freeze-thaw cycles. In Zones 3-5, pour concrete footings between May 15 and September 30 when ground temperatures exceed 50°F at 12-inch depth. Curing requires 7 days at minimum 50°F ambient temperature. Cold-weather admixtures extend the window to late October but reduce final compressive strength by 8-12%.
Zones 6-8 permit year-round concrete work with proper curing blankets. Schedule frame assembly during dry periods: moisture content above 19% in lumber causes dimensional changes up to 1/4 inch per 8-foot span.
Plant establishment around the completed platform follows last frost dates. Zone 5 gardeners transplant cold-hardy perennials (Salvia, Echinacea) after May 1. Zone 7 allows March 15 installation. Mycorrhizal fungi inoculation at planting time increases nutrient uptake efficiency by 40%, particularly phosphorus absorption in clay soils with cation exchange capacity below 15 meq/100g.
Phases
Foundation Phase: Mark footing locations using batter boards and mason's line, ensuring 90-degree corners with the 3-4-5 triangle method. Excavate holes 12 inches in diameter. Pour concrete to grade, inserting galvanized post anchors while mix remains workable. Check plumb with a 4-foot level on two adjacent faces.
Pro-Tip: Add 1 pound of hydrated lime per cubic foot of concrete to raise pH to 12.5, deterring fungal growth at the soil-concrete interface.
Framing Phase: Bolt 4×4 posts to anchors, cutting heights to achieve a 48-inch finished deck elevation. Install 2×8 rim joists, securing with 3-inch lag screws at 16-inch intervals. Hang interior joists perpendicular to prevailing wind direction, reducing lateral stress. Joists span 12 feet maximum without intermediate blocking.
Pro-Tip: Cut joist ends at a 15-degree angle before installation. This auxin-inspired geometry sheds water rapidly, extending lumber life by 3-5 years in humid climates.
Decking Phase: Lay 5/4×6 boards perpendicular to joists with 1/8-inch gaps for drainage. Stagger end joints by at least 2 joist bays. Pre-drill holes 3/4 inch from board edges to prevent splitting. Countersink screw heads 1/8 inch below the surface.
Pro-Tip: Apply boiled linseed oil (100% pure) to cut board ends. This penetrating finish displaces moisture and prevents end-grain checking in the first season.
Troubleshooting
Symptom: Soil compaction in a 3-foot radius around posts. Solution: Core aerate to 6-inch depth using a mechanical aerator. Backfill holes with coarse sand (2mm particle size) to restore 15% porosity. Apply gypsum at 40 pounds per 1000 square feet to improve soil structure without altering pH.
Symptom: Fungal fruiting bodies on joists within 18 months. Solution: Indicates moisture content above 28%. Install aluminum drip edge along rim joists. Apply copper naphthenate preservative (2% solution) to affected areas after wire-brushing decay.
Symptom: Uneven settling, causing 1-inch deck slope. Solution: Footings punched through bearing soil into organic subsoil. Jack structure, excavate additional 12 inches, and pour new footings on undisturbed mineral soil or engineered fill compacted to 95% density.
Symptom: Chlorosis in adjacent plantings post-construction. Solution: Soil compaction from equipment traffic reduced oxygen to roots. Apply liquid kelp (0-0-1 with 60+ trace minerals) at 1 quart per 100 square feet monthly for 3 months. Topdress with 2 inches of composted leaf mold to restore organic matter.
Maintenance
Inspect structural connections every spring. Tighten lag screws that back out due to wood shrinkage, typically 1/4 turn annually. Sweep debris weekly during growing season to prevent moisture retention that accelerates decay.
Apply water-based deck stain every 24 months. Choose formulas with zinc oxide pigments that reflect UV radiation, reducing surface temperature by 15°F in full sun. Surface temperatures above 140°F degrade lignin bonds in wood fibers.
Prune overhanging branches to maintain 36-inch clearance above the platform. This airflow reduces relative humidity by 20%, extending finish life. Trim at 45-degree angles 1/4 inch above branch collars to optimize wound closure through callus tissue formation.
Feed surrounding plants with a balanced 5-5-5 organic fertilizer at 3 pounds per 100 square feet in early April and again in mid-June. Slow-release formulations (coated urea or sulfur-coated phosphates) prevent nutrient leaching during heavy rain events common after platform construction disturbs drainage patterns.
FAQ
How deep should footings extend? Minimum depth equals your area's frost line plus 6 inches. Consult local building codes. Zones 3-4 typically require 48-inch depth; Zones 7-8 need 24-30 inches.
What joist spacing prevents bounce? 12-inch on-center spacing for standard 5/4 decking. 16-inch spacing requires 2-inch nominal thickness boards. Bounce indicates deflection exceeding L/360 (span in inches divided by 360).
Can I build without concrete? Helical piers (screw anchors) work in stable soils with load-bearing capacity exceeding 1500 pounds per square foot. Unsuitable for loose sand or high water tables. Professional installation recommended.
Which wood species lasts longest? Black locust resists decay for 40+ years untreated. Cedar and redwood provide 15-20 years. Pressure-treated Southern yellow pine offers 20-25 years with proper maintenance. Avoid untreated pine or fir in ground contact.
How do I prevent weed growth underneath? Install landscape fabric before construction, overlapping seams 12 inches. Top with 3 inches of hardwood bark mulch (not dyed). Reapply mulch annually as decomposition creates 20% nitrogen (approximately 0.8-0.2-0.4 NPK) benefiting adjacent plantings.