7 Steps to Install a Landscape Timber Staircase
The smell of fresh-cut timber and exposed soil marks the beginning of a hillside transformation. Wooden steps anchor steep slopes, prevent erosion, and create safe passage through grade changes exceeding 18 inches. These steps for installing a landscape timber staircase demand precision in measurement, soil compaction, and timber anchoring. Each tread must support 300 pounds per square foot while allowing water to drain without pooling. The process merges carpentry with soil mechanics, requiring attention to both structural integrity and the living substrate beneath.
Materials
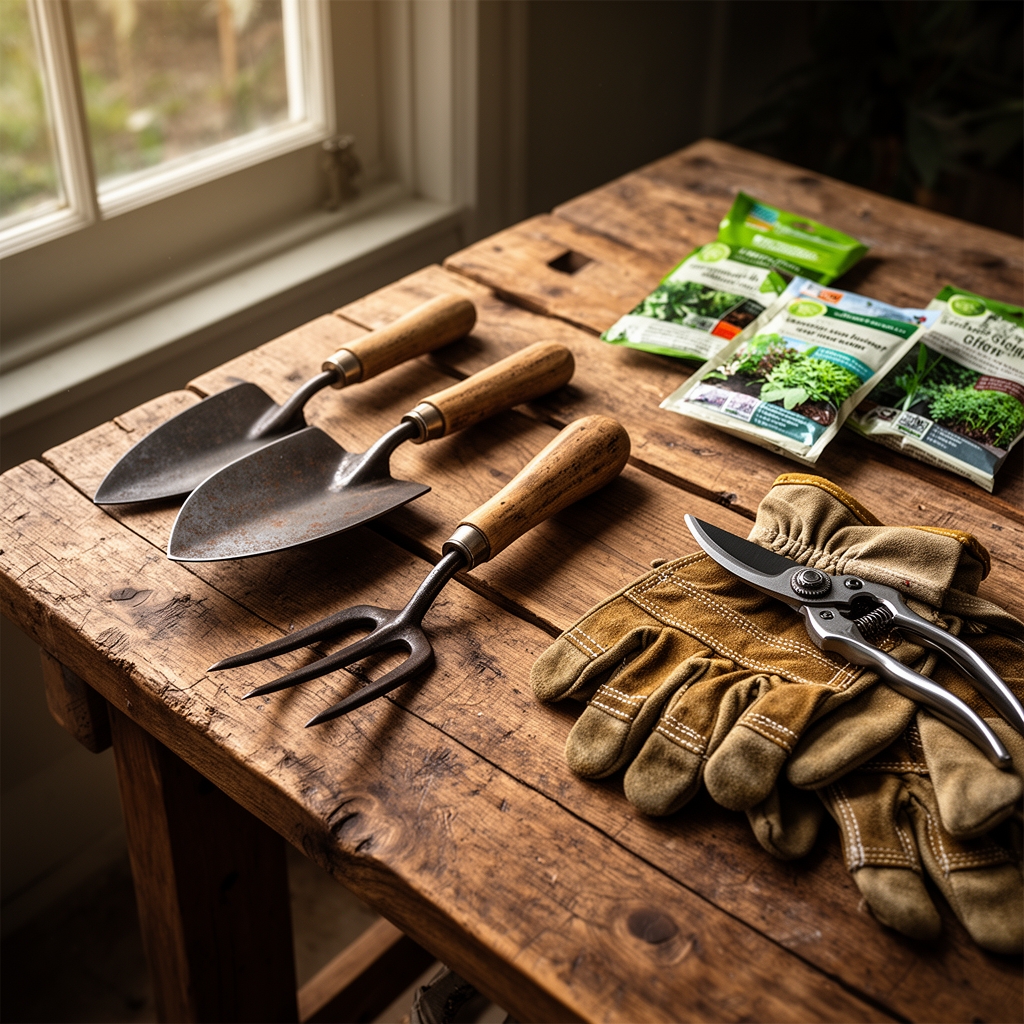
Select pressure-treated timbers measuring 6×6 inches or 6×8 inches for primary structure. Avoid creosote-treated wood, which leaches compounds that raise soil pH to 8.5 and inhibit mycorrhizal colonization within a 12-inch radius. Use galvanized spikes measuring 10 inches or structural screws rated for 3,000 pounds of shear force. Rebar stakes, 24 inches in length and 0.5 inches in diameter, anchor each timber to the subsoil.
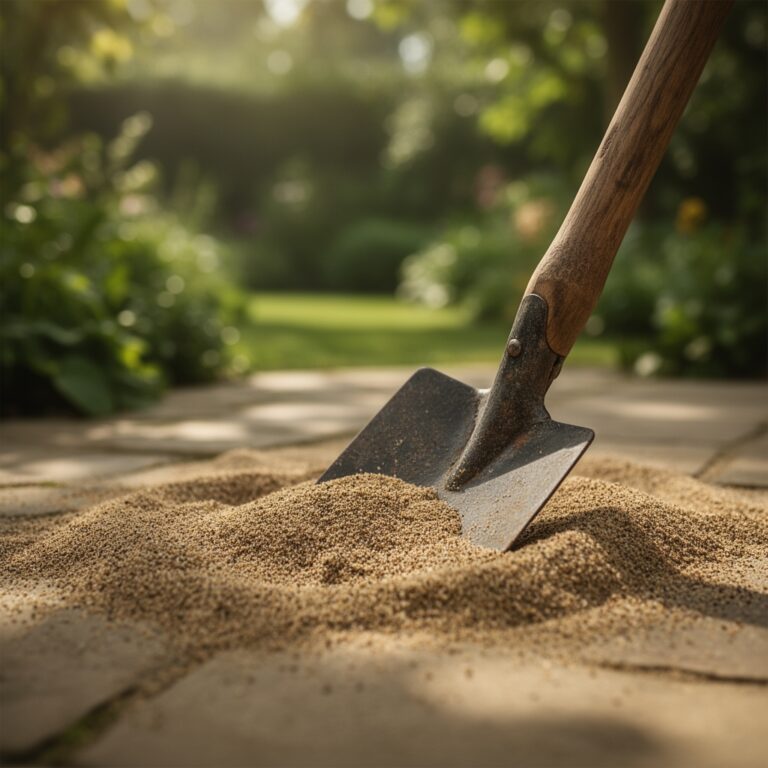
Backfill with crushed gravel (3/4-minus) rather than sand. Gravel maintains a cation exchange capacity near zero, preventing nutrient lockup and ensuring adequate drainage at 6 inches per hour. Avoid limestone gravel in areas where acid-loving plants will flank the stairs. For planting pockets adjacent to timbers, prepare a growing medium of 40% aged compost, 30% native soil, and 30% perlite. Amend with a 4-4-4 organic fertilizer at 2 pounds per 10 square feet to support establishment of groundcovers like Thymus serpyllum or Sedum rupestre.
Geotextile fabric (4-ounce weight) separates native soil from gravel base. This permeable barrier prevents fine particles from migrating into drainage layers while allowing water to pass at 140 gallons per minute per square yard.
Timing
Install landscape timber staircases when soil moisture content sits between 15% and 25%. Overly saturated soils compact poorly and shift during freeze-thaw cycles. In USDA Hardiness Zones 3 through 6, schedule installation between late May and early September, after the last frost date and before soil temperatures drop below 50 degrees F at 6-inch depth. Zones 7 through 10 offer a wider window from March through November, though avoid periods of monsoon rains or prolonged drought when soil structure becomes either plastic or friable to the point of instability.
Coordinate installation with dormant periods of adjacent plantings. Root disturbance during active growth phases reduces auxin distribution and delays recovery by 4 to 6 weeks.
Phases

Layout and Excavation
Calculate total rise by measuring vertical distance from bottom to top of slope. Divide by 7 inches (ideal riser height) to determine number of steps needed. Mark each tread location with stakes and string level. Excavate each tread pad 8 inches deep and 6 inches wider than timber width. Compact native soil at the back of each excavation using a plate compactor set to 3,000 pounds of force. This creates a firm bearing surface resistant to settling.
Pro-Tip: Slope each tread pad 2% toward the front edge (approximately 1/4 inch per foot) to direct water away from the riser.
Base Preparation and Timber Placement
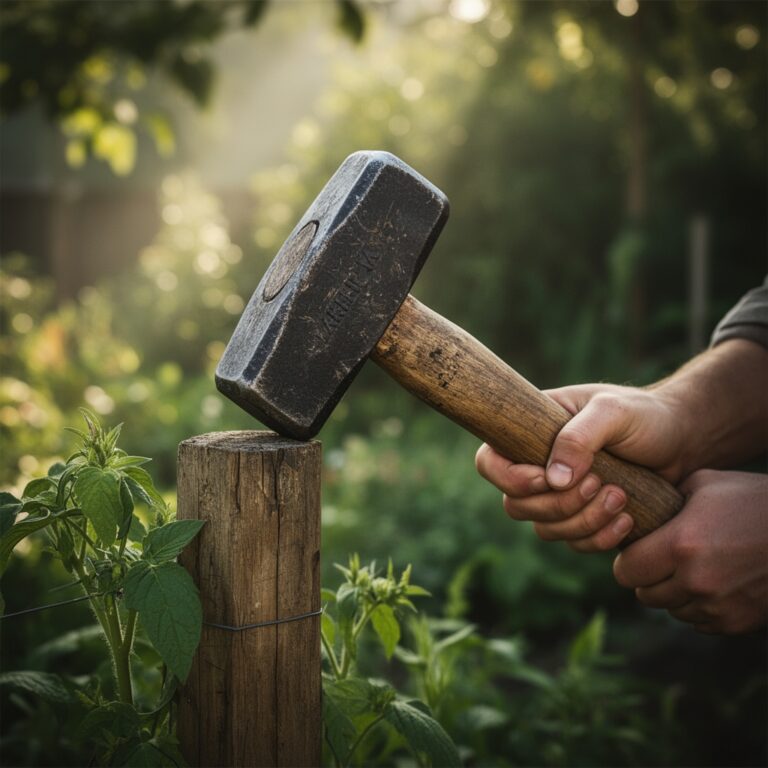
Spread 4 inches of crushed gravel into each excavated pad. Compact in 2-inch lifts using the plate compactor. Lay geotextile fabric along the back edge where timber meets cut bank. Position the first timber at the base of the slope, ensuring it sits level from side to side but follows the 2% forward slope. Drill pilot holes and drive 24-inch rebar stakes through the timber at 24-inch intervals, leaving 6 inches exposed above timber surface.
Stack the second timber directly behind the first. Spike the two together using 10-inch galvanized spikes every 18 inches, offsetting spike placement to avoid splitting. Backfill behind the second timber with gravel, compacting in 2-inch lifts. Repeat this pattern up the slope.
Pro-Tip: Offset vertical joints between courses by at least 24 inches to distribute load and prevent shear failure along a single plane.
Finishing and Soil Integration
Backfill final 2 inches of each tread with a 50/50 mix of topsoil and compost. This layer supports direct seeding of Festuca rubra or plugs of Phlox subulata along tread edges. Install erosion-control netting over exposed soil banks until vegetative cover reaches 70%. Apply a 2-4-2 organic starter fertilizer at 1 pound per 10 square feet to accelerate root establishment.
Pro-Tip: Inoculate planting pockets with Rhizophagus irregularis spores at 0.1 ounce per cubic foot of soil to enhance phosphorus uptake in low-fertility sites.
Troubleshooting
Symptom: Timbers shift laterally after heavy rain.
Solution: Drive additional rebar stakes at 45-degree angles through timber face into undisturbed soil behind the cut bank. Each stake adds 400 pounds of lateral resistance.
Symptom: Pooling water on treads.
Solution: Remove top timber. Re-grade base layer to restore 2% forward slope. Verify with a 4-foot level and shims.
Symptom: Timbers separate at joints.
Solution: Add galvanized structural screws (5/16 inch diameter, 6 inches long) every 12 inches. Pre-drill to prevent splitting.
Symptom: Vegetation dies within 8 inches of timbers.
Solution: Test soil pH. If above 7.5, amend with elemental sulfur at 1 pound per 10 square feet to lower pH by one unit over 8 weeks.
Maintenance
Inspect rebar stakes annually. Re-drive any that have lifted more than 1 inch above timber surface. Replace spikes showing rust penetration beyond surface galvanization. Apply a non-film-forming water repellent every 3 years to extend timber life to 25 years.
Provide 1 inch of water per week to plantings adjacent to stairs during establishment (first 90 days). Reduce to 0.5 inch per week once root systems extend 12 inches beyond planting pockets. Prune back aggressive spreaders like Vinca minor to maintain 6 inches of clearance from tread surfaces.
FAQ
How deep should rebar stakes penetrate?
Drive stakes 18 inches into undisturbed soil below the timber for slopes up to 30 degrees. Increase to 24 inches for slopes exceeding 30 degrees.
Can I use untreated timbers?
Untreated softwoods decay within 5 years in soil contact. Cedar and black locust offer 12 to 15 years of service without chemical treatment.
What spacing prevents erosion between steps?
Limit vertical rise to 7 inches per step. Exceeding this creates gaps where sheet flow erodes soil at rates exceeding 2 tons per acre annually.
How do I retrofit existing timber stairs?
Remove failed timbers. Re-compact base layers. Add geotextile fabric and gravel base before installing replacement timbers with upgraded fastening systems.
Should I seal cut ends of timbers?
Apply copper naphthenate to fresh cuts. This fungicide penetrates 0.25 inch and prevents decay fungi like Serpula lacrymans from colonizing end grain.