7 Steps to Prepare a Garden Kneeler for Sanitizing
Damp earth releases geosmin, a volatile organic compound produced by Actinobacteria, signaling a healthy soil microbiome. As plants maintain turgor pressure through osmotic regulation, the gardener must maintain their equipment to prevent the cross-contamination of pathogens like Fusarium or Phytophthora. Learning how to prepare a garden kneeler for cleaning is the first defense against introducing soil-borne oomycetes into a sterile greenhouse environment. Neglected foam and steel frames harbor spores that bypass the plant's natural systemic acquired resistance.
Materials:
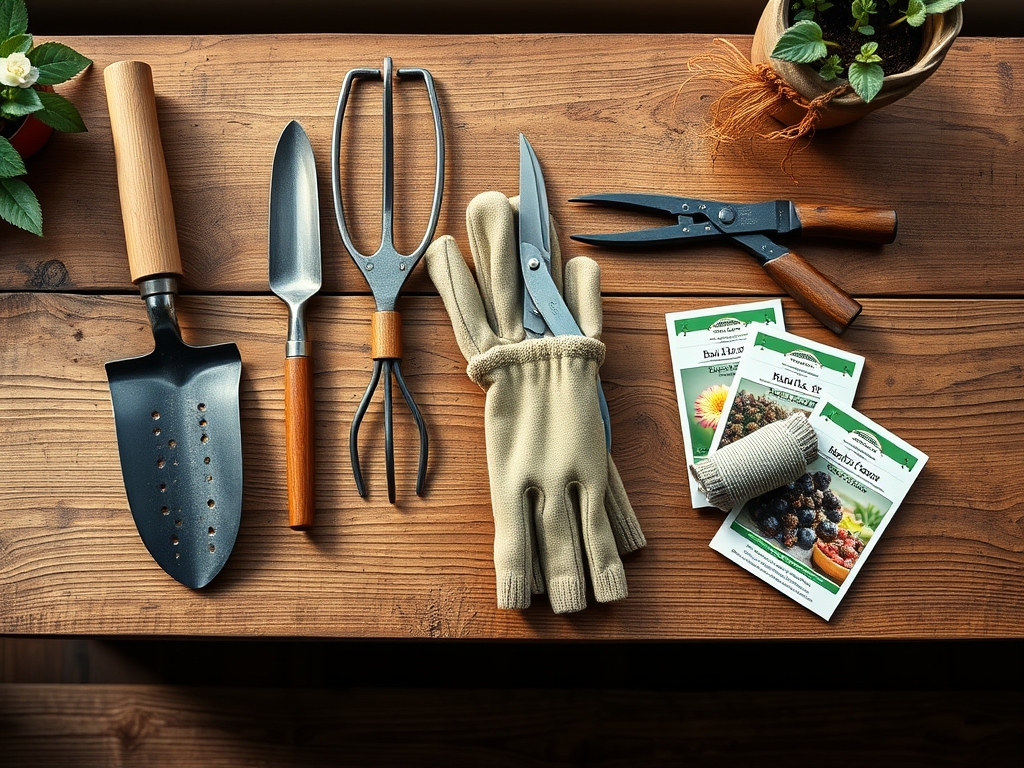
While the kneeler itself is inorganic, its preparation requires an understanding of the organic matter it contacts. A **friable loam** with a **pH of 6.5** is the ideal substrate for most cultivars, yet this soil clings to EVA foam through electrostatic forces. To prepare for sanitization, you require a stiff-bristled brush, a solution of **70 percent isopropyl alcohol**, and a pressurized water source.
If you are working in high-clay soils with a high Cation Exchange Capacity (CEC), the particles will bind more tightly to the kneeler frame. For areas treated with synthetic fertilizers, such as a 10-10-10 NPK ratio for general maintenance or a 5-10-15 ratio for tuber development, ensure you neutralize salt buildup. Residual ammonium nitrate can corrode powder-coated steel if not removed before the wet cleaning phase begins.
Timing:
The biological clock of the garden dictates your maintenance schedule. In USDA Hardiness Zones 5 through 7, the transition from the vegetative stage to senescence in late autumn marks the primary window for deep equipment sanitation. As photoperiods shorten and plants enter dormancy, the risk of spreading active fungal spores decreases.
Perform your primary cleaning after the first killing frost but before the ground reaches a consistent 32 degrees Fahrenheit. This prevents the freezing of moisture within the cellular structure of foam pads, which can lead to material fatigue and cracking. In warmer zones, align cleaning with the transition between the spring harvest and the heat-induced dormancy of mid-summer to ensure no pathogens survive the high-humidity windows.
Phases:

Sowing the Preparation
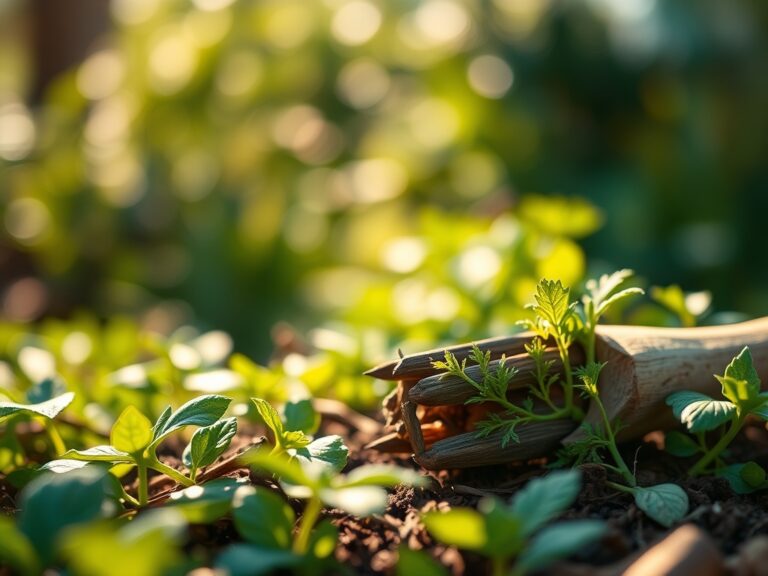
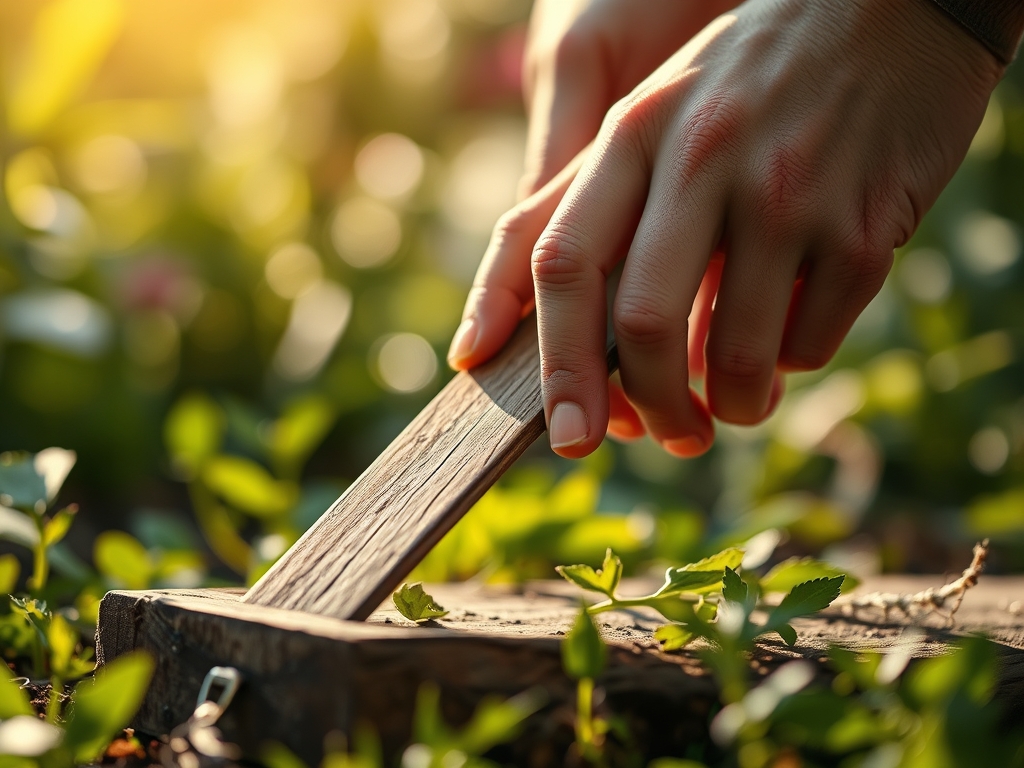
Begin by mechanical debridement. Use a hori-hori knife to scrape large clods of dried mud from the underside of the kneeling pad. This prevents the saturation of silt, which can clog the pores of the foam during the chemical phase.
Pro-Tip: Removing dry particulate matter first prevents the formation of a "slurry" that can drive pathogens deeper into the material. This is critical because mycorrhizal symbiosis is beneficial in the rhizosphere, but unwanted fungal spores on equipment can lead to damping-off in seedlings.
Transplanting to the Wash Station
Move the kneeler to a concrete or gravel surface to avoid re-contamination. Apply a dry brush to the hinges and springs. If the kneeler features a tool pouch, empty it completely to check for residual seeds or organic debris that could harbor insect larvae.
Pro-Tip: Inspecting the mechanical joints is vital for longevity. Metal fatigue often starts at points of high stress where moisture is trapped. This mimics auxin suppression in plants; if the "flow" of the tool's movement is restricted, the overall structural integrity of your garden workflow fails.
Establishing a Sterile Surface
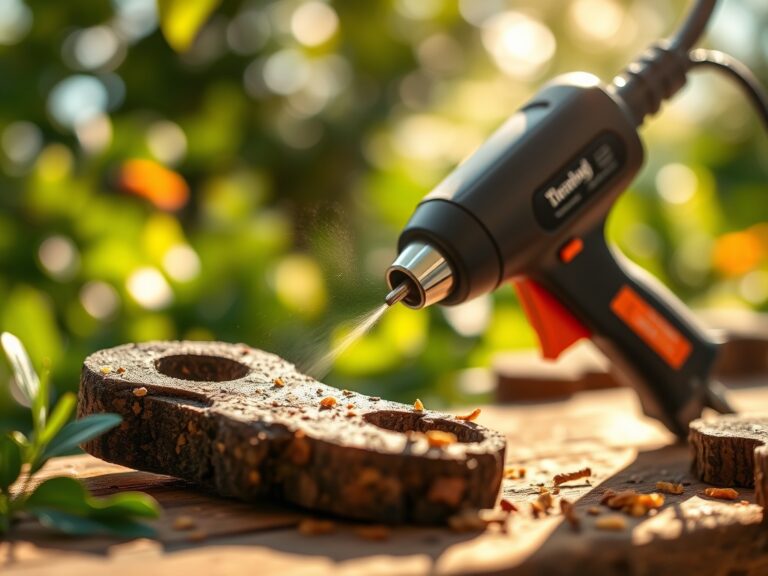
Apply a fine mist of water to soften remaining biofilms. Do not submerge the unit if it has a hollow metal frame, as internal oxidation can occur. Use a microfiber cloth to wipe down the powder-coated surfaces, checking for chips in the paint where rust might colonize.
Pro-Tip: Use a soil moisture meter to check the humidity of your storage area after cleaning. High ambient humidity promotes the growth of mildew on foam. Maintaining a dry environment utilizes the principle of desiccation to kill remaining microbial life that survived the initial scrub.
The Clinic:
Physiological disorders in the garden often stem from equipment neglect. Observe the following symptoms and apply the necessary fixes to your process.
- Symptom: Localized Necrosis on Seedlings. If young plants show dark spots after you have worked near them, your kneeler may be a vector for Tobacco Mosaic Virus.
- Fix-It: Sanitize with a 10 percent bleach solution followed by a thorough rinse to neutralize the sodium hypochlorite.
- Symptom: Iron Chlorosis. While usually a soil pH issue, rust from a corroded kneeler can flake into the soil, altering local mineral concentrations.
- Fix-It: Sand down rusted spots on the frame and apply a rust-inhibitor spray to prevent heavy metal leaching into your rhizosphere.
- Symptom: Premature Senescence. Plants yellowing and dying early may be reacting to chemical residues left on your gear.
- Fix-It: Always ensure a "clear water" rinse after using detergents on your kneeler to prevent surfactant toxicity in sensitive species.
Maintenance:
Precision is the hallmark of a master horticulturist. Your garden requires 1.5 inches of water per week at the drip line, and your equipment requires similar consistency. After every use, use a soil moisture meter to ensure you aren't storing a damp kneeler.
Keep your bypass pruners and hori-hori knife sharp; dull tools create ragged wounds in plant tissue that are more susceptible to the pathogens your kneeler might carry. Lubricate the folding mechanism of the kneeler every 90 days using a silicone-based lubricant to prevent seizing. If the foam pad shows signs of permanent compression, replace it to maintain ergonomic support and prevent physical strain during long sessions of weeding or transplanting.
The Yield:
When harvesting crops like Lactuca sativa or Solanum lycopersicum, the cleanliness of your kneeling station impacts the post-harvest longevity. Bacteria transferred from a dirty kneeler to your hands, and subsequently to the fruit, can accelerate decay.
For "day-one" freshness, harvest during the cool of the morning when turgor pressure is at its peak. Place harvested items in clean bins, ensuring your sanitized kneeler is positioned away from the produce to avoid any mechanical damage or contamination. A clean workspace ensures that the energy the plant spent on primary metabolism is preserved in the final yield.
FAQ:
How often should I sanitize my garden kneeler?
Sanitize your kneeler at the end of every growing season or immediately after working with plants showing signs of fungal or viral infection. Regular mechanical cleaning should occur weekly to prevent the buildup of compacted soil and pathogens.
Can I use dish soap to clean the foam pads?
Yes, a mild surfactant like dish soap is effective for breaking down oils and dirt. However, you must rinse the pad thoroughly to ensure no chemical residue affects the soil pH or sensitive root systems during your next use.
What is the best way to remove rust from the frame?
Use a wire brush or steel wool to remove oxidized layers. Once the bare metal is exposed, wipe it with isopropyl alcohol and apply a high-quality outdoor enamel paint to seal the surface against further moisture infiltration and corrosion.
Does sunlight help in the cleaning process?
UV radiation acts as a natural disinfectant. After washing and rinsing your kneeler, leave it in direct sunlight for four to six hours. The solar radiation helps kill remaining bacteria and ensures the foam is completely dry before storage.