8 Self-Sufficiency Steps to Prepare a Homestead Garden
The scent of damp, anaerobic earth being turned over signals the start of the primary growing cycle. When the soil reaches a consistent 55 degrees Fahrenheit, the microbial activity begins to accelerate; this is the precise moment to learn how to prepare a garden for a homestead vegetable garden. Success is measured by the turgor pressure within a leaf, where water moves from the roots through the xylem to maintain structural rigidity. A homestead garden requires more than surface level aesthetics; it demands a deep understanding of soil chemistry and hydrological cycles to ensure caloric security. By focusing on the rhizosphere, the narrow region of soil influenced by root secretions, you can optimize nutrient uptake and plant health. This guide provides the technical framework to transform raw land into a high yield production system using established horticultural science.
Materials:
The ideal substrate for a homestead garden is a friable loam, characterized by a balanced mixture of sand, silt, and clay that allows for both drainage and nutrient retention. You must target a soil pH between 6.2 and 6.8 to maximize the bioavailability of essential macronutrients. If the pH drops below 6.0, phosphorus becomes chemically locked and unavailable to the plant.
For the initial amendment phase, utilize a balanced NPK ratio of 10-10-10 for general preparation. However, as you transition into specific crop cycles, these ratios must shift. Leafy greens require a higher Nitrogen (N) concentration, such as a 12-4-8 ratio, to drive vegetative growth. Fruiting crops like tomatoes or peppers require higher Phosphorus (P) and Potassium (K), often seen in 5-10-10 formulations, to support flower induction and fruit set. High Cation Exchange Capacity (CEC) is vital; it measures the soil's ability to hold onto positively charged ions like Calcium (Ca2+) and Magnesium (Mg2+). Incorporate organic matter to increase the CEC, ensuring that nutrients do not leach away during heavy irrigation or rainfall events.
Timing:
Timing is dictated by the USDA Hardiness Zones and the specific frost dates of your microclimate. In Zones 5 through 7, the window for cool season crops opens when soil temperatures hit 45 degrees Fahrenheit, while warm season crops require a minimum of 60 degrees Fahrenheit. Understanding the biological clock of your plants is essential for a homestead. This involves the transition from the vegetative stage, where the plant focuses on biomass and leaf production, to the reproductive stage, where energy is diverted to seed and fruit development.
This transition is often triggered by the photoperiod, which is the duration of light exposure in a 24 hour cycle. Short day plants require long periods of darkness to trigger flowering, while long day plants need more than 12 hours of light. Tracking the "Days to Maturity" on your seed packets is a mathematical necessity; if your frost free window is 120 days and your corn variety requires 110 days, your margin for error is less than two weeks.
Phases:

Sowing
Direct sowing requires a finely tilled seedbed to ensure seed to soil contact. Small seeds like carrots should be sown at a depth no greater than three times their diameter, typically 1/8 to 1/4 inch. Larger seeds like beans can be placed 1 inch deep.
Pro-Tip: Proper sowing depth prevents the "damping off" fungal pathogen and ensures the emerging hypocotyl can reach the surface before its stored energy is exhausted. This is critical because the plant relies entirely on its endosperm until the first true leaves can begin photosynthesis.
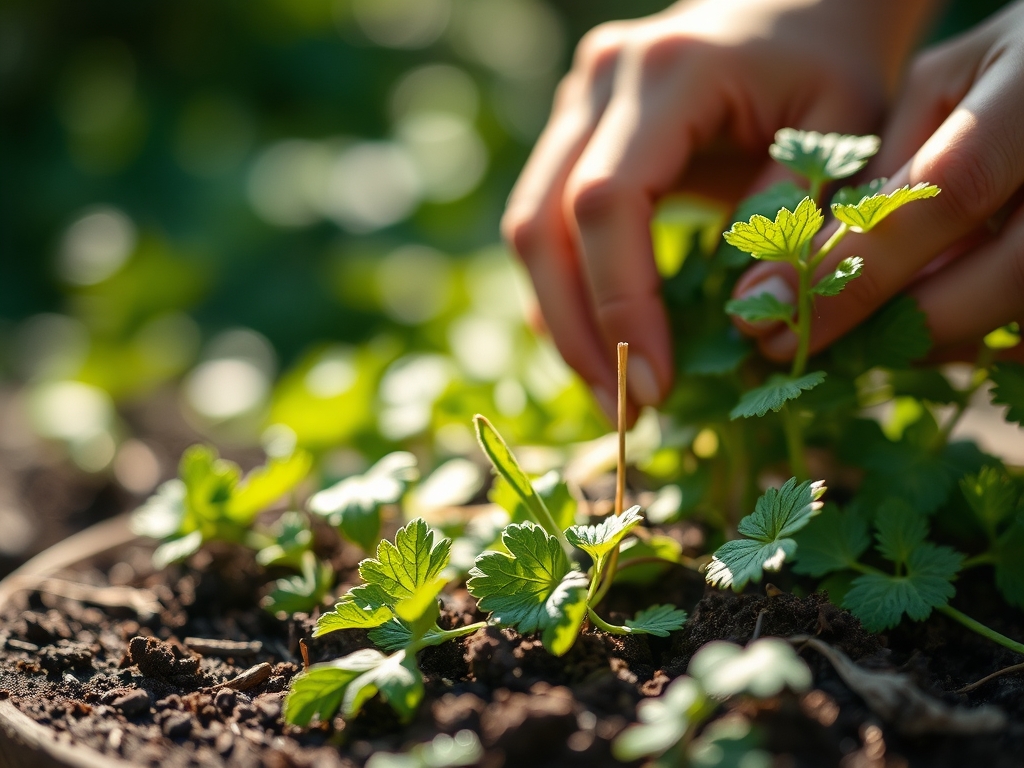
Transplanting
When moving seedlings from a greenhouse environment to the field, you must manage the transpiration rate. Transplanting during late afternoon or on overcast days reduces the immediate stress on the root system. Ensure the root ball is saturated before placement to maintain turgor.
Pro-Tip: Use a mycorrhizal inoculant during transplanting to establish a symbiotic relationship between the roots and beneficial fungi. This symbiosis effectively increases the surface area of the root system by up to 100 times, significantly improving the uptake of water and immobile nutrients like phosphorus.
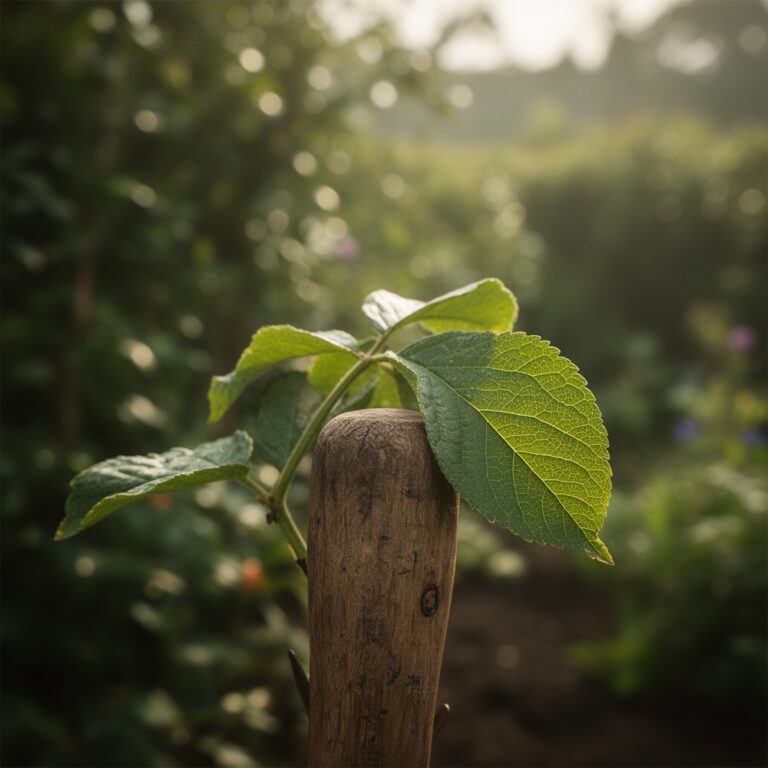
Establishing
The establishment phase occurs once the plant has developed a secondary root system and can withstand environmental fluctuations. During this time, structural integrity is paramount.
Pro-Tip: For certain crops, pinching off the first set of flower buds encourages "auxin suppression." By removing the reproductive sink, the plant redirects its hormonal energy back into root and stem development, leading to a much larger and more resilient plant that will yield more heavily later in the season.
The Clinic:
Physiological disorders often mimic disease but are usually caused by environmental or nutritional imbalances.
Symptom: Blossom End Rot in tomatoes (dark, leathery spots on the bottom of the fruit).
Solution: This is caused by a Calcium deficiency, often triggered by inconsistent moisture levels. Maintain steady irrigation to ensure Calcium can be transported through the xylem.
Symptom: Interveinal Chlorosis (yellowing between the leaf veins while veins remain green).
Solution: This typically indicates a Magnesium or Iron deficiency. In high pH soils, Iron becomes insoluble. Lower the pH or apply a chelated Iron foliar spray.
Symptom: Tip Burn on lettuce or cabbage.
Solution: This is a localized Calcium deficiency often caused by high humidity and low transpiration rates. Increase airflow around the plants to encourage the movement of water and minerals.
Fix-It: Nitrogen Chlorosis
If the oldest leaves on your plants are turning a uniform pale yellow, the plant is experiencing Nitrogen chlorosis. Nitrogen is a mobile nutrient; the plant will literally scavenge it from old growth to support new terminal buds. Apply a high nitrogen liquid fertilizer, such as fish emulsion, for immediate uptake.
Maintenance:
Precision maintenance is the difference between a hobby and a homestead. Use a soil moisture meter to ensure the root zone remains in the "available water" range. Most vegetable crops require 1.5 inches of water per week delivered at the drip line rather than overhead to prevent foliar pathogens.
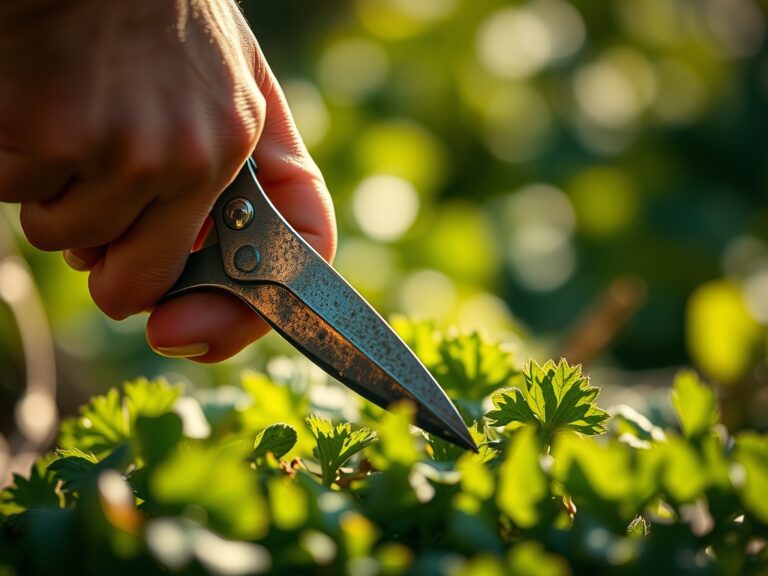
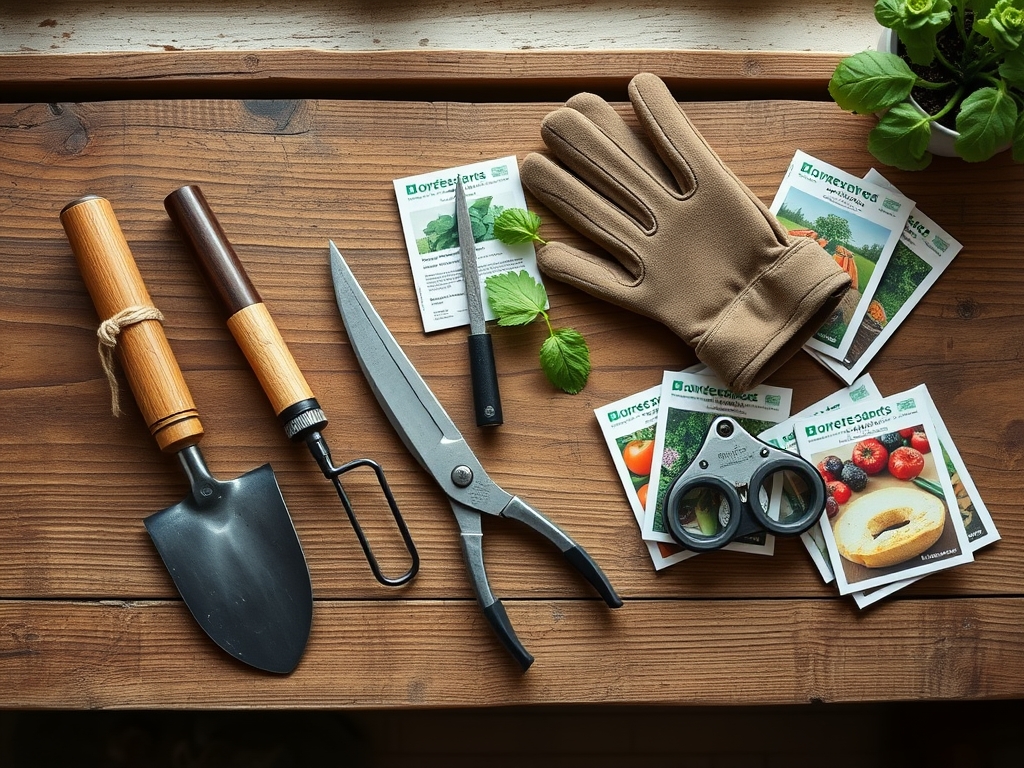
Keep a hori-hori knife sharpened for precise weeding and root pruning. For perennial maintenance or harvesting woody herbs, use bypass pruners to ensure clean cuts that heal quickly without jagged edges that invite infection. Mulching with straw or wood chips at a depth of 3 inches will suppress weed germination and reduce evaporative water loss by up to 40 percent.
The Yield:
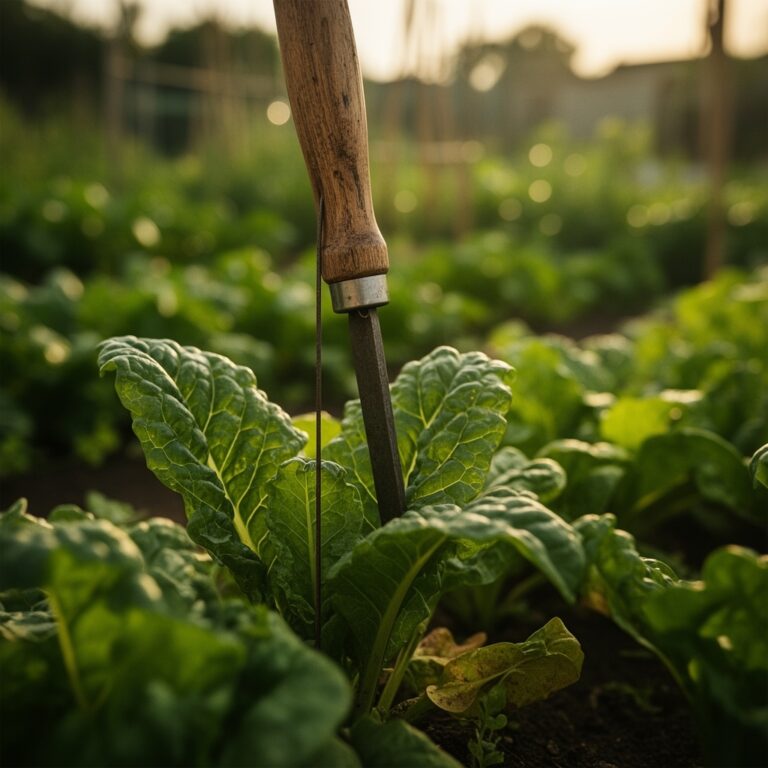
Harvesting is a race against senescence, the biological aging process of the plant. For maximum sugar content, harvest most vegetables in the early morning when the plant is fully hydrated and temperatures are cool. For leafy greens, immediate hydro-cooling (submerging in cold water) removes field heat and stops the metabolic process that leads to wilting.
Use a sharp blade to harvest to minimize tissue damage. For fruiting crops like squash or cucumbers, leave a small portion of the peduncle (stem) attached to the fruit to prevent moisture loss and pathogen entry at the attachment point. Post harvest handling should focus on maintaining the cold chain; every hour a vegetable sits at 80 degrees Fahrenheit reduces its shelf life by one day.
FAQ:
How do I test my soil at home?
Use a digital pH probe or a chemical reagent kit to measure acidity. For macronutrients, collect samples from six inches deep and send them to a local university extension office for a professional laboratory analysis of NPK and CEC levels.
What is the best way to kill weeds without chemicals?
Utilize solarization by covering the soil with clear plastic for six weeks during peak summer. This raises soil temperatures to levels that are lethal to weed seeds and soil borne pathogens while preserving the deeper microbial life of the rhizosphere.
How often should I fertilize my homestead garden?
Apply a slow release granular fertilizer at planting. Follow up with a water soluble "side dressing" every three to four weeks during the active growing season. Always base applications on a soil test to avoid nutrient toxicity or runoff into local watersheds.
Can I grow vegetables in heavy clay soil?
Yes, but you must incorporate large volumes of organic matter like compost or aged manure to improve aeration. Avoid tilling when the clay is wet, as this destroys soil structure and creates "clods" that prevent root penetration and water infiltration.