8 Thinning Tips to Use a Garden Lopper for Thickets
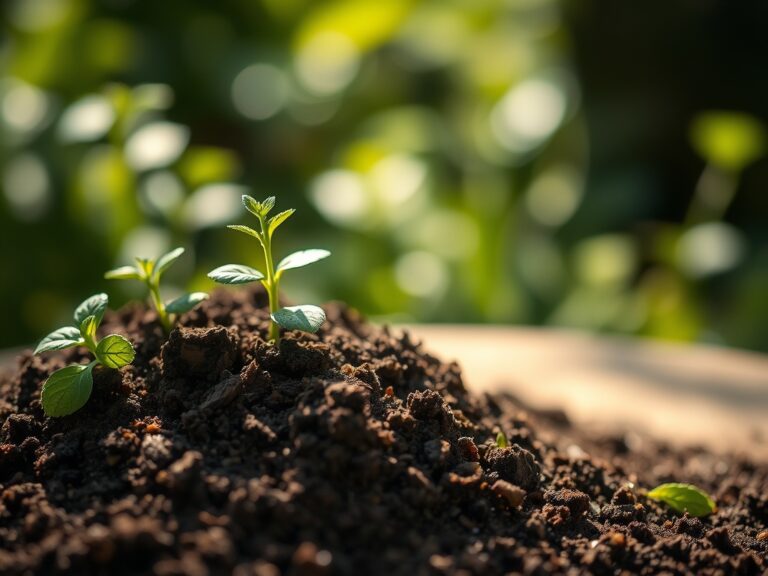
Crushing a handful of damp, friable loam releases the sharp scent of geosmin; this indicates a high level of microbial activity within the rhizosphere. Healthy vegetable stalks exhibit significant turgor pressure, feeling rigid and cool to the touch as water moves through the xylem. Using a garden lopper for vegetable thinning is the primary method for managing overgrown thickets of heavy-stemmed crops like indeterminate tomatoes, okra, or sprawling brassicas. When plant density exceeds the soil's carrying capacity, competition for light and nutrients triggers etiolation, resulting in weak, spindly stems. High-leverage loppers allow for clean, surgical removals of secondary leaders without disturbing the primary root systems of adjacent plants. By reducing the leaf area index, you increase airflow and light penetration to the lower canopy. This mechanical intervention ensures that the remaining specimens receive the full benefit of the available soil minerals and solar radiation. Precision thinning prevents the stagnant humidity that fosters fungal pathogens in dense vegetable stands.
Materials:
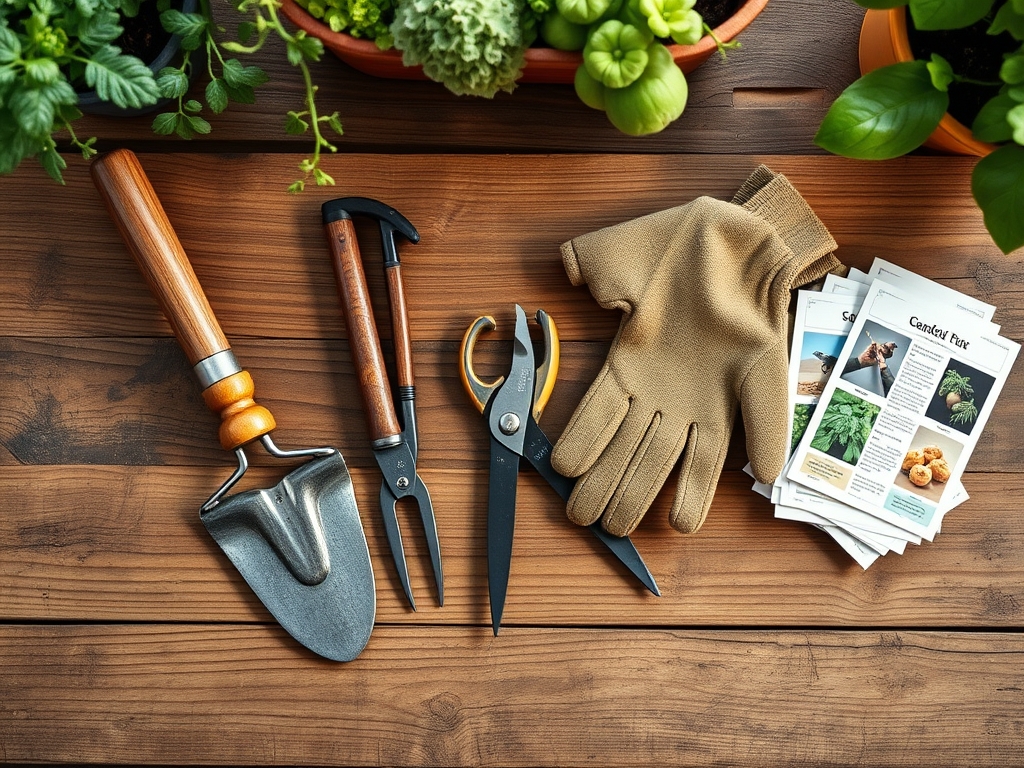
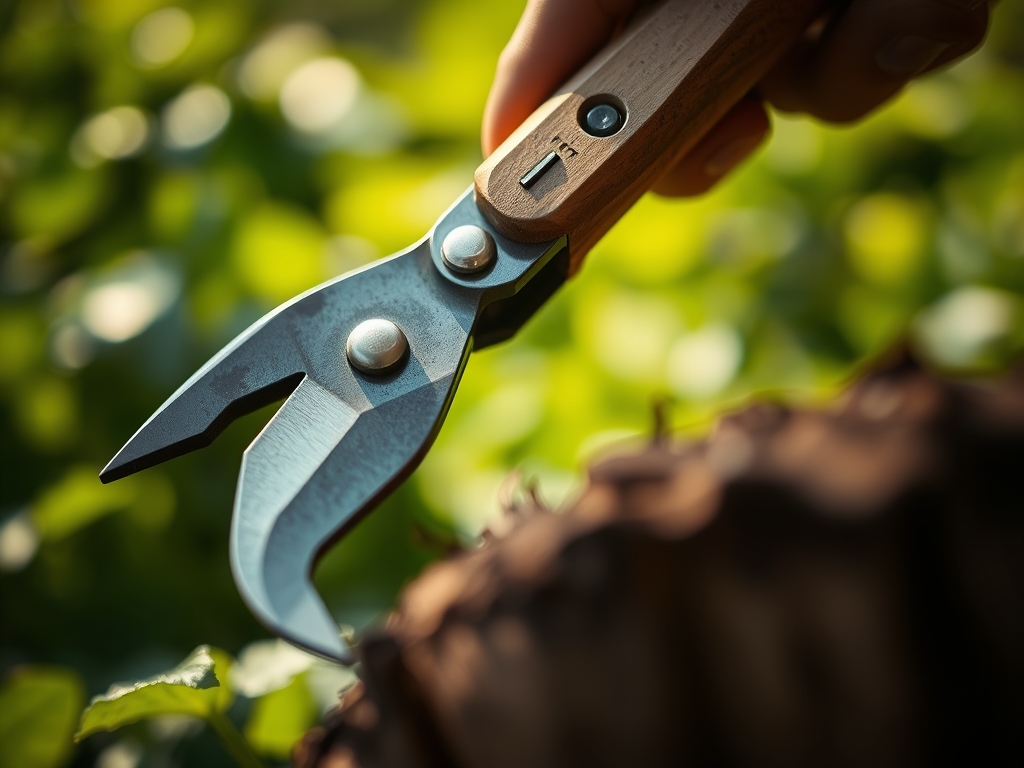
Successful thinning requires a substrate with a high Cation Exchange Capacity (CEC), typically found in silty clay loams or well-amended sandy loams. The soil pH must be maintained between **6.2 and 6.8** to ensure maximum bioavailability of micronutrients. For heavy-feeding thickets, the NPK ratio should sit at **10-10-10** during the vegetative stage, transitioning to a **5-10-15** ratio once the reproductive phase begins. The physical texture of the soil should be friable; it must crumble under light pressure rather than forming a hard clod. Ensure your loppers are bypass-style rather than anvil-style to prevent crushing the vascular bundles. Sterilize blades with **70 percent isopropyl alcohol** between cuts to prevent the mechanical transmission of tobacco mosaic virus or bacterial wilt.
Timing:
Thinning operations must align with specific Hardiness Zones and the internal biological clock of the plant. In Zones 5 through 7, the primary thinning window occurs after the final frost date, typically between April 15 and May 15. In Zones 8 through 10, this window shifts to late February or early March. The ideal time to intervene is during the late vegetative stage, just before the plant shifts its energy toward anthesis (flowering). Monitor the photoperiod; as day length increases, plants prioritize apical dominance. Thinning during this period redirects auxins to the remaining stems, strengthening the overall structure. Perform the task in the early morning when turgor pressure is at its peak; this ensures the plant tissues are hydrated and will heal the excision site rapidly through callusing.
Phases:
Sowing
Initial seed placement should be at a depth of 0.5 to 1 inch, depending on seed size. Over-sowing is common to account for variable germination rates, but this leads to the thickets that require lopper intervention later. Maintain a soil temperature of 65 to 75 degrees Fahrenheit for optimal emergence.
Pro-Tip: Proper spacing reduces the "shade avoidance response." This biological mechanism triggers rapid elongation at the expense of stem girth when plants detect a high ratio of far-red to red light from neighboring leaves.
Transplanting
When moving seedlings to the field, ensure the root ball is saturated. Space plants according to their mature diameter; for example, indeterminate tomatoes require 24 to 36 inches of lateral clearance. Use a hori-hori knife to slice through any circling roots to encourage lateral expansion into the native soil.
Pro-Tip: Inoculating the transplant hole with mycorrhizal fungi enhances the symbiotic relationship between roots and soil. This increases the surface area for phosphorus uptake by up to 100 times.
Establishing
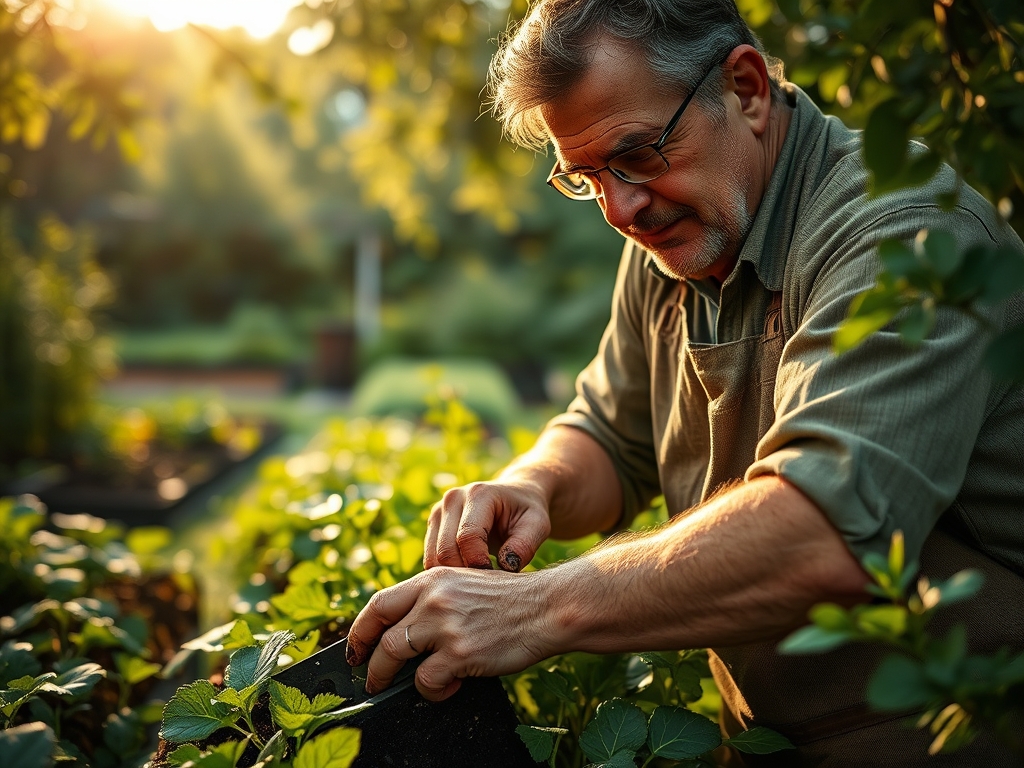
During the first 21 days, focus on root development rather than top growth. Use a soil moisture meter to ensure the moisture levels stay between 60 and 80 percent of field capacity. Once the main stem exceeds 0.75 inches in diameter, the garden lopper becomes the necessary tool for removing competing suckers or secondary stalks that have become too woody for hand pruners.
Pro-Tip: Removing lower "water sprouts" suppresses the production of certain hormones that would otherwise inhibit the development of a strong central leader. This is known as managing apical dominance to maximize yield density.
The Clinic:
Physiological disorders often manifest when thinning is neglected or executed poorly.
- Symptom: Interveinal chlorosis on older leaves.
- Solution: This indicates Nitrogen or Magnesium deficiency. Apply a water-soluble cal-mag supplement and thin the canopy to reduce the nutrient demand on the soil.
- Symptom: Blossom end rot (dark, leathery spots on fruit).
- Solution: This is a Calcium transport issue caused by inconsistent moisture. Thinning with loppers improves transpiration rates, allowing Calcium to move more effectively through the plant.
- Symptom: Powdery mildew (white fungal coating).
- Solution: Increase airflow immediately. Use your loppers to remove the bottom 12 inches of foliage to break the cycle of soil-to-leaf pathogen transfer.
Fix-It for Nitrogen Chlorosis: If leaves turn pale yellow starting at the base, the plant is scavenging Nitrogen for new growth. Apply a high-nitrogen side-dressing like blood meal at a rate of 1 pound per 100 square feet.
Maintenance:
Post-thinning maintenance is critical for recovery. Provide exactly 1.5 inches of water per week at the drip line; do not apply water to the foliage, as this encourages senescence. Use bypass pruners for smaller lateral shoots and a soil moisture meter to monitor the top 6 inches of the profile. Mulch the area with 2 inches of organic straw to regulate soil temperature and prevent moisture spikes. Check the sharpness of your tools weekly; a dull blade creates jagged wounds that serve as entry points for pathogens. If the main stem shows signs of leaning, use heavy-duty stakes and soft ties to support the increased weight of the optimized crop.
The Yield:
Harvesting should occur when the fruit or vegetable reaches its peak physiological maturity. For most fruiting crops, this is determined by color break and a slight softening of the pericarp. Use sharp snips to remove the produce, leaving a small portion of the peduncle attached to prevent moisture loss. For leafy greens, harvest in the pre-dawn hours to ensure maximum turgor. Post-harvest, move the produce immediately to a cool environment (approximately 45 to 55 degrees Fahrenheit) to slow the rate of respiration. This preservation of cellular integrity ensures "day-one" freshness and extends the shelf life of the harvest.
FAQ:
Why use loppers instead of hand pruners for thinning?
Loppers provide the leverage needed to cut through woody, mature stems exceeding 0.5 inches in diameter. They allow for clean cuts without crushing the vascular tissue, which is essential for preventing disease in dense vegetable thickets.
When is the best time of day to thin vegetables?
Thin in the early morning when plant cells are at maximum turgor. This allows the plant to utilize its full hydraulic pressure to begin the callusing process at the wound site before midday heat stress occurs.
Can thinning too much damage the crop?
Yes. Removing more than 30 percent of the leaf canopy at once can cause "sunscald" on fruit and shock the root system. Always thin incrementally to maintain a balanced root-to-shoot ratio and protect the internal microclimate.
How do I sanitize loppers after thinning a thicket?
Wipe the blades with a solution of 70 percent isopropyl alcohol or a 10 percent bleach solution. This kills pathogens like Fusarium wilt or bacterial canker, preventing cross-contamination between different plants in your garden.