8 Vibrant Steps to Use Specialized Palm Soil
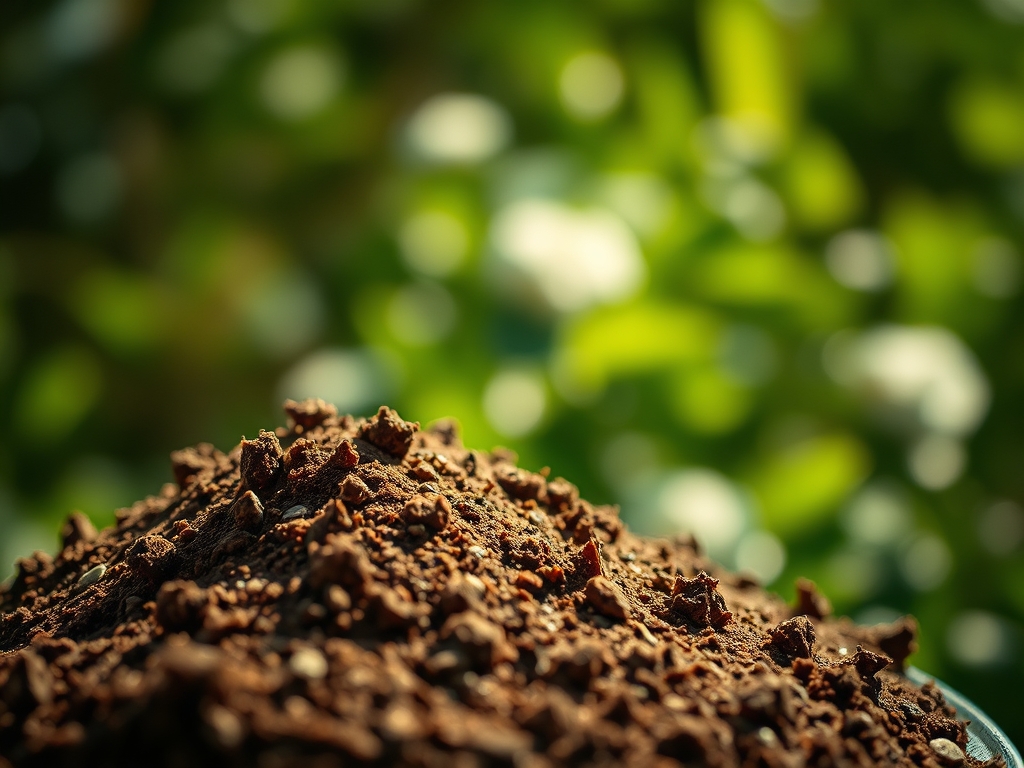
The scent of damp pine bark and calcined clay signals a healthy substrate ready for deployment. When you compress a handful of high-quality medium, it should hold its shape for a fraction of a second before crumbling back into distinct particles. This structural integrity is essential for maintaining turgor pressure in the fronds of a palm. Using a specialized palm soil ensures that the rhizosphere remains aerobic while providing the specific mineral density required for monocot development. Standard potting mixes often collapse under the weight of a palm's dense fibrous root system; however, specialized blends utilize coarse aggregates to prevent anaerobic pockets. A palm suffering from poor drainage will exhibit immediate leaf senescence as the roots fail to transport water to the crown. By selecting a medium with a high Cation Exchange Capacity (CEC), you ensure that essential micronutrients like manganese and magnesium remain bioavailable rather than leaching out during heavy irrigation cycles. Proper soil selection is the primary determinant of long term structural stability and metabolic efficiency in these tropical and subtropical species.
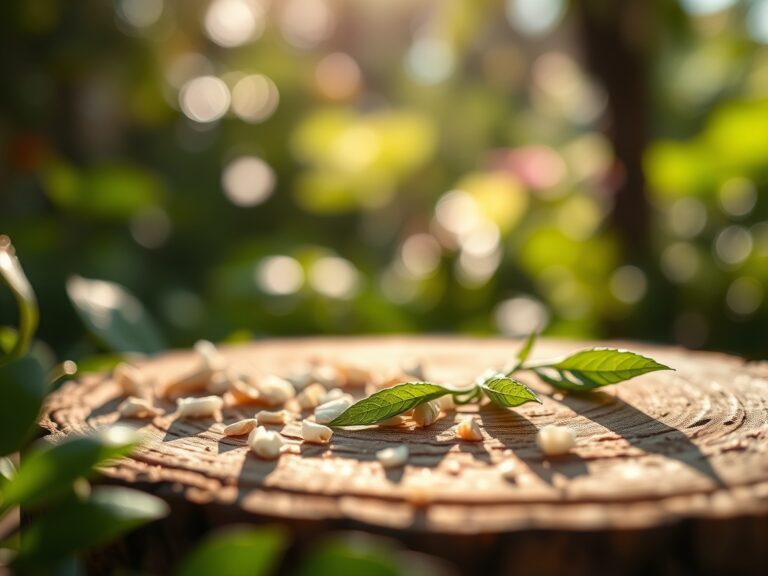
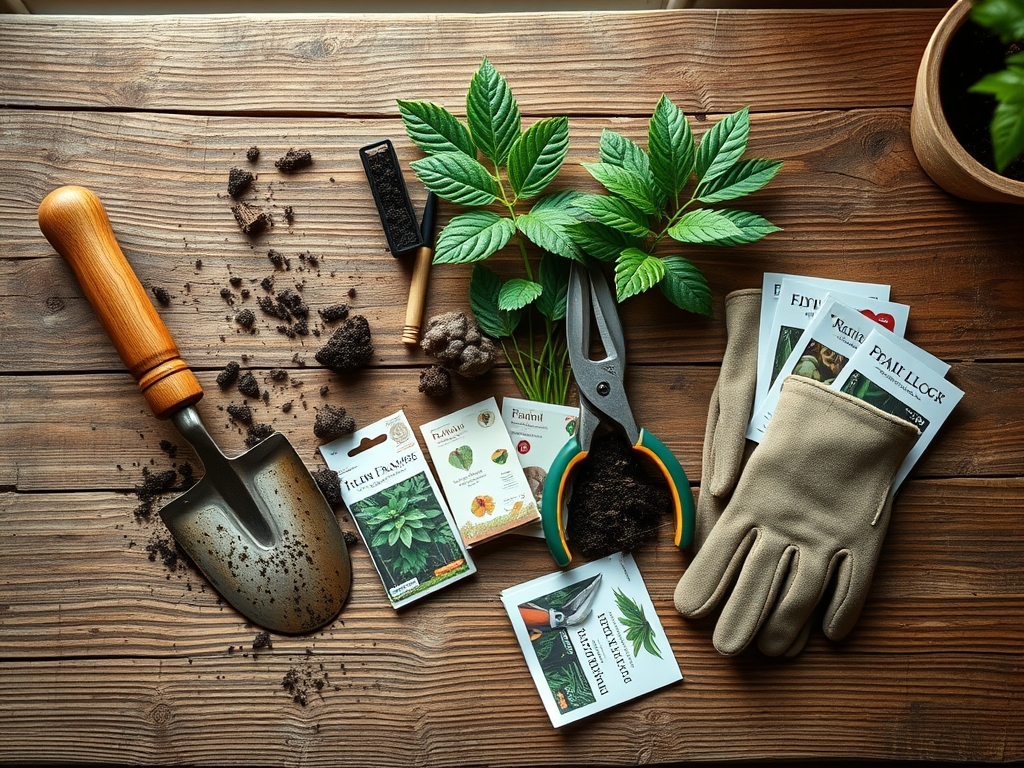
Materials:
The ideal substrate must maintain a pH range between 6.0 and 6.5. Palms are highly susceptible to nutrient lockout if the pH climbs above 7.0; specifically, iron and manganese become insoluble in alkaline conditions. Your specialized palm soil should consist of a friable loam base amended with 30 percent inorganic grit such as perlite, pumice, or expanded shale.
For nutritional loading, look for an NPK ratio of 8-2-12. The high potassium (K) content is critical because palms are heavy potassium feeders; a deficiency manifests as necrotic spotting on older fronds. Ensure the mix contains at least 1.5 percent magnesium and 0.10 percent manganese. The physical texture must be gritty to the touch to facilitate rapid percolation. If water sits on the surface for more than five seconds, the particle size is too fine for professional application.
Timing:
Successful implementation depends on the biological clock of the plant. In Hardiness Zones 8 through 11, the optimal window for using a specialized palm soil is during the late spring when soil temperatures consistently reach 65 degrees Fahrenheit (18 degrees Celsius). This coincides with the transition from semi-dormancy to active vegetative growth.
Avoid transplanting or re-soiling during the winter months or late autumn. As the photoperiod shortens, the palm's metabolic rate drops, reducing its ability to generate new root hairs in the fresh medium. If you disturb the root ball when the plant is entering senescence, you risk permanent stunted growth. The goal is to align soil replacement with the surge of auxins that occurs during the spring flush, ensuring the plant can colonize the new substrate within 14 to 21 days.
Phases:
Sowing and Seed Preparation
When starting from seed, use a specialized palm soil that has been screened for a finer texture. Maintain a constant temperature of 85 degrees Fahrenheit to trigger germination. The medium must stay moist but never saturated to prevent fungal pathogens from attacking the emerging radicle.
Pro-Tip: Maintain high humidity to prevent the seed coat from hardening. This supports osmotic potential, allowing the embryo to break through the endocarp without exhausting its energy reserves.
Transplanting into the Permanent Site
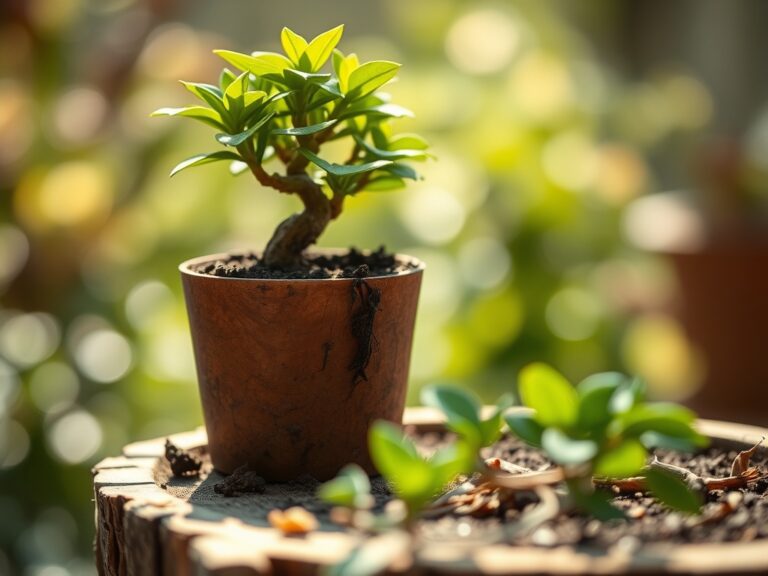
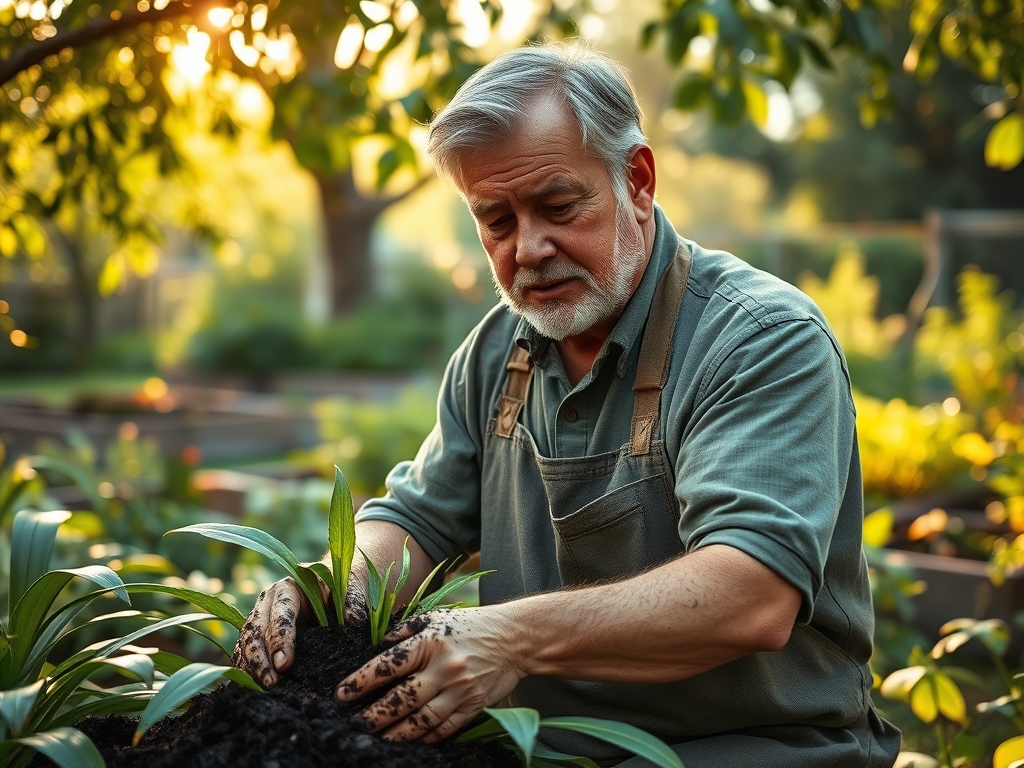
Excavate a hole twice the width of the root ball but no deeper than the current soil line. When using a specialized palm soil, backfill the area while tamping down lightly to remove large air gaps. Ensure the root flare remains visible at the surface. Deep planting is a leading cause of trunk rot and nutrient deficiency.
Pro-Tip: Inoculate the new soil with mycorrhizal fungi. This establishes a symbiotic relationship where the fungi extend the root's reach, increasing the absorption of phosphorus and water through a massive increase in surface area.
Establishing the Root System
During the first six weeks, the palm focuses on subterranean expansion rather than frond production. Monitor the moisture levels at a depth of 6 inches using a soil moisture meter. The specialized soil's drainage properties will require more frequent, albeit shorter, irrigation intervals compared to heavy clay soils.
Pro-Tip: Avoid high-nitrogen fertilizers during this phase to prevent auxin suppression. If the plant directs too much energy to leaf production before the roots are established, the resulting "top-heavy" growth will lead to vascular collapse during dry spells.
The Clinic:
Physiological disorders in palms are almost always tied to the chemistry of the substrate. Using a specialized palm soil prevents many of these, but you must recognize the symptoms of existing stress.
- Symptom: Interveinal chlorosis on new leaves (yellowing with green veins).
Solution: This indicates Manganese deficiency. Apply a chelated manganese sulfate drench to the soil. - Symptom: "Frizzle Top" (new leaves emerge small, brittle, and distorted).
Solution: This is an acute Boron deficiency. Correct the soil pH to 6.2 and apply a micronutrient supplement. - Symptom: Lower fronds turning orange or bronze.
Solution: This is Potassium deficiency. Do not remove the fronds yet; the plant is translocating K from old growth to the bud. Use a specialized palm soil with a high K-mag index.
Fix-It for Nitrogen Chlorosis: If the entire palm is pale green, it lacks nitrogen. Apply a slow-release sulfur-coated urea at a rate of 1.5 pounds per 100 square feet of canopy.
Maintenance:
Precision is the hallmark of professional palm care. Provide 1.5 inches of water per week delivered at the drip line. Use a hori-hori knife to check for soil compaction every three months; if the blade cannot penetrate 4 inches easily, the soil requires aeration.
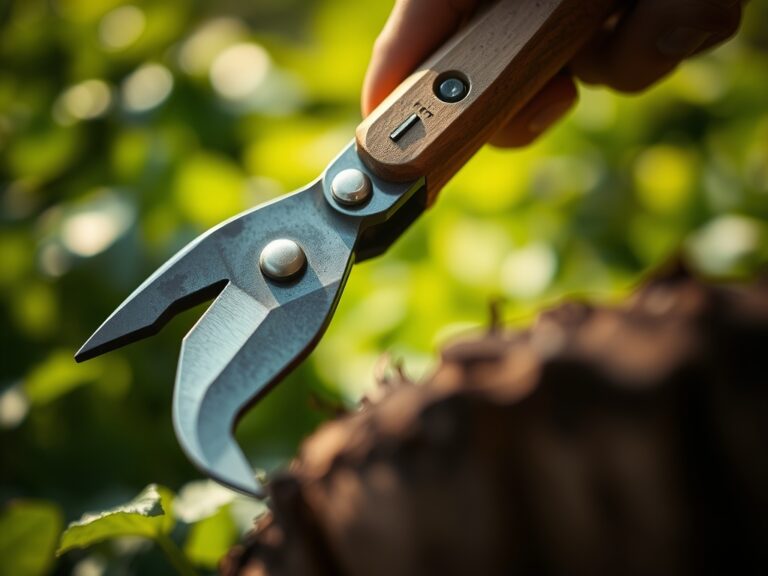
Pruning should be minimal. Use bypass pruners to remove only fully brown fronds. Removing green or even partially yellow fronds robs the plant of stored carbohydrates and potassium. Always disinfect your tools with a 10 percent bleach solution between plants to prevent the spread of vascular pathogens. Check the soil pH annually to ensure the specialized mix has not drifted toward alkalinity due to local tap water minerals.
The Yield:
While most palms are ornamental, species like the Date Palm (Phoenix dactylifera) require specific post-harvest handling. Harvest fruit when the sugar content reaches its peak, typically indicated by a slight softening of the fruit skin. For ornamental palms, the "yield" is the aesthetic value of the crown. To maintain "day-one" freshness in the foliage, wash the fronds monthly with a high-pressure water stream to remove dust and pests, which improves the rate of photosynthesis.
FAQ:
How often should I replace palm soil in containers?
Replace the top 4 inches of soil every 24 months. Total repotting should occur every 3 to 4 years when the roots begin to circle the container, which indicates the medium has lost its structural integrity and CEC capacity.
Can I use regular potting soil for my palm?
Regular soil lacks the necessary drainage and micronutrient profile. It often retains too much moisture, leading to Phytophthora root rot. Specialized palm soil provides the grit and specific NPK ratios (8-2-12) required for healthy monocot growth.
Why are the tips of my palm leaves turning brown?
This usually indicates salt accumulation or inconsistent moisture. Using a specialized palm soil helps, but you must flush the pot with distilled water periodically to leach out excess minerals that cause osmotic stress at the leaf tips.
What is the best NPK ratio for palm soil?
A ratio of 8-2-12 is the professional standard. Palms require high nitrogen for frond development and high potassium for cellular health, with a low phosphorus requirement to prevent interference with micronutrient uptake like iron and manganese.