8 Weatherproof Steps to Install a Garden Bench
The scent of petrichor rises as water hits the parched silty clay; it is the smell of Geosmin reacting with the dry earth. A successful garden is not merely an aesthetic choice but a high-functioning ecosystem where every structure serves a physiological purpose. When considering the steps for installing a vegetable garden bench, you must view the project through the lens of soil stability and plant health. A bench is more than a seat; it is a tool for observation and a platform for managing the microclimates within your raised beds. Proper installation ensures that the weight of the structure does not compact the rhizosphere or disrupt the delicate balance of soil gas exchange.
Materials:

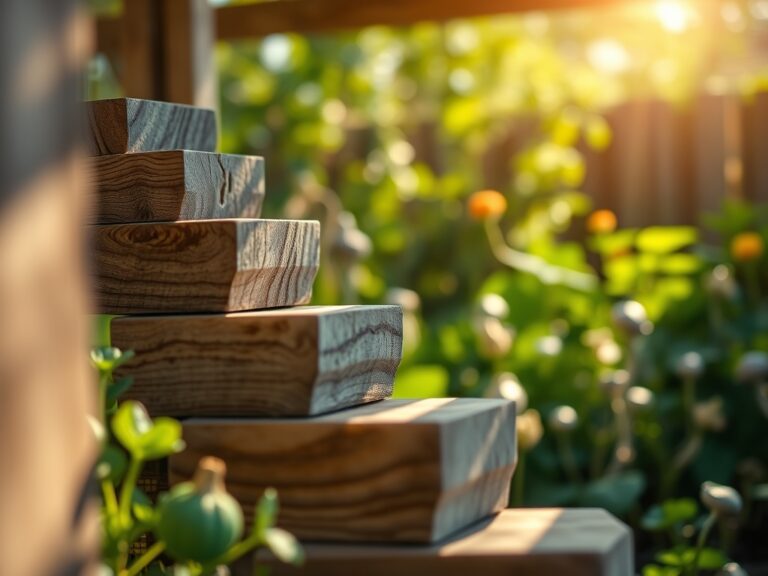
Before the first post is set, you must assess the substrate. The ideal foundation is a **friable loam** with a **pH between 6.2 and 6.8**. If your soil is heavy clay, the Cation Exchange Capacity (CEC) will be high, but drainage will be poor, leading to anaerobic conditions around the bench footings. You will need **4×4 pressure-treated lumber** rated for ground contact or rot-resistant hardwoods like Cedar or Black Locust. For the surrounding soil, maintain a nutrient profile of **5-10-10 NPK** to encourage root development of nearby perennials without over-stimulating leafy growth that could crowd the seating area. You will also require **Level 3 galvanized fasteners** to resist the corrosive effects of humic acid found in organic compost.
Timing:
Installation should occur during the dormant season or the transition between the late frost date and the onset of the spring "flush." In Hardiness Zones 5 through 7, this window typically falls between March 15 and April 20. Performing the installation during this period prevents the disruption of the biological clock of your crops. As plants transition from the vegetative stage to the reproductive stage, their energy is diverted to flowering and fruit set. Installing a bench during peak growth can cause mechanical stress, leading to a sudden drop in turgor pressure and potential wilting. Aim for a soil temperature of at least 50 degrees Fahrenheit to ensure the ground is workable and not prone to frost heaving, which can unseat the level of your installation.
Phases:

Sowing the Foundation
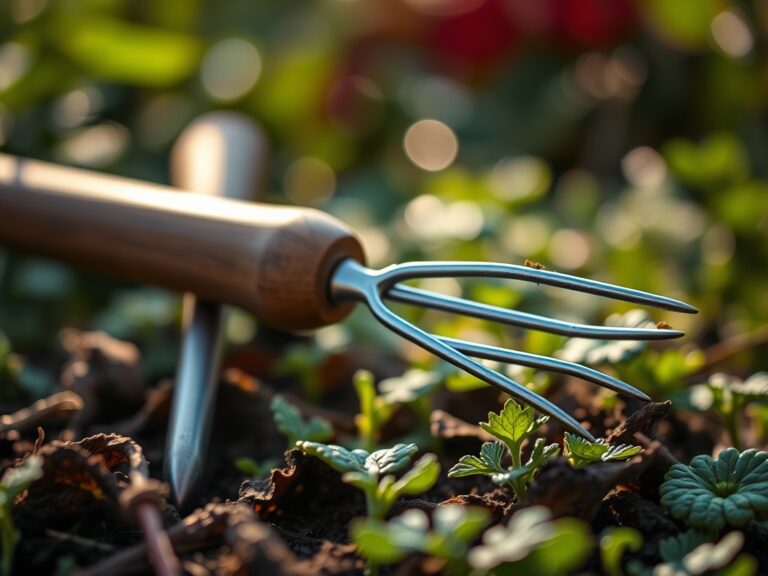
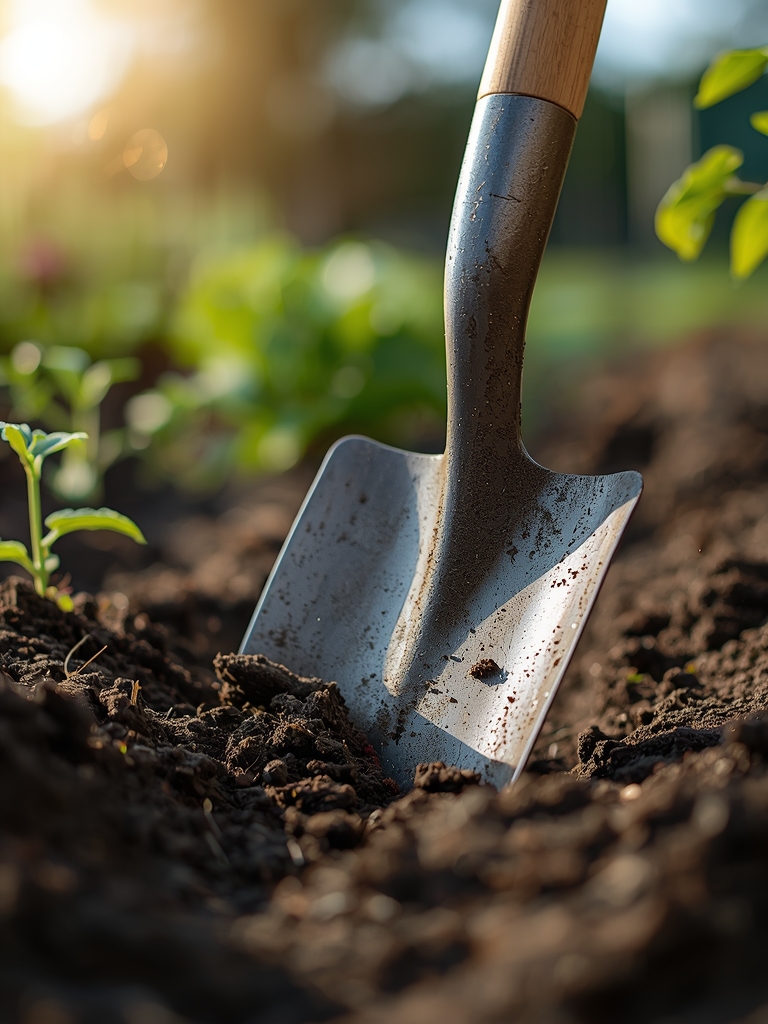
The first step is site excavation. Remove 4 to 6 inches of topsoil to reach the more stable subsoil layer. This prevents the bench from sinking as organic matter decomposes. Fill the base with 3/4-inch crushed stone to facilitate rapid drainage away from the wood.
Pro-Tip: Ensure the drainage layer is deep enough to prevent "perched water tables." This phenomenon occurs when water saturates the upper soil layer because it cannot move into the coarser material below fast enough; maintaining a consistent gradient prevents root rot in adjacent plants.
Transplanting the Structure
Position the bench legs. If you are using a permanent "set-in-ground" method, use a post-hole auger to reach below the frost line, typically 24 to 36 inches depending on your local building code. Level the bench using a 4-foot spirit level to ensure even weight distribution across the soil surface.
Pro-Tip: Apply a copper-based wood preservative to the end grains. Copper acts as a potent fungicide that prevents the colonization of wood-decaying organisms by disrupting their cellular enzymes; this extends the bench life by years.
Establishing the Microclimate
Once the bench is secure, backfill the area with a mixture of 70% native soil and 30% finished compost. Mulch the perimeter with 2 inches of arborist chips to suppress weeds and maintain soil moisture.
Pro-Tip: Plant low-growing herbs like Thymus vulgaris around the base. These plants utilize mycorrhizal symbiosis to improve soil structure around the bench footings, creating a biological net that prevents soil erosion during heavy rain events.
The Clinic:
Physiological disorders in the garden often manifest near heavy structures due to soil compaction or light obstruction.
- Symptom: Interveinal chlorosis (yellowing leaves with green veins).
Solution: This indicates a Manganese or Iron deficiency often caused by high pH near concrete footings. Apply elemental sulfur to lower the pH to 6.5. - Symptom: Etiolation (pale, leggy growth).
Solution: The bench may be casting a shadow that triggers a shade-avoidance response. Increase light penetration by pruning overhanging branches with bypass pruners. - Symptom: Adventitious rooting on stems.
Solution: This suggests poor drainage and high humidity at the soil surface. Increase airflow by spacing plants at least 12 inches from the bench base.
Fix-It Section: For Nitrogen chlorosis (overall paling of older leaves), apply a side-dressing of blood meal (12-0-0) at a rate of 1 pound per 100 square feet. This provides a rapid boost of organic nitrogen to restore chlorophyll production.
Maintenance:
A garden bench requires consistent monitoring to ensure it does not become a vector for pathogens. Use a soil moisture meter to check the levels under the bench; these areas often remain dry because the seat acts as an umbrella. Ensure the surrounding plants receive 1.5 inches of water per week at the drip line. Use a hori-hori knife to remove any deep-rooted perennial weeds that emerge near the footings, as their roots can heave the structure over time. Annually, check the structural integrity of the wood and tighten any fasteners that have loosened due to the natural expansion and contraction of the timber.
The Yield:
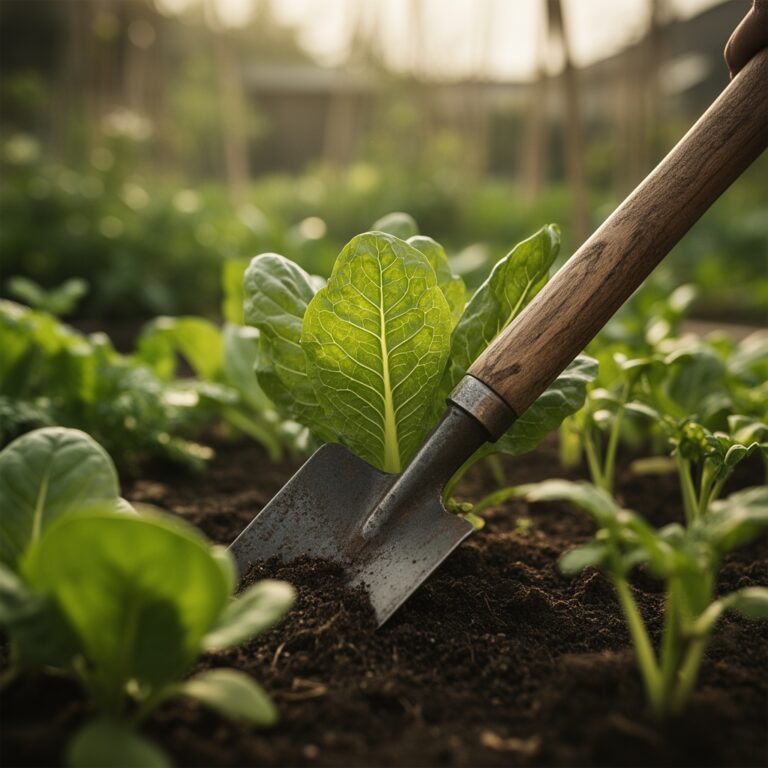
While a bench does not produce a harvest, it facilitates the harvest of surrounding crops. Use the bench as a staging area for your harvest baskets. For leafy greens like Kale or Swiss Chard, harvest in the early morning when turgor pressure is at its peak. This ensures the cells are fully hydrated, providing "day-one" freshness. Use bypass pruners to make clean cuts at a 45-degree angle to prevent water from pooling on the wound, which reduces the risk of fungal infection. Immediately move harvested produce into the shade provided by the bench to slow down the rate of senescence and respiration.
FAQ:
What is the best wood for a garden bench?
Cedar and Redwood are superior due to their natural tannins and oils. these compounds resist rot and insect infestation. Pressure-treated lumber rated for "Ground Contact" is a cost-effective alternative for structural footings.
How deep should I bury the bench posts?
Posts should be buried below the local frost line, typically 24 to 36 inches. This prevents "frost heaving," where the expansion of freezing soil moisture pushes the posts upward, unleveling the structure.
Does a bench affect soil pH?
Pressure-treated wood or concrete footings can leach alkaline compounds into the soil. Monitor the area with a pH probe. If the pH rises above 7.0, incorporate sphagnum peat moss or sulfur to re-acidify the rhizosphere.
How do I prevent weeds under the bench?
Lay a geotextile fabric over the soil and cover it with 3 inches of inorganic mulch, such as pea gravel. This blocks the photoperiod requirements for weed seed germination while allowing oxygen and water to reach the soil.