9 Flavorful Steps to Use Specialized Indoor Herb Soil
Crushing a leaf of Mediterranean rosemary between your thumb and forefinger should release an immediate, pungent oil that lingers on the skin; this is the direct result of high turgor pressure and concentrated essential oil production within the glandular trichomes. Achieving this intensity indoors requires more than a standard potting mix. Using a specialized herb soil provides the precise drainage and nutrient density required to prevent root rot while fueling rapid vegetative growth. Most indoor herbs fail because of anaerobic conditions in the rhizosphere or excessive nitrogen that dilutes flavor. A professional substrate balances aeration with moisture retention, ensuring the plant maintains a metabolic rate high enough to synthesize complex terpenes. By controlling the physical properties of the growing medium, you dictate the cellular strength of the plant. A specialized mix typically features a lower Cation Exchange Capacity (CEC) than heavy garden soils, which allows for more immediate control over nutrient availability. This guide details the technical requirements for mastering indoor herb cultivation through rigorous soil management and environmental control.
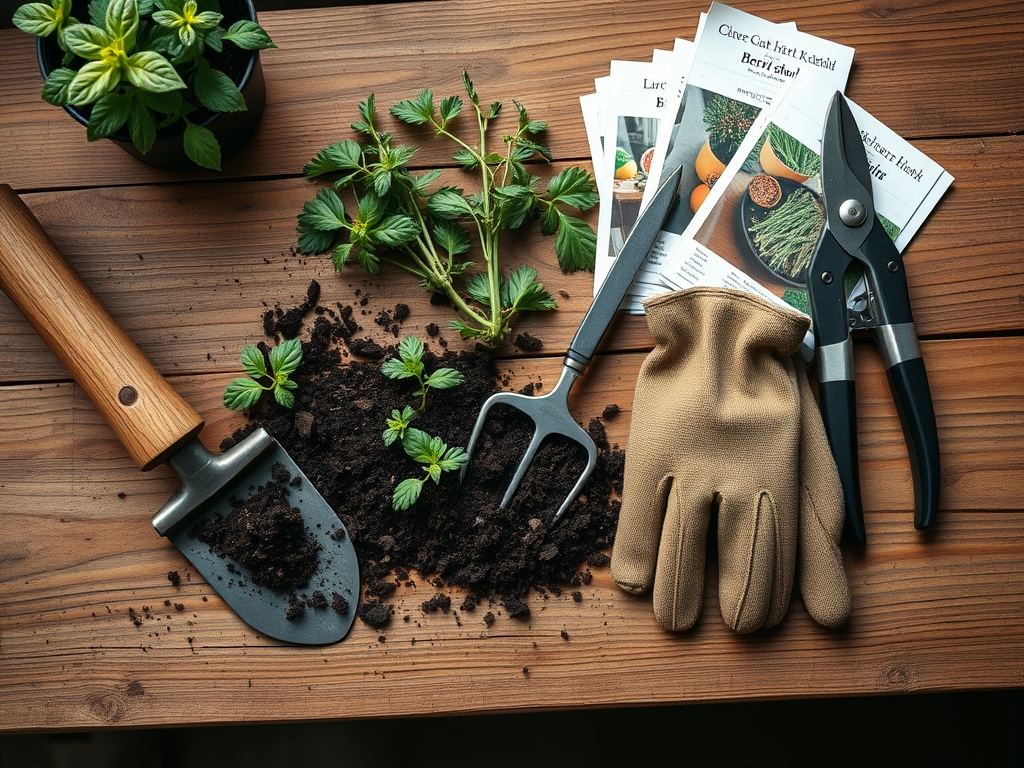
Materials:
The ideal substrate for indoor herbs is a friable loam with a high percentage of perlite or pumice to ensure oxygen diffusion. For most culinary herbs, target a soil pH between 6.0 and 7.0. Mediterranean varieties like thyme and oregano prefer the upper end of this range (6.7 to 7.0), while soft-stemmed herbs like basil thrive at 6.0 to 6.5.
When selecting or mixing specialized soil, prioritize these NPK ratios and amendments:
- Low Nitrogen (NPK 2-1-2 or 5-5-5): High nitrogen levels (above 10) lead to "lush" growth that lacks flavor. You want steady, balanced development.
- Dolomitic Lime: This stabilizes pH and provides essential calcium and magnesium.
- Mycorrhizal Inoculants: These fungi extend the root system's reach, improving phosphorus uptake.
- Worm Castings: These provide a slow release of micronutrients without burning the delicate root hairs.
The texture must be gritty. If you squeeze a handful of moist soil, it should hold its shape for a second and then shatter easily when poked. This indicates a high pore space percentage, which is critical for preventing the fungal pathogens that plague indoor containers.
Timing:
Indoor herb cultivation bypasses traditional Hardiness Zones (Zones 1 through 13), yet the biological clock of the plant remains tethered to light and temperature. Most herbs require a minimum of 6 hours of direct sunlight or 12 to 14 hours of supplemental LED light to maintain a healthy photoperiod.
The transition from the vegetative stage to the reproductive stage (bolting) is often triggered by rising temperatures and lengthening days. For annuals like cilantro, keep ambient temperatures between 60 and 70 degrees Fahrenheit to delay senescence. Once the plant reaches its "Critical Mass" (usually 6 to 8 inches in height), it enters its peak flavor window. Monitoring the biological clock ensures you harvest before the plant redirects its energy from leaf production to seed development, which results in bitter foliage.
Phases:

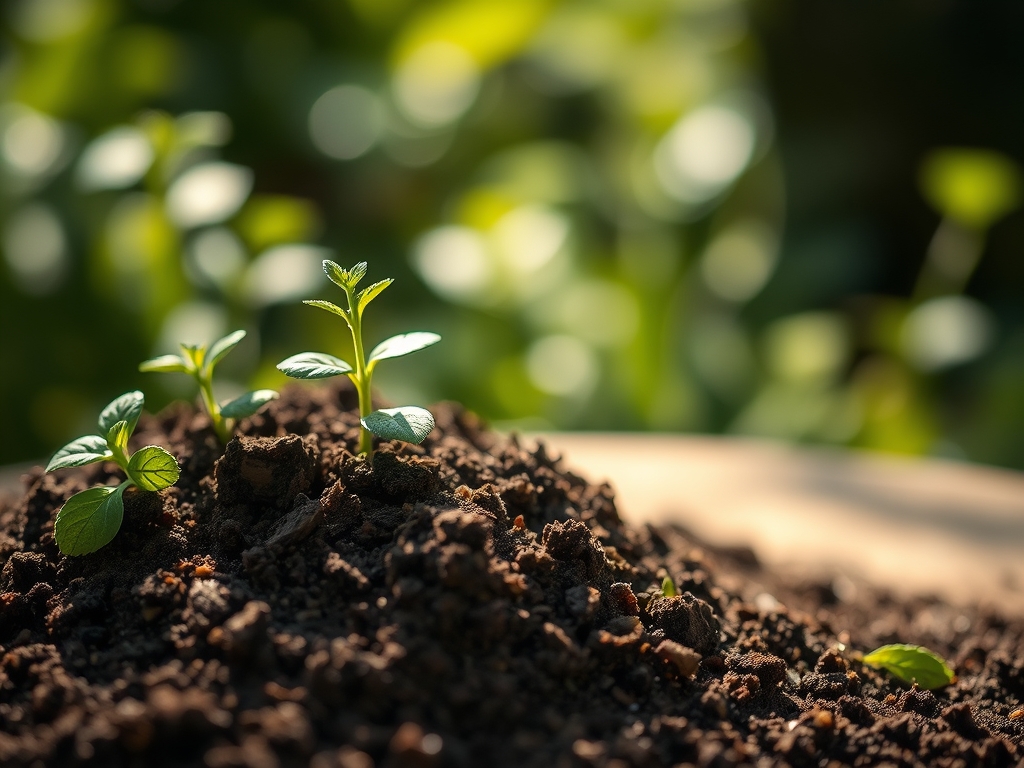
Sowing and Germination
Place seeds at a depth of roughly two times their diameter. Use a heat mat to maintain a consistent soil temperature of 70 to 75 degrees Fahrenheit for optimal germination rates.
Pro-Tip: Maintain high humidity during this phase to prevent the seed coat from hardening. This supports turgor pressure within the germinating embryo, allowing it to break through the soil surface without exhausting its stored energy reserves.
Transplanting
When the seedling develops its second set of "true leaves," move it to its permanent container. Ensure the specialized herb soil is pre-moistened but not saturated. Gently tease the roots to encourage outward growth.
Pro-Tip: Avoid burying the "crown" of the plant (where the stem meets the roots). Deep planting can lead to damping-off, a fungal condition where the stem tissue collapses due to lack of oxygen and excessive moisture at the soil line.
Establishing and Growth
During the first three weeks post-transplant, focus on root development. Use a high-phosphorus liquid fertilizer at half strength once to stimulate the root architecture.
Pro-Tip: Implement auxin suppression by pinching off the terminal buds (the very top growth). This disrupts apical dominance, signaling the plant to redistribute growth hormones to lateral buds, resulting in a bushier, more productive herb.
The Clinic:
Physiological disorders in indoor herbs are often misidentified as pests. Use this diagnostic guide to troubleshoot.
Symptom: Interveinal Chlorosis (Yellowing between green veins)
- Cause: Iron or Manganese deficiency, often caused by a pH above 7.5.
- Solution: Check soil pH. If too high, flush with slightly acidic water (pH 5.5) or add chelated iron.
Symptom: Leaf Tip Burn
- Cause: Salt accumulation from synthetic fertilizers or over-fertilization.
- Solution: Leach the soil by running a volume of water equal to two times the pot size through the substrate.
Symptom: Edema (Small bumps or blisters on leaf undersides)
- Cause: The plant absorbs water faster than it can transpire it, usually due to high humidity and low airflow.
- Solution: Increase ventilation with a small oscillating fan and reduce watering frequency.
Fix-It: Nitrogen Chlorosis
If the oldest leaves at the bottom of the plant turn a uniform pale yellow, the plant is scavenging nitrogen for new growth. Apply a liquid seaweed or fish emulsion (NPK 2-3-1) to provide an immediate nitrogen boost without over-stimulating the plant.
Maintenance:
Precision is the difference between a surviving plant and a thriving one. Use a soil moisture meter to ensure the root zone remains at a "3" or "4" on a 10-point scale. For most herbs, provide 1 to 1.5 inches of water per week, delivered directly to the soil surface to keep the foliage dry.
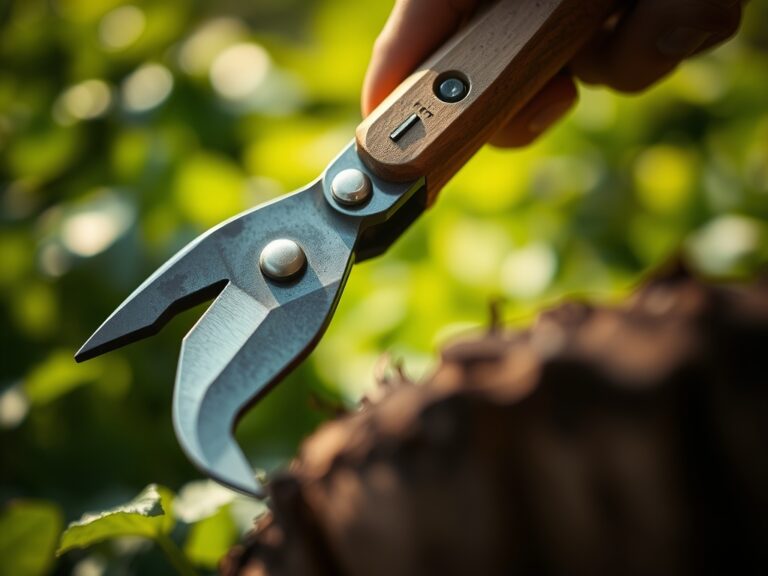
Use bypass pruners for clean cuts; ragged edges are entry points for pathogens. When the plant reaches 8 inches, begin regular pruning. Never remove more than 30 percent of the foliage at one time to avoid putting the plant into a state of shock. For woody herbs like rosemary, use a hori-hori knife to occasionally aerate the top inch of soil, preventing the surface from becoming hydrophobic.
The Yield:
Harvesting should occur in the morning when essential oil concentration is at its peak. For leafy herbs like basil, cut just above a leaf node to encourage new branching. For woody herbs, harvest the tender top growth rather than the old, lignified wood.
To maintain "day-one" freshness, treat harvested herbs like cut flowers. Place the stems in a glass of water and cover loosely with a perforated plastic bag. Store in the refrigerator at 34 to 38 degrees Fahrenheit, except for basil, which should remain at room temperature to prevent blackening of the leaves due to cold shock.
FAQ:
How often should I change my specialized herb soil?
Replace indoor herb soil every 12 to 18 months. Over time, the organic matter decomposes, leading to soil compaction and reduced aeration, which hinders root respiration and nutrient uptake.
Can I reuse soil from a dead herb?
No. Reusing soil risks transferring pathogens like Fusarium or Pythium to new plants. Old soil also suffers from nutrient depletion and salt buildup. Always start with fresh, sterile specialized herb soil.
Why is my indoor herb soil growing white mold?
White surface mold usually indicates low airflow and overwatering. It is typically a saprophytic fungus. Scrape off the top layer, reduce watering, and increase air circulation using a fan.
Does specialized herb soil need extra fertilizer?
Yes, but sparingly. Most mixes contain enough nutrients for 4 to 6 weeks. Afterward, apply a balanced organic fertilizer every 4 weeks during the active growing season to maintain nutrient density.