9 Participation Steps to Prepare a Shared Community Garden
The scent of damp earth rising from a freshly turned bed is more than just a pleasant odor; it is the smell of geosmin, a metabolic byproduct of Actinobacteria indicating a healthy, aerobic soil profile. When you press your thumb against a leaf and feel the firm resistance of turgor pressure, you are witnessing the success of cellular hydration and osmotic balance. Understanding how to prepare a garden for a community food garden requires moving beyond casual planting and into the realm of technical land management. A shared space demands a rigorous approach to soil chemistry and structural integrity to ensure high yields for all participants. Success begins with the microscopic life within the rhizosphere, where root exudates and fungal networks determine the nutrient density of the final harvest. We do not merely plant seeds; we engineer a biological system capable of sustained production throughout the growing season. This guide provides the technical framework for transforming a communal plot into a high performance agricultural site through data driven methodology and precise mechanical execution.
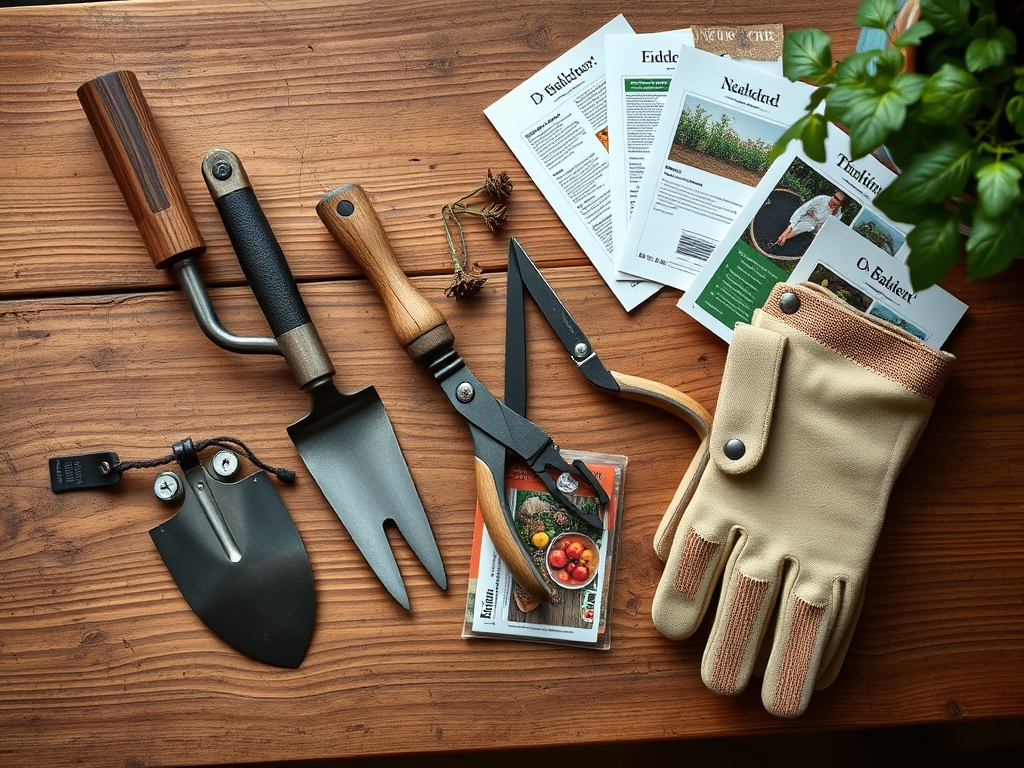
Materials:
The foundation of a community garden is a **friable loam** consisting of roughly 40 percent sand, 40 percent silt, and 20 percent clay. This ratio ensures optimal Cation Exchange Capacity (CEC), allowing the soil to retain essential nutrients like calcium and magnesium while permitting adequate drainage. You must verify the soil pH before any amendments; most vegetable crops thrive in a range of **6.2 to 6.8**.
For the initial preparation, secure organic fertilizers with specific NPK ratios. A 5-10-10 blend is ideal for root development and flowering without overstimulating excessive vegetative growth. You will also need elemental sulfur to lower pH or calcitic lime to raise it, depending on your initial test results. Ensure you have high quality compost with a Carbon-to-Nitrogen (C:N) ratio of 30:1. This balance prevents nitrogen immobilization, a state where microbes consume all available nitrogen to break down woody carbon sources, leaving the plants deficient.
Timing:
Timing is governed by the United States Department of Agriculture (USDA) Hardiness Zones and the specific frost dates of your microclimate. In Zones 5 through 7, the spring planting window typically opens between late March and mid May. You must track the Biological Clock of your crops, which is the transition from the vegetative stage (leaf and stem growth) to the reproductive stage (flowering and fruiting).
Cold hardy crops like kale and spinach can be sown when soil temperatures reach 45 degrees Fahrenheit. Conversely, thermophilic crops like peppers and tomatoes require a minimum soil temperature of 65 degrees Fahrenheit to prevent stunted growth and root rot. Observe the photoperiod requirements of your plants; many species require at least 12 to 14 hours of daylight to trigger the transition from vegetative biomass production to fruit set.
Phases:
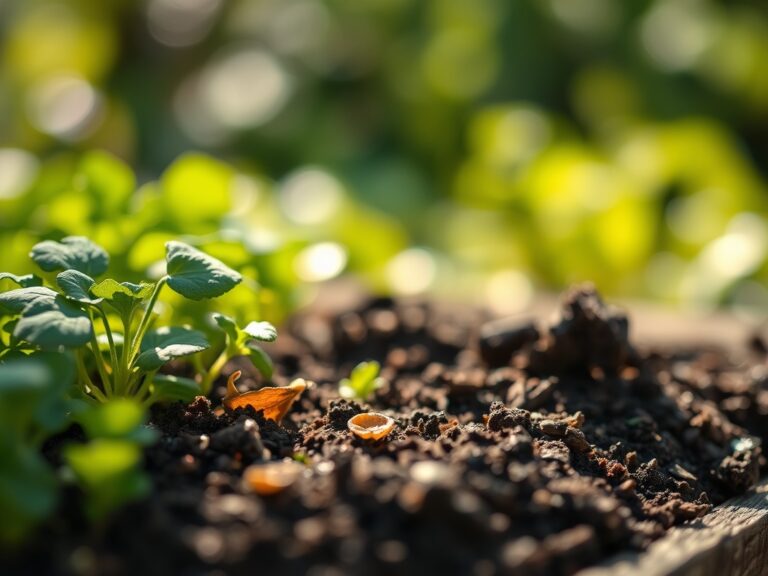
Sowing
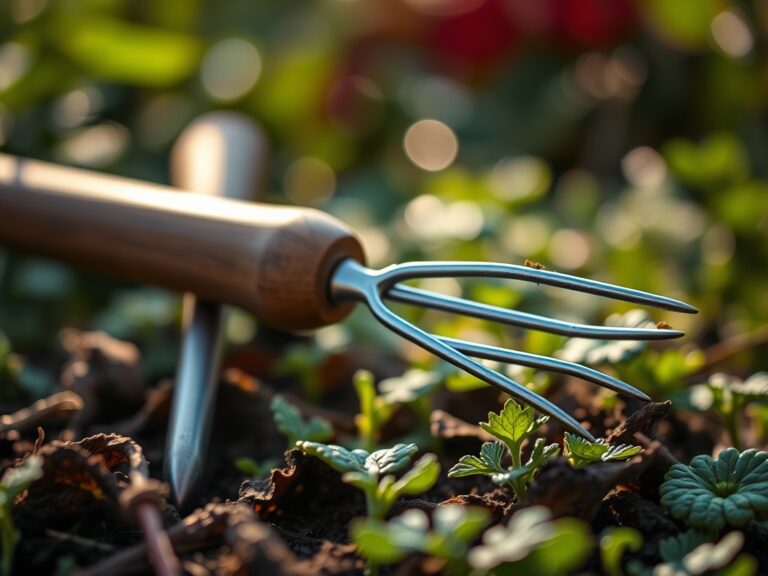
Direct sowing requires a finely raked seedbed free of large clods. Plant seeds at a depth equal to three times their diameter. For communal plots, use a taut string line to ensure straight rows, which simplifies mechanical weeding and irrigation layout.
Pro-Tip: Proper seed to soil contact is vital for imbibition, the process where a seed absorbs water to activate metabolic enzymes. Without this physical contact, germination rates drop significantly.
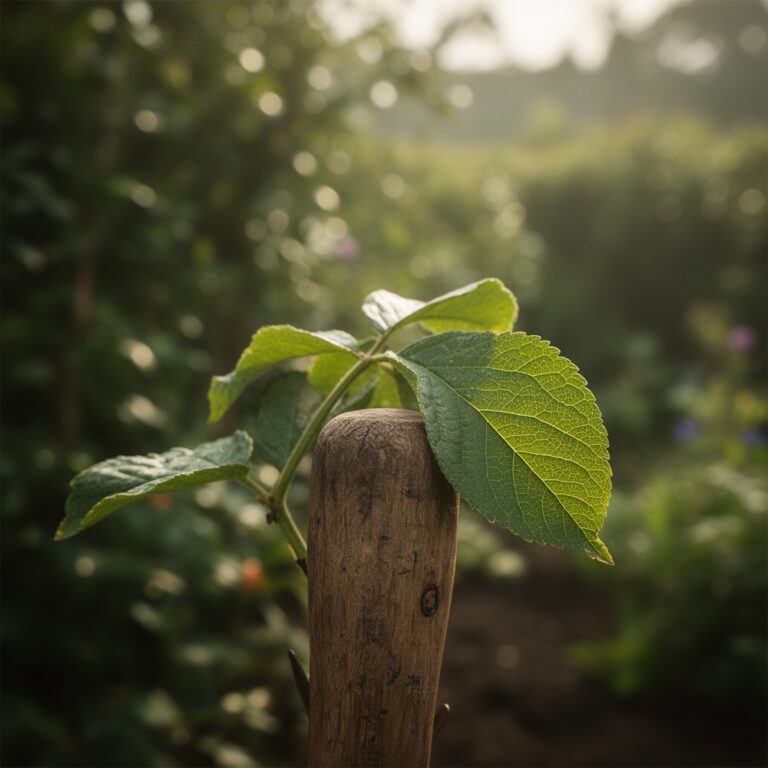
Transplanting
When moving seedlings from flats to the field, minimize root disturbance to prevent transplant shock. Dig a hole twice the width of the root ball. Ensure the root flare is level with the soil surface to prevent stem rot.
Pro-Tip: Apply a mycorrhizal inoculant to the planting hole. This establishes a mycorrhizal symbiosis, where fungal hyphae extend the reach of the root system, increasing phosphorus uptake by up to 10 times.
Establishing
The first 14 days post planting are critical for root establishment. Maintain consistent moisture levels to support turgor pressure and prevent wilting. Mulch the area with straw or wood chips to suppress weed competition and regulate soil temperature.
Pro-Tip: Avoid excessive nitrogen application during this phase to prevent auxin suppression. High nitrogen levels can cause the plant to focus on upward growth at the expense of a deep, resilient root architecture.
The Clinic:
Physiological disorders often mimic infectious diseases but are usually caused by environmental or nutritional imbalances.
Symptom: Interveinal chlorosis (yellowing between leaf veins) on new growth.
Solution: This indicates an Iron deficiency, often caused by high soil pH.
Fix-It: Apply chelated iron foliar spray and adjust soil pH toward the acidic range using elemental sulfur.
Symptom: Blossom end rot on tomatoes or peppers.
Solution: This is a Calcium deficiency, often exacerbated by inconsistent watering.
Fix-It: Maintain a steady irrigation schedule and ensure soil calcium levels are adequate; use a soil moisture meter to verify water depth.
Symptom: Purple tint on the underside of older leaves.
Solution: Phosphorus deficiency, common in cold, wet soils.
Fix-It: Apply a high phosphorus fertilizer (the middle NPK number) and improve drainage to warm the soil.
Maintenance:
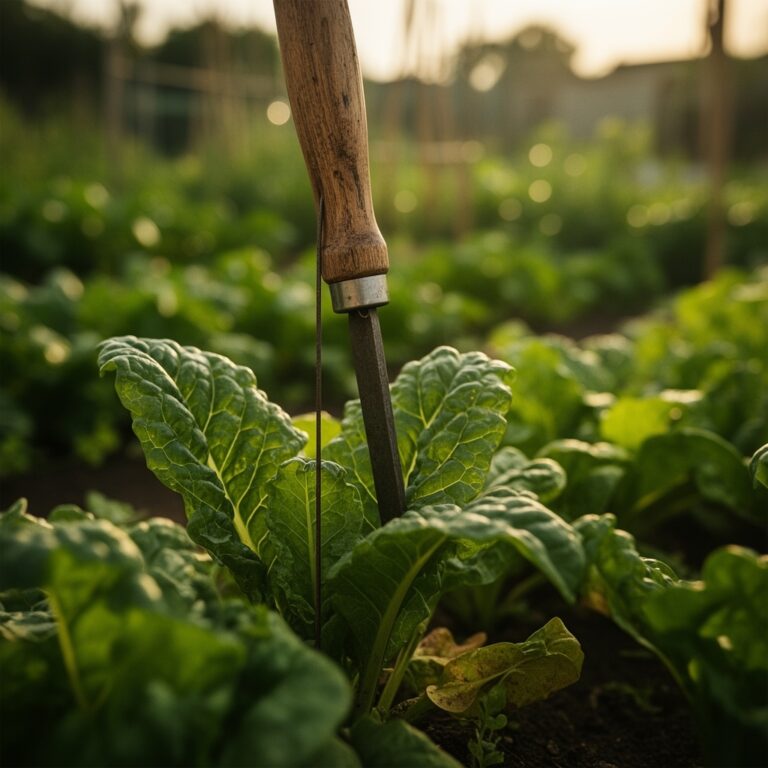
Precision maintenance prevents crop failure. Provide 1.5 inches of water per week delivered at the drip line to keep foliage dry and reduce fungal pathogens. Use a hori-hori knife for deep weeding, ensuring you remove the entire taproot of perennial weeds.
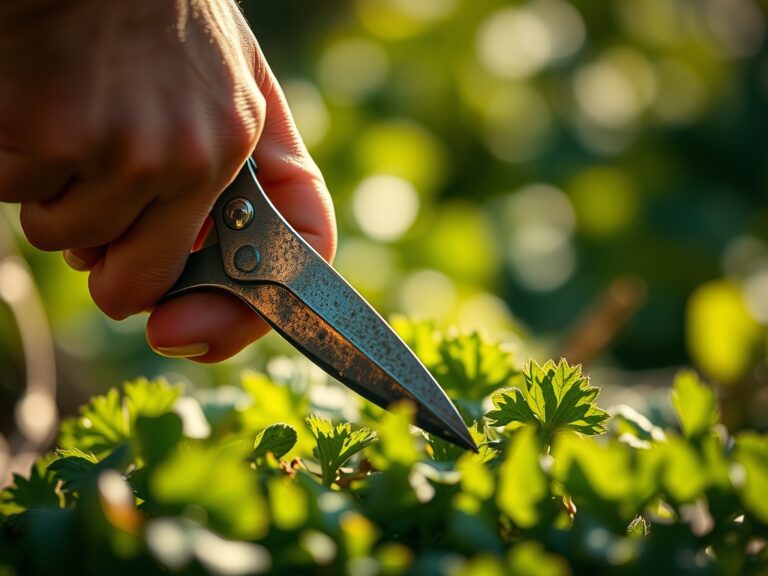
Pruning should be performed with sharp bypass pruners to create clean cuts that heal quickly. For indeterminate tomatoes, remove "suckers" (axillary buds) to improve airflow and focus energy on fruit production. Use a soil moisture meter daily at a depth of 6 inches to ensure the root zone remains in the "available water" range without reaching the wilting point.
The Yield:
Harvesting is a science of timing. For leafy greens, harvest in the early morning when turgor pressure is highest; this ensures the leaves are crisp and have a longer shelf life. For fruiting crops like beans or squash, harvest frequently to prevent the plant from entering senescence, a state where it stops producing new fruit because it has successfully produced mature seeds.
Post harvest handling is critical for "day one" freshness. Immediately move produce out of direct sunlight to reduce field heat. For high respiration crops like broccoli, rapid cooling to 34 degrees Fahrenheit is necessary to slow down metabolic degradation and preserve nutrient content.
FAQ:
How do I fix compacted soil in a community plot?
Aerate the soil using a broadfork or core aerator. Incorporate 3 inches of organic matter to improve soil structure and increase pore space. This enhances oxygen diffusion to the roots and improves drainage in heavy clay soils.
What is the best way to prevent weeds organically?
Apply a 4 inch layer of organic mulch such as straw or shredded bark. This blocks light from reaching weed seeds, preventing germination. For established weeds, use a hori-hori knife to extract the entire root system manually.
How often should we test the soil?
Conduct a professional soil test every 2 to 3 years. This provides data on pH, NPK levels, and Cation Exchange Capacity. Regular testing prevents nutrient toxicity and ensures you are only applying the amendments the soil actually requires.
Why are my plants turning yellow despite watering?
This is often nitrogen chlorosis caused by overwatering or poor drainage, which leaches nitrates from the soil. Ensure the soil is not waterlogged and apply a balanced liquid fertilizer to restore nitrogen levels in the leaf tissue.