9 Steps to Prepare a Garden for a Rose Arbor
Learning how to prepare a garden for a rose arbor transforms an ordinary plot into a structured growing system that supports climbing roses for decades. The process begins months before installation and demands attention to soil chemistry, drainage patterns, and root zone architecture. A properly prepared site allows Rosa species to establish deep feeder roots while supporting the weight of mature canes laden with blooms.
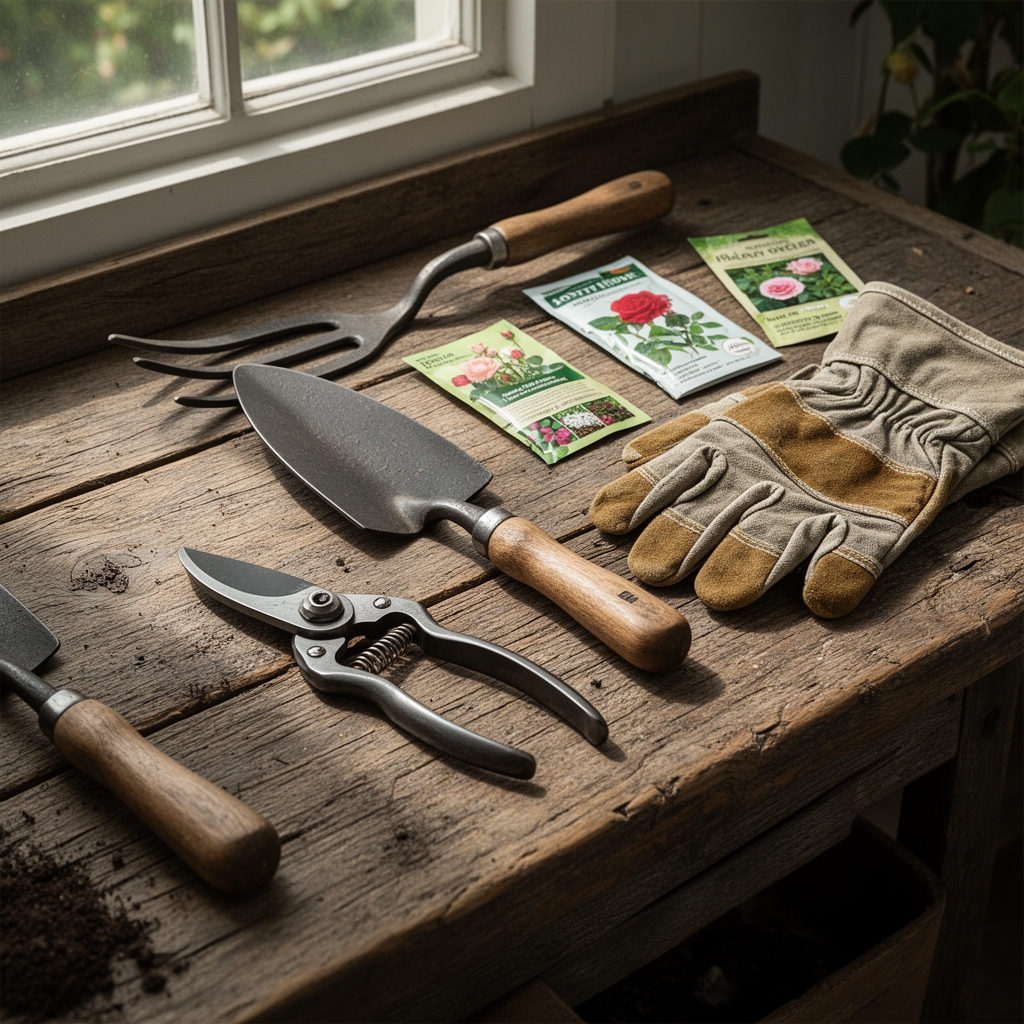
Materials
The foundation of arbor preparation rests on soil amendment. Acquire 3-4 cubic yards of aged compost with a C:N ratio between 25:1 and 30:1. Source a balanced organic fertilizer at 4-4-4 or 5-5-5 NPK to establish baseline nutrition. Purchase agricultural sulfur if your native pH exceeds 7.0; roses perform optimally between 6.0 and 6.8 pH.
Incorporate mycorrhizal fungi inoculant containing Glomus species at 2 ounces per planting hole. These symbionts colonize rose roots and extend phosphorus uptake radius by 400%. Select hardwood mulch in 2-3 inch particle size, avoiding fresh cedar or walnut which release allelopathic compounds.
Tools include a soil probe for testing compaction to 24 inches, a broadfork for subsurface aeration, and a refractometer to measure soil solution Brix levels. For heavy clay sites, obtain gypsum (calcium sulfate) at 40 pounds per 100 square feet to improve cation exchange capacity without altering pH.
Timing
Preparation schedules align with USDA Hardiness Zones. In Zones 6-7, begin site work in late September through October when soil temperatures drop below 60°F but remain above 50°F. This window allows organic matter to decompose partially before winter dormancy.
For Zones 8-9, prepare beds from November through December. The goal is completion 6-8 weeks before your last frost date. Zone 5 gardeners should work in early September, finishing before the first hard freeze in mid-October.
Avoid preparation during saturated conditions. Soil worked when wet loses structure and develops compaction layers that restrict oxygen diffusion. Wait until soil crumbles freely when squeezed and releases moisture without forming a tight ball.
Phases
Site Assessment and Clearing
Mark a 4-foot radius around each arbor post location. Remove existing vegetation to bare soil. Test drainage by digging 12-inch holes and filling with water. Proper drainage empties the hole within 4-6 hours. Slower rates indicate clay content requiring amendment or raised bed construction.
Conduct soil testing for pH, phosphorus, potassium, calcium, and magnesium. Submit samples to your state extension service laboratory. Results guide amendment quantities and prevent nutrient imbalances that trigger chlorosis or stunted growth.
Pro-Tip: Use a tile spade to cut a 6-inch deep trench around the preparation zone perimeter. This severs perennial weed rhizomes and prevents lateral invasion during establishment.
Soil Amendment and Structure Building
Double-dig the marked area to 18 inches depth. Remove soil in 6-inch layers, setting each aside. Break up the exposed subsoil with a broadfork, penetrating 8-10 inches. This fractures hardpan without inverting soil horizons.
Mix compost at 30% by volume into the subsoil layer. Return half the excavated topsoil, incorporating the 4-4-4 fertilizer at 2 pounds per 50 square feet. Add the remaining topsoil mixed with additional compost. Final bed height should sit 3-4 inches above grade to ensure drainage.
Apply gypsum to clay soils, working it into the top 8 inches. This flocculates clay particles and creates aggregates that improve water infiltration. Do not combine sulfur and gypsum applications; separate by 4 weeks minimum.
Pro-Tip: Create a 6-inch deep saucer depression 18 inches from the arbor post center. This captures irrigation water and directs it to the root initiation zone rather than running off laterally.
Arbor Installation and Root Zone Finishing
Set arbor posts in concrete footings extending below frost line depth for your zone. Position posts 6-8 inches outside the amended bed perimeter to avoid root competition. Allow concrete to cure 72 hours before attaching crossbeams.
Install drip irrigation with emitters at 1-gallon-per-hour flow rate, spacing them 12 inches apart in a circular pattern. Position the irrigation ring 16-20 inches from post centers. This encourages outward root expansion and prevents crown rot.
Broadcast mycorrhizal inoculant across the bed surface at manufacturer's specified rate. Lightly rake into the top 2 inches. Apply 3 inches of hardwood mulch, maintaining a 4-inch gap around future planting sites to prevent stem rot.
Pro-Tip: Insert bamboo stakes at 45-degree angles pointing toward the arbor posts. These train first-year canes and establish auxin distribution patterns that promote climbing habit rather than shrub form.
Troubleshooting
Symptom: Water pools on bed surface 24 hours after irrigation.
Solution: Core aerate with a hollow-tine aerator to 6 inches depth. Backfill holes with coarse sand at 50% and compost at 50% to create drainage channels.
Symptom: Soil pH remains above 7.2 despite sulfur application.
Solution: Test for free lime (calcium carbonate) content. If present above 3%, construct raised beds with imported topsoil rather than continuing amendment efforts. Native alkalinity will persist.
Symptom: Organic matter decomposes within 8 weeks, leaving dense soil.
Solution: Add biochar at 10% by volume to increase carbon residence time. Biochar provides stable organic matter that resists decomposition for decades while improving moisture retention.
Symptom: Mushrooms emerge from mulch layer.
Solution: This indicates healthy saprophytic fungi breaking down lignin. Do not remove. These organisms improve soil structure and do not harm roses.
Symptom: Bed settles 4-6 inches below grade after winter.
Solution: Expect 15-20% settling in year one. Top-dress with additional compost in early spring, maintaining the 3-4 inch elevation above surrounding grade.
Maintenance
Water deeply every 5-7 days during the first growing season, applying 2 gallons per square foot per week. Install a rain gauge to track natural precipitation and adjust irrigation accordingly. Roses require 1-1.5 inches of water weekly during active growth.
Test soil pH annually each March. Clay soils drift toward alkalinity and require sulfur reapplication every 2-3 years at half the initial rate. Sandy soils may need pH adjustment with dolomitic lime if acidity increases below 5.8.
Refresh mulch annually to maintain 3-inch depth. Pull back mulch 6 inches from rose crowns each spring to allow soil warming and prevent fungal pathogen proliferation in cool, moist conditions.
Side-dress with 5-5-5 organic fertilizer at 1 pound per plant in early spring and again in early summer. Cease fertilization 8 weeks before first frost to allow cane hardening. Late-season nitrogen promotes tender growth vulnerable to winter damage.
FAQ
How deep should soil preparation extend for climbing roses?
Prepare to 18 inches minimum. Climbing rose roots reach 36 inches deep at maturity, but the critical feeder root zone occupies the top 18 inches where oxygen and nutrient exchange occur.
Can I prepare a rose arbor site in spring?
Spring preparation works in Zones 3-5 where fall work is impractical. Complete all amendments 4 weeks before planting to allow soil biology to stabilize and prevent nitrogen immobilization during organic matter decomposition.
What spacing prevents competition between roses on opposite arbor sides?
Space plants 6-7 feet apart for moderate growers like 'New Dawn.' Vigorous cultivars including 'Cecile Brunner' require 8-10 feet. Root zones overlap but competition remains manageable at these intervals.
Should I use landscape fabric under mulch?
No. Landscape fabric prevents organic matter incorporation, blocks earthworm migration, and creates an interface where roots mat horizontally rather than penetrating deeply. Rely on adequate mulch depth for weed suppression.
How long before prepared beds can receive rose plants?
Wait 6-8 weeks after final amendment. This allows microbial populations to establish, organic matter to begin decomposition, and any initial nutrient fluxes to stabilize. Plant bare-root roses during dormancy or containerized specimens after last frost.