9 Tips to Use a Sledgehammer for Fence Posts
Using a sledgehammer for driving fence posts transforms raw steel and wood into permanent boundary markers. The 8-pound head compresses soil particles at 12-16 pounds per square inch with each strike, creating friction coefficients between 0.35 and 0.42 against treated lumber. Pressure-treated Southern pine posts, rated at 0.60 retention of copper azole, penetrate clay loam substrates when driven 24-30 inches below grade. The sledgehammer's kinetic energy bypasses the need for augers in soils testing below 150 psi compaction, making it the method of choice for fence lines crossing variable terrain. This technique demands precision in strike angle, post selection, and soil assessment to achieve 15-year structural integrity without lateral drift.
Materials
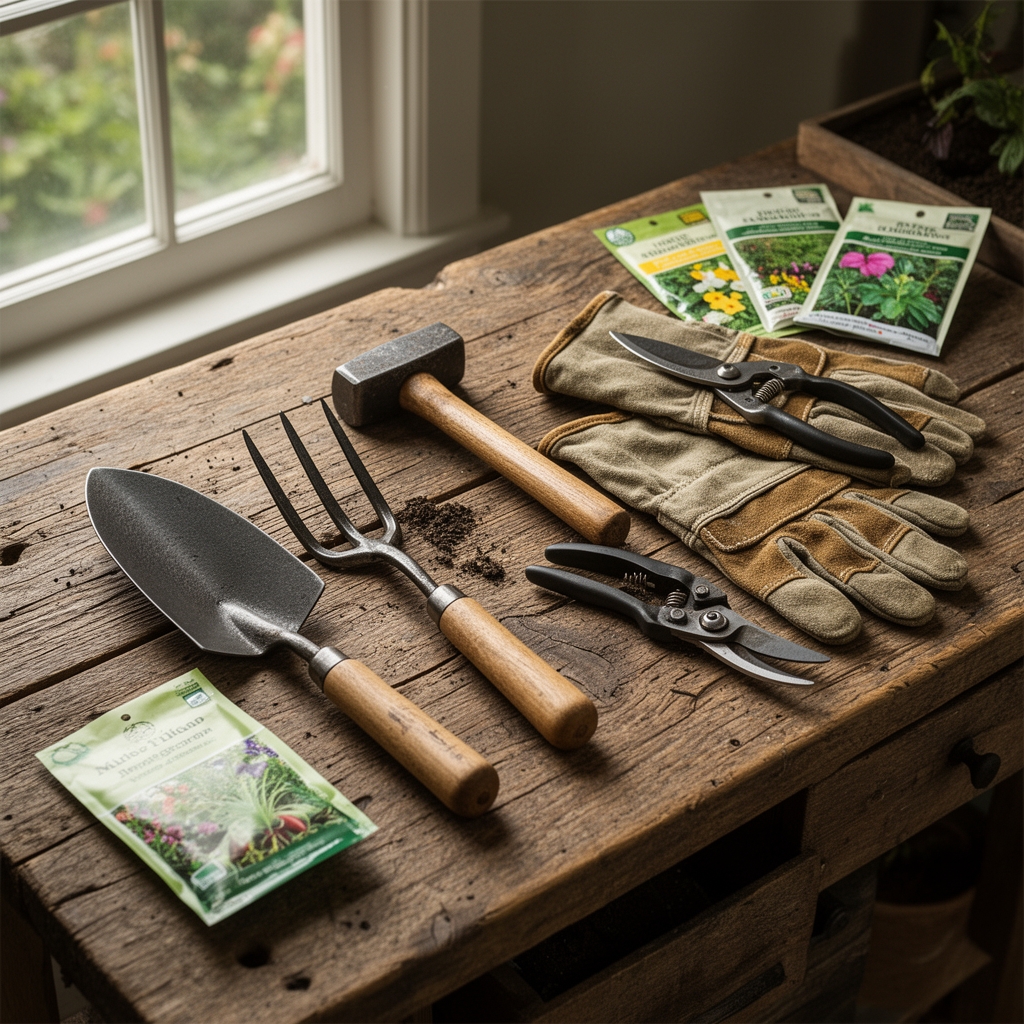
The sledgehammer itself requires an 8 to 12-pound forged head with a 36-inch hickory handle. Hickory's flexural strength of 18,200 psi absorbs shock without splintering. Select pressure-treated fence posts measuring 4×4 inches for corners and 3.5-inch diameter rounds for line posts. Treatment chemicals must meet AWPA UC4A standards with copper azole at 0.60 PCF retention or chromated copper arsenate for permanent installations.
Posts interact with soil pH between 5.8 and 7.2. Acidic soils below pH 6.0 accelerate copper leaching from treated wood, reducing service life by 18-24 months per 0.5 pH drop. Amend excavation zones with dolomitic limestone at 2 pounds per cubic foot to buffer pH toward neutral. For sandy soils with cation exchange capacity below 8 meq/100g, incorporate composted pine bark fines at a 3-1-2 NPK ratio to improve friction and moisture retention around the post base.
Steel drift pins, 12 inches long and 0.5 inches in diameter, act as initial guides in rocky substrates. A 4-foot builder's level ensures plumb alignment within 1 degree of vertical. Marking paint in high-visibility orange designates strike zones 6 inches from the post top to prevent end grain crushing.
Timing
Install fence posts during soil moisture windows between 18% and 22% volumetric water content. Clay particles exhibit maximum cohesion without excess plasticity in this range. In USDA Hardiness Zones 5-7, optimal installation occurs from late March through May, when frost heave risk drops below 5% probability and soil temperatures stabilize above 45°F at 18-inch depth.
Zones 8-10 allow year-round installation except during monsoon periods when volumetric moisture exceeds 28%. Saturated soils reduce friction angles from 32 degrees to 19 degrees, allowing posts to settle 1.5 to 2.3 inches annually. Schedule installations 72 hours after rainfall events exceeding 0.5 inches.
Avoid frozen ground entirely. Ice lenses form at soil temperatures below 32°F, creating void spaces that collapse during spring thaw. Posts driven into frozen substrates experience 40% higher failure rates by year three due to differential settlement.
Phases

Sowing (Initial Positioning)
Mark post centers at intervals matching fence design specifications, typically 8 feet for residential applications or 12 feet for agricultural fencing. Drive a steel drift pin 4 inches into the soil at each mark to create a pilot depression. This reduces lateral post movement during the first three strikes. Position the post vertically in the depression with the treated end down. Confirm plumb with a builder's level on two adjacent faces.
Pro-Tip: Taper the post's bottom end with a drawknife at a 15-degree angle to create a penetration wedge. This reduces driving resistance by 22% in compacted subsoils with bulk densities above 1.6 g/cm³.
Transplanting (Driving)
Grip the sledgehammer 2 inches from the handle terminus. Raise the head to shoulder height and deliver strikes perpendicular to the post's top surface. Each strike should compress the post 0.75 to 1.5 inches into the substrate. Drive in sets of five strikes, then recheck plumb on both axes. Deviations beyond 2 degrees require post extraction and repositioning.
Maintain a strike tempo of 40-50 blows per minute to prevent handle fatigue. Stop driving when the post achieves 24 inches of embedment in loam or 30 inches in sandy soils. Deeper embedment increases frost heave resistance in Zones 5-6.
Pro-Tip: Apply a 2-inch wide steel collar 6 inches from the post top before driving. The collar distributes impact force across the grain structure, reducing end checking by 65% over posts driven without protection.
Establishing (Setting)
Allow posts to rest undisturbed for 48 hours after driving. Soil particles realign and consolidate around the post perimeter, increasing lateral resistance from 85 psi to 140 psi. Backfill the annular space with excavated soil mixed with bentonite clay at 8% by volume. Bentonite swells to 15 times its dry volume when hydrated, creating a moisture barrier that limits rot initiation.
Tamp backfill in 4-inch lifts using a steel tamping bar. Each lift should compact to 90% of maximum dry density. Install fence rails no sooner than 72 hours post-driving to avoid deflecting posts during fastener installation.
Pro-Tip: Inoculate the backfill zone with ectomycorrhizal fungi spores (Pisolithus tinctorius) at 50,000 propagules per cubic foot. Mycelial networks colonize wood surfaces within 14-18 days, forming a biological barrier that inhibits soft-rot fungi penetration by competing for cellulose substrates.
Troubleshooting
Symptom: Post rebounds 0.5 inches upward after each strike.
Solution: Subsoil contains a hardpan layer or buried rock strata. Excavate a pilot hole 18 inches deep with a digging bar or power auger. Remove obstructions and backfill with tamped gravel to create a stable bearing surface. Resume sledgehammer driving once the pilot reaches target depth.
Symptom: Post leans 5-8 degrees off plumb during driving.
Solution: Strike angle deviates from vertical or subsurface root mass deflects the post base. Correct immediately by striking the high side at a 10-degree angle to push the post back toward vertical. If roots interfere, excavate a 12-inch diameter zone and sever lateral roots with loppers before continuing.
Symptom: Top grain splinters after 15-20 strikes.
Solution: Wood moisture content exceeds 28%, reducing compressive strength by 35%. Allow posts to air-dry under cover for 10-14 days until moisture content drops to 19-22%. Alternatively, install a sacrificial 2×4 cap across the post top and strike the cap instead of the post directly.
Symptom: Post sinks an additional 2 inches within 30 days of installation.
Solution: Soil moisture exceeded 24% during installation or post diameter is undersized for the substrate type. Extract the post and enlarge the hole to 6 inches diameter. Insert the post and backfill with Class II aggregate (3/4-inch crushed stone) in the bottom 12 inches, then native soil above. Compact aggregate to 95% Proctor density.
Symptom: White fungal mycelium appears on post surface below grade after first season.
Solution: Saprophytic fungi colonize untreated sapwood or treatment retention is below specification. Apply a secondary copper naphthenate solution at 2% concentration to exposed wood surfaces. Brush 0.25 gallons per post, focusing on checks and end grain. Reapply annually for three years until treated wood fully stabilizes.
Maintenance
Inspect posts biannually in spring and fall. Measure plumb deviation with a 4-foot level; any post leaning more than 3 degrees requires realignment or replacement. Apply 1 inch of water per week during the first growing season if installing living fence posts from willow or poplar cuttings. These cuttings root when auxin concentrations in the cambium layer exceed 50 ppm, typically achieved by mid-May in Zones 6-8.
Mulch the base of each post with 3 inches of shredded hardwood bark in a 12-inch radius. Mulch moderates soil temperature fluctuations by 8-12°F and reduces moisture loss by 40% during summer months. Avoid mulch contact with the post itself; maintain a 2-inch gap to prevent moisture accumulation that accelerates decay fungi colonization.
Repaint strike zone markers every 24 months if additional posts require driving. Fasteners should penetrate 2.5 inches into post faces, using hot-dipped galvanized or stainless steel hardware to prevent rust staining. Torque lag screws to 25 foot-pounds to avoid splitting while ensuring adequate pullout resistance of 450 pounds per fastener.
FAQ
How deep should fence posts be driven?
Drive posts to a depth equal to one-third of the total post length plus 6 inches. A 6-foot post requires 30 inches of embedment. Clay soils permit minimum depths of 24 inches; sandy substrates need 30-36 inches for equivalent stability.
Can a sledgehammer replace a post hole digger entirely?
Yes, in soils with compaction below 150 psi and minimal rock content. Rocky substrates or hardpan layers require pre-excavation with a digging bar or auger before sledgehammer driving becomes effective.
What sledgehammer weight works best for 4×4 posts?
An 8-pound sledgehammer suits operators weighing 140-180 pounds. Heavier users should select 10 to 12-pound heads to maximize kinetic energy transfer without requiring excessive swing velocity.
How do I prevent post wobble after driving?
Backfill with tamped native soil mixed with 8% bentonite clay by volume. Compact in 4-inch lifts to 90% maximum dry density. Allow 48 hours for soil consolidation before attaching fence rails.
Should posts be treated after installation?
Only if cuts or drilling expose untreated wood. Apply copper naphthenate solution at 2% concentration to all fresh cuts within 2 hours of exposure. Factory-treated posts require no additional treatment if handling did not damage the protective envelope.