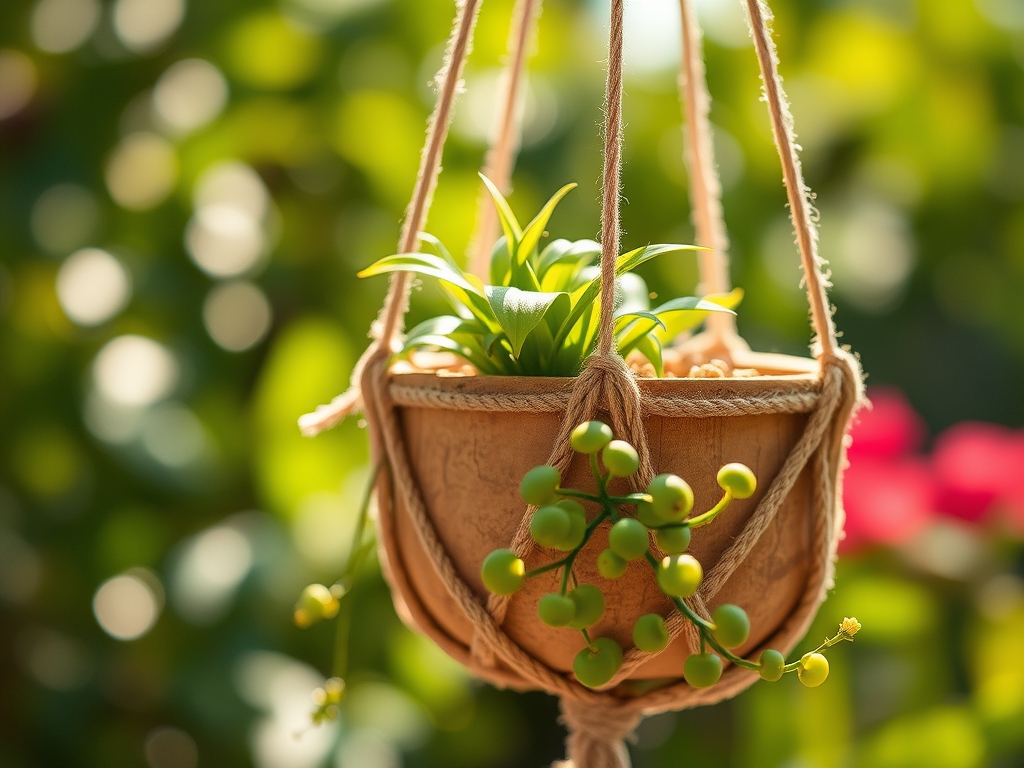
9 Vertical Steps to Prepare a Simple DIY Plant Hanger
Crushing a handful of friable loam reveals the metallic scent of geosmin and the presence of beneficial actinobacteria. When a plant reaches peak turgor pressure, its cell walls are rigid and ready for elevation. Mastering how to prepare a DIY plant hanger requires more than aesthetics; it is an engineering task designed to optimize the rhizosphere and ensure gas exchange remains efficient in a suspended environment. Proper suspension prevents soil compaction and allows for superior drainage control.
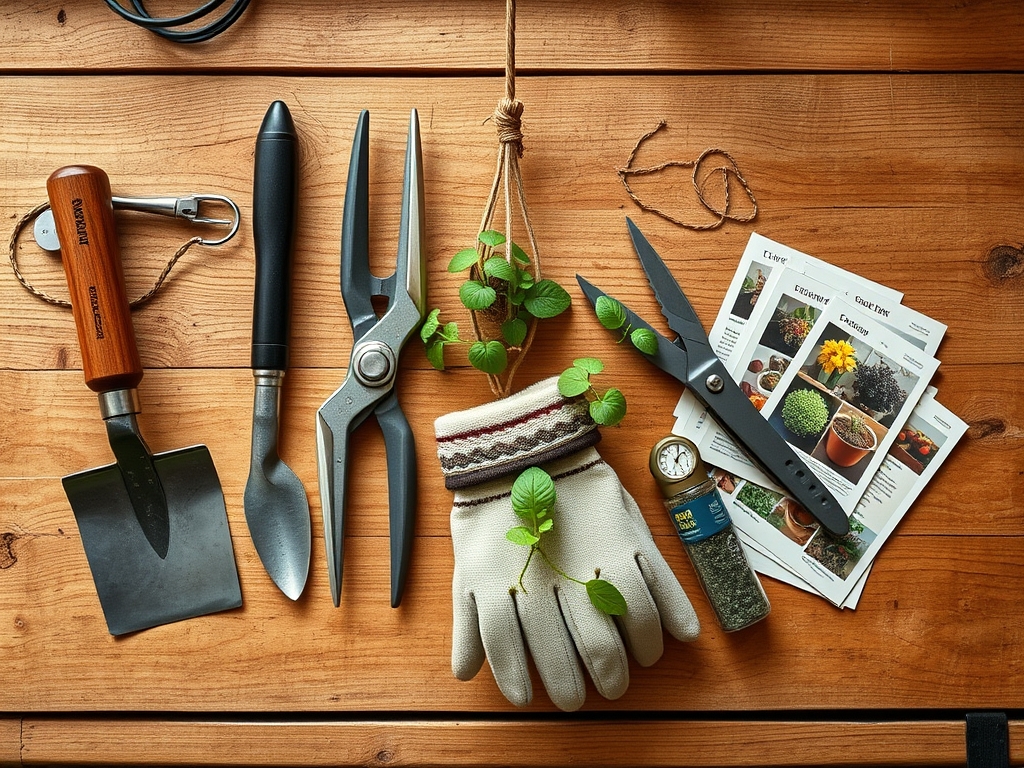
Materials:
Selecting the correct substrate is the foundation of any suspended system. You require a medium with high **Cation Exchange Capacity (CEC)** to retain nutrients against the leaching effects of gravity. Use a mix of **60 percent coconut coir, 20 percent perlite, and 20 percent vermiculite**. This ensures a **pH range of 6.0 to 6.5**, which is the physiological sweet spot for nutrient bioavailability.
For the hardware, utilize 3mm braided cotton cord or 12-gauge galvanized wire to support the weight of saturated soil. A standard 6-inch terracotta pot filled with moist soil can weigh upwards of 5 pounds. Ensure your anchor point is rated for a minimum of 20 pounds to account for biomass growth and water weight. Your fertilizer regimen should follow a 10-10-10 NPK ratio for foliage plants or a 5-10-10 ratio if you are suspending flowering species that require higher phosphorus levels for bud development.
Timing:
Suspension projects should align with the specific Hardiness Zones of your region. For those in Zones 7 through 9, the ideal window for transitioning plants into hangers is the post-frost period, typically between March 15 and April 30. This timing respects the biological clock of the plant as it exits winter dormancy and enters the vegetative growth stage.
During this transition, the plant experiences increased metabolic activity. Monitoring the photoperiod is essential; most tropical species suitable for hangers require 12 to 14 hours of light to maintain vigorous growth. If you are moving a plant from a floor pot to a hanger, do so before the plant enters its reproductive stage to avoid the physiological stress of senescence or flower drop.
Phases:
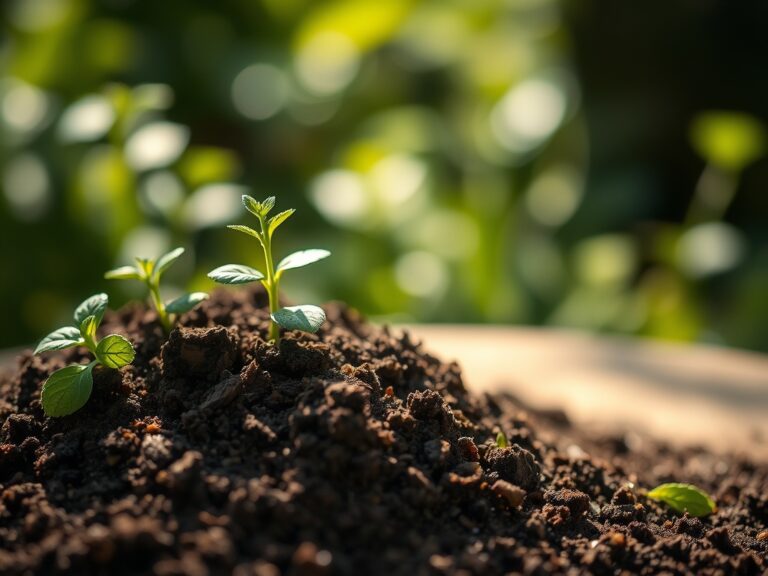
Sowing and Selection
Begin by selecting a species with a trailing habit, such as Epipremnum aureum or Chlorophytum comosum. Ensure the seedling has a robust root system before attempting suspension. If starting from seed, maintain a consistent soil temperature of 70 degrees Fahrenheit to ensure rapid germination.
Pro-Tip: Utilize a mycorrhizal inoculant during the initial planting. This fungal symbiosis expands the root surface area, allowing the plant to better absorb water and micronutrients in the restricted volume of a hanging container.
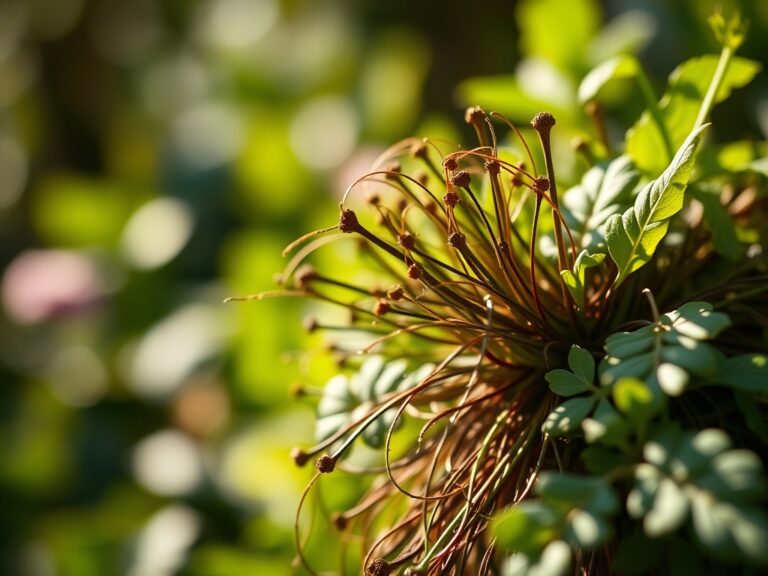
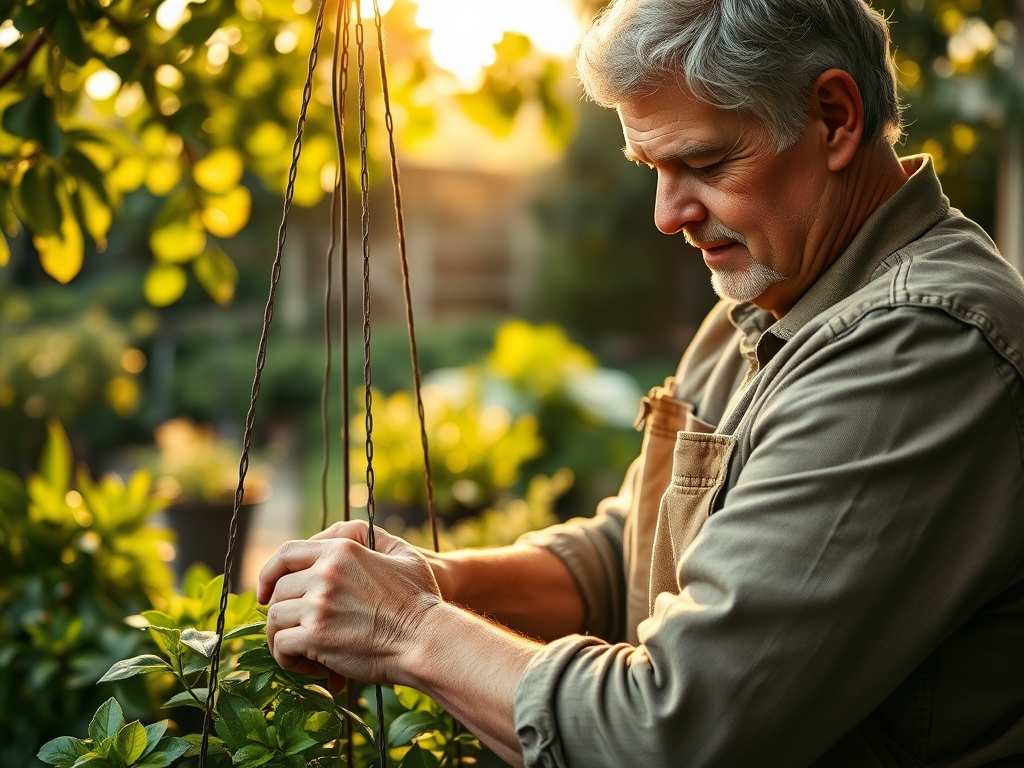
Transplanting
Remove the plant from its nursery container and inspect the root architecture. Use a hori-hori knife to gently tease out any root-bound sections. Place the plant in the center of the hanger's vessel, ensuring the crown sits exactly one inch below the rim to prevent water runoff.
Pro-Tip: Avoid burying the stem too deep to prevent hypoxia in the root zone. Maintaining the correct planting depth ensures that oxygen can reach the upper layers of the rhizosphere, preventing anaerobic rot.
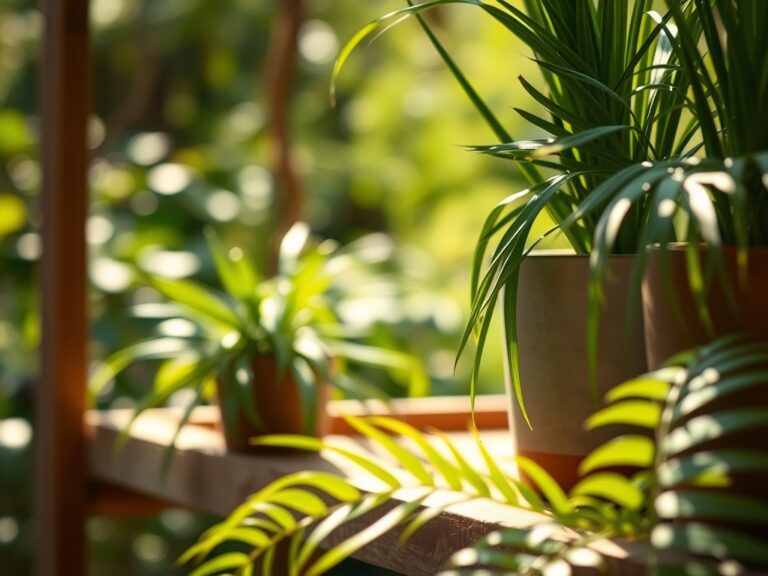
Establishing
Once the plant is secured in the DIY hanger, hang it in a location with filtered light. Do not provide full sun immediately; the plant needs 7 to 10 days to recover from transplant shock and re-establish hydraulic conductivity through its xylem.
Pro-Tip: Observe the plant for phototropism, where the stems lean toward the light source. Rotate the hanger 90 degrees every week to ensure even distribution of auxins, the hormones responsible for cell elongation and balanced growth.
The Clinic:
Suspended plants are prone to specific physiological disorders due to increased airflow and faster evaporation rates.
- Symptom: Interveinal Chlorosis. The leaves turn yellow while the veins remain green. This indicates a Magnesium deficiency.
- Solution: Apply a solution of one tablespoon of Epsom salts per gallon of water to restore chlorophyll production.
- Symptom: Leaf Tip Burn. Brown, crispy edges on the foliage. This is often caused by salt accumulation from synthetic fertilizers.
- Solution: Flush the substrate with half a gallon of distilled water until it runs clear from the drainage holes.
- Symptom: Loss of Turgor. Wilting despite moist soil. This indicates Root Rot (Phytophthora) caused by poor drainage.
- Solution: Remove the plant, prune away blackened roots with bypass pruners, and repot in a fresh, sterile medium with higher perlite content.
Fix-It for Nitrogen Chlorosis: If the oldest leaves are turning a uniform pale yellow, the plant is scavenging nitrogen for new growth. Apply a high-nitrogen liquid fertilizer with a 20-10-10 NPK ratio at half strength to rapidly restore vegetative vigor.
Maintenance:
Hanging plants require a disciplined hydration schedule because they are exposed to more ambient air than floor-bound pots. Use a soil moisture meter to check the moisture levels at a depth of 3 inches. Most species require the top 2 inches of soil to dry out between waterings.
Provide exactly 1.5 inches of water per week, delivered directly to the soil surface to avoid wetting the foliage, which can encourage fungal pathogens. Every 90 days, use your bypass pruners to remove any necrotic tissue or leggy growth. This pruning stimulates lateral branching and keeps the plant's biomass proportional to the strength of your DIY hanger.
The Yield:
If your DIY hanger is used for herbs like Thymus vulgaris or trailing strawberries, timing the harvest is critical for flavor and nutrient density. Harvest in the early morning when essential oil concentration is at its peak and the plant is fully hydrated.
Use sharp snips to take no more than 30 percent of the total biomass at one time. For "day-one" freshness, immediately place the cut ends in a glass of cool water or wrap them in a damp paper towel and refrigerate at 40 degrees Fahrenheit. This slows down the rate of cellular respiration and preserves the turgor of the harvested material.
FAQ:
What is the best cord for a DIY plant hanger?
Use 3mm or 4mm braided cotton or macrame cord. These materials provide the necessary tensile strength to support a 5-pound pot while offering enough friction to hold knots securely under the constant pull of gravity.
How do I prevent my hanging plant from leaking?
Utilize a plastic saucer insert at the base of the pot or choose a sealed decorative outer vessel. Ensure the internal grow pot has drainage holes and use a turkey baster to remove excess water from the saucer after irrigation.
How often should I fertilize suspended plants?
During the active growing season, apply a water-soluble fertilizer every 14 days. Use a balanced 10-10-10 NPK formula diluted to half strength to prevent salt buildup in the confined root zone of the hanging container.
Can I hang any plant in a DIY hanger?
Focus on species with cascading growth habits or those that tolerate rapid dry-out periods. Avoid plants with deep taproots or extreme weight, as they will quickly outgrow the structural limits of a standard cord-based DIY hanger system.