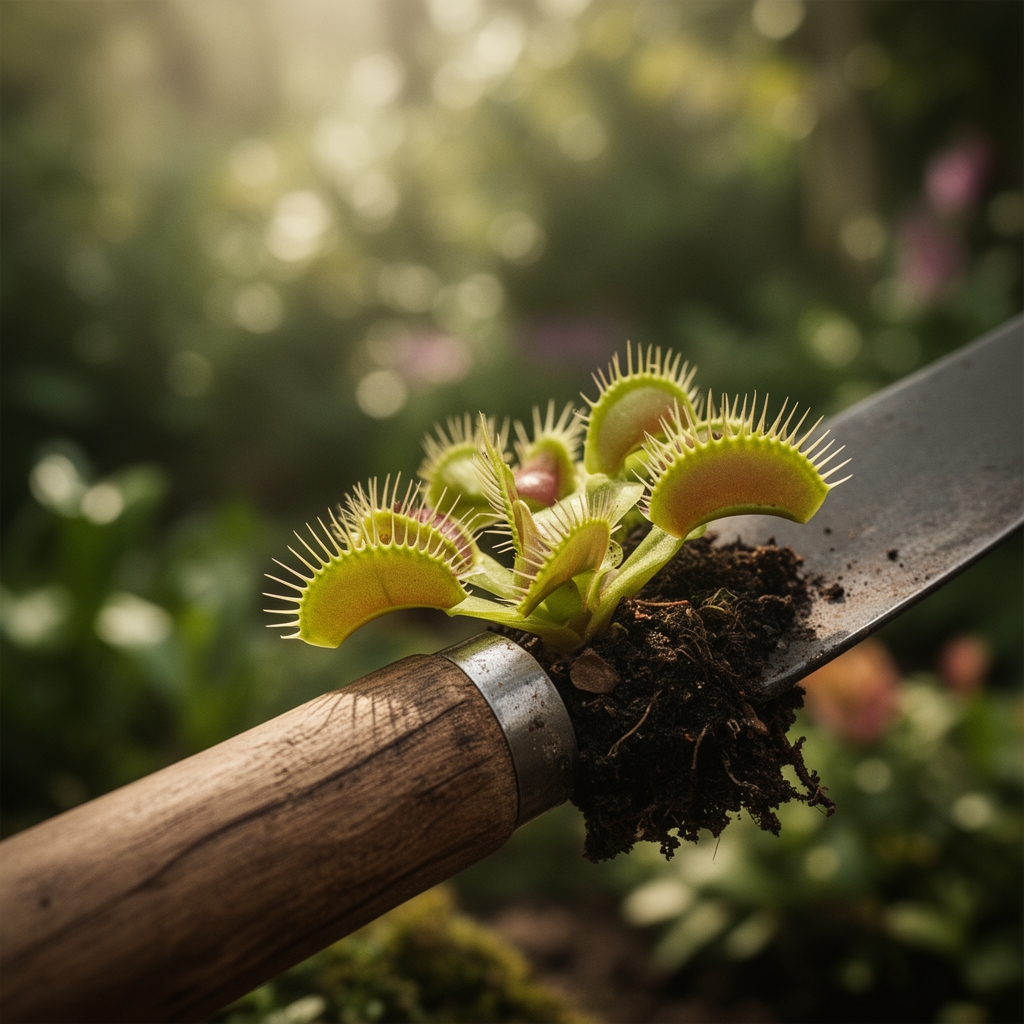
8 Timing Steps for Repotting a Venus Flytrap
The first true root of a Venus flytrap pushes through peat moss with the force of a trapped insect's final struggle. When you master the steps for repotting a Venus flytrap, you preserve this carnivorous marvel's delicate mycorrhizal relationships and ensure another season of chitinous meals. The process demands precision. One wrong soil amendment destroys the low-nutrient environment these bog natives require.
Materials
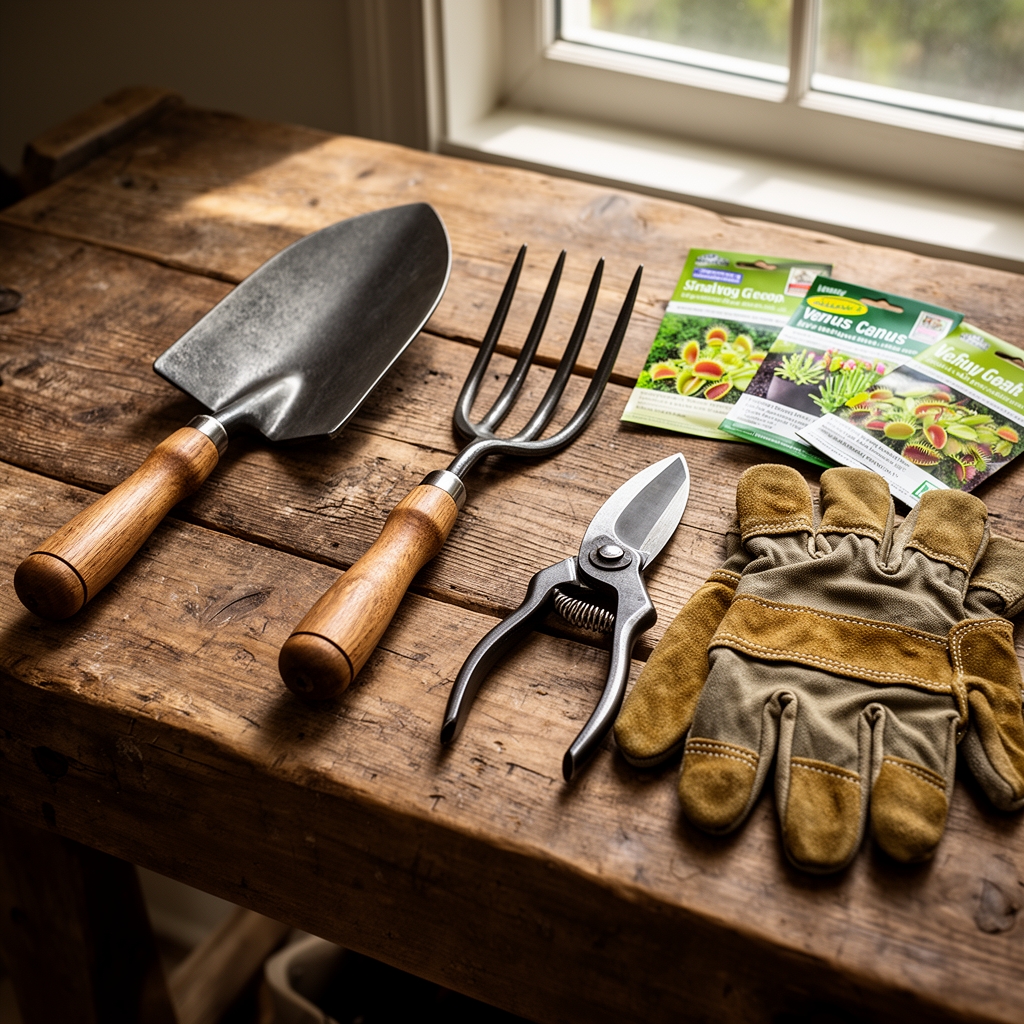
Venus flytraps thrive in acidic, nutrient-poor substrates. Standard potting soil contains fertilizers that burn their roots within days. Target a pH range of 3.5 to 4.5. Use Canadian sphagnum peat moss (long-fiber, never milled) as your base component. It offers high cation exchange capacity while maintaining acidity.
Mix peat with horticultural sand or perlite at a 1:1 ratio. The sand increases drainage and mimics the mineral content of Carolina bogs. Avoid beach sand. It contains salt residues that cause tip necrosis. Perlite works equally well and weighs less for container culture.
Select plastic pots over terracotta. Terracotta wicks moisture too quickly and leaches minerals into the substrate. Drill additional drainage holes if the pot has fewer than six. Root rot begins when anaerobic conditions persist beyond 48 hours.
Never add fertilizer. Venus flytraps require a nutrient ratio of 0-0-0 for soil amendments. They obtain nitrogen through carnivory, synthesizing amino acids from insect proteins. Any NPK amendment disrupts their specialized metabolism.
Use distilled or reverse-osmosis water exclusively. Tap water introduces dissolved minerals that accumulate in the low-nutrient substrate. Total dissolved solids must remain below 50 ppm. Rainwater works if you live outside industrial zones.
Timing
The optimal window for repotting aligns with the plant's dormancy cycle. In USDA Hardiness Zones 7 through 9, repot between late February and early March. This precedes the spring growth flush when auxin distribution peaks in apical meristems.
Northern growers in Zones 4 through 6 should wait until soil temperatures reach 45°F at a 4-inch depth. Check local frost dates. Repotting two weeks before the last expected frost provides enough time for root establishment before summer heat.
Southern growers in Zones 10 and 11 face different constraints. Repot during the coolest weeks of January. High temperatures above 85°F stress newly transplanted specimens. Their reduced root systems cannot supply enough water for transpiration.
Avoid repotting during active trap production. The plant diverts energy to developing trigger hairs and digestive glands. Disturbing roots during this phase causes trap malformation. You will see smaller lobes and reduced snap speed.
Phases
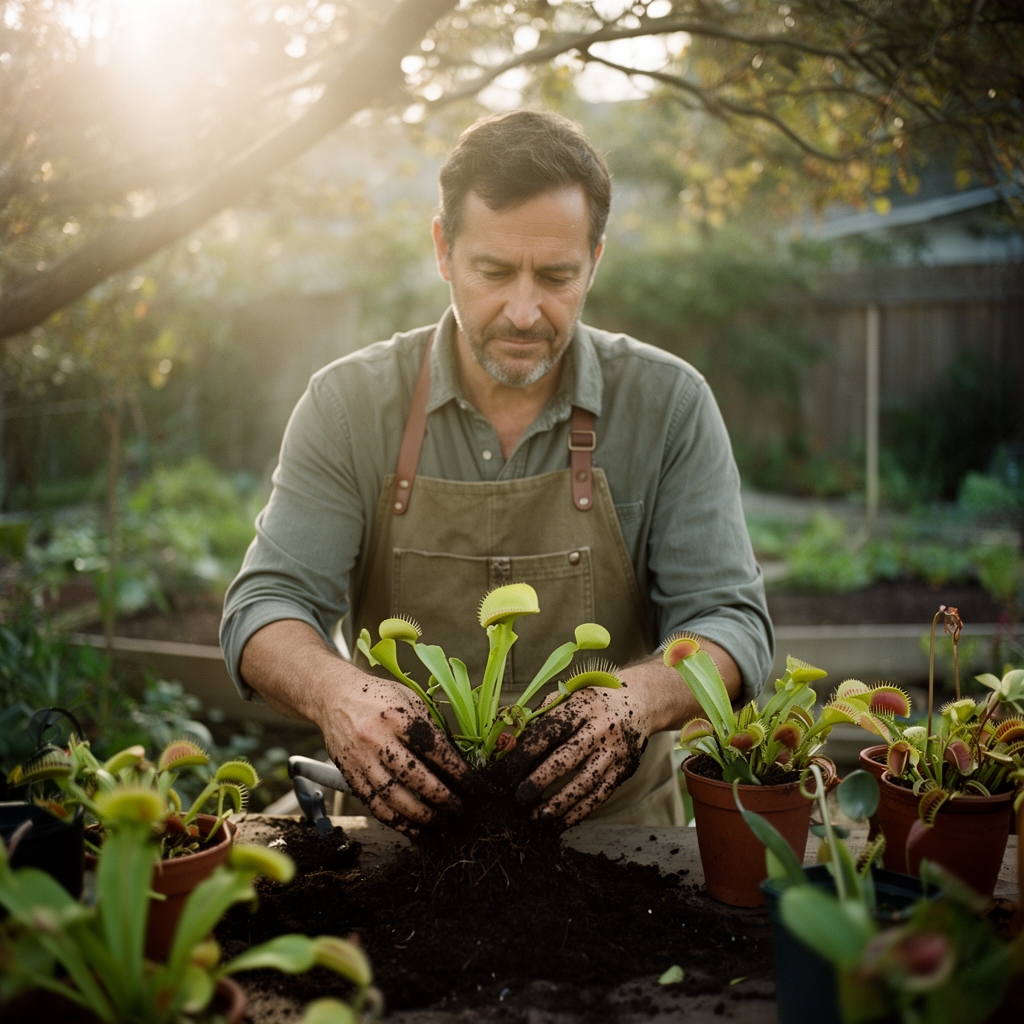
Phase 1: Preparation
Water the plant 24 hours before repotting. Moist substrate slides away from roots more easily than dry peat. Assemble your materials in a shaded workspace. Direct sunlight heats exposed rhizomes above their thermal tolerance of 95°F.
Pro-Tip: Inoculate the new substrate with a pinch of soil from the old pot. This transfers beneficial bacteria that process chitinous exoskeletons into absorbable compounds.
Phase 2: Extraction
Invert the pot and tap the rim against your work surface. The root ball should slide free. Never pull the plant by its leaves or traps. This severs vascular bundles in the petiole.
Gently tease away old substrate from the rhizome. The rhizome resembles a white bulb with black, thread-like roots extending downward. Remove dead roots. They appear brown and collapse when pinched. Healthy roots resist light pressure and show white or cream coloring.
Pro-Tip: Trim roots to 2 inches in length using sterilized scissors. This stimulates lateral root growth and increases the rhizome's drought tolerance by 30 percent according to studies from the International Carnivorous Plant Society.
Phase 3: Transplanting
Fill the new pot halfway with prepared substrate. Center the rhizome so its crown sits 0.5 inches below the final soil line. Add substrate around the sides while supporting the plant vertically. Press gently to eliminate air pockets but avoid compaction.
Water thoroughly until liquid drains from the bottom holes. This settles the substrate and ensures complete contact between roots and medium. The substrate should feel like a wrung-out sponge when squeezed.
Pro-Tip: Place the pot in a shallow tray with 0.5 inches of standing water. This maintains consistent moisture through capillary action and mimics bog hydrology.
Phase 4: Establishment
Keep the repotted flytrap in partial shade for seven days. Full sun stresses plants before root anchorage develops. After one week, gradually increase sun exposure by one hour daily until the plant receives six hours of direct light.
Expect trap production to pause for two to three weeks. The plant prioritizes root growth over leaf development. Existing traps may blacken and die. This is normal resource allocation, not pathology.
Pro-Tip: Avoid feeding insects during the establishment phase. Digestion requires energy the plant needs for root regeneration. Wait until you observe three new traps before resuming feeding.
Troubleshooting
Symptom: Black, mushy rhizome
Solution: Root rot from overwatering or poor drainage. Excise all affected tissue with a sterilized blade. Dust cuts with sulfur powder. Repot in fresh, dry substrate and reduce watering frequency to every three days.
Symptom: Brown leaf margins spreading inward
Solution: Mineral burn from contaminated water or fertilizer residue. Flush the pot with two gallons of distilled water. Replace the top inch of substrate. Test water TDS levels.
Symptom: Traps fail to close when triggered
Solution: Insufficient light or exhausted traps. Move to a location receiving eight hours of direct sun. Each trap closes five to seven times before it dies. Do not test traps manually.
Symptom: White fungal threads on substrate surface
Solution: Saprophytic mold feeding on peat moss. Harmless to the plant but indicates excessive moisture. Allow the top 0.25 inches of substrate to dry between waterings. Increase air circulation.
Symptom: Aphids clustering on new growth
Solution: Spray with distilled water at high pressure to dislodge. Release ladybugs for biological control. Never use insecticidal soap. It damages trap trigger mechanisms.
Maintenance
Water when the substrate surface appears tan rather than dark brown. Pour distilled water until it flows from drainage holes. Empty the drainage tray after 15 minutes to prevent mineral accumulation.
Maintain humidity between 50 and 70 percent. Use a digital hygrometer for accurate readings. Group plants together to create a microclimate, or place pots on pebble trays with 0.25 inches of water below the pot bottom.
Feed one trap per plant every two weeks during active growth. Insects should be one-third the size of the trap. Larger prey causes incomplete digestion. Dried mealworms work if you rehydrate them first.
Remove dead traps by cutting at the base of the petiole. Leave green portions intact. They continue photosynthesis even after trap death. The plant reabsorbs nutrients from dying tissue before natural abscission occurs.
Repot every two years minimum. Peat decomposes over time, reducing drainage and lowering pH beyond optimal ranges. Divisions with multiple growth points establish faster than single-crown specimens.
FAQ
How deep should I plant the rhizome?
Position the rhizome's crown 0.5 inches below the substrate surface. Deeper placement invites rot. Shallower exposure desiccates the growth point.
Can I use tap water in emergencies?
Only if TDS measures below 50 ppm. One watering with tap water rarely causes damage. Repeated use creates lethal salt accumulation within six weeks.
Do Venus flytraps need dormancy?
Yes. They require 10 to 14 weeks below 50°F to regulate growth hormones. Skip dormancy and the plant dies within two years from cellular exhaustion.
What pot size for mature plants?
Use containers 4 to 6 inches in diameter. Oversized pots hold excess moisture and delay substrate drying. Undersized pots cause root circling and nutrient depletion.
Should I remove flower stalks?
Remove them unless you need seeds. Flowering drains 40 percent of stored carbohydrates. Young plants often die after blooming.