8 Steps to Prepare Equipment for a Tool Maintenance Check
Freshly turned soil releases geosmin; the earthy scent signals a substrate ready for the coming season. Healthy plant tissue maintains high turgor pressure; this internal water tension keeps stems rigid and leaves upright. To sustain this physiological health, your hardware must be pristine. Knowing how to prepare a garden for a tool maintenance check ensures that dull blades do not cause jagged tissue tears that invite pathogens into the vascular system.
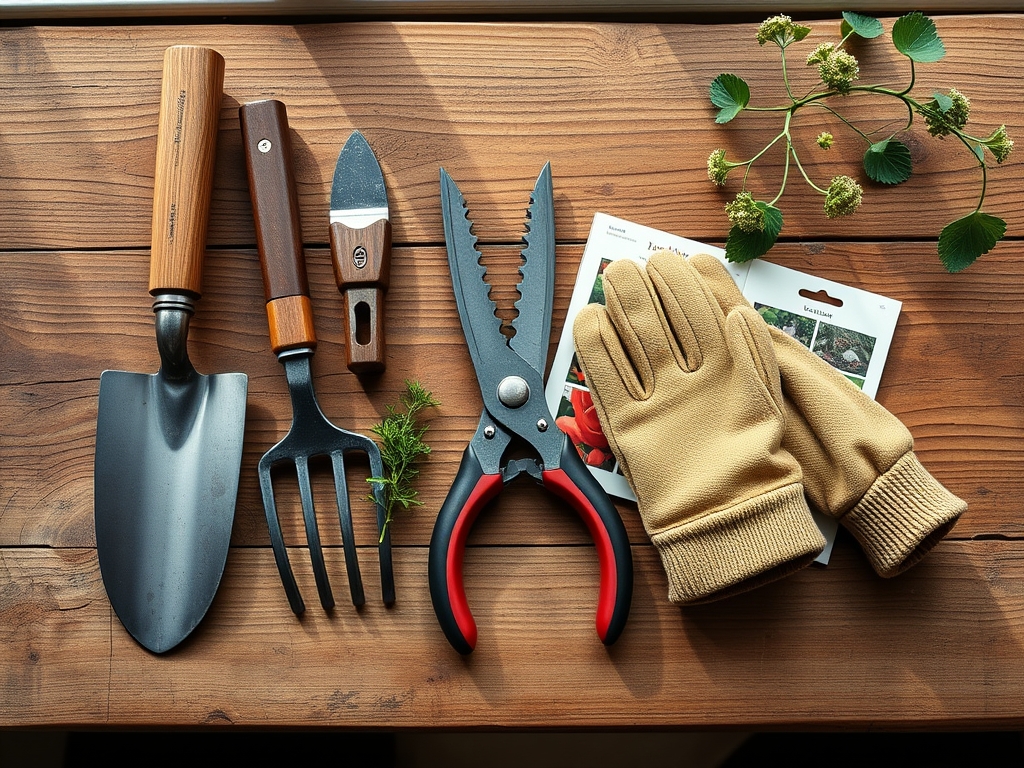
Precision in the garden begins with the integrity of the edge and the cleanliness of the steel. A systematic audit of your shed prevents the spread of soil-borne diseases and ensures that mechanical force is applied efficiently during the heavy lifting of the spring thaw. Neglecting this process leads to ragged pruning cuts, which delay the formation of callous tissue and leave the plant vulnerable to environmental stress.
Materials:
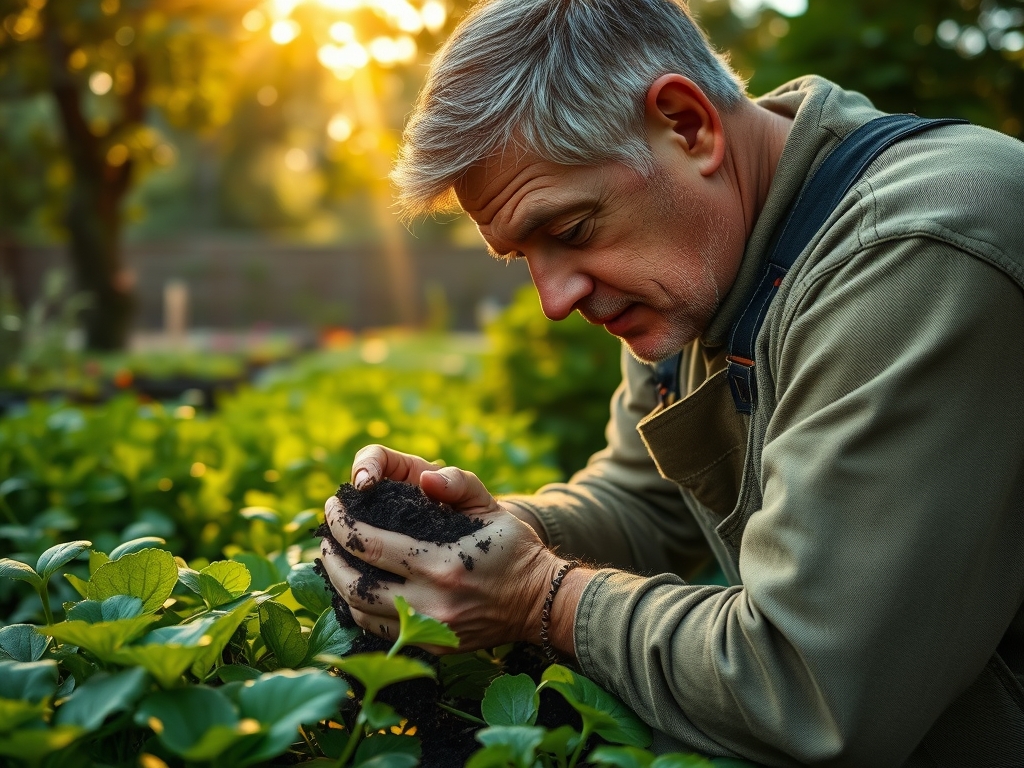
The foundation of a high-performance garden is friable loam; this soil texture consists of roughly 40 percent sand, 40 percent silt, and 20 percent clay. This specific balance allows for a high Cation Exchange Capacity (CEC), which measures the soil’s ability to hold and release essential nutrients like calcium, magnesium, and potassium. Before beginning your tool check, evaluate your soil pH. Most ornamental and edible crops thrive in a range of **6.2 to 6.8 pH**.
Nutrient management requires specific NPK ratios. For early-season vegetative growth, a 10-5-5 fertilizer provides the nitrogen necessary for chlorophyll production. As plants transition to the reproductive phase, switch to a 5-10-10 ratio to prioritize phosphorus for root development and potassium for cellular regulation. Keep these amendments sealed in a dry environment to prevent clumping and chemical degradation.
Timing:
Successful horticulture depends on the frost-date windows of your specific Hardiness Zone. In Zones 5 through 7, the primary tool maintenance window occurs between late January and early March. This timing aligns with the "Biological Clock" of the garden, specifically the period of dormancy before the photoperiod extends beyond 12 hours.
Performing a maintenance check during dormancy ensures that your bypass pruners are sharp before the first flush of growth. Pruning during the transition from vegetative to reproductive stages requires precision; if the tools are not ready by the time the soil temperature reaches a consistent 55 degrees Fahrenheit, you risk missing the optimal window for root establishment.
Phases:
Sowing
Prepare your seed starting equipment by disinfecting trays with a 10 percent bleach solution. Seeds require a consistent temperature of 65 to 75 degrees Fahrenheit for optimal germination. Use a soil moisture meter to ensure the media remains at field capacity without becoming anaerobic.
Pro-Tip: Maintain consistent moisture to prevent "damping off." This is a biological necessity because high humidity at the soil surface encourages fungal pathogens like Pythium to colonize the rhizosphere of vulnerable seedlings.
Transplanting
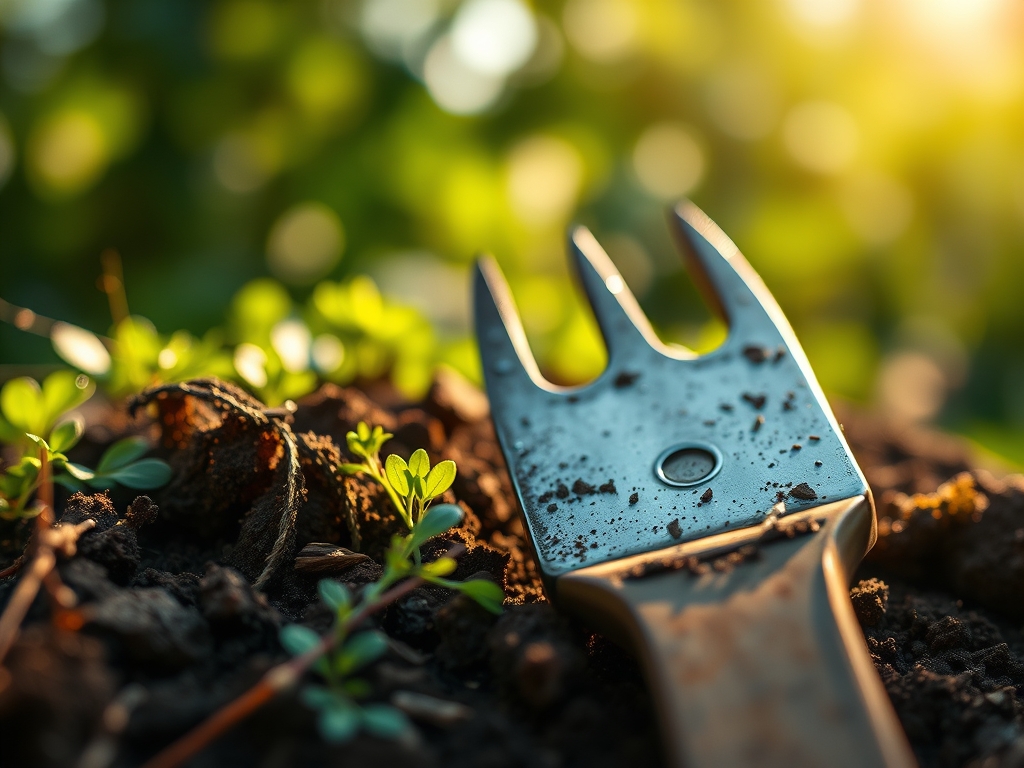
When moving starts to the field, ensure your hori-hori knife is sharpened to a 20-degree angle. This allows for clean incisions in the soil with minimal disturbance to the existing fungal networks. The hole should be twice the width of the root ball to allow for rapid lateral root expansion.
Pro-Tip: Avoid disturbing the root ball to prevent transplant shock. This minimizes the interruption of auxin flow, the hormone responsible for apical dominance and root initiation.
Establishing
Once the plants are in the ground, monitor the leaf turgor daily. Use a mulch layer of 2 to 3 inches to regulate soil temperature and prevent moisture evaporation. This phase is critical for establishing mycorrhizal symbiosis, where beneficial fungi trade phosphorus for plant sugars.
Pro-Tip: Apply a kelp-based foliar spray to reduce heat stress. This works through the biological mechanism of stomatal regulation, helping the plant retain water during high-transpiration periods.
The Clinic:
Physiological disorders often mimic disease but result from environmental or mechanical failures.
Symptom: Interveinal chlorosis (yellowing between leaf veins) on new growth.
Solution: This indicates an Iron deficiency, often caused by a pH above 7.0.
Fix-It: Lower the soil pH using elemental sulfur to a range of 6.0 to 6.5.
Symptom: Blossom end rot on fruit.
Solution: This is a Calcium deficiency, frequently caused by inconsistent watering rather than a lack of calcium in the soil.
Fix-It: Maintain a consistent irrigation schedule to ensure calcium ions can move through the xylem.
Symptom: Stunted growth and purple-tinted leaves.
Solution: Phosphorus deficiency, common in cold, wet soils where root uptake is inhibited.
Fix-It: Apply a high-phosphorus bone meal and ensure the soil temperature is above 60 degrees Fahrenheit.
Maintenance:
Precision irrigation is the most critical maintenance task. Deliver 1.5 inches of water per week at the drip line of the plant. Avoid overhead watering to prevent leaf senescence caused by fungal spores. Use a soil moisture meter to verify that the water is penetrating at least 6 inches deep.
Keep your bypass pruners lubricated with a light mineral oil to prevent oxidation. After each use, wipe the blades with isopropyl alcohol to kill pathogens. For heavier tasks, ensure your shovel edge is filed to remove burrs; a sharp edge reduces the physical force required to break the soil surface tension.
The Yield:
Harvesting is the culmination of the biological cycle. For most leafy greens, harvest in the early morning when turgor pressure is at its peak. This ensures the highest nutrient density and longest shelf life. Use a sharp hori-hori knife to make a clean cut at the base of the plant.
Post-harvest handling is vital for "day-one" freshness. Immediately submerge harvested produce in cold water to remove field heat; this process, known as hydro-cooling, slows down the metabolic rate and respiration of the plant tissue. Store at 35 to 40 degrees Fahrenheit with a relative humidity of 90 percent to prevent wilting.
FAQ:
How do I clean rusted garden tools?
Soak the metal components in white vinegar for 12 to 24 hours. Use a wire brush or steel wool to scrub away the oxidized layers. Rinse with water, dry thoroughly, and apply a thin coat of linseed oil.
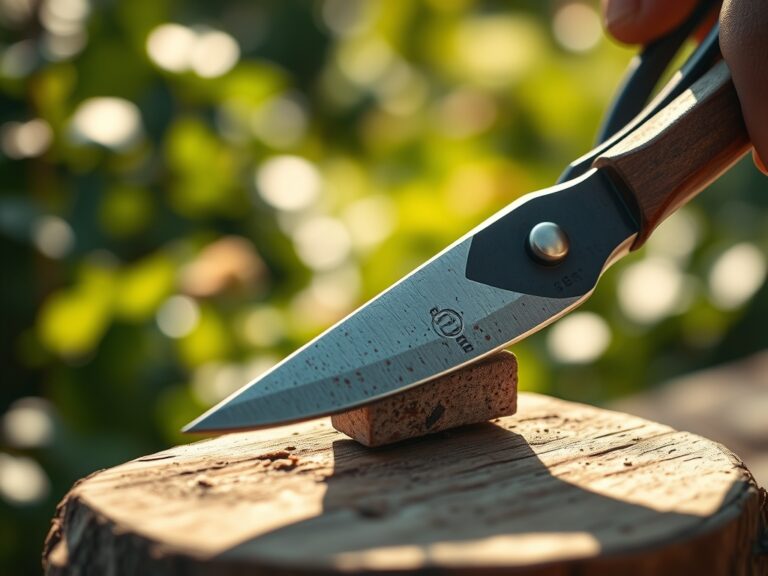
What is the best way to sharpen pruners?
Use a diamond file or whetstone held at a 20-degree angle. Follow the factory bevel of the cutting blade. Work in one direction, moving from the base of the blade to the tip until a sharp edge is restored.
How often should I calibrate my soil pH meter?
Calibrate your digital pH meter before every major planting season or every 3 months. Use a buffer solution with a known pH of 4.0 and 7.0 to ensure the sensors provide accurate data for nutrient management.
Why is my soil not draining properly?
Compaction is the primary cause of poor drainage. If water sits on the surface for more than 30 minutes, the soil lacks adequate pore space. Incorporate organic matter like compost to improve the structure and increase the infiltration rate.