6 Steps to Sharpen Garden Shears with a Whetstone
Turgor pressure within a plant stem determines the success of every cut. When a blade is dull, it crushes the vascular bundles, specifically the xylem and phloem, rather than severing them cleanly. This mechanical trauma invites pathogens and slows the healing process. A sharp blade ensures a clean incision that allows the plant to seal the wound through rapid callusing. Mastering the steps for sharpening a garden shears with a stone is a fundamental requirement for maintaining a healthy rhizosphere and preventing systemic infection. The smell of bruised chlorophyll and damp earth serves as a reminder that precision tools are an extension of the gardener's hand. Proper maintenance begins with understanding the physics of the bevel and the grit of the stone. A well-maintained edge reduces the physical force required for pruning, which preserves the structural integrity of the plant and the longevity of the tool.
Materials:
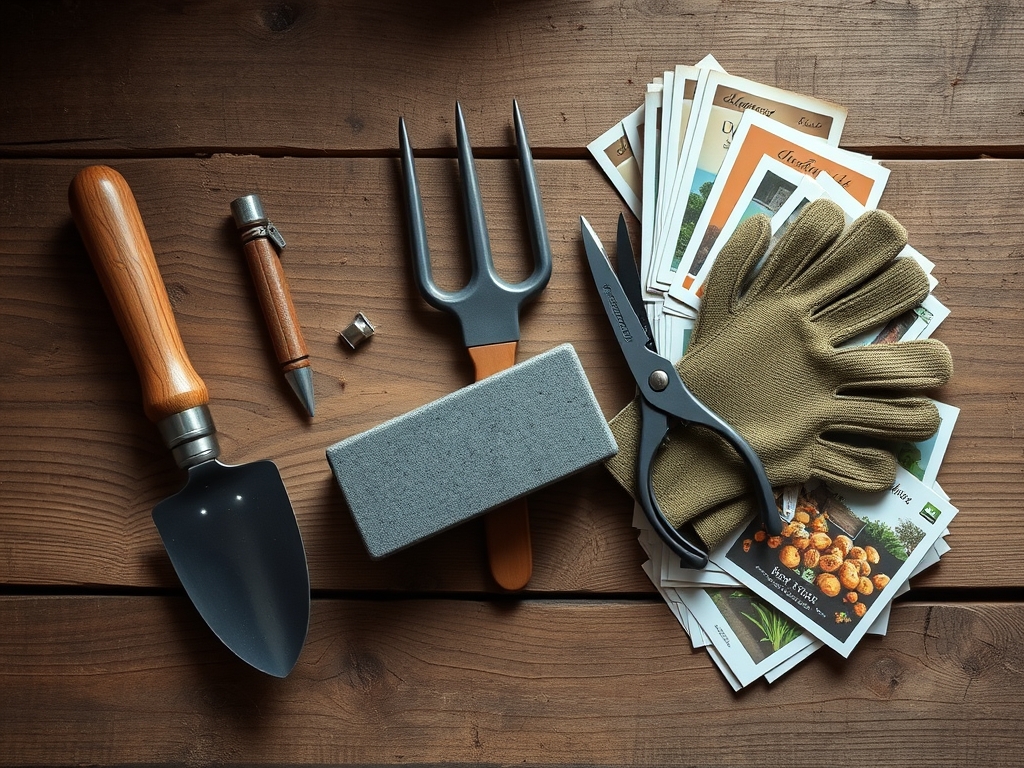
Successful sharpening requires a controlled environment, much like managing a friable loam with a **pH of 6.5**. The substrate for your sharpening station should be stable and well-lit. You require a dual-grit whetstone; a **400-grit side** for removing nicks and a **1000-grit side** for honing the final edge. Use a lubricant such as water or honing oil to float away metal filings, known as swarf. For cleaning the blades before sharpening, use a stiff brush and isopropyl alcohol to ensure no fungal spores are transferred. If you are working in a potting shed, ensure your workspace is free of dust. Just as a balanced **10-10-10 NPK ratio** provides the baseline for plant health, a clean, organized toolkit provides the baseline for mechanical precision.
Timing:
The ideal window for tool maintenance aligns with the dormant season in Hardiness Zones 4 through 8. This typically occurs between late November and early March, before the first frost-date window closes and the "Biological Clock" triggers the transition from vegetative dormancy to active bud burst. Sharpening during this period ensures that tools are ready for the high-demand pruning of late winter. When plants are in their reproductive stages, they redirect energy from root development to seed production; any pruning done with dull shears during this transition causes unnecessary stress. By timing your sharpening to coincide with the plant's lowest metabolic activity, you minimize the risk of sap loss and opportunistic infections when the first cuts are made in spring.
Phases:

Sowing the Foundation: Disassembly and Cleaning
Begin by disassembling the shears if the pivot bolt allows. This exposes the entire length of the blade. Scrub the steel with a wire brush to remove resin and dried plant tissue. Clean metal ensures the stone makes direct contact with the steel.
Pro-Tip: Removing organic buildup prevents the spread of Botrytis cinerea. A clean blade ensures that the mycorrhizal symbiosis in the soil is not disrupted by pathogens introduced from previous pruning sessions.
Transplanting the Edge: Grinding the Bevel
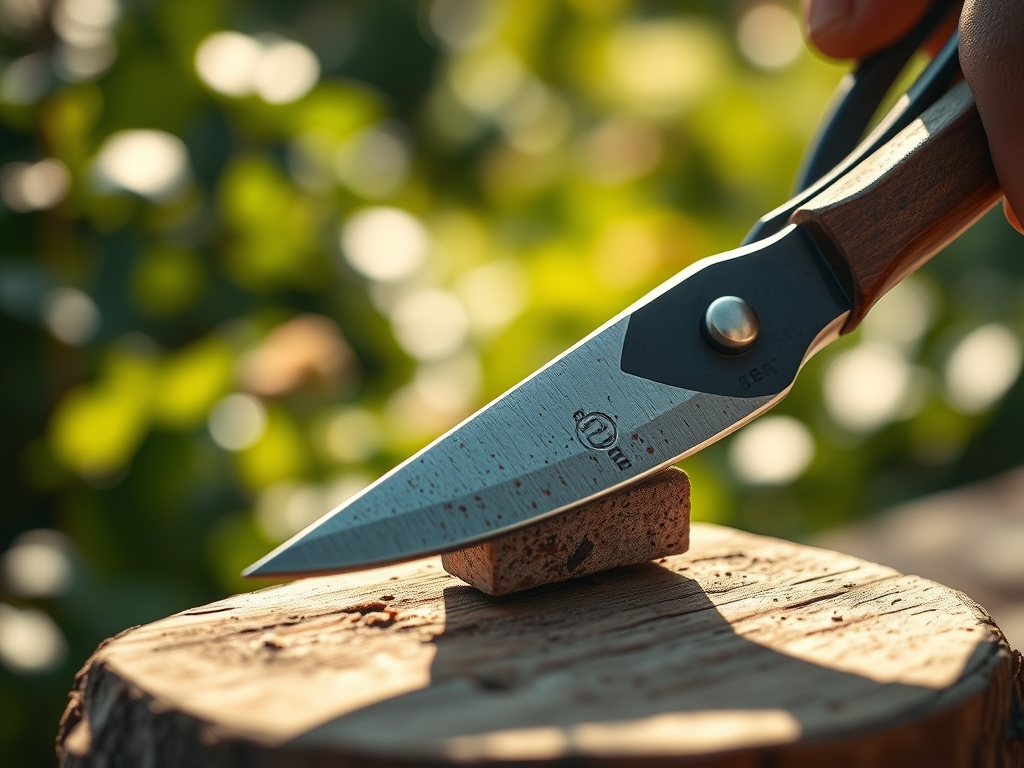
Submerge your whetstone in water for 10 minutes until bubbles stop rising. Hold the blade at a 20-degree angle against the coarse side of the stone. Move the blade in a curved motion, following the factory bevel from the base to the tip. Apply even pressure on the forward stroke and release on the return.
Pro-Tip: Maintaining a consistent angle is critical for auxin suppression. A jagged cut can lead to erratic lateral bud growth because the plant cannot efficiently regulate the flow of growth hormones across a mangled surface.
Establishing the Finish: Honing and Burr Removal
Switch to the fine-grit side of the stone. Repeat the stroking motion to polish the edge. Once a small metal "burr" forms on the flat side of the blade, flip it over and lay it flat against the stone. Lightly stroke once to remove the burr without creating a new bevel on the flat side.
Pro-Tip: A polished edge reduces friction, which minimizes the heat generated during the cut. High friction can cause localized senescence of the cells at the cut site, delaying the plant's ability to compartmentalize the wound.
The Clinic:
If your shears are tearing the bark instead of cutting, the symptom is mechanical crushing. The solution is to check the blade alignment and tighten the pivot bolt. If the metal shows orange pitting, the symptom is oxidation. The solution is a soak in white vinegar followed by a scrub with steel wool.
For physiological disorders in the garden related to poor pruning:
- Symptom: Dieback from the tip. Solution: Ensure cuts are made at a 45-degree angle 0.25 inches above a node to prevent water pooling.
- Symptom: Ragged edges on hardwood. Solution: Increase the frequency of sharpening to every 50 to 100 cuts.
- Symptom: Nitrogen chlorosis (yellowing leaves). Fix-It: While sharpening helps health, yellowing usually indicates a lack of Nitrogen. Apply a high-nitrogen fertilizer with an NPK of 21-0-0 to restore chlorophyll production.
Maintenance:
Post-sharpening maintenance is as vital as irrigation. Apply a light coat of 3-in-1 oil to the blades to prevent oxidation. In the field, carry a hori-hori knife for weeding and a pair of bypass pruners for precision work. Check soil moisture levels with a soil moisture meter before pruning; plants with high turgor pressure (well-hydrated) are easier to cut cleanly. Aim for 1.5 inches of water per week at the drip line for most woody perennials. Store your shears in a dry location, never on the ground where they can encounter the high Cation Exchange Capacity of moist soil, which accelerates rust.
The Yield:
When harvesting herbs or flowers, the quality of the yield depends on the sharpness of your tool. For woody herbs like rosemary, harvest in the early morning when essential oil concentration is highest. Use your sharpened shears to cut just above a node. For flowers, a clean cut allows for maximum water uptake through the xylem, maintaining "day-one" freshness for a longer duration. Place the stems immediately into water with a pH of 3.5 to 4.5 to facilitate rapid hydration.
FAQ:
How often should I sharpen my garden shears?
Sharpen your shears every 10 hours of active use or at the start of every season. If you notice the blade "pushing" the branch rather than slicing it, immediate honing on a 1000-grit stone is required.
Can I use a file instead of a whetstone?
A mill file is acceptable for large garden loppers or shovels. However, for precision bypass pruners, a whetstone is superior. The stone provides a smoother finish that prevents the crushing of delicate plant vascular tissues.
Why is my blade still dull after sharpening?
The most common cause is failing to maintain a consistent 20-degree angle. If the angle fluctuates, you round the edge rather than sharpening it. Ensure you are removing the "burr" on the flat side of the blade.
Do I need to oil my whetstone?
It depends on the stone type. Water stones require a 10-minute soak in water. Oil stones require specialized honing oil. Using the wrong lubricant can clog the pores of the stone and reduce its abrasive effectiveness.
Should I sharpen the flat side of the blade?
No. Never create a bevel on the flat side of a bypass pruner. Only lay the flat side against the stone to remove the metal burr. Sharpening both sides will create a gap between the blades, preventing clean cuts.