9 Best Specialized Mulch for Custom Landscaping
Crushed limestone and damp pine needles release a sharp, acidic scent that signals a shift in the rhizosphere. When you press a thumb against a leaf, the turgor pressure should resist; it is the physical evidence of a plant successfully managing its hydraulic systems. Achieving this level of cellular health requires more than just water and sunlight. It demands the best mulch for custom landscaping to regulate soil temperature and moisture retention. Proper mulching prevents the rapid evaporation that leads to salt accumulation in the upper soil profile. In high-performance gardens, the mulch layer acts as a biological interface. It moderates the thermal fluctuations that can shock delicate root hairs. A precise application of organic or mineral substrate ensures that the soil beneath remains a stable environment for microbial activity. Without this protective barrier, the soil surface crusts over and limits gas exchange. This reduces the oxygen available to the root zone and eventually leads to anaerobic conditions that invite root rot.
Materials:

Selecting the correct material requires an analysis of the existing soil Cation Exchange Capacity (CEC) and current pH levels. For acid-loving species like *Rhododendron* or *Vaccinium*, use pine bark fines or needles which maintain a pH between **4.5 and 5.5**. These materials are low in nitrogen, typically showing an NPK ratio of **0.1-0.0-0.1**, meaning supplemental fertilization is necessary during the decomposition phase.
For vegetable beds or ornamental borders requiring a neutral pH of 6.5 to 7.0, straw or composted leaf mold is superior. Composted leaf mold provides a friable loam texture once broken down and offers a balanced nutrient profile of approximately 1.5-0.5-1.0. If the landscaping involves succulents or xeric plants, inorganic mulches like pea gravel or crushed lava rock are mandatory. These materials have a neutral pH and do not contribute to nitrogen drawdown. The ideal substrate should feel gritty and crumble under light pressure, indicating a high percentage of organic matter and adequate pore space for air circulation.
Timing:
Timing is dictated by the Hardiness Zone and the specific thermal requirements of the plant species. In Zones 3 through 6, wait until the soil has warmed to at least 55 degrees Fahrenheit before applying organic mulch. Applying it too early traps the winter cold in the ground and delays the transition from the dormant phase to the vegetative stage. Conversely, in Zones 8 through 11, mulch must be applied before the late spring heat spikes to prevent the soil from exceeding 85 degrees Fahrenheit, which causes root senescence.
The biological clock of the plant is the primary indicator for application. During the transition from vegetative growth to the reproductive stage (flowering and fruiting), the plant's demand for phosphorus increases. Applying a nutrient-dense mulch like alfalfa pellets or composted manure during this window supports the high metabolic cost of bloom production. Monitor the photoperiod; as days lengthen, the increase in photosynthesis requires a consistent moisture supply that only a 2 to 3 inch mulch layer can provide.
Phases:

Sowing
When sowing seeds directly into the landscape, use a fine-textured mulch like screened peat or vermiculite. Apply a layer no thicker than 0.25 inches to ensure light can still reach species that require it for germination.
Pro-Tip: Maintaining high humidity at the soil surface prevents the seed coat from hardening. This ensures the emerging radicle can penetrate the soil without excessive energy expenditure, a process driven by high turgor pressure within the seedling cells.
Transplanting
At the point of transplanting, pull mulch back 3 inches from the main stem or trunk of the plant. This prevents moisture from sitting against the bark, which can lead to fungal infections or "girdling" by opportunistic rodents.
Pro-Tip: Leaving a gap around the stem prevents the suppression of the root flare. This allows for proper gas exchange and prevents the development of adventitious roots that can eventually choke the primary vascular system of the plant.
Establishing
During the first 90 days of establishment, monitor the moisture level beneath the mulch twice weekly using a soil moisture meter. The goal is to maintain a consistent moisture level that encourages roots to grow deep into the profile rather than staying near the surface.
Pro-Tip: Deep mulching encourages mycorrhizal symbiosis. These beneficial fungi extend the reach of the root system and improve the plant's ability to uptake phosphorus and water, effectively increasing the total surface area of the root zone by up to 100 times.
The Clinic:
Physiological disorders often stem from improper mulching techniques or material choices.
- Symptom: Yellowing of lower leaves while veins remain green (Interveinal Chlorosis).
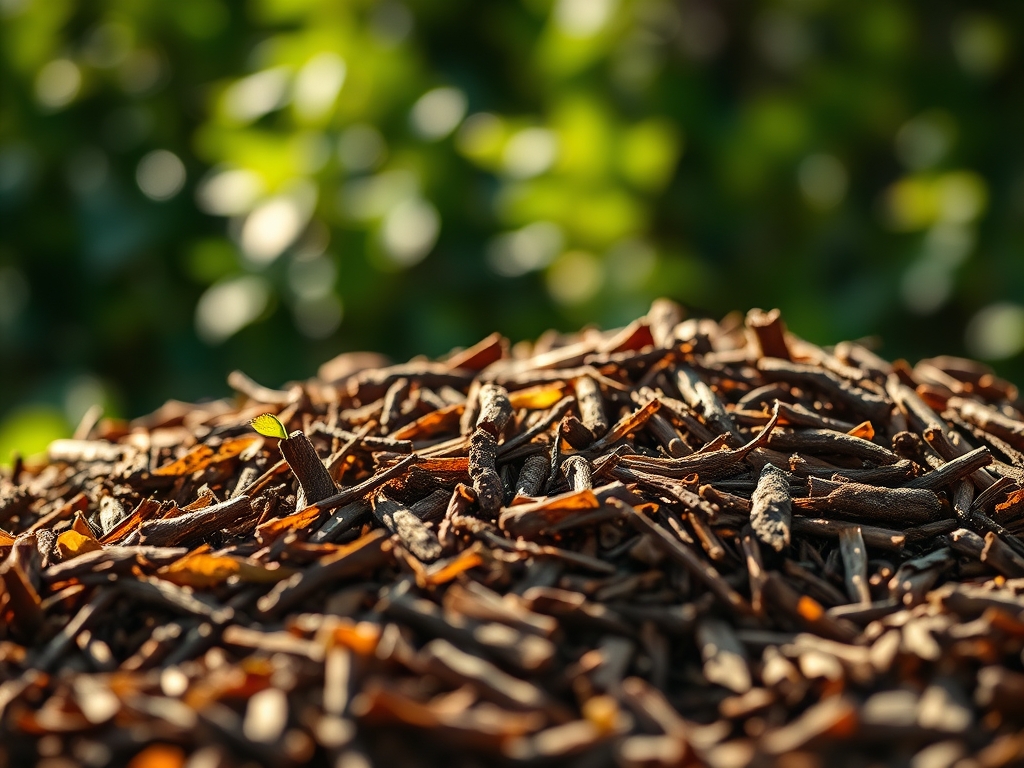
- Solution: This often indicates a nitrogen deficiency caused by "nitrogen robbery" as soil microbes break down high-carbon mulches like fresh wood chips. Fix-It: Apply a high-nitrogen liquid fertilizer (NPK 10-0-0) to compensate for the microbial demand.
- Symptom: Wilting despite moist soil.
- Solution: This suggests root rot or anaerobic conditions due to a mulch layer that is too thick (over 4 inches). Fix-It: Remove the excess mulch and use a hori-hori knife to gently aerate the soil around the drip line.
- Symptom: Slow growth and purple-tinted foliage.
- Solution: Phosphorus deficiency, often caused by soil temperatures that are too low. Fix-It: Pull back mulch to allow the sun to warm the soil to at least 60 degrees Fahrenheit.
Maintenance:
Professional maintenance requires precision tools and consistent data. Use a soil moisture meter to ensure the root zone receives exactly 1.5 inches of water per week at the drip line. In arid climates, this may need to be split into two applications to prevent runoff. Every spring, inspect the mulch depth. Organic materials decompose and lose approximately 25 percent of their volume annually.
Use bypass pruners to remove any suckers or low-hanging branches that touch the mulch, as these can serve as bridges for soil-borne pathogens. If the mulch develops a crust or "matting" (common with shredded hardwoods), use a garden fork to lightly fluff the top inch. This restores the infiltration rate and ensures that irrigation reaches the rhizosphere rather than shedding off the surface.
The Yield:
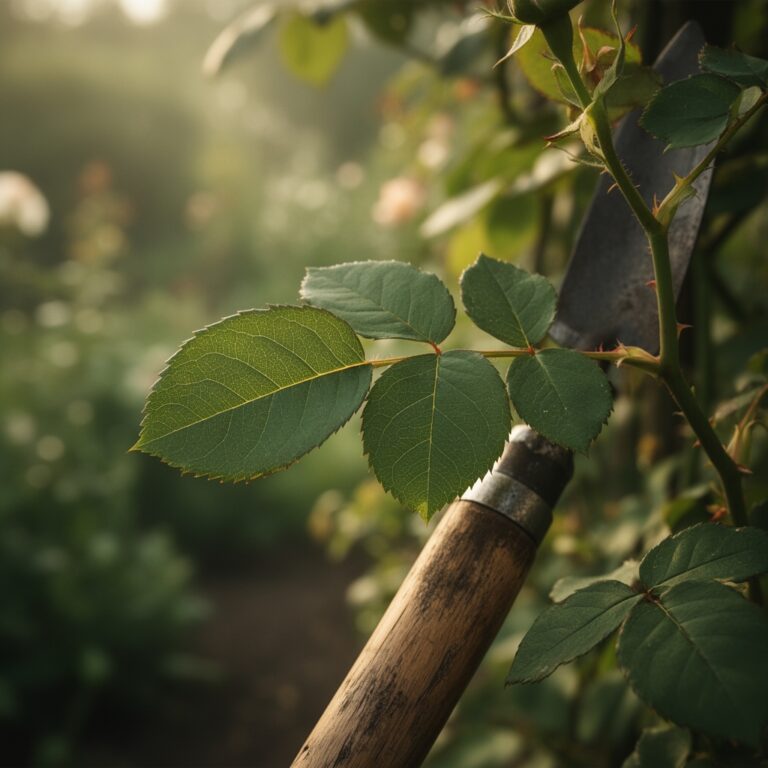
For landscapes involving fruiting shrubs or edible perennials, the timing of the harvest is critical for maintaining cellular integrity. Harvest in the early morning when the plant is at peak turgor. Use a sharp blade to make clean cuts; jagged tears increase the surface area for moisture loss and pathogen entry. Post-harvest, keep the produce in a cool, shaded area to slow the rate of respiration. For flowers, immediately submerge the stems in 100 degree Fahrenheit water to break any air embolisms in the xylem, ensuring the blooms remain hydrated and turgid for maximum shelf life.
FAQ:
What is the best mulch for weed suppression?
A 3 inch layer of wood chips or bark nuggets is most effective. It creates a physical barrier that prevents light from reaching weed seeds and inhibits germination through the exclusion of the necessary photoperiod.
Can mulch change soil pH?
Yes. Fresh pine needles or peat moss can lower pH over several seasons. Conversely, hardwood mulches tend to be neutral or slightly alkaline as they decompose. Always test soil pH annually to monitor these gradual shifts.
How much mulch do I need?
Calculate the square footage of the area and multiply by the desired depth in feet. For example, 100 square feet at a 3 inch depth (0.25 feet) requires 25 cubic feet of material.
Is rock mulch better than wood?
Rock mulch is superior for drainage and longevity in arid climates. However, it does not improve soil structure or provide nutrients. It also retains heat, which can stress non-succulent plants during peak summer months.