8 Steps to Prepare for a Unique Custom Wall
Crushed basalt and the sharp scent of damp, anaerobic clay signal the start of a structural intervention. When the soil is saturated, the turgor pressure within plant cells reaches its peak; this is the moment of maximum vulnerability for the root zone. Learning how to prepare a garden for a wall requires a clinical understanding of soil physics and structural load. You are not merely placing a barrier; you are altering the hydrology and thermal mass of a microclimate. A wall acts as a heat sink, radiating infrared energy long after sunset, which can accelerate the metabolic rate of nearby flora. Before the first stone is set, the gardener must account for the shift in drainage patterns and the compaction of the rhizosphere. Proper preparation ensures that the vertical addition supports rather than suffocates the existing ecosystem. Failure to manage the Cation Exchange Capacity (CEC) and soil structure during this transition leads to stagnant water and root necrosis. Success depends on the precise calibration of the earth to meet the demands of the new masonry.
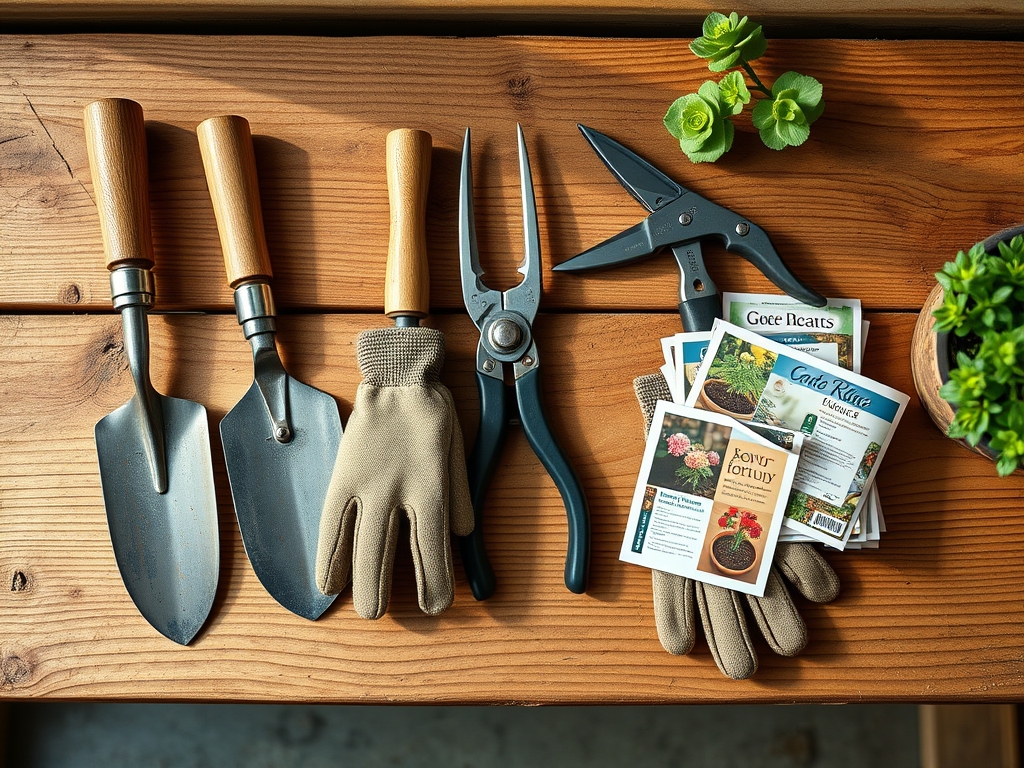
Materials:
The foundation of a successful garden wall begins with the chemical and physical composition of the substrate. You must achieve a **friable loam** texture that resists the compaction common in construction zones. Soil should be tested to ensure a **pH between 6.2 and 6.8** for optimal nutrient availability.
For the initial amendment, utilize a balanced NPK ratio of 10-10-10 to establish a baseline of nitrogen, phosphorus, and potassium. If the site has been depleted by previous heavy feeders, transition to a 5-10-10 formula to prioritize root development over excessive foliar growth. The soil must possess a high Cation Exchange Capacity (CEC), ideally above 15 meq/100g, to retain essential minerals like calcium and magnesium against the leaching effects of wall-adjacent runoff. Stockpile clean, angular drainage gravel (3/4 inch minus) to prevent hydrostatic pressure buildup behind the structure.
Timing:
Timing is dictated by the Hardiness Zone and the local frost-free window. In Zones 5 through 7, site preparation must commence at least six weeks before the first hard frost or six weeks after the ground thaws in spring. This window respects the biological clock of the garden; specifically, the transition from the vegetative stage to the reproductive or dormant stages.
Construction during the photoperiod of peak summer can induce extreme heat stress, as the wall will reflect solar radiation onto the plants. Aim for a period of senescence or early spring dormancy when the sap flow is minimal. This reduces the risk of transplant shock if specimens must be moved. Monitor the soil temperature with a probe; do not begin excavation until the soil reaches a consistent 50 degrees Fahrenheit (10 degrees Celsius) to ensure microbial activity is sufficient for root recovery.
Phases:

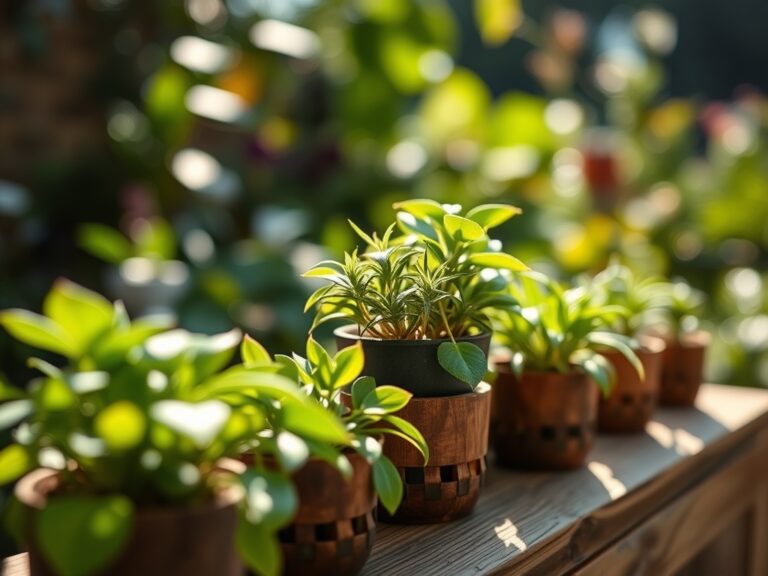
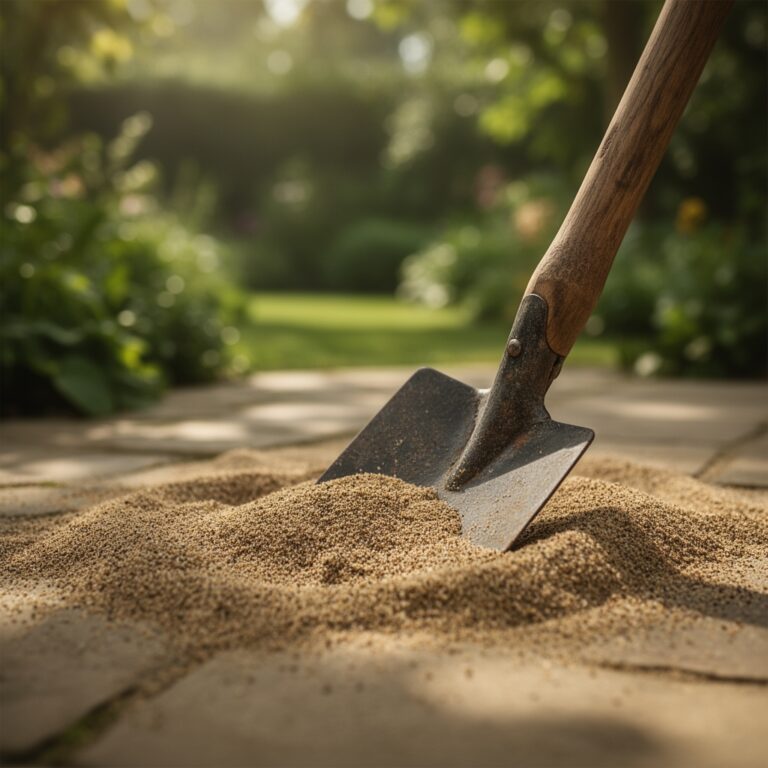
Sowing and Soil Stabilization
Clear the footprint of all organic debris. Sow a temporary cover crop of annual rye if the wall construction is delayed. This prevents erosion and maintains the mycorrhizal symbiosis within the soil food web.
Pro-Tip: Maintaining living roots in the soil prevents the collapse of macro-pores. This is vital because mycorrhizal fungi create glomalin, a biological glue that stabilizes soil aggregates and improves water infiltration.
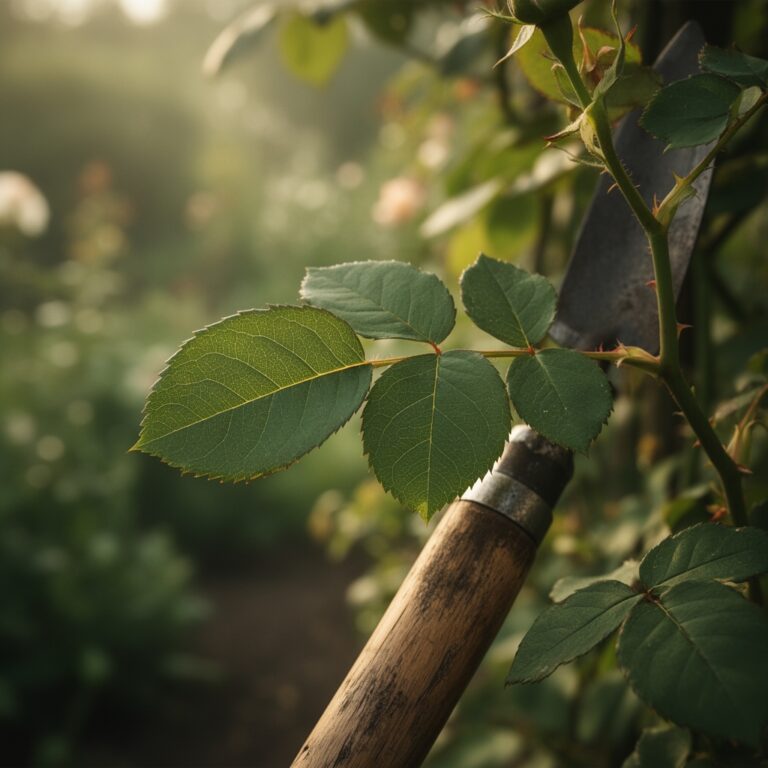
Transplanting and Root Pruning
Any plant within three feet of the wall's foundation must be relocated or root-pruned. Use a sharp spade to cut a clean perimeter around the root ball. This stimulates the production of fine lateral roots closer to the main stem.
Pro-Tip: Root pruning triggers auxin suppression in the tips, which redirects the plant's energy into developing a denser, more fibrous root system. This prepares the specimen for the stress of being moved.
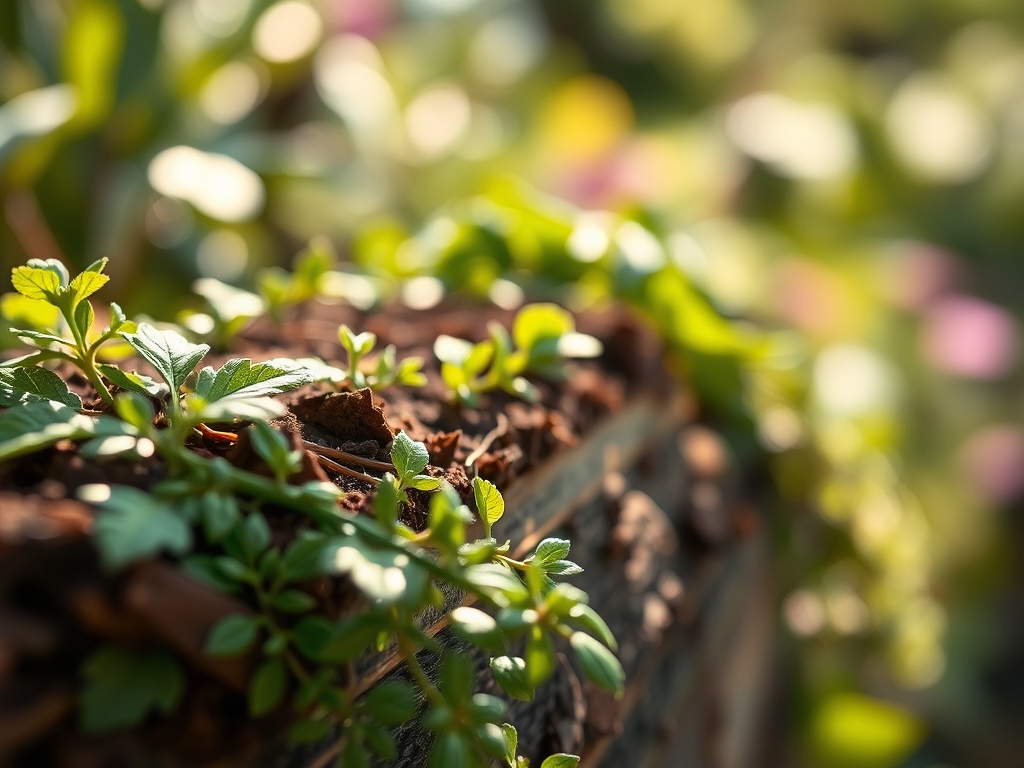
Establishing the Microclimate
Once the wall is upright, the garden enters the establishment phase. The wall creates a rain shadow; you must adjust irrigation to compensate for this lack of natural precipitation.
Pro-Tip: Plants will exhibit phototropism, leaning away from the wall toward the light source. To counteract this, select species with lower light requirements for the immediate northern base of the structure to prevent leggy, weak growth.
The Clinic:
Physiological disorders often manifest shortly after the soil is disturbed or the light patterns change.
-
Symptom: Interveinal chlorosis (yellowing leaves with green veins) on new growth.
-
Solution: This indicates Iron deficiency, often caused by a pH spike from leaching concrete or mortar. Apply chelated iron and sulfur to lower the pH to 6.5.
-
Symptom: Leaf margins turning brown and "burnt."
-
Solution: This is Potassium deficiency. The plant cannot regulate turgor pressure effectively. Apply a 0-0-50 potash supplement to the drip line.
-
Symptom: Stunted growth and pale green foliage across the entire plant.
-
Solution: Nitrogen chlorosis. The construction process likely depleted carbon-to-nitrogen ratios. Incorporate blood meal or a high-nitrogen organic fertilizer to restore levels.
-
Symptom: Wilting despite moist soil.
-
Solution: Root asphyxiation. The soil near the wall is likely over-compacted, preventing oxygen from reaching the rhizosphere. Use a broadfork to aerate the soil without overturning the horizons.
Maintenance:
Precision is the hallmark of a master gardener. Use a soil moisture meter daily for the first month after construction. The area within 24 inches of the wall requires 1.5 inches of water per week, delivered directly at the drip line via drip irrigation to avoid foliar fungal pathogens.
Utilize a hori-hori knife for deep weeding near the wall foundation to ensure you remove the entire taproot without disturbing the masonry. For woody perennials, use bypass pruners to maintain a six-inch air gap between the foliage and the wall surface. This prevents moisture trap and subsequent rot on the wall face. Conduct a soil test every 24 months to monitor the impact of the wall's mineral leaching on the local pH.
The Yield:
If your wall garden includes edibles or cut flowers, harvest timing is critical for cellular integrity. Harvest during the early morning hours when the plant's turgor pressure is at its maximum. This ensures the longest shelf life and best texture.
For flowers, use a clean, sharp blade to cut at a 45-degree angle; immediately submerge the stems in 110-degree Fahrenheit water to break any air embolisms in the xylem. For vegetables, move the produce to a cooling rack in a shaded area within 15 minutes of harvest to remove field heat and slow the rate of respiration. This preserves the sugars and vitamins at their peak concentration.
FAQ:
How do I prevent the wall from changing my soil pH?
Concrete leaches lime, which raises pH. Apply elemental sulfur or peat moss annually to the base of the wall. Monitor the area with a digital pH probe to maintain a range of 6.2 to 6.8.
What is the best way to handle drainage behind a garden wall?
Install a perforated 4-inch drain pipe at the base, surrounded by clean, angular gravel. Ensure the pipe sloped at a 2 percent grade to daylight, preventing water from saturating the rhizosphere and causing root rot.
Can I plant directly against a new stone wall?
Wait at least one month for the soil to settle and the mortar to cure. Leave a 6-inch buffer zone between the wall and the plant stems to allow for air circulation and to prevent thermal scorching from the stone.
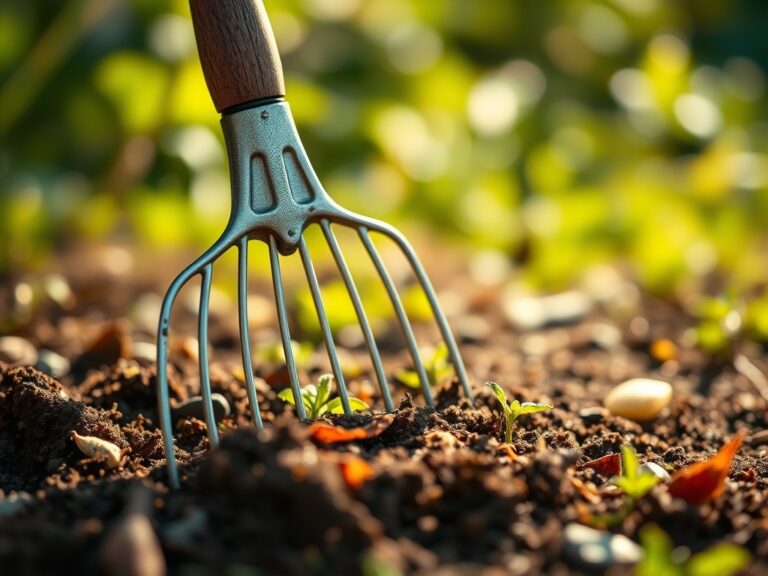
How do I fix soil compaction after the wall is built?
Use a broadfork or air-spade to fracture the compacted layers without destroying the soil horizons. Incorporate organic matter like leaf mold to improve the Cation Exchange Capacity and restore the macro-pore spaces for oxygen.