7 Steps to Install a Custom Perimeter Garden Gate
Crushed basalt and damp humus release a sharp, mineral scent as you break ground for a perimeter structure. The turgor pressure within the surrounding vegetation must be maintained during construction to avoid root desiccation. Establishing a secure entrance requires more than basic carpentry; it demands an understanding of soil mechanics and structural load. Following the specific steps for installing a garden gate ensures that your perimeter remains a functional barrier without compromising the delicate rhizosphere of nearby plantings. A gate is the primary point of stress in any fence line. It subjects the supporting posts to constant gravitational torque and rotational friction. Failure to account for the Cation Exchange Capacity (CEC) and moisture retention of your substrate will result in post-heave or gate sag within two growing seasons. This guide treats the gate as a biological and mechanical extension of the landscape. We prioritize soil stability and structural integrity to protect the botanical investment within the enclosure. Precision in the initial excavation prevents long-term compaction issues that could otherwise stifle the gas exchange necessary for healthy root respiration in your perimeter specimens.
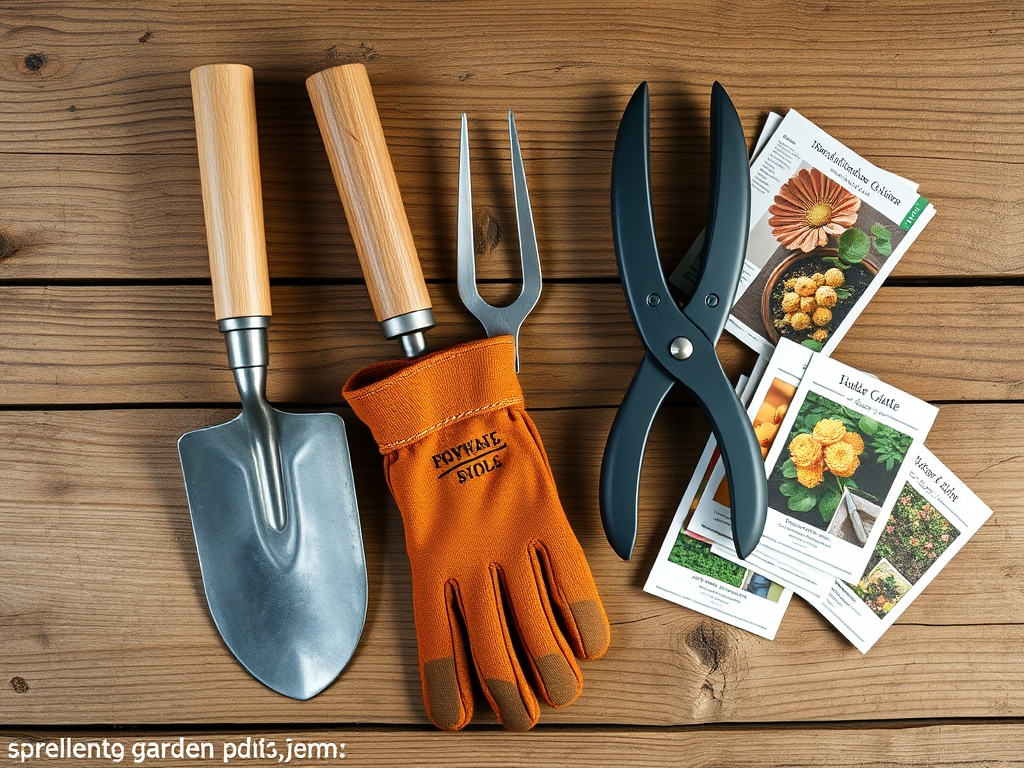
Materials:
The foundation of a gate depends on the substrate. For high-traffic perimeters, the ideal medium is a friable loam with a pH range of 6.2 to 6.8. This acidity level prevents the rapid corrosion of galvanized steel hardware while supporting microbial life. If your soil is heavy clay, you must amend the backfill with coarse horticultural grit to facilitate drainage.
Before setting posts, analyze your soil NPK ratios. A baseline of 10-10-10 is standard for general perimeter stabilization, but high-nitrogen environments (above 50 ppm) can accelerate the rot of untreated timber. Use pressure-treated lumber rated for ground contact or rot-resistant species like Western Red Cedar. You will need high-strength concrete with a minimum compressive strength of 4,000 PSI. Hardware must be heavy-duty stainless steel or powder-coated iron to resist the oxidation cycles common in humid microclimates.
Timing:
Installation should occur when the soil is workable but not saturated. In Hardiness Zones 4 through 7, the ideal window is late autumn after the first light frost but before the deep freeze. This timing aligns with the "Biological Clock" of most temperate perennials, which are transitioning from the vegetative stage to dormancy.
During this senescence phase, the plant redirects carbohydrates to the root system. Minimal transpiration occurs, meaning any root disturbance caused by post-hole excavation is less likely to induce fatal transplant shock. Avoid installation during the spring "flush" when high auxin levels drive rapid cell division and extreme water demand. If you must install during the growing season, ensure the soil temperature is between 55 and 70 degrees Fahrenheit to maintain optimal microbial activity during the backfilling process.
Phases:

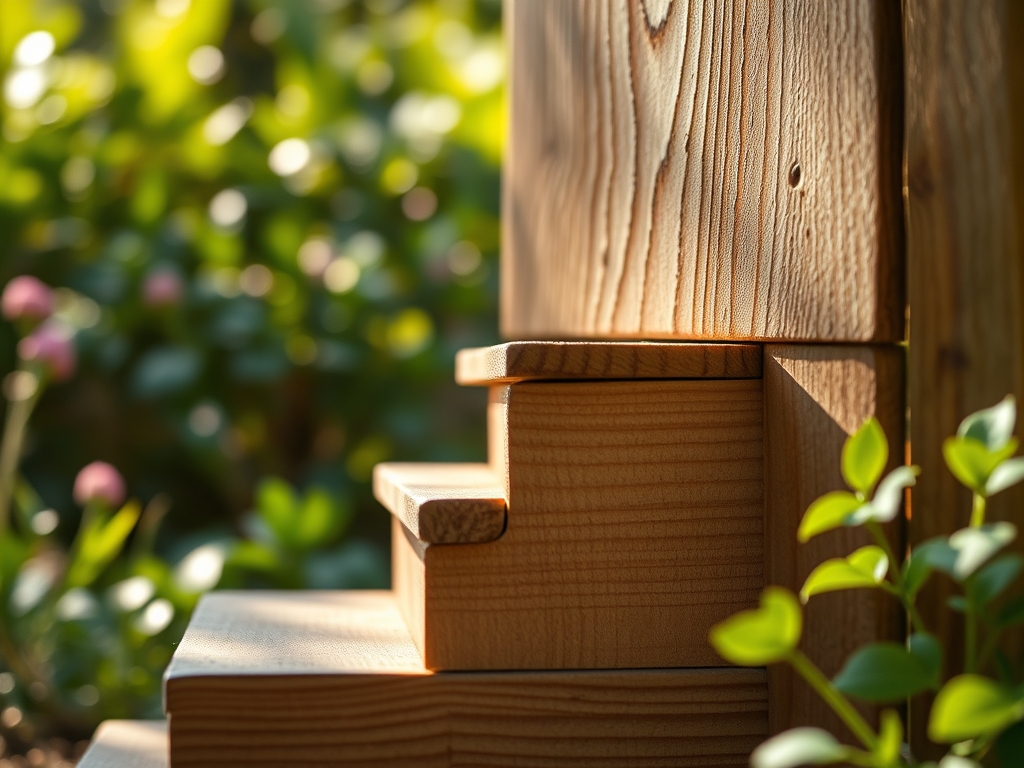
Sowing the Foundation
Excavate post holes to a depth of at least one-third the height of the post, plus an additional 6 inches for a gravel drainage base. In regions with deep frost lines, the hole must extend 12 inches below the maximum frost depth to prevent frost heaving.
Pro-Tip: Use a hori-hori knife to score the sides of the hole if the soil is glazed. This prevents "pot-bound" syndrome in the surrounding soil, allowing for better mycorrhizal symbiosis between the native fungi and the roots of nearby hedge plants.
Transplanting the Structure
Position the hinge post and use a level to ensure vertical plumb. Pour the concrete mix, stopping 3 inches below the soil surface. Slope the top of the concrete away from the post to prevent water pooling. Allow the concrete to cure for a minimum of 48 to 72 hours before hanging the gate.
Pro-Tip: While the concrete cures, maintain consistent moisture in the surrounding soil. This prevents the concrete from drawing water away from nearby plant roots, a process that can lead to localized plasmolysis and leaf wilt.
Establishing the Swing
Attach the hinges to the gate frame first, then secure them to the post. Maintain a ground clearance of at least 2 to 3 inches to allow for natural soil expansion and mulch layers. Ensure the latch aligns perfectly to prevent mechanical stress on the hinge screws.
Pro-Tip: If the gate is near light-sensitive species, observe the shadow cast during the photoperiod. Structural changes can trigger phototropism, causing nearby plants to lean toward the light and potentially interfering with the gate's swing path over time.
The Clinic:
Physiological disorders in the perimeter often manifest shortly after heavy construction.
- Symptom: Interveinal chlorosis (yellowing leaves with green veins) on nearby shrubs.
- Solution: This indicates a micronutrient lockout, often caused by lime leaching from fresh concrete, which raises the soil pH. Apply elemental sulfur to lower the pH back to 6.5.
- Symptom: Sudden wilting despite adequate soil moisture.
- Solution: This suggests root severance or severe soil compaction from foot traffic. Aerate the soil with a garden fork and apply a 0-0-20 potassium-rich supplement to strengthen cell walls.
- Symptom: Stunted new growth or "witch's broom" deformity.
- Solution: Check for mechanical damage to the bark of nearby trees. Use a sterilized bypass pruner to make clean heading cuts on damaged limbs, preventing opportunistic fungal infections.
Fix-It for Nitrogen Chlorosis: If foliage turns pale green across the entire leaf, the soil carbon-to-nitrogen ratio is likely imbalanced from wood chip mulch. Incorporate a high-nitrogen fertilizer (e.g., blood meal or 21-0-0) at a rate of 1 pound per 100 square feet.
Maintenance:
A garden gate is a dynamic element in a living system. Lubricate hinges twice annually with a silicone-based lubricant to prevent friction-induced heat and metal fatigue. Monitor the soil moisture around the posts using a soil moisture meter. The goal is a consistent 1.5 inches of water per week at the drip line of surrounding plants.
Inspect the post-to-soil interface for signs of "neck rot" in the timber. Use a hori-hori knife to clear away encroaching weeds or moss that trap moisture against the wood. Every three years, check the plumb of the posts; if the gate begins to drag, it may indicate a shift in the Cation Exchange Capacity or a collapse of soil structure due to excessive sodium levels from winter de-icing salts.
The Yield:
While a gate does not produce a crop, its "yield" is the protection of the interior harvest. In edible gardens, the gate must be secured with a mesh size no larger than 1 inch to exclude lagomorphs and other foragers. If your perimeter includes climbing roses or clematis, prune them back by 20 percent post-installation to encourage new lateral branching. This technique redirects energy from apical dominance to lateral bud development, resulting in a denser floral display across the gate archway by the next season.
FAQ:
How deep should I dig the gate posts?
Dig the hole to at least one-third the total length of the post. Add 6 inches of gravel for drainage. Ensure the base sits below the local frost line to prevent seasonal shifting and structural failure.
What is the best wood for a garden gate?
Western Red Cedar and Redwood are superior due to natural tannins that resist rot. Pressure-treated lumber is an alternative, but it must be rated for ground contact to withstand the high moisture levels of a typical rhizosphere.
How do I prevent my garden gate from sagging?
Install a diagonal cross-brace running from the bottom hinge corner to the top latch corner. This creates a triangle, transferring the weight of the gate back to the hinge post and preventing gravitational torque from deforming the frame.
Can I set gate posts without concrete?
In high-drainage, rocky soils, you can use compacted crushed stone. However, for most friable loams, concrete provides the necessary mass to resist the rotational force of the gate. Without it, the post will eventually lean.