7 Steps to Build a Custom Mixed-Material Garden Path
The scent of damp, disturbed earth signals the beginning of any serious structural intervention in the landscape. When you break the surface tension of a compacted soil crust, you release trapped geosmin and expose the complex rhizosphere to immediate atmospheric gas exchange. Constructing a permanent walkway requires more than aesthetic placement; it demands an understanding of soil mechanics and hydrological runoff. Following the correct steps for building a garden path ensures that your transit lines do not interfere with the turgor pressure of adjacent perennials or the delicate root architecture of your prized specimens. This process is a calculated engineering feat that balances human traffic with the biological needs of the surrounding flora.
Materials:

The foundation of a durable path relies on the substrate quality. You must evaluate the soil Cation Exchange Capacity (CEC) of the surrounding beds before choosing your materials. A high CEC indicates a heavy clay content that requires aggressive drainage solutions. The ideal garden path is flanked by **friable loam** with a **pH range of 6.2 to 6.8**.
For the path itself, you require a base of crushed limestone (3/4-inch minus) to provide a stable, alkaline foundation that resists shifting. If your path borders acid-loving plants like Pieris or Rhododendrons, use washed river gravel to avoid leaching calcium into the root zone. Ensure you have organic mulch or groundcovers ready for the margins. Use a balanced NPK ratio of 10-10-10 for any foundational plantings to establish root vigor without forcing excessive succulent growth that attracts pathogens.
Timing:
Timing is dictated by your USDA Hardiness Zone and the local frost-date window. In Zones 5 through 7, the optimal window for construction is late spring, once the soil has thawed and reached a consistent internal temperature of 55 degrees Fahrenheit. This prevents "frost heave," where moisture trapped in the sub-base expands and displaces your pavers.
You must also account for the biological clock of the surrounding vegetation. Avoid heavy excavation during the peak reproductive stage (flowering) of nearby shrubs. The transition from vegetative growth to reproductive output requires massive carbohydrate reserves. Disturbing the roots during this phase causes physiological stress and may lead to premature senescence. Aim for the "dormant-to-active" transition period in early spring or the "active-to-dormant" window in mid-autumn.
Phases:

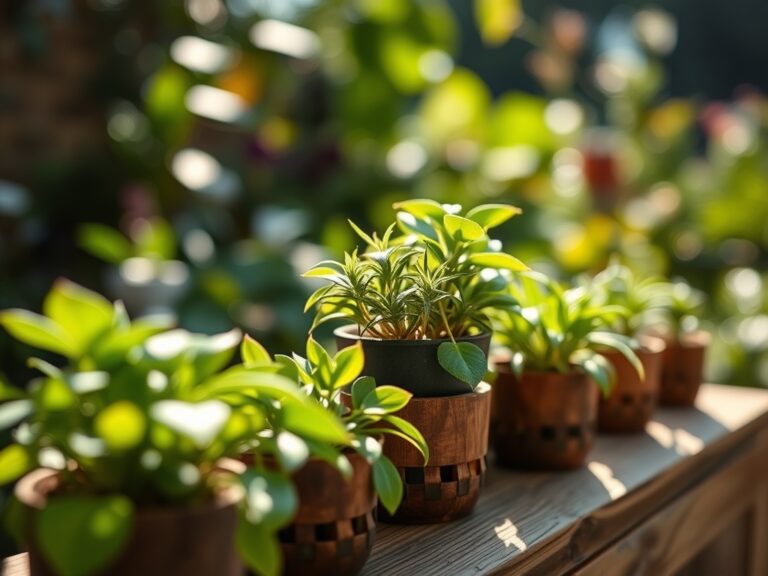
Sowing the Margins
Once the structural path is set, you must stabilize the edges. Sowing low-profile groundcovers like Thymus serpyllum requires a fine-tilth seedbed. Ensure the seeds have direct contact with the mineral soil. Maintain a moisture level of 0.5 inches of water every three days during the germination phase.
Pro-Tip: Utilize the principle of phototropism. When planting along a path, ensure taller specimens are positioned on the northern side of the walkway to prevent them from leaning over the stones in a desperate search for light.
Transplanting Support Flora
When moving established plants to the path's edge, you must preserve the root ball's integrity. Dig a hole twice the width of the root system but no deeper than the original container. This encourages lateral root expansion into the uncompacted soil of the new site.
Pro-Tip: Inoculate the transplant site with mycorrhizal fungi. This symbiotic relationship increases the surface area of the root system by up to 1,000 times; it significantly enhances the plant's ability to uptake phosphorus and water in a high-traffic zone.
Establishing the Microclimate
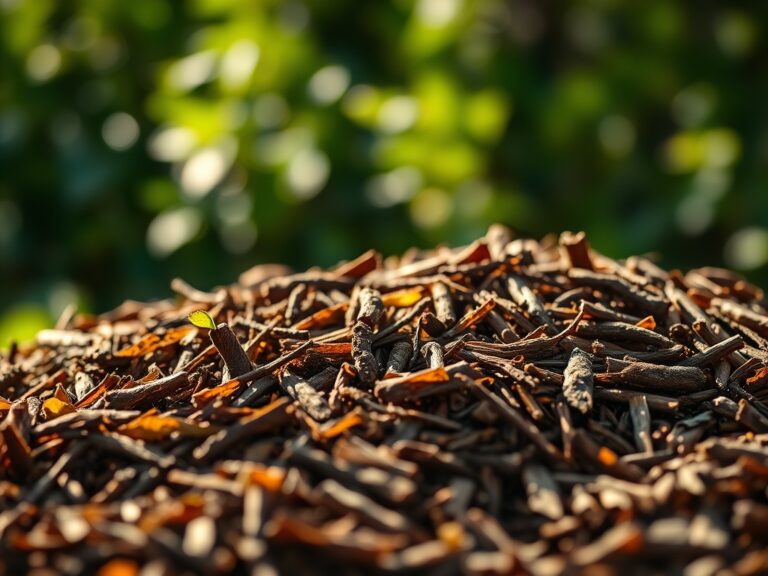
The final phase involves mulching and hydration. A 2-inch layer of arborist wood chips serves as a thermal blanket for the soil. It regulates temperature fluctuations and prevents the "heat island" effect that stone pavers can create in mid-summer.
Pro-Tip: Avoid mounding mulch against the stems of plants to prevent auxin suppression. If the bark remains constantly moist, it can lead to trunk rot and disrupt the flow of growth hormones from the apical meristem to the roots.
The Clinic:
Physiological disorders often appear shortly after landscape construction due to soil compaction or pH shifts.
-
Symptom: Interveinal chlorosis (yellow leaves with green veins) on new growth.
-
Solution: This indicates Iron deficiency, often caused by high alkalinity from concrete or limestone pavers. Apply chelated iron to the soil to lower the localized pH.
-
Symptom: Marginal leaf scorch on nearby shrubs.
-
Solution: This is likely Drought Stress caused by the "wicking" effect of the path materials. Increase irrigation to 2 inches per week during the first season.
-
Symptom: Stunted growth and purplish tint on older leaves.
-
Solution: Phosphorus deficiency. Cold soil or high compaction limits P-uptake. Use a soil moisture meter to ensure the area isn't waterlogged; then apply a high-phosphate starter fertilizer.
Maintenance:
A garden path is a living system that requires precise calibration. Use a soil moisture meter twice weekly to check the hydration levels at a 6-inch depth. Most established perennials require 1.5 inches of water per week at the drip line.
Use a hori-hori knife to remove deep-rooted taproot weeds like dandelion without disrupting the surrounding soil structure. For woody overgrowth encroaching on the path, use bypass pruners to make clean, 45-degree cuts just above a lateral bud. This encourages outward growth and maintains the "clearance envelope" of your walkway. Every three years, top-dress the path margins with 0.5 inches of compost to replenish the organic matter depleted by microbial activity.
The Yield:
If your path serves a kitchen garden, harvesting timing is critical for nutrient density. Harvest leafy greens and herbs at dawn, when turgor pressure is at its highest. This ensures the cells are fully hydrated and the flavor compounds are concentrated.
Use a sharp blade to prevent crushing the vascular tissue (xylem and phloem). For "day-one" freshness, immediately plunge the stems into 40-degree Fahrenheit water. This rapid cooling slows down the metabolic rate and delays the onset of wilting. For flowers like lavender or chamomile grown along the path, harvest when the first three florets on the spike have opened to capture the peak essential oil profile.
FAQ:
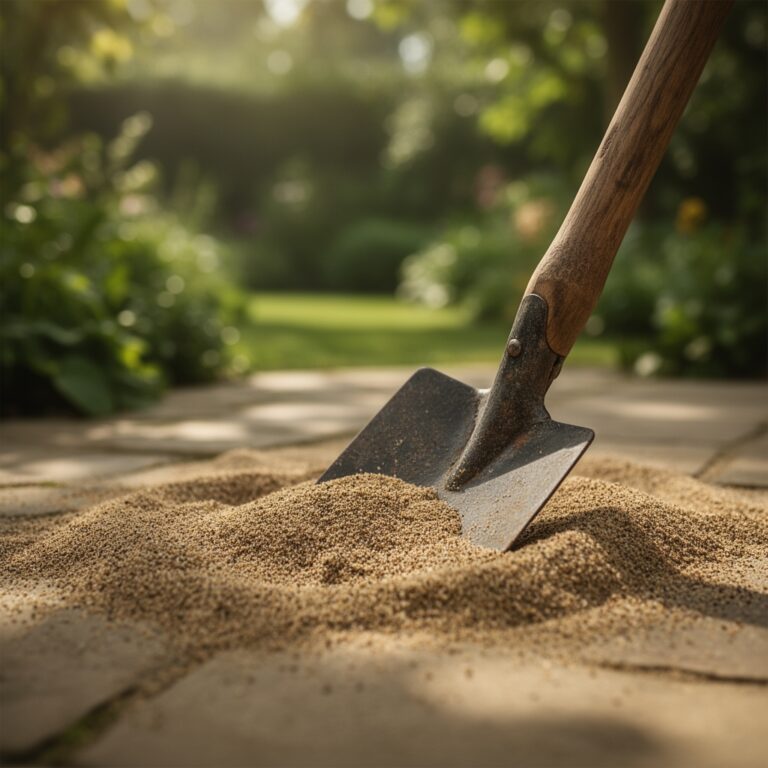
How deep should I excavate for a stone path?
Excavate to a depth of 6 inches. This allows for a 4-inch compacted gravel base and a 2-inch layer for your pavers and leveling sand. Proper depth prevents shifting during freeze-thaw cycles in colder climates.
What is the best material for a low-maintenance path?
Decomposed granite (DG) mixed with a stabilizer is superior. It provides a permeable surface that reduces runoff while remaining firm enough to resist erosion. It maintains a neutral impact on the surrounding soil pH levels.
How do I stop weeds from growing between pavers?
Use polymeric sand in the joints. When misted with water, it hardens to create a flexible seal that prevents seeds from reaching the soil. This eliminates the need for chemical interventions in the rhizosphere.
Can I build a path over large tree roots?
Avoid it. Compacting soil over roots causes asphyxiation by cutting off oxygen to the fine feeder roots. If you must cross a root, use a "floating" wooden boardwalk or a thick layer of coarse wood chips to distribute weight.