7 Tips to Use a Maintenance List for Garden Machinery
The smell of damp earth after a cold rain indicates more than just a change in weather; it signals the hydraulic demands of the upcoming growing season. When the turgor pressure of a healthy leaf is at its peak, the gardener must be certain that the mechanical systems supporting the landscape are functioning at maximum efficiency. Neglecting mechanical upkeep results in jagged pruning cuts that invite pathogens into the vascular system of the plant. Using a maintenance list for garden tools ensures that every blade, engine, and handle is prepared to interface with the biological realities of the field. A structured inventory of tasks prevents the catastrophic failure of equipment during critical windows of the vernal equinox. Precision in maintenance reflects a commitment to the physiological health of the rhizosphere. By adhering to a rigorous schedule, you minimize the risk of cross-contamination and mechanical damage to sensitive woody tissues. This guide provides the technical framework necessary to transition from a reactive to a proactive mechanical strategy.
Materials:
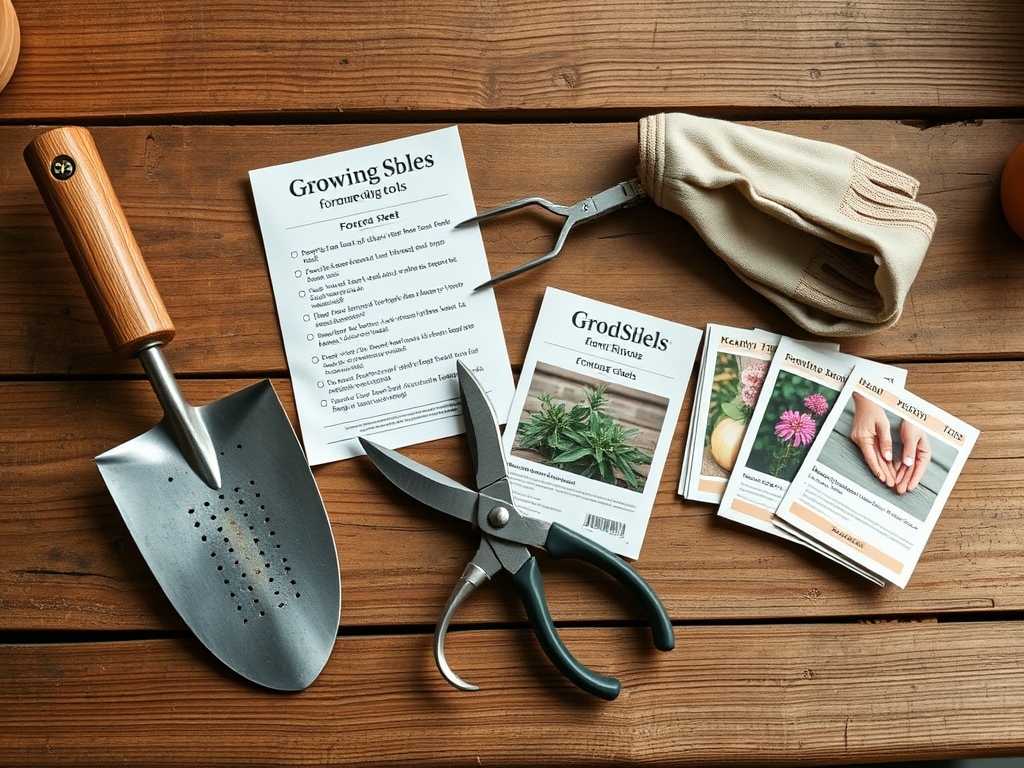
The interaction between garden machinery and the substrate is governed by soil chemistry and texture. A **friable loam** with a **pH of 6.5** is the gold standard for testing the efficacy of tilling and aeration equipment. When maintaining tools, consider the Cation Exchange Capacity (CEC) of the soil they will inhabit. High-clay soils with a **CEC above 25** require tools with polished surfaces to reduce friction and prevent the buildup of anaerobic pockets during cultivation. For nutritional support during the maintenance phase, utilize a balanced **10-10-10 NPK ratio** for general beds, or a high-nitrogen **21-0-0 ammonium sulfate** for turf areas requiring rapid vegetative recovery after mechanical aeration. Ensure your maintenance kit includes lithium-based grease for pivot points and a fine-grit whetstone for restoring the bevel on cutting edges.
Timing:
The mechanical calendar is dictated by Hardiness Zones and the biological clock of the plant. In Zones 5 through 7, the window for primary machinery maintenance occurs between the first hard frost and the breaking of bud dormancy. This period, typically spanning from late November to early March, allows for the complete overhaul of engines before the transition from the vegetative to the reproductive stage of the plant life cycle. Monitoring the photoperiod is essential; as day length increases, the metabolic rate of the garden accelerates, leaving no room for equipment downtime. Sharpening all cutting tools must be completed before the sap begins to rise in deciduous species to ensure clean, compartmentalized wounds that resist decay.
Phases:

### Sowing and Soil Preparation
Before the first seed hits the furrow, the rototiller or broadfork must be inspected for structural integrity. Check for tines that have been thinned by abrasion, as reduced surface area limits the effective fracturing of the soil crust. Ensure the fuel system is free of ethanol-related varnish which can cause lean-burn conditions and engine overheating.
**Pro-Tip:** Maintaining a sharp edge on tilling blades reduces soil compaction. This preserves the **mycorrhizal symbiosis** within the soil, as dull blades tend to smear the soil profile rather than shattering it, which collapses the macro-pores necessary for fungal respiration.
Transplanting and Root Management
Mechanical maintenance during the transplant phase focuses on the precision of hand tools. The hori-hori knife and bypass pruners must be sterilized using a 70 percent isopropyl alcohol solution to prevent the transfer of soil-borne oomycetes. Check the tension on bypass pruners to ensure they do not crush the phloem and xylem during the cut.
Pro-Tip: Clean cuts are vital because they facilitate the rapid accumulation of auxins at the wound site. If a tool is dull, it causes cellular crushing that inhibits the plant's ability to seal the wound through callusing, leading to localized senescence.
Establishing and Irrigation
The maintenance list must include the calibration of irrigation timers and the inspection of drip emitters. A soil moisture meter should be used to verify that the machinery is delivering the required volume to the root zone. Inspect pump impellers for mineral scaling that can reduce hydraulic head pressure.
Pro-Tip: Consistent water delivery prevents fluctuations in turgor pressure. Sudden drops in hydraulic pressure can lead to physiological disorders like blossom end rot, as the plant cannot transport calcium effectively without a steady transpiration stream.
The Clinic:
Physiological disorders often stem from poor mechanical intervention. Use the following diagnostic criteria to identify and fix common issues.
Symptom: Ragged, brown edges on leaf margins after pruning.
Solution: This is mechanical necrosis caused by dull blades. Sharpen the bypass pruners to a 20-degree angle.
Fix-It: Apply a light coating of horticultural oil to the tool after sharpening to prevent oxidation and ensure smooth operation.
Symptom: Stunted growth and yellowing of lower leaves (Nitrogen Chlorosis).
Solution: This often occurs when a tiller incorporates too much "brown" organic matter without sufficient nitrogen.
Fix-It: Supplement the soil with a 46-0-0 urea fertilizer at a rate of 0.5 pounds per 100 square feet to balance the carbon-to-nitrogen ratio.
Symptom: Localized wilting despite moist soil.
Solution: Likely root damage from a dull shovel or spade during transplanting.
Fix-It: Prune away damaged root tips with a sterilized knife to encourage the growth of new lateral roots.
Maintenance:
A rigorous maintenance list extends the life of the machine and the plant. Every seven days, inspect the air filters on all gas-powered equipment; a clogged filter increases fuel consumption and emissions. For irrigation, ensure the system delivers exactly 1.5 inches of water per week at the drip line for established shrubs. Use a soil moisture meter to depth-check the saturation at 6 inches and 12 inches. Lubricate the pivot points of your bypass pruners with a dry-film lubricant to prevent the accumulation of grit. Store all long-handled tools vertically to prevent warping of the wooden shafts. If a tool handle shows signs of desiccation, rub it with boiled linseed oil to maintain structural flexibility.
The Yield:
Harvesting is the culmination of mechanical and biological synergy. For fruiting crops, timing is determined by the conversion of starches to sugars, often measured via a refractometer. Use specialized harvesting shears to clip stems rather than pulling, which protects the parent plant from vascular tearing. For leafy greens, harvest in the pre-dawn hours when turgor pressure is highest. Immediately submerge harvested produce in 40-degree Fahrenheit water to remove field heat. This process slows the rate of respiration and delays the onset of senescence, ensuring the crop retains its nutritional density and structural crispness for maximum shelf life.
FAQ:
How often should I sharpen my mower blades?
Sharpen blades every 25 hours of use. Dull blades tear the grass blades rather than cutting them, which increases water loss through transpiration and makes the turf susceptible to fungal pathogens.
What is the best way to clean hand tools?
Remove soil with a stiff brush and water. Dry thoroughly. Wipe the metal surfaces with a cloth dampened in 70 percent isopropyl alcohol to disinfect, then apply a thin layer of mineral oil to prevent rust.
Why does my tiller struggle in heavy clay?
Heavy clay has a high Cation Exchange Capacity and high density. Ensure tines are sharp and the engine is running at the correct RPM. Tilling when the soil is too wet causes clodding and destroys soil structure.
How do I store tools for the winter?
Drain all fuel or add a stabilizer to the tank. Clean all soil from metal surfaces and coat with oil. Store tools in a low-humidity environment to prevent the oxidation of metal and the rot of wooden handles.