7 Steps to Sharpen a Pruning Knife with a File
The scent of crushed chlorophyll and damp, friable loam signals the start of a productive day in the field; however, a dull blade ruins the turgor pressure of a clean cut. Ragged edges on a stem lead to cellular necrosis and invite opportunistic pathogens into the vascular system. Mastering the steps for sharpening a garden knife with a file ensures every incision is surgical and promotes rapid wound occlusion. A sharp edge minimizes the physical force required to sever plant tissue; this protects the delicate cambium layer from crushing. When the blade is honed to a 20 degree angle, it glides through the xylem and phloem with minimal resistance. This technical precision is not merely about maintenance; it is a fundamental requirement for maintaining plant health and systemic vigor. Without a refined edge, you risk tearing the epidermis and exposing the plant to environmental stress.
Materials:
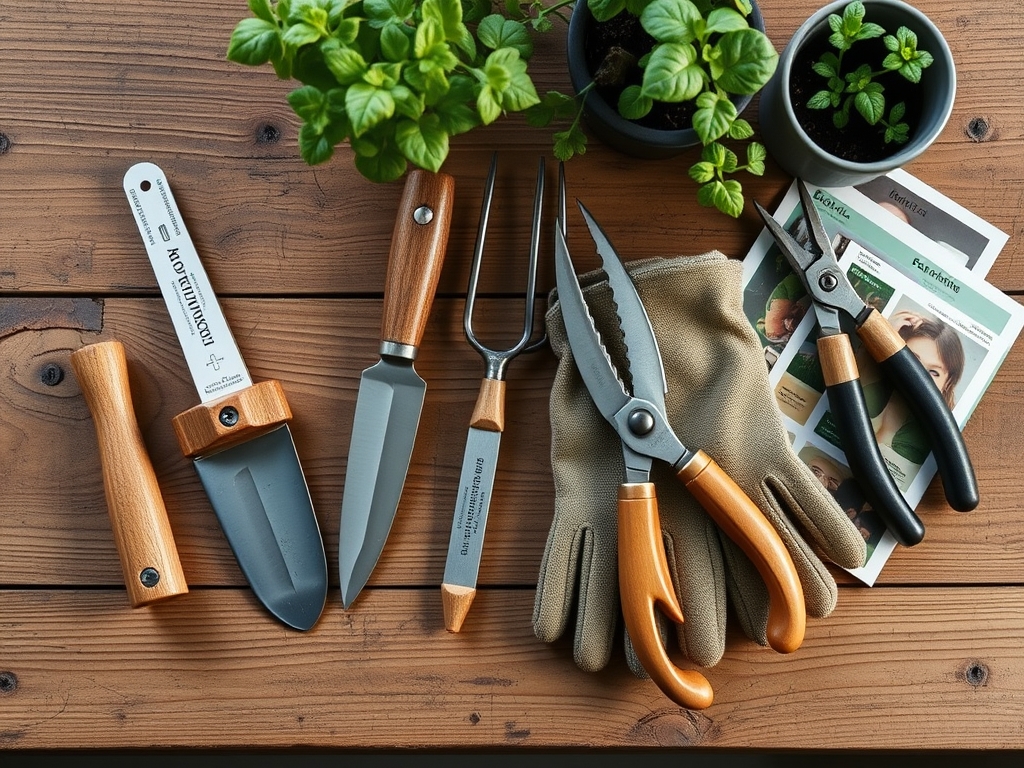
Maintaining tools requires a workspace as controlled as a nursery bed. While the knife does not consume nutrients, its performance is dictated by the environment. Your sharpening station should be set over a stable surface. Use a **10 inch mill bastard file** for primary metal removal and a **fine-cut whetstone** for finishing. For cleaning the blade before and after the process, use a solution of **70 percent isopropyl alcohol** to ensure no pathogens are transferred between the tool and the rhizosphere. If you are working in a potting shed, ensure the floor is clean of debris that could contaminate the blade. In terms of soil chemistry, a high Cation Exchange Capacity (CEC) in your garden beds means your plants are nutrient dense and have high lignin content; this tougher cellulose requires a blade with a Rockwell hardness rating of at least **54 to 58 HRC**.
Timing:
Sharpening should occur before the spring flush, typically in Hardiness Zones 5 through 7 between late February and early March. This window falls before the first frost-free date when the biological clock of the plant triggers the transition from dormancy to the vegetative stage. During this transition, sap flow increases. If you prune during the reproductive stage when the plant is allocating phosphorus and potassium to flower production, the blade must be at its peak sharpness to avoid diverting energy toward healing a jagged wound. Perform a deep sharpening every 50 to 100 cuts or whenever you notice a decrease in the ease of penetration through woody stems.
Phases:

Sowing the Edge: Preparation
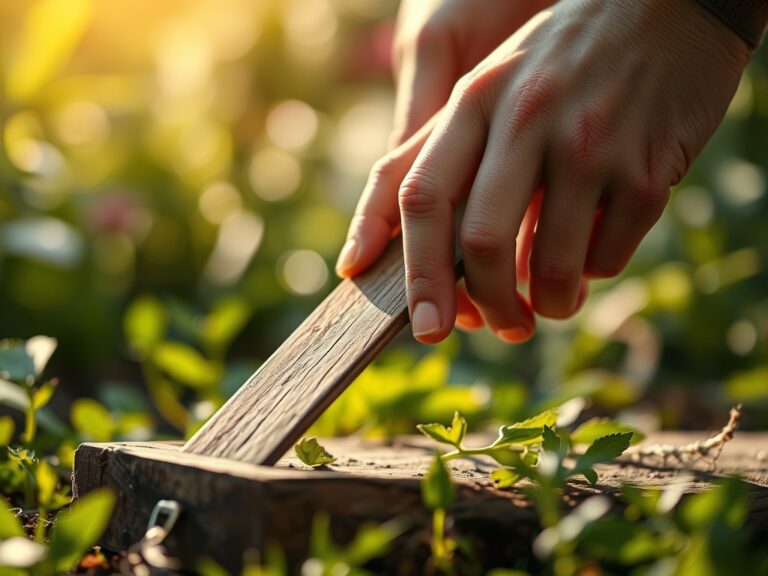
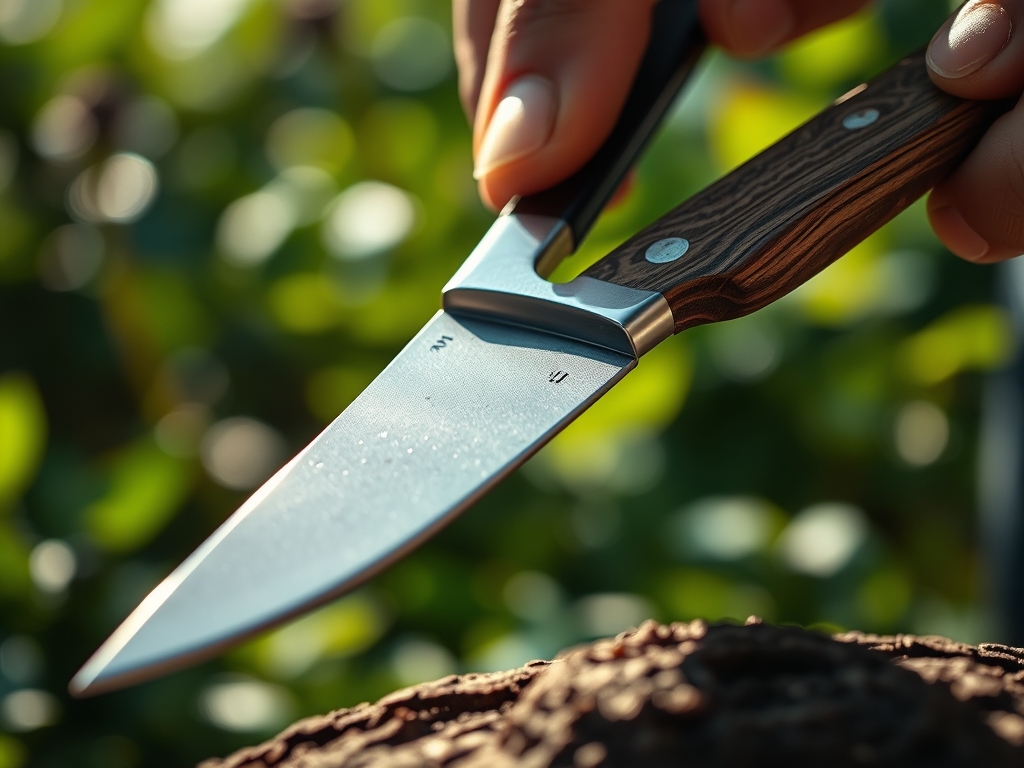
Secure the knife in a bench vise with the bevel facing upward. Use a damp cloth to remove any sap or resin buildup. If the blade has rust, use a wire brush or steel wool to expose the raw high carbon steel.
Pro-Tip: Clean tools prevent the spread of Fusarium wilt. By removing organic residue, you eliminate the medium where fungal spores reside; this protects the rhizosphere from contamination during future soil contact.
Transplanting the Metal: Filing
Hold the file at a 20 degree angle relative to the blade. Push the file away from your body in long, steady strokes. Apply even pressure across the entire length of the edge. Do not use a back and forth sawing motion; this creates heat that can ruin the temper of the steel.
Pro-Tip: Maintaining a consistent angle is vital because of structural integrity. A steeper angle makes the edge brittle, while a shallower angle prevents the blade from biting into the plant tissue, causing the tool to slip and damage the stem.
Establishing the Honing: Finishing
After 10 to 15 strokes with the file, a small metal "burr" will form on the opposite side of the edge. Use a fine-grit stone or a smaller needle file to lightly remove this burr. This ensures the edge is microscopically straight.
Pro-Tip: A smooth edge facilitates rapid wound occlusion. When a cut is clean, the plant can more efficiently produce callus tissue, which is a mass of unorganized parenchyma cells that seal the wound and prevent moisture loss.
The Clinic:
Physiological disorders in plants often stem from poor tool maintenance.
- Symptom: Ragged, brown edges on pruning sites. Solution: Sharpen the blade immediately to ensure clean cell wall separation.
- Symptom: Stem dieback following a cut. Solution: Sterilize the knife with alcohol; the dull blade likely pushed pathogens into the vascular bundle.
- Symptom: Yellowing of new growth (Nitrogen chlorosis). Fix-It: Apply a fertilizer with an NPK ratio of 21-0-0 (Ammonium Sulfate) to boost chlorophyll production.
- Symptom: Interveinal chlorosis in older leaves (Magnesium deficiency). Fix-It: Apply Epsom salts (Magnesium Sulfate) at a rate of 1 tablespoon per gallon of water to the root zone.
Maintenance:
A sharpened garden knife is a precision instrument. Store your tools in a dry environment to prevent oxidation. After each use, wipe the blade with a light coat of mineral oil. In the garden, monitor your plants with a soil moisture meter to ensure they maintain high turgor pressure; well-hydrated plants are easier to cut cleanly than those under drought stress. For heavy-duty tasks, supplement your knife with a hori-hori knife for digging or bypass pruners for thicker branches. Ensure your garden receives 1.5 inches of water per week at the drip line to maintain the structural health of the vegetation you are pruning.
The Yield:
When harvesting leafy greens or herbs, use your sharpened knife to cut at a 45 degree angle just above a node. This technique encourages lateral branching through auxin suppression at the tip. For "day-one" freshness, harvest during the cool morning hours when the plant is at maximum turgidity. Place harvested material immediately into a bucket of 50 degree Fahrenheit water to slow the rate of senescence and respiration. A clean cut from a sharp file ensures the vascular tubes remain open for water uptake post-harvest.
FAQ:
How often should I use a file on my garden knife?
Perform a heavy sharpening with a file once per season or after hitting stones. For daily maintenance, use a honing stone. This preserves the steel while maintaining a surgical edge for clean botanical cuts.
What is the best angle for sharpening a pruning knife?
Maintain a 20 degree angle. This provides the optimal balance between edge sharpness and durability. A shallower angle may chip when cutting hardwood, while a steeper angle will crush delicate vascular tissues like the phloem.
Can I use a file on a serrated garden knife?
No; standard mill bastard files are for straight blades. Serrated edges require a specialized tapered round file. Using a flat file on serrations will flatten the teeth and destroy the tool's ability to saw through fibrous roots.
Why is my knife rusting after sharpening?
Filing exposes raw steel to oxygen and moisture. Always apply a thin layer of 3-in-One oil or mineral oil after sharpening. This creates a hydrophobic barrier that prevents oxidation and maintains the integrity of the metal.