8 Steps to Install an Indoor Drip Irrigation Kit
Indoor drip irrigation transforms passive container gardening into precision horticulture. The steps for installing an indoor plant irrigation kit require attention to hydraulic principles, substrate porosity, and emitter placement. Each component must work in concert to deliver moisture at the root zone without saturating the cation exchange capacity of the growing medium. This system mimics natural precipitation patterns while preventing the anaerobic conditions that trigger pythium and phytophthora. The investment in automated delivery pays dividends in consistent auxin distribution and reduced salt accumulation at the substrate surface.
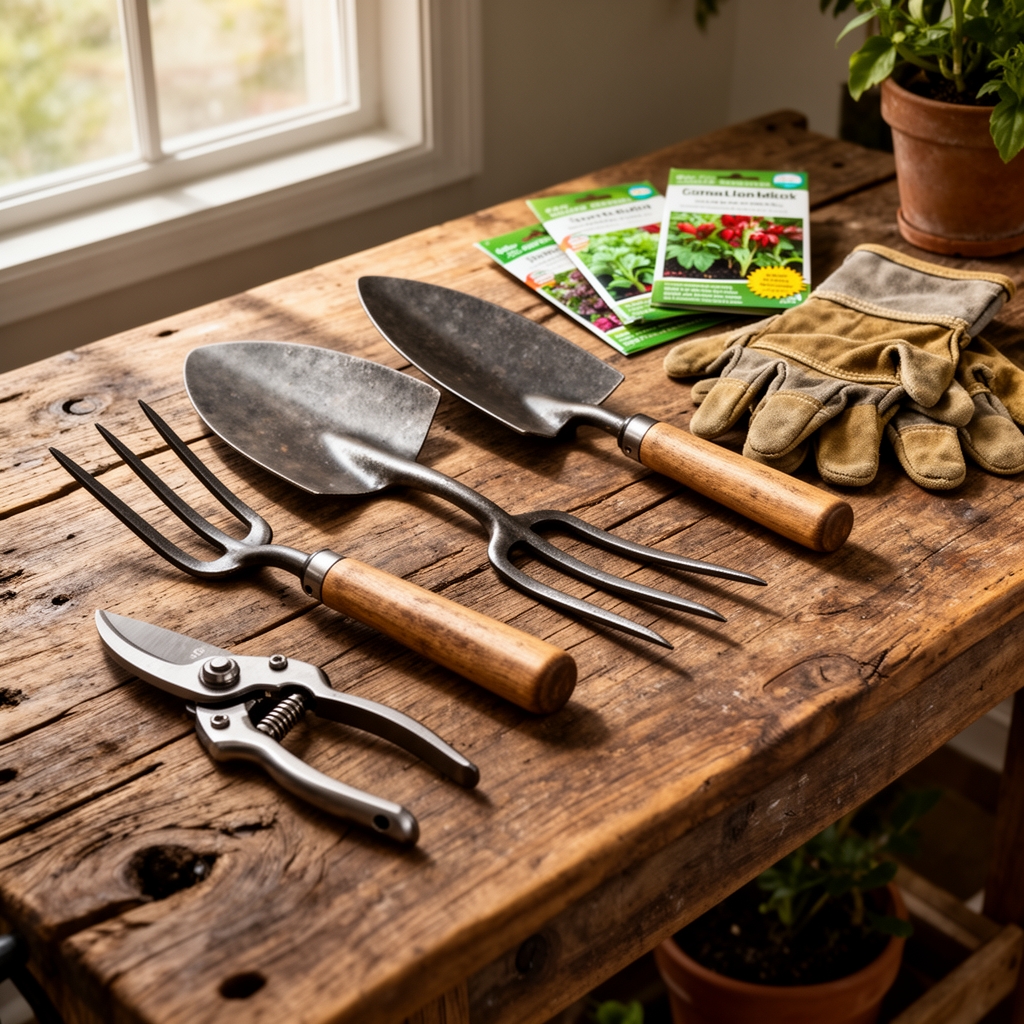
Materials
The foundation begins with a reservoir tank of 5-gallon minimum capacity. Select food-grade polyethylene to prevent leaching. The pump must deliver 60-120 gallons per hour with adjustable flow control. Choose a timer with 1-minute increment programming for precision scheduling.
Tubing comes in two categories: 1/4-inch distribution lines and 1/2-inch mainlines. Use UV-stabilized polyethylene rated for continuous submersion. Pressure-compensating drip emitters deliver 0.5-2.0 gallons per hour regardless of elevation changes within the system. Stake-mounted adjustable emitters offer flexibility for varied container sizes.
Filtration prevents clogging. Install a 200-mesh inline filter between pump and mainline. For systems using fertilizer injection, add a backflow preventer.
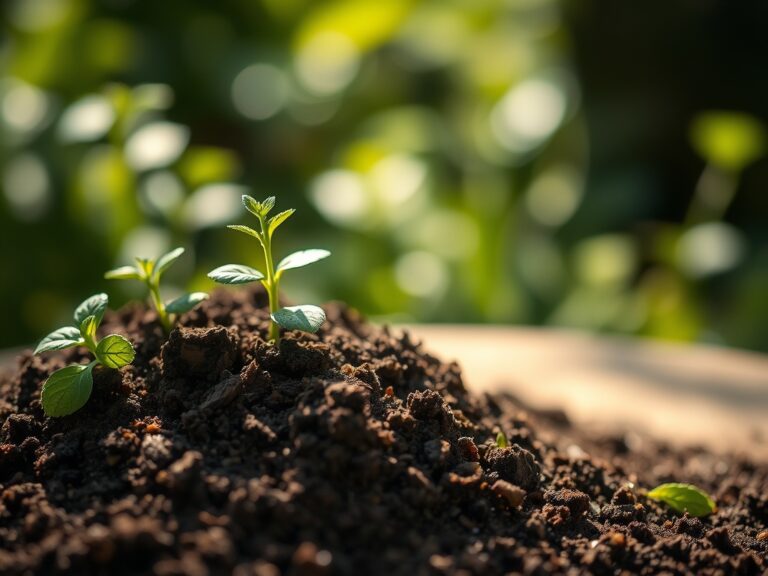
The substrate requires amendment for optimal drainage. Blend 40% perlite, 30% coir, 20% compost, and 10% worm castings. This mixture maintains porosity while providing buffering capacity. Amend with dolomitic limestone to achieve pH 6.0-6.5. Incorporate a 4-4-4 organic meal at 2 tablespoons per gallon of substrate before planting.
Timing
Indoor installation follows no hardiness zone constraints, but seasonal considerations affect performance. Install during late winter (January-February) when heating systems create low relative humidity. This timing allows system testing before peak growing season begins in March.
Spring installation (March-April) coincides with increased photoperiod and accelerated transpiration rates. Adjust emitter output upward by 20% as plants transition from dormancy. Summer installations require immediate full-capacity operation. Fall and winter installations should begin at 60% capacity, increasing gradually as root systems colonize containers.
For tropical species requiring consistent 65-75°F substrate temperatures, install heating mats beneath containers before finalizing emitter placement.
Phases

Step 1: Layout Planning
Measure container spacing and count plants. Draw a schematic showing mainline routing and branch points. Position the reservoir below the growing plane to enable gravity drainage during maintenance. Calculate total emitter flow to ensure pump capacity exceeds demand by 25%.
Pro-Tip: Install mainlines along north walls to minimize UV degradation from window exposure.
Step 2: Reservoir Setup
Drill a 3/4-inch hole 2 inches from the reservoir top. Install a bulkhead fitting with rubber gaskets on both sides. Thread the pump power cord through a separate grommet to maintain watertight integrity. Add an airstone connected to an aquarium pump to prevent stagnation and maintain dissolved oxygen above 6 ppm.
Step 3: Pump and Filter Installation
Submerge the pump with intake 3 inches above reservoir bottom. This prevents sediment intake. Connect the outlet to the inline filter, then to the mainline. Secure all connections with hose clamps rated for continuous moisture exposure.
Pro-Tip: Elevate the pump on a perforated platform to reduce vibration transmission through container surfaces.
Step 4: Mainline Distribution
Run 1/2-inch tubing around the growing area perimeter. Use elbow fittings for 90-degree turns. Secure tubing to walls or shelving with cable clips every 24 inches. Leave 6 inches of slack per 10 feet to accommodate thermal expansion.
Step 5: Emitter Installation
Punch holes in the mainline using a dedicated tool that creates clean, burr-free openings. Insert barbed connectors and attach 1/4-inch distribution lines. Position emitters 2-3 inches from stem bases, never directly against plant tissue. Use one emitter per gallon of container volume.
Pro-Tip: Angle emitters 15 degrees downward to prevent misting that encourages foliar fungal colonization.
Step 6: System Pressurization
Fill the reservoir with dechlorinated water. Run the pump for 5 minutes while inspecting every connection. Tighten any joints showing seepage. Verify that all emitters deliver equal flow rates within 10% variance.
Step 7: Timer Programming
Set initial schedules for 3 minutes twice daily. Monitor substrate moisture with a tensiometer or moisture meter. Adjust duration to maintain readings between -10 and -30 centibars. This range optimizes root oxygenation while preventing drought stress.
Pro-Tip: Schedule irrigation cycles to end 4 hours before lights-out to reduce overnight humidity that triggers botrytis.
Step 8: Mycorrhizal Inoculation
Apply mycorrhizal fungi directly to root zones through the irrigation system. Mix 1 teaspoon of inoculant per gallon of reservoir water during the first irrigation cycle post-installation. These symbiotic fungi colonize roots within 7-14 days, improving phosphorus uptake by 40%.
Troubleshooting
Symptom: Emitters clog within 2 weeks
Solution: Reduce nutrient concentration by 50%. High salinity precipitates calcium and magnesium phosphates. Flush system with citric acid solution (1 tablespoon per gallon) monthly.
Symptom: Substrate remains saturated 24 hours post-irrigation
Solution: Increase perlite percentage to 50%. Improve drainage by elevating containers on inverted saucers. Reduce irrigation duration by 30-second increments until substrate dries to -20 centibars between cycles.
Symptom: Fungus gnats emerge from substrate surface
Solution: Allow top 2 inches of substrate to dry completely between irrigations. Apply Bacillus thuringiensis israelensis (BTI) through the irrigation system at 1 tablespoon per 5 gallons. Install yellow sticky traps at soil level.
Symptom: Salt crusts form on substrate surface
Solution: Implement monthly leaching with pure water at 2x normal irrigation volume. This flushes accumulated salts through drainage holes. Switch to fertilizers with lower sodium index values.
Symptom: Uneven growth across plant population
Solution: Install pressure-compensating emitters to equalize flow regardless of line position. Verify pump delivers adequate pressure (15-25 PSI). Check for kinked distribution lines restricting flow.
Maintenance
Inspect emitters weekly for clogs or displacement. Clean filters every 30 days by backflushing with reverse water flow. Replace filter screens annually regardless of visible condition.
Flush the entire system monthly using a 3% hydrogen peroxide solution. This prevents biofilm accumulation that harbors pathogens and reduces flow capacity. Circulate the solution for 15 minutes, then drain and rinse with clean water.
Monitor reservoir water level daily. Refill when volume drops below 25% capacity to prevent pump cavitation. Add nutrients at each refill to maintain consistent electrical conductivity between 1.2-1.8 mS/cm for most indoor ornamentals.
Calibrate the timer seasonally to match changing transpiration rates. Increase irrigation frequency during high-light summer months. Decrease by 40% during winter dormancy periods when photosynthetic rates decline.
Replace tubing every 3 years as plasticizers degrade and material becomes brittle. Inspect all connections twice annually, replacing any showing stress cracks or mineral deposits that compromise seal integrity.
FAQ
How often should indoor drip systems run?
Frequency depends on substrate type and plant species. Most systems operate 2-4 times daily for 2-5 minutes per cycle. Monitor substrate with a moisture meter, maintaining readings between -10 and -30 centibars for optimal root health.
Can I add fertilizer directly to the reservoir?
Yes. Use water-soluble fertilizers at 50% label strength for continuous feeding. Change the reservoir completely every 14 days to prevent nutrient imbalances. Maintain pH between 5.8-6.2 for optimal nutrient availability.
What pump size do I need?
Calculate total emitter flow in gallons per hour. Select a pump with 25% excess capacity. For 10 emitters at 1 GPH each, choose a pump rated for 12.5 GPH minimum. Submersible pumps rated 60-120 GPH handle most residential installations.
How do I prevent algae growth?
Use opaque reservoirs and tubing to block light penetration. Add 3% hydrogen peroxide at 5 ml per gallon weekly. Install the reservoir in a dark cabinet or wrap with lightproof material. Algae requires light for photosynthesis.
Should emitters sit on substrate surface or elevated?
Position emitters 1-2 inches above substrate, secured to stakes. This prevents clogging from media particles and allows visual confirmation of flow. Angled downward at 15 degrees, water penetrates substrate without splashing foliage.