7 Steps to Prepare a Seedling Humidity Dome
Learning how to prepare a humidity dome for seedlings transforms germination success from a gamble into a controlled botanical process. The transparent barrier traps moisture at 85-95% relative humidity while maintaining soil temperatures between 70-75°F, mimicking the microclimate of a tropical understory. When vapor condenses on the interior surface and drips back onto the growing medium, it creates the exact vapor pressure deficit that awakens dormant embryos and triggers radicle emergence.
Materials
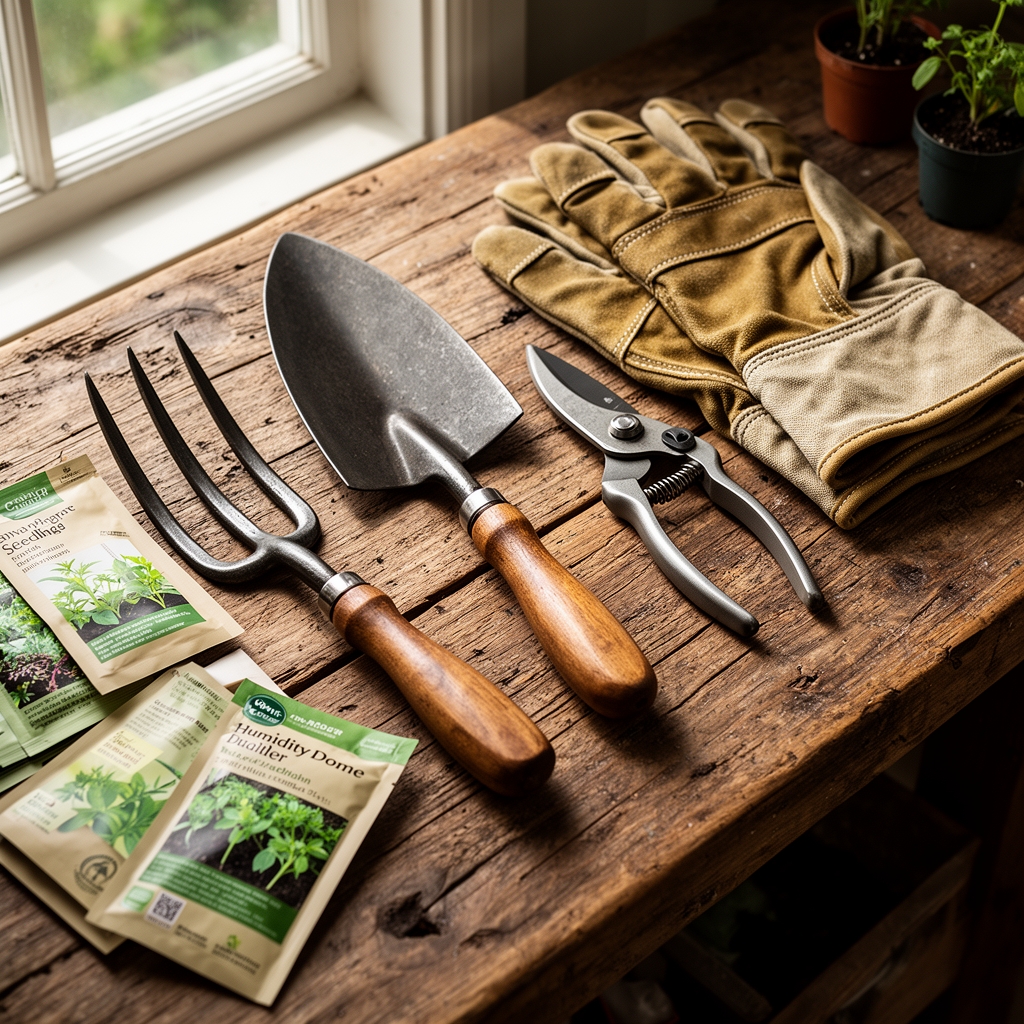
Assemble a clear polycarbonate or acrylic dome measuring 10-12 inches in height with adjustable ventilation ports. The tray beneath should feature drainage channels and hold a minimum of 1.5 inches of substrate depth. Select a soilless germination mix with a pH of 5.5-6.2, typically composed of 60% peat moss or coir, 30% perlite, and 10% vermiculite. This combination offers a cation exchange capacity of 8-12 meq/100g while maintaining air-filled porosity above 20%.
For nutrient supplementation, incorporate a starter formula rated at 4-4-4 or 5-3-3 NPK. The elevated phosphorus supports auxin distribution and root initiation. Mycorrhizal fungi inoculant at 0.25 teaspoons per gallon of medium establishes beneficial symbiosis before the first true leaves emerge. A digital thermometer with a probe and hygrometer accurate to within 2% provides environmental monitoring. A heat mat rated at 10-20 watts stabilizes bottom heat without desiccating the substrate.
Timing
Hardiness Zones 3-5 require dome setup 8-10 weeks before the last spring frost, typically February through mid-March. Zones 6-7 begin in late January for summer transplants or late July for fall brassicas. Zones 8-10 enjoy year-round flexibility but avoid dome use during ambient temperatures exceeding 85°F, as heat buildup can cook emerging hypocotyls.
Photoperiod-sensitive species demand 14-16 hours of artificial light at 200-400 foot-candles during the dome phase. Position LED or T5 fluorescent fixtures 3-4 inches above the dome surface. Adjust daily as cotyledons emerge to prevent etiolation.
Phases
Sowing Phase
Moisten the germination mix until water drips from a handful when squeezed, then fill cells or trays to within 0.25 inches of the rim. Firm the surface with a flat board to eliminate air pockets that disrupt capillary action. Sow seeds at twice their diameter in depth. Press fine seeds like lettuce or petunia onto the surface without covering. Mist with a spray bottle set to fine atomization, delivering 0.5 fluid ounces per square foot.
Place the dome over the tray and close all ventilation ports. Position the entire unit on the heat mat. Soil temperature should reach 70-75°F within 2 hours. Check with a probe thermometer inserted 1 inch into the medium.
Pro-Tip: Dust seeds with powdered kelp at a rate of 0.1 grams per 100 seeds to supply cytokinins that accelerate cell division during the lag phase.
Transplanting Phase
Once 70% of seeds show cotyledons fully expanded, open ventilation ports to 25% capacity. Reduce heat mat operation to 8 hours per day. Maintain dome coverage but allow ambient air exchange to strengthen cuticle development. This transition period lasts 3-5 days.
When the first true leaves reach 0.5 inches in length, remove the dome entirely during daylight hours. Replace it at night if ambient humidity drops below 50%. After 48 hours of day-long exposure without wilting, discontinue dome use. Transplant into 4-inch pots with a growing medium amended to 10-10-10 NPK.
Pro-Tip: Transplant during the late afternoon to minimize transplant shock. Root tips exhibit peak auxin production and hydraulic conductivity between 4-6 PM.
Establishing Phase
Harden off seedlings over 7-10 days by exposing them to outdoor conditions in incremental steps. Begin with 1 hour of morning sun, increasing by 1 hour daily. Avoid midday exposure until day 5. Monitor for photobleaching or marginal burn on leaf edges.
Pro-Tip: Apply a kelp extract foliar spray at 1 tablespoon per gallon 24 hours before final transplant to boost antioxidant enzyme production.
Troubleshooting
Symptom: White mycelial growth on soil surface.
Solution: This indicates saprophytic fungus thriving in excess moisture. Open ventilation ports to 50% and reduce misting frequency. The growth is benign but signals poor air circulation.
Symptom: Leggy seedlings with elongated hypocotyls.
Solution: Insufficient light intensity or excessive heat. Lower heat mat temperature to 68°F and move light fixtures to 2 inches above the dome.
Symptom: Damping-off at the soil line.
Solution: Pathogenic fungi from Pythium or Rhizoctonia species. Remove affected seedlings immediately. Drench remaining medium with chamomile tea cooled to room temperature at 2 fluid ounces per cell.
Symptom: Yellowing cotyledons with green veins.
Solution: Iron chlorosis from pH above 6.5. Test medium pH and amend with sulfur at 1 teaspoon per gallon to lower by 0.5 units.
Maintenance
Water from below by adding 0.5 inches of water to the tray base every 2-3 days. Allow the medium to wick moisture upward through capillary action. Top watering dislodges fragile root hairs and compacts the surface.
Clean the dome interior every 5 days with a 10% bleach solution, rinsing thoroughly. Residual salts and algae reduce light transmission by up to 30%.
Monitor temperature twice daily at 8 AM and 4 PM. Log readings to identify patterns. Consistent deviation beyond the 70-75°F range requires heat mat adjustment or relocation.
FAQ
When should I remove the humidity dome?
Remove the dome when first true leaves reach 0.5 inches and plants tolerate 6 hours of uncovered daylight without wilting.
Can I reuse germination mix?
No. Spent medium harbors pathogens and depleted nutrient reserves. Compost it and start with sterile material for each crop cycle.
What humidity percentage is ideal?
Maintain 85-95% relative humidity during germination, reducing to 60-70% during the transplanting phase.
How often should I open the vents?
Begin with closed vents until cotyledons emerge, then open to 25% for 3 days, 50% for 2 days, then remove entirely.
Do all seeds need a dome?
Large-seeded species like beans or squash germinate reliably without domes. Reserve this method for fine seeds, slow germinators, and species requiring consistent moisture.