8 Best Leveling Sand for Aligned Patio Pavers
The difference between a paver patio that settles into uneven ridges and one that remains level for decades comes down to the material beneath. The best sand for leveling patio pavers creates a stable, compactable base that resists erosion while allowing drainage. Concrete sand, with its angular particles and absence of clay contamination, forms the industry standard for bedding layers under interlocking pavers. This coarse aggregate locks together when compacted, unlike play sand or beach sand, which shift and migrate through joints.
Materials

Concrete sand, also called coarse sand or C-33 sand, contains particles ranging from 0.02 to 0.08 inches in diameter. This gradation provides superior load distribution compared to finer media. The material should contain less than 3% passing a 200-sieve, ensuring minimal silt or clay that would compromise drainage. Washed concrete sand costs $35 to $50 per cubic yard, while unwashed variants introduce contaminants that reduce cation exchange capacity in the bedding layer.
Manufactured sand (M-sand) offers consistent particle shape through crushed granite or basalt processing. The angular faces interlock mechanically, creating shear resistance up to 41 degrees of internal friction angle. This specification matters when paver installations slope for drainage or support vehicular loads. M-sand pH typically ranges from 6.8 to 7.2, neutral enough to prevent efflorescence on calcium-rich pavers.
Masonry sand presents a finer alternative with particles from 0.01 to 0.05 inches. While easier to screed level, this gradation compacts less densely and permits greater lateral movement. Use masonry sand only for pedestrian patios under 200 square feet where settling consequences remain minimal. The material costs $30 to $40 per cubic yard but requires 15% more volume to achieve equivalent compaction.
Polymeric sand serves as joint-fill material, not bedding sand. Its acrylic binder activates with water, creating a semi-rigid matrix that resists ant colonization and weed emergence. Apply polymeric sand only after pavers rest on properly compacted concrete sand. The two products serve distinct functions in the paver system's structural profile.
Decomposed granite (DG) stabilizes in arid climates but fails where annual precipitation exceeds 30 inches. The fines migrate during heavy rain, creating voids beneath pavers. DG works best as a permeable alternative to solid paver fields, not as bedding material under them.
Timing
Installation scheduling depends on soil moisture content and freeze-thaw cycles. In Zones 3 through 6, schedule paver installation between May 15 and September 30, when subgrade temperatures remain above 50°F for seven consecutive days. Frozen ground prevents proper compaction, and spring thaw creates hydrostatic pressure that displaces bedding sand.
Zones 7 through 9 permit year-round installation, provided the base remains dry during compaction. Moisture content above 12% in the subgrade prevents proper densification. Use a soil hygrometer to confirm readings below this threshold before spreading bedding sand.
Fall installations in Zones 4 and colder require completion by October 1, allowing four weeks for initial settling before ground freeze. Spring frost heave will occur regardless of installation quality, but properly compacted bases return to grade once soils stabilize in late April.
Phases

Excavation and Base Preparation: Remove topsoil to a depth of 8 inches for pedestrian patios, 12 inches for driveways. Compact native subgrade to 95% Standard Proctor Density using a plate compactor delivering 5,000 pounds of centrifugal force. Install 6 inches of crushed limestone in two 3-inch lifts, compacting each layer separately. The aggregate base provides structural support; bedding sand serves only as a leveling course.
Pro-Tip: Slope the compacted base 0.25 inches per foot away from structures. This gradient prevents hydrostatic pressure against foundations while maintaining paver surface drainage.
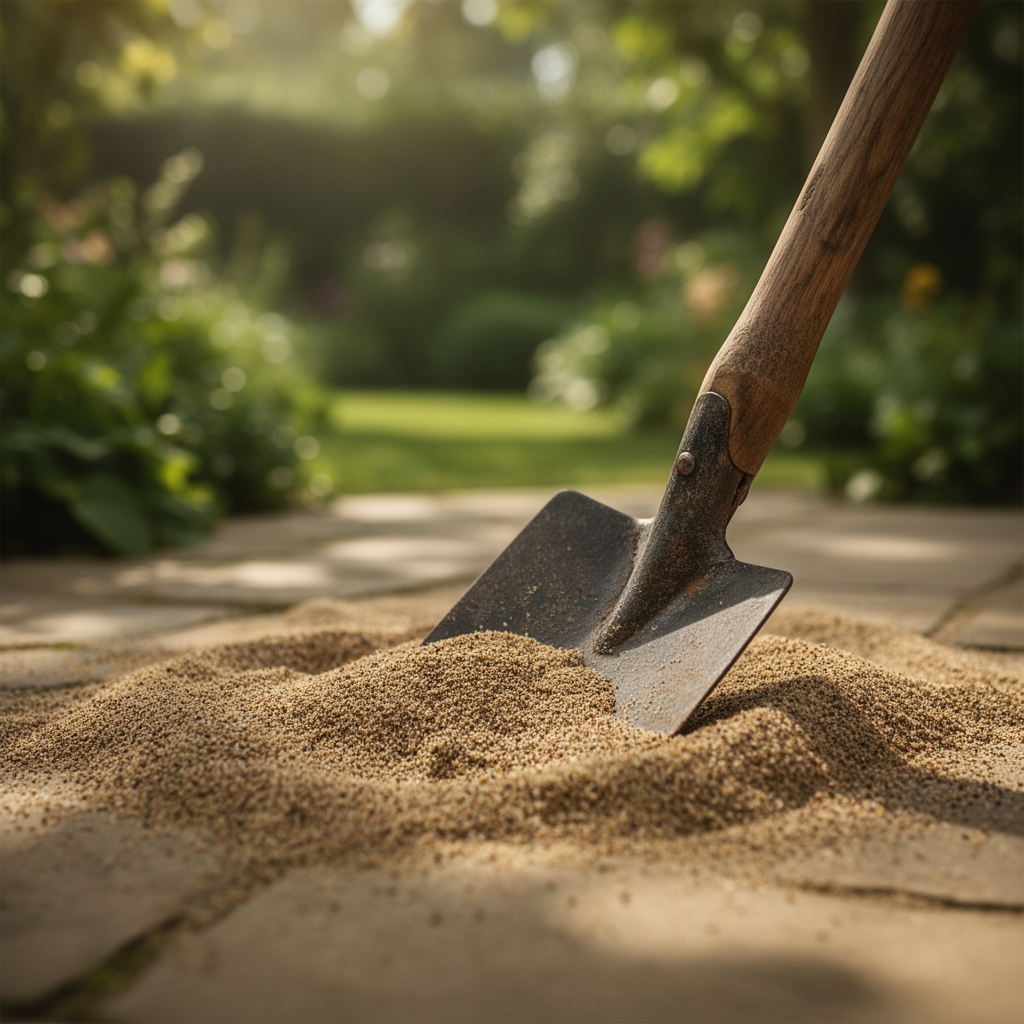
Bedding Sand Application: Spread concrete sand in a uniform 1-inch layer over the compacted base. Do not compact this layer. Use rigid screed rails set to exact finish height, then pull a straight 2×4 across rails to create a level surface. The sand must remain loose to allow pavers to settle during final compaction.
Pro-Tip: Screed only the area you can pave within two hours. Foot traffic or rain disrupts the prepared surface, requiring re-screeding.
Paver Installation and Compaction: Lay pavers in your chosen pattern, maintaining 2mm joints. Work from finished areas forward to avoid disturbing screeded sand. Once 100 square feet is complete, run a plate compactor across pavers three times in perpendicular directions. The vibration seats pavers into bedding sand, creating a monolithic surface. Pavers should embed 3/8 inch into the sand layer.
Pro-Tip: Apply joint sand immediately after compaction. Sweep polymeric sand into joints, then mist lightly to activate binders before full rain exposure.
Troubleshooting
Symptom: Individual pavers rock or sit higher than neighbors.
Solution: Pull affected pavers, add or remove bedding sand in 1/4-inch increments, then re-compact. Rocking indicates insufficient base compaction or voids in the sand layer.
Symptom: Linear depressions form along paver rows.
Solution: This settling pattern indicates screed rail displacement during sand spreading. The base compaction is sound, but the bedding layer was uneven. Remove pavers in affected zone, re-screed to proper grade, and reinstall.
Symptom: White crystalline deposits appear on paver surfaces.
Solution: Efflorescence results from mineral migration through calcium-rich pavers. The bedding sand pH exceeds 7.5, or installation occurred during wet conditions. Apply acidic efflorescence cleaner, then seal pavers with silane/siloxane penetrating sealer.
Symptom: Pavers spread apart, widening joints beyond 4mm.
Solution: Lateral creep indicates inadequate edge restraint. Install anchored plastic or aluminum edge restraints every 18 inches. Re-compact pavers toward restrained edges while adding joint sand.
Symptom: Ant colonies excavate bedding sand, creating voids.
Solution: Standard bedding sand permits ant tunneling. Remove polymeric joint sand and replace with fresh product, ensuring complete joint fill. Mist activation must saturate the full joint depth to create a barrier.
Maintenance
Replenish joint sand annually each spring. Sweep kiln-dried silica sand into joints after winter freeze-thaw cycles displace material. Apply 0.5 pounds per 10 square feet, then compact with a rubber mallet along paver edges.
Pressure wash pavers every 24 months at 1,500 PSI maximum. Higher pressures erode joint sand and damage paver chamfers. Use a 25-degree nozzle tip, maintaining 12 inches of standoff distance.
Re-seal pavers every 3 to 5 years with penetrating sealers, not film-forming acrylics. Apply 1 gallon per 100 square feet using a pump sprayer on dry pavers when temperatures range between 50°F and 85°F.
Inspect edge restraints each fall. Frost heave displaces anchoring spikes, allowing lateral paver migration. Re-set spikes to original depth, adding new anchors where originals pull free.
FAQ
What depth of bedding sand do pavers require?
One inch of loose, uncompacted concrete sand provides the correct bedding depth. Thicker layers prevent proper paver seating during compaction. Thinner layers expose pavers to base aggregate irregularities.
Can I use play sand or all-purpose sand for paver bedding?
No. Play sand contains rounded particles that shift laterally and fail to lock together. Its fine gradation also retains moisture, promoting efflorescence and biological growth between joints.
How much sand do I need for 100 square feet of pavers?
For a 1-inch bedding layer, you need 0.31 cubic yards of sand per 100 square feet. Add 0.1 cubic yards for joint filling, totaling 0.41 cubic yards. Order 0.5 cubic yards to account for compaction and waste.
Should I compact bedding sand before laying pavers?
Never compact bedding sand before paver placement. The loose layer allows pavers to settle uniformly during final compaction. Pre-compacted sand creates a hard surface that prevents proper seating.
When can I use polymeric sand as bedding material?
Polymeric sand functions exclusively as joint-fill material. Its binders prevent the drainage and settling properties required in bedding layers. Always use concrete sand for the 1-inch base directly under pavers.