8 Steps to Clean a Garden Fork After Use
The scent of damp humus and the metallic tang of cold steel define the end of a successful day in the field. When the soil reaches its peak friability, usually at a moisture content of 25 to 50 percent, the garden fork becomes an extension of the cultivator's arm. Neglecting the steps for cleaning a garden fork after use is a direct invitation to oxidative stress on the tool and the introduction of soil-borne pathogens like Fusarium or Phytophthora into your next plot. A clean tine ensures that the next time you pierce the rhizosphere, you are not inadvertently spreading sclerotia or weed seeds that have adhered to the metal surface. Proper maintenance preserves the structural integrity of the high-carbon steel and maintains the tool's ability to penetrate compacted layers without excessive force. By following the steps for cleaning a garden fork after use, you ensure the longevity of your equipment and the sanitary health of your soil. This process is not merely aesthetic; it is a fundamental requirement of professional horticultural hygiene.
Materials:
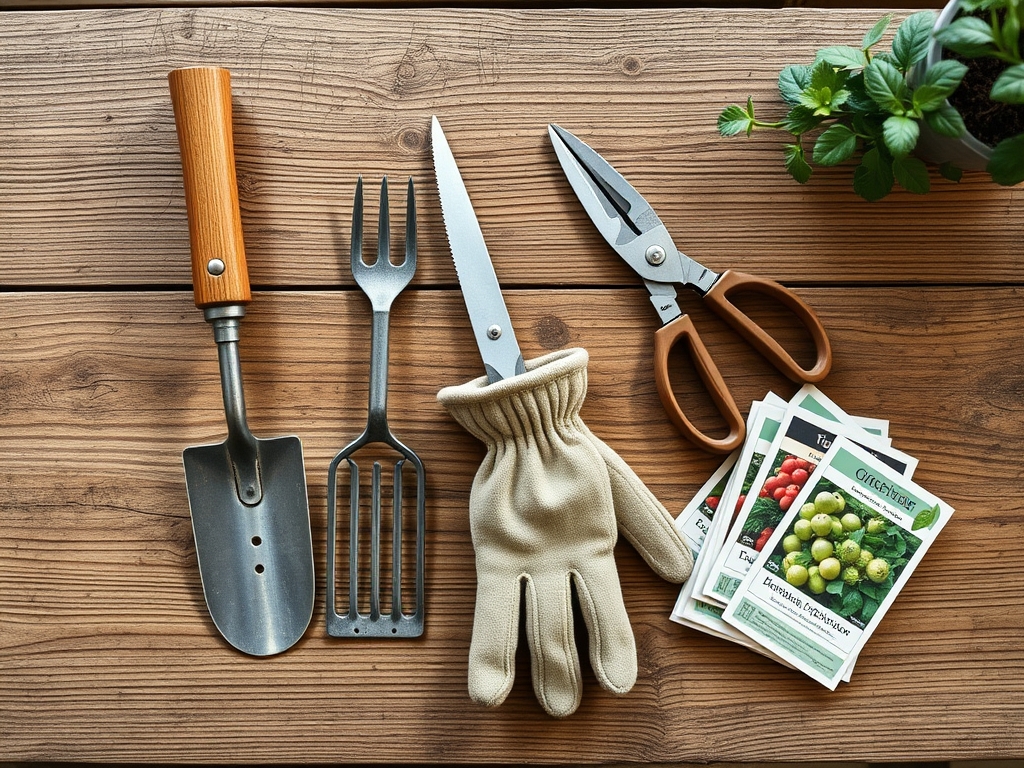
To manage a garden fork effectively, one must understand the substrate it interacts with. A **friable loam** with a **pH of 6.5** and a **Cation Exchange Capacity (CEC) above 15** provides the ideal resistance for tilling. When cleaning, you will need a stiff-bristled brush, a bucket of coarse sand mixed with **mineral oil**, and a **70 percent isopropyl alcohol** solution. For soil amendments that might have contacted the tool, consider the NPK ratios present in your plot. A high-nitrogen environment (**NPK 10-0-0**) can accelerate the corrosion of non-stainless steel if moisture is trapped against the metal. The physical texture of your cleaning medium should be abrasive enough to remove desiccated clay but gentle enough to avoid deep scouring of the protective finish.
Timing:
In Hardiness Zones 5 through 8, the window for using a garden fork typically aligns with the period between the last spring frost and the first hard freeze. Cleaning must occur immediately following use to prevent the "Biological Clock" of soil pathogens from entering a dormant, yet viable, state on the tines. As plants transition from the vegetative stage to the reproductive stage, the soil microbiology shifts; late-season use often involves higher concentrations of fungal spores. You must clean the tool before the temperature drops below 32 degrees Fahrenheit, as freezing moisture in the handle socket can cause mechanical expansion and fracture the wood or fiberglass.
Phases:

Sowing Preparation and Initial Cleaning
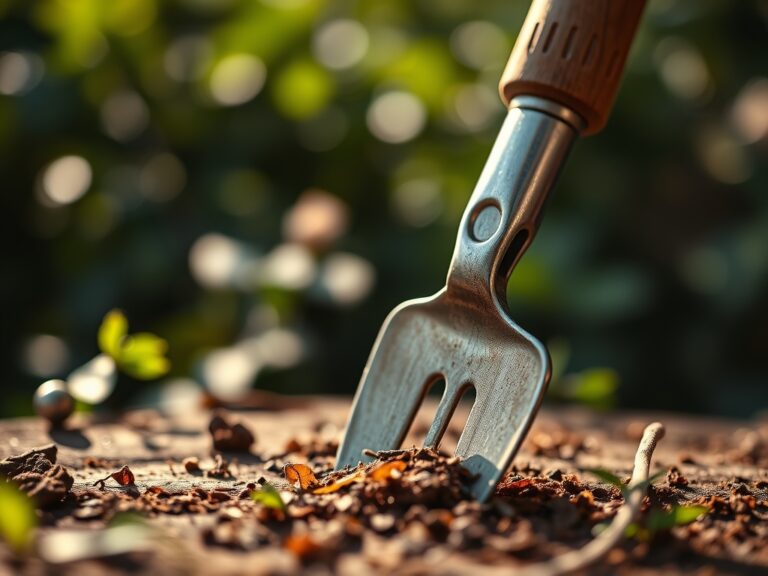
Before the first seed is placed, the fork must be free of all debris. Use a high-pressure hose to blast away macroscopic soil clumps. Focus on the "shoulder" of the fork where the tines meet the bridge.
Pro-Tip: Removing organic matter prevents the buildup of anaerobic bacteria. This is vital because mycorrhizal symbiosis requires a clean environment to establish early root colonization without competition from pathogens.
Transplanting Hygiene
When moving seedlings, the fork often contacts delicate root systems. After each transplanting session, wipe the tines with a disinfectant. This prevents the transfer of Tobacco Mosaic Virus or other systemic infections between specimens.
Pro-Tip: Disinfecting tools maintains high turgor pressure in transplants by ensuring the vascular system is not compromised by pathogens introduced during the soil-turning process.
Establishing the Tool for Storage
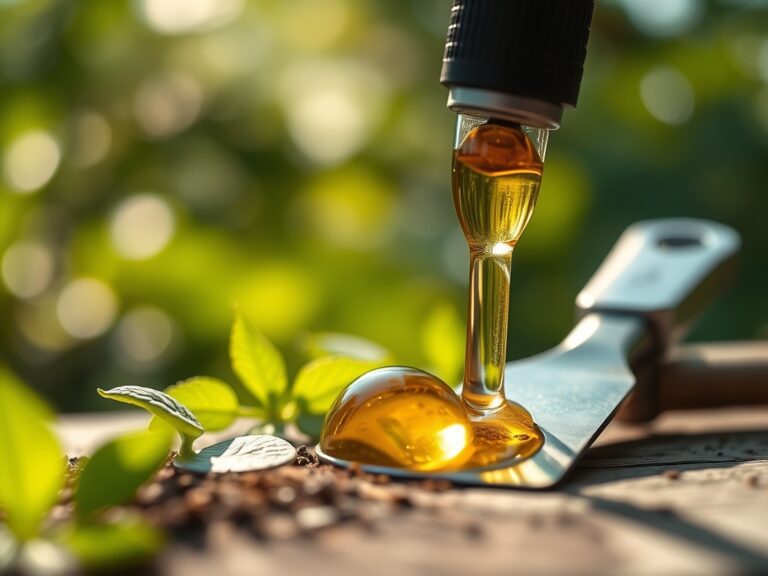
The final phase of cleaning involves moisture displacement. After scrubbing and drying, plunge the fork into a bucket of oiled sand five to ten times. This coats the metal in a hydrophobic layer.
Pro-Tip: This oil coating prevents oxidation, which is critical because rust creates a porous surface that can harbor auxin-suppressing microbes, potentially stunting future plant growth through indirect contact.
The Clinic:
Observe the tool and the plants it touches for signs of failure.
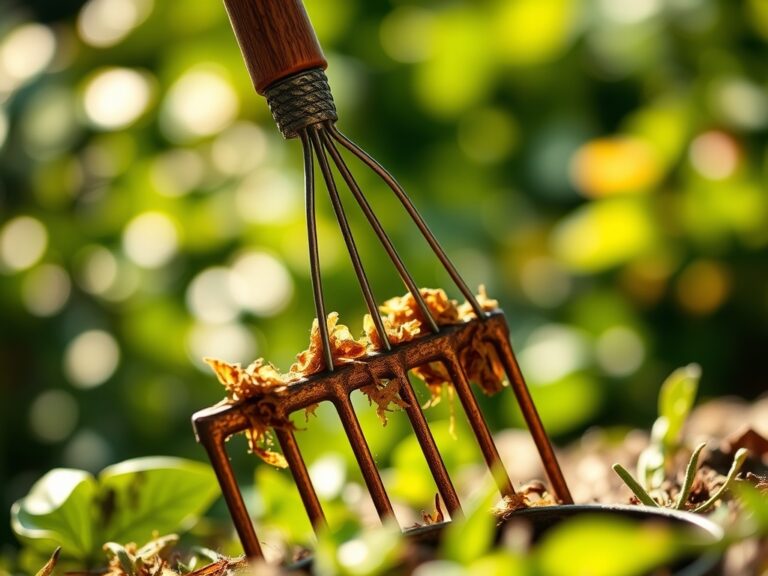
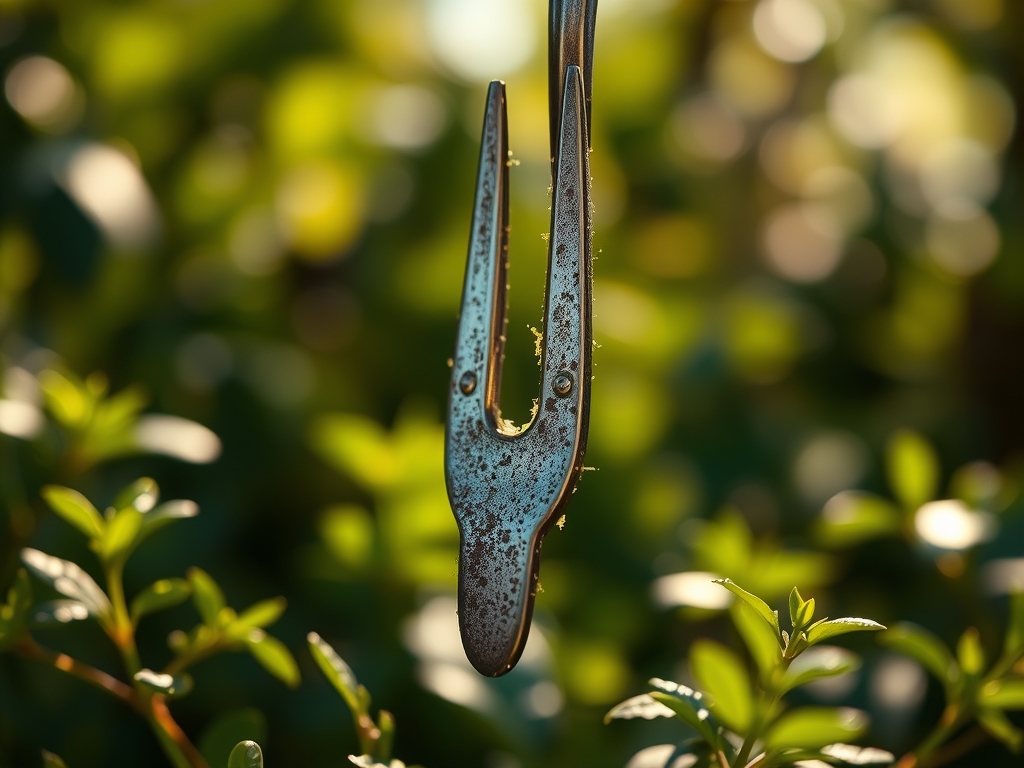
- Symptom: Orange or reddish pitting on the tines. Solution: Use a wire brush to remove oxidation and apply a coat of boiled linseed oil to the metal.
- Symptom: Plants showing Nitrogen chlorosis (yellowing of older leaves) in a specific pattern. Solution: If the pattern follows your tilling path, the fork may be contaminated. Sterilize with a 10 percent bleach solution and test soil for a 0.1 to 0.2 percent nitrogen deficiency.
- Symptom: Handle splintering or "checking." Solution: Sand the wood with 120-grit sandpaper and saturate with oil to prevent moisture ingress.
- Symptom: Interveinal chlorosis in young leaves. Fix-It: This often indicates a Magnesium or Iron deficiency. Ensure the fork is not dragging high-lime subsoil into the top 6 inches of the planting bed.
Maintenance:
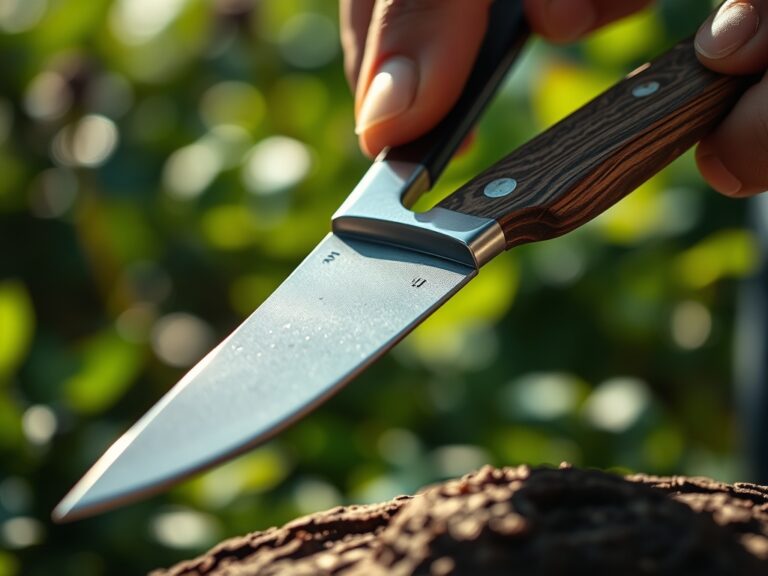
A professional horticulturist treats tools with the same precision as the crop. Beyond cleaning, check the alignment of the tines monthly. Use a soil moisture meter to ensure you are not forking soil when it is too wet; doing so creates "clods" that damage the tool and destroy soil structure. When working around established perennials, use a hori-hori knife for precision weeding and bypass pruners for root pruning to avoid over-stressing the fork. Ensure the garden receives 1.5 inches of water per week at the drip line to keep the soil at an optimal consistency for tool penetration, reducing mechanical stress on the fork's handle.
The Yield:
For root crops like carrots or parsnips, the garden fork is the primary harvest tool. Harvest when the soil temperature is between 45 and 55 degrees Fahrenheit for maximum sugar retention. Insert the fork 4 inches away from the plant base to avoid mechanical injury. Post-harvest, the fork must be cleaned of all root exudates immediately. These sugars can ferment and attract pests if the tool is stored dirty. Clean tools ensure "day-one" freshness by preventing the inoculation of harvested vegetables with storage rot fungi.
FAQ:
How do I remove hardened clay from my garden fork?
Soak the tines in water for 20 minutes to rehydrate the clay. Use a stiff nylon brush to scrub the metal. Dry the fork completely with a rag to prevent the formation of iron oxide.
Can I use motor oil to coat my garden fork?
No. Motor oil contains heavy metals and additives that contaminate the rhizosphere. Use food-grade mineral oil or boiled linseed oil to protect the metal without compromising soil health or cation exchange.
How often should I disinfect my garden fork?
Disinfect the fork after every use if you are working in an area with known soil-borne diseases. At a minimum, perform a full sterilization with 70 percent isopropyl alcohol at the end of each season.
Why is my garden fork handle loosening?
Wood handles shrink when the moisture content drops below 12 percent. Apply linseed oil to the wood to maintain its volume. If the looseness persists, the rivet may need tightening with a ball-peen hammer.