9 Fine Trimming Tips to Use Garden Shears for Edges
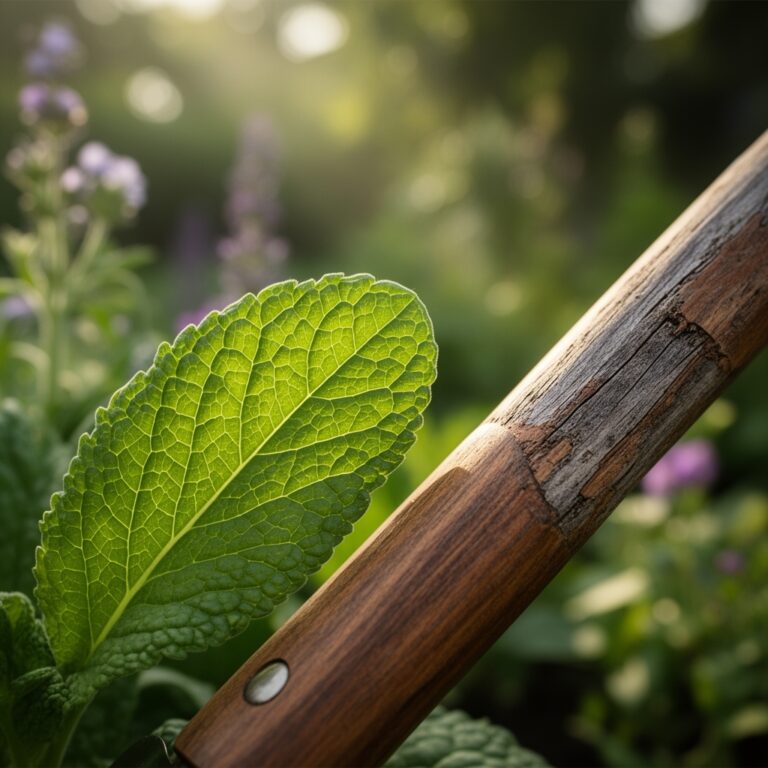
The scent of crushed chlorophyll and damp, mineral-rich earth signals the start of the primary pruning window. When you grasp the handles of your bypass blades, you are managing the turgor pressure of the plant; a well-hydrated stem resists crushing and allows for a surgical incision. Using a garden shears for vegetable trimming requires more than a steady hand. It demands an understanding of how the vascular cambium responds to mechanical stress. Every cut triggers a hormonal shift within the plant. By removing apical dominance through strategic heading cuts, you redirect the flow of auxins toward lateral buds. This increases the structural density of the crop and prevents the sprawling, inefficient growth that invites fungal pathogens. Precision trimming ensures that the plant allocates its limited glucose reserves toward fruit production rather than excessive foliage. Proper execution reduces the risk of ragged tears that serve as entry points for necrotrophic fungi. You are not simply cutting; you are engineering the physical architecture of the rhizosphere's canopy to maximize photosynthetic efficiency and airflow.
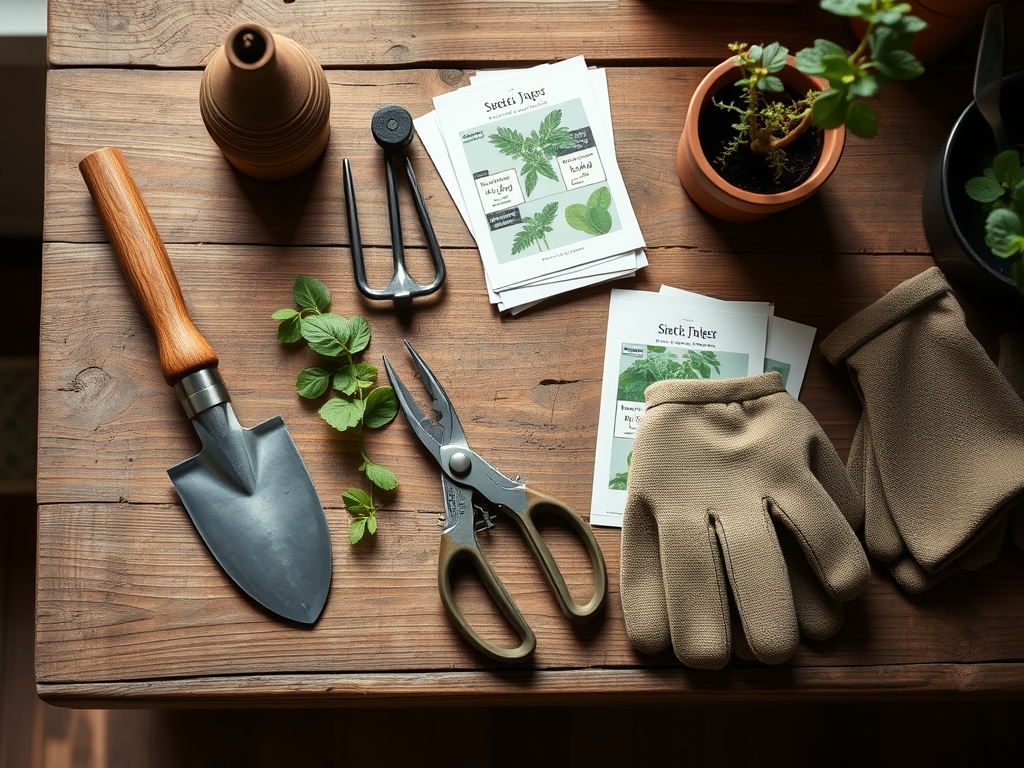
Materials:
Vegetable health starts with the substrate. For high-production vegetable beds, aim for a **friable loam** with a Cation Exchange Capacity (CEC) between **15 and 25 meq/100g**. This ensures the soil can hold and exchange essential cations like calcium and magnesium. Maintain a **soil pH between 6.2 and 6.8** to ensure maximum bioavailability of micronutrients. If the pH drops below 5.5, manganese toxicity becomes a risk.
Nutrient management must be precise. During the vegetative stage, use a fertilizer with an NPK ratio of 10-5-5 to support leaf and stem development. Once the plant transitions to the reproductive phase, shift to a 5-10-10 ratio. High phosphorus levels are critical for ATP production and root expansion, while potassium regulates the opening and closing of stomata. Before trimming, ensure your shears are disinfected with a 70 percent isopropyl alcohol solution to prevent the transmission of tobacco mosaic virus or bacterial wilt.
Timing:
Hardiness Zones 4 through 9 dictate the window for aggressive edge trimming. In cooler zones, wait until the last frost date has passed and soil temperatures reach a consistent 60 degrees Fahrenheit. Trimming during a cold snap causes physiological shock and slows the recovery of the vascular tissue.
The biological clock of the vegetable is the ultimate guide. You must intervene during the transition from the vegetative stage to the reproductive stage. For determinate crops, trimming should be minimal to avoid reducing the final yield. For indeterminate varieties, such as vining tomatoes or peppers, trimming the edges and lower suckers should occur every 10 to 14 days. This prevents the plant from entering premature senescence by maintaining a high leaf-to-fruit ratio. Perform all cuts in the early morning when turgor pressure is at its peak; this ensures the cells are turgid and the blades slice through the cell walls cleanly rather than shredding the epidermis.
Phases:
Sowing and Initial Growth
Start seeds in a sterile medium with a fine texture to allow delicate radicles to penetrate without resistance. Maintain a consistent temperature of 70 degrees Fahrenheit for optimal germination. Once the first set of true leaves appears, monitor for leggy growth, which indicates insufficient light intensity.
Pro-Tip: Ensure adequate light to prevent excessive internodal elongation. This is driven by phototropism, where the plant produces more gibberellins on the shaded side of the stem, causing it to lean and weaken.
Transplanting and Hardening Off
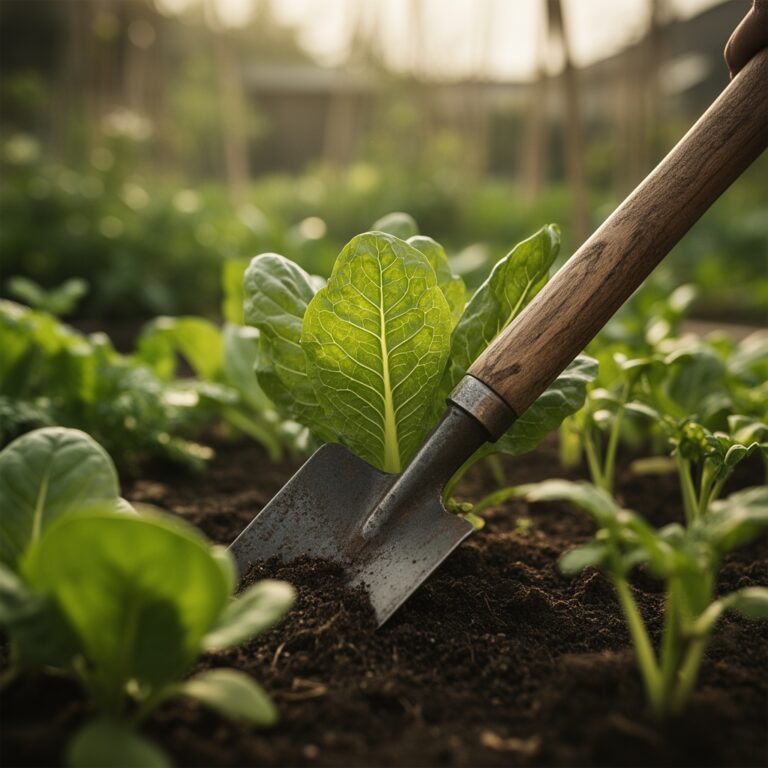
Move seedlings to the field once they have developed at least three sets of true leaves. Dig a hole twice the width of the root ball using a hori-hori knife. This tool allows you to slice through compacted soil without destroying the delicate fungal networks.
Pro-Tip: Inoculate the transplant hole with endomycorrhizal fungi. This creates a mycorrhizal symbiosis that expands the root surface area by up to 100 times, significantly increasing phosphorus uptake.
Establishing and Edge Trimming
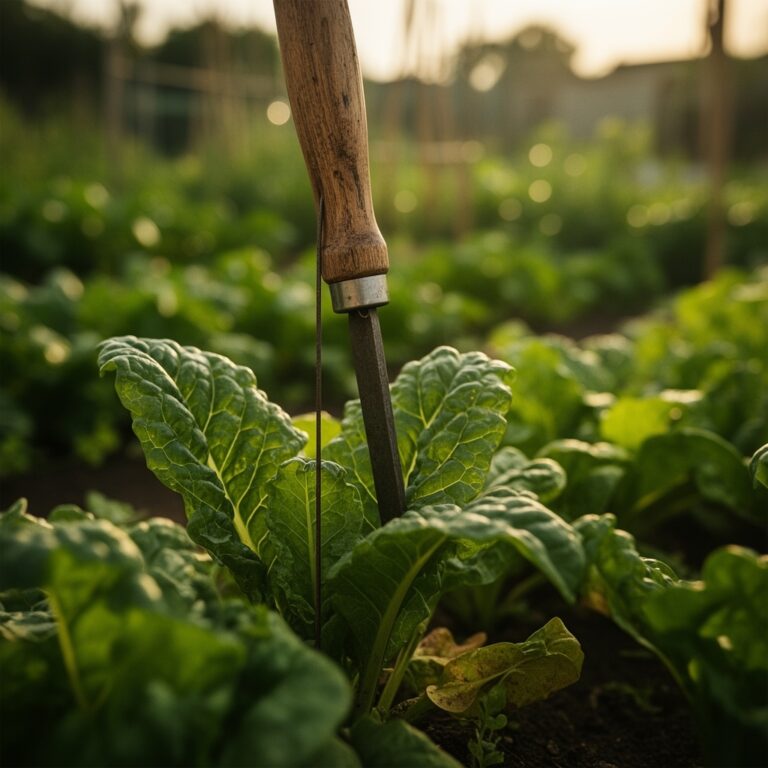
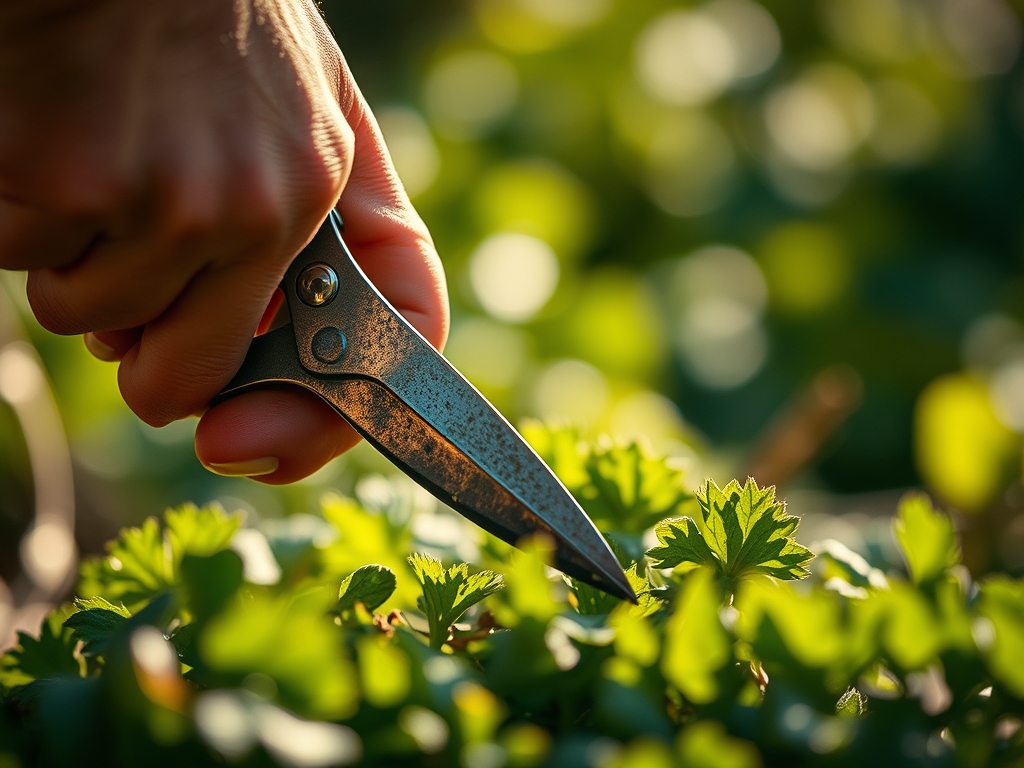
As the plant reaches its mature width, use your shears to trim the edges that touch the soil or neighboring plants. Clear a 3-inch buffer zone around the base of the plant. This improves airflow and reduces the humidity levels within the microclimate of the foliage.
Pro-Tip: Remove the lower "suckers" or axillary buds to enforce auxin suppression. By removing these secondary growth points, the plant directs more energy to the primary terminal bud and developing fruit.
The Clinic:
Observe the leaf structure for physiological disorders that indicate underlying stress.
- Symptom: Interveinal chlorosis on older leaves.
Solution: This indicates a Magnesium deficiency. Magnesium is the central atom in the chlorophyll molecule. Apply a foliar spray of Epsom salts (magnesium sulfate) at a rate of 1 tablespoon per gallon of water.
- Symptom: Blossom end rot on fruit.
Solution: This is a Calcium transport issue, often caused by inconsistent moisture. Calcium is non-mobile within the plant. Ensure steady irrigation to maintain the transpiration stream that carries calcium to the distal end of the fruit.
- Symptom: Upward curling of leaf margins (Physiological Leaf Roll).
Solution: This is a response to high light intensity and excessive heat. Increase shading or improve mulch layers to cool the rhizosphere.
- Fix-It for Nitrogen Chlorosis: If the entire plant is pale green or yellow, apply a high-nitrogen organic meal. Nitrogen is essential for the synthesis of amino acids and proteins. Target a 1.0 percent nitrogen concentration in the soil solution.
Maintenance:
Precision maintenance requires data. Use a soil moisture meter to ensure the root zone remains in the "moist" range without reaching anaerobic saturation. Most vegetables require 1.5 inches of water per week delivered at the drip line. Avoid overhead irrigation, which wets the foliage and encourages the germination of fungal spores.
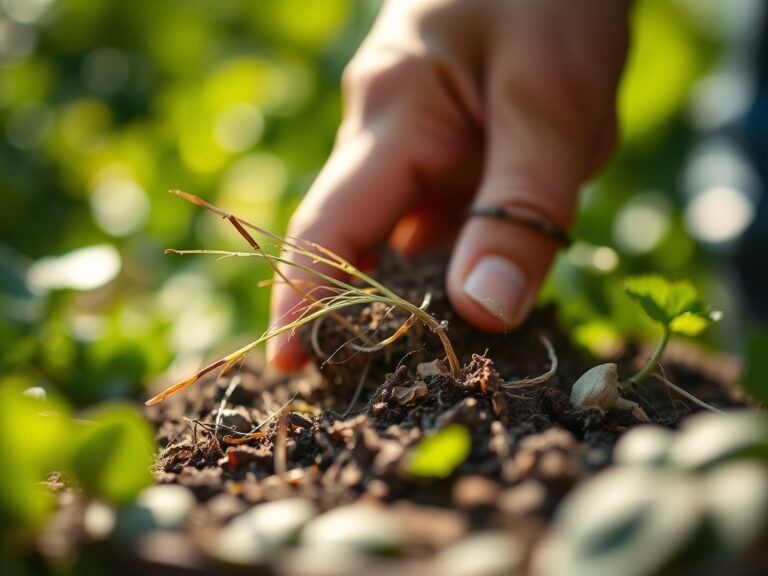
Keep your bypass pruners sharp. A dull blade crushes the xylem and phloem, leading to localized tissue death and slower healing. Every month, check the tension of the pivot bolt on your shears. If the blades have a gap, they will "chew" the stem rather than cut it. Use a hori-hori knife to remove deep-rooted perennial weeds that compete for nitrogen and water within the top 6 inches of soil.
The Yield:
Harvesting is the final stage of the trimming process. For leafy greens, use your shears to cut the outer leaves, leaving the central growing point intact for a second harvest. For fruiting vegetables like peppers or eggplants, never pull the fruit. Use shears to cut the pedicel 0.5 inches above the fruit. This prevents tearing the main stem and protects the plant from structural damage.
To maintain "day-one" freshness, harvest during the coolest part of the day, typically between 5:00 AM and 7:00 AM. At this time, the plant has maximum water content. Immediately place the harvested produce in a shaded, cool environment to reduce the respiration rate. High respiration post-harvest leads to the rapid breakdown of sugars and loss of crispness.
FAQ:
How do I prevent disease when trimming vegetable edges?
Always disinfect blades with 70 percent isopropyl alcohol between plants. Make cuts at a 45-degree angle to prevent water from pooling on the wound. This encourages rapid callous formation and prevents fungal pathogens from colonizing the exposed vascular tissue.
What is the best NPK ratio for vegetable recovery?
After heavy trimming, use a balanced 10-10-10 water-soluble fertilizer. This provides immediate nitrogen for new vegetative growth and potassium to help the plant manage the stress of the physical intervention and maintain cellular turgor.
When should I avoid using garden shears on vegetables?
Never trim when the foliage is wet from dew or rain. Water acts as a medium for bacteria and fungal spores to move into fresh cuts. Wait until the leaf surface is completely dry and the humidity is below 60 percent.
How much foliage can I safely remove at once?
Never remove more than 25 percent of the total leaf area in a single session. Excessive pruning triggers a stress response that can lead to stunted growth or premature flower drop as the plant enters a survival mode.