6 Tips to Use a Technical Tool Sharpening Guide
The smell of damp earth and the high turgor pressure of a healthy leaf signify a garden in peak physiological condition. Maintaining this state requires precision cuts that minimize tissue trauma and prevent the entry of opportunistic pathogens. Using a sharpening task for garden tools is not a secondary chore; it is a fundamental requirement for plant health. A dull blade crushes the vascular bundles of a stem instead of slicing them. This crushing action destroys the xylem and phloem cells, leading to localized necrosis and an increased risk of fungal infection. When you maintain a razor edge on your bypass pruners or hori-hori knife, you ensure that the plant can initiate rapid wound sealing through the production of callous tissue. This guide focuses on the technical execution of edge maintenance to ensure your horticultural interventions remain surgical and supportive of systemic plant vigor.
Materials:
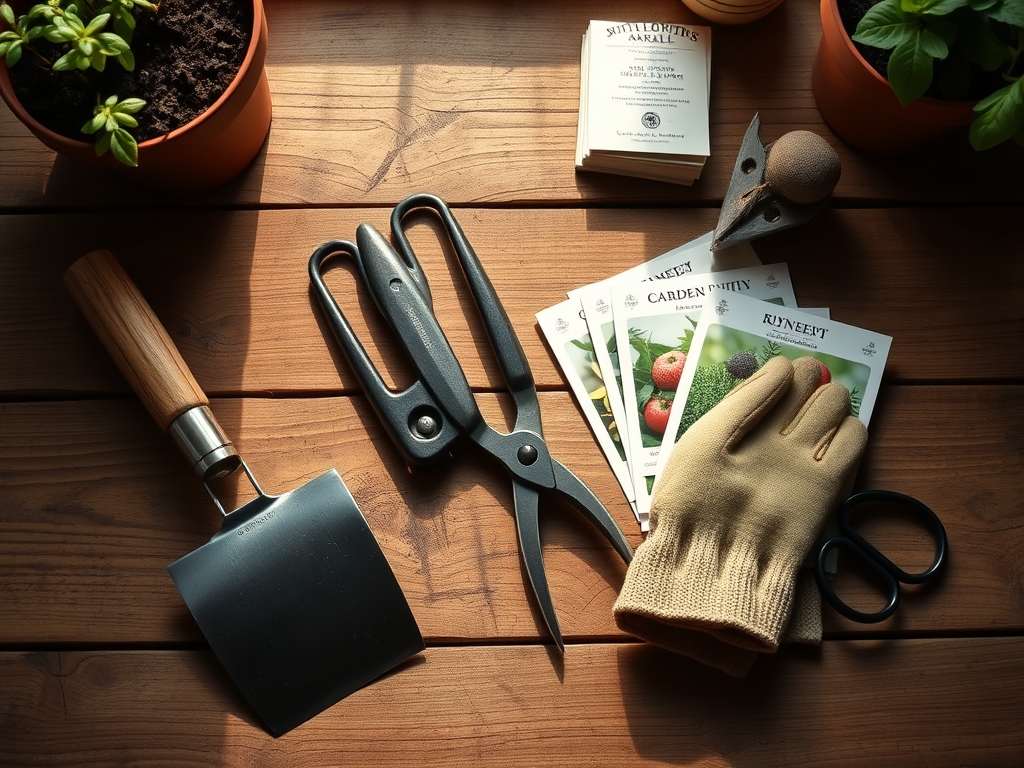
The success of your garden begins with the substrate. Ideal vegetable and ornamental beds require a **friable loam** texture with a Cation Exchange Capacity (CEC) between **15 and 25 meq/100g**. This ensures the soil can hold onto essential nutrients like ammonium and potassium. Maintain a soil pH between **6.2 and 6.8** for maximum nutrient bioavailability. For heavy feeders, apply a balanced NPK ratio of **10-10-10** during the initial bed preparation. If you are targeting root development in phosphorus-deficient soils, pivot to a **5-20-10** blend. Ensure your sharpening kit includes a **medium-grit whetstone (1000 grit)** and a **fine-grit finishing stone (6000 grit)** to achieve the necessary edge geometry for clean botanical cuts.
Timing:
Timing is dictated by the Hardiness Zone and the internal biological clock of the plant. In Zones 5 through 7, the primary sharpening and maintenance window occurs during the dormant season, typically between late January and early March. This precedes the "bud burst" phase where the plant transitions from dormancy to active vegetative growth. Sharpening your tools before the first spring prune is critical because the sap flow increases as temperatures stabilize above 45 degrees Fahrenheit. Pruning with dull tools during the transition from the vegetative to the reproductive stage can cause significant stress, delaying the onset of flowering or fruit set. Always complete major structural pruning before the plant reaches its peak photoperiod sensitivity in mid-June.
Phases:
Sowing
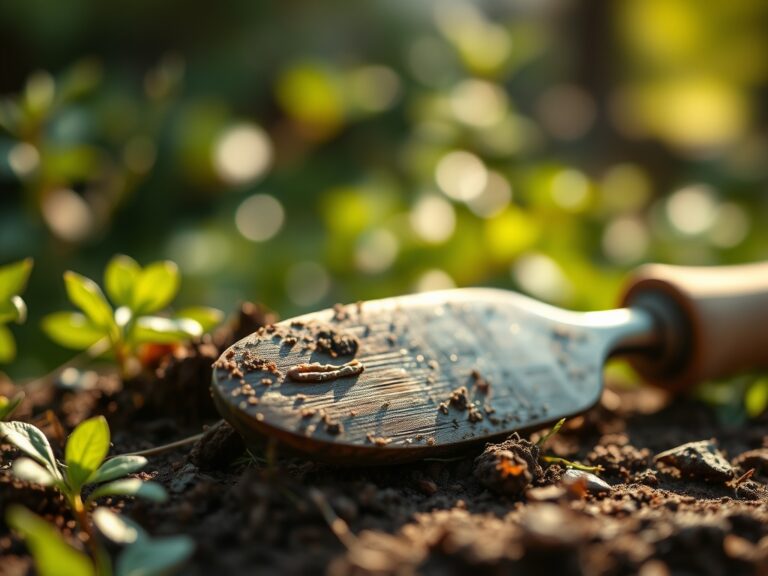
Ensure the seedbed is cleared of debris using a sharpened hoe. This reduces competition for light and nutrients. For small seeds, a depth of 0.25 inches is standard, while larger seeds require 1 to 2 inches.
Pro-Tip: Proper seed-to-soil contact is essential for imbibition. This is the process where the seed absorbs water to trigger metabolic activity. A sharp tool ensures the soil surface is not compacted, allowing for easier radical emergence.
Transplanting
When moving seedlings from flats to the field, use a sharpened trowel to minimize root disturbance. Dig a hole twice the width of the root ball. Maintain the plant at its original soil line to avoid stem rot.
Pro-Tip: Mycorrhizal symbiosis is enhanced when root tips are cleanly cut rather than torn. Tearing roots creates irregular wounds that the plant struggles to colonize with beneficial fungi, whereas clean cuts facilitate faster integration into the local rhizosphere.
Establishing
During the first 14 to 21 days, focus on moisture consistency. Use a soil moisture meter to ensure the root zone remains at 60 percent field capacity. Avoid overhead watering to prevent foliar diseases.
Pro-Tip: Auxin suppression occurs when the apical meristem is damaged by dull shears. By using a sharpened tool for "pinching back," you precisely control the hormonal flow, encouraging lateral branching and a more robust architectural habit without triggering a systemic stress response.
The Clinic:
Physiological disorders often mimic infectious diseases. Accurate diagnosis is the first step toward remediation.
- Nitrogen Chlorosis: Observe the older leaves for uniform yellowing. This occurs because nitrogen is a mobile nutrient; the plant translocates it to new growth. Fix-It: Apply a high-nitrogen fertilizer with an NPK of 21-0-0 (Ammonium Sulfate) to restore chlorophyll production.
- Blossom End Rot: This appears as a sunken, leathery spot on the base of the fruit. It is caused by a calcium deficiency often linked to inconsistent moisture levels. Fix-It: Maintain steady irrigation and ensure soil pH is above 6.0 to facilitate calcium uptake.
- Interveinal Chlorosis: Yellowing between the leaf veins while the veins remain green indicates an iron or magnesium deficiency. Fix-It: Apply chelated iron foliar spray or Epsom salts (magnesium sulfate) if the soil pH is too high, which often locks out these micronutrients.
Maintenance:
Precision maintenance extends the life of the plant and the tool. Provide 1.5 inches of water per week delivered at the drip line. This encourages deep root penetration rather than shallow, drought-prone surface roots. After every use, wipe your bypass pruners with a 70 percent isopropyl alcohol solution to prevent the mechanical transmission of pathogens such as Fusarium or Verticillium wilt. Apply a light coat of mineral oil to the metal surfaces of your hori-hori knife to prevent oxidation. Check the tension of your pruner blades monthly; a gap of even 0.5 millimeters can cause the blade to tear the bark rather than slice the wood.
The Yield:
Harvesting is the culmination of the biological cycle. For leafy greens, harvest in the early morning when turgor pressure is at its highest. This ensures the cells are fully hydrated, providing a crisp texture. For fruiting bodies like tomatoes or peppers, harvest when the fruit reaches 90 percent color saturation. Use a sharpened floral snip to cut the pedicel; never pull the fruit from the vine. To maintain "day-one" freshness, immediately move harvested produce to a cool environment to slow the rate of senescence and respiration. This preservation of sugars and volatile compounds ensures the highest nutritional and flavor density.
FAQ:
How often should I sharpen my bypass pruners?
Sharpen your blades after every 10 to 15 hours of active use. If you notice the blade "chewing" the bark or requiring more manual force to complete a cut, the edge has lost its technical geometry.
What is the best angle for sharpening a garden hoe?
Maintain a 45-degree bevel on the leading edge. This angle provides the optimal balance between edge retention and the ability to slice through compacted soil and weed root systems without chipping the steel.
Can I use a power grinder to sharpen my tools?
Avoid power grinders as they generate excessive heat that can ruin the temper of the steel. This makes the metal brittle. Use manual whetstones or diamond files to maintain the structural integrity of the tool.
Why does my soil pH matter for tool maintenance?
Highly acidic soils (pH below 5.0) can accelerate the corrosion and pitting of metal tool surfaces. Always clean your tools thoroughly after working in acidic substrates to prevent long-term structural degradation of the implement.