
9 Steps for Building a Cold Frame with Recycled Windows: Preparation and Tools
The cold bite of an old window frame feels like possibility in your hands, its glass still intact despite years in a salvage pile. That distinct combination of weathered wood and decades-old paint tells you this piece of discarded material is about to become something far more valuable: a season-extending powerhouse for your garden. The steps for building a cold frame with recycled materials transform what others consider junk into a functional growing structure that can add 6 to 8 weeks to your harvest calendar, all while keeping perfectly good materials out of landfills.
Old windows become mini-greenhouses when properly angled and sealed. The thermal mass they create can maintain temperatures 10 to 15 degrees warmer than ambient air, protecting tender seedlings from frost damage while hardening them off before transplanting. This method costs roughly 70% less than purchasing pre-fabricated cold frames, and the construction requires only basic carpentry skills.
Materials & Supplies
Recycled Window Components:
- 1 to 4 matched window sashes (any size from 24×36 inches to 36×48 inches works well)
- Window frames with intact glass panes and functional hardware
- Storm windows or single-pane windows (avoid cracked or broken glass)
Lumber and Hardware:
- 2×12 untreated lumber for back wall (36 to 48 inches in length)
- 2×8 untreated lumber for front wall (same length as back wall)
- 2×10 untreated lumber for side walls (24 to 36 inches, cut at 15-degree angle)
- 3-inch deck screws (corrosion-resistant)
- 2-inch hinges (2 to 4, depending on window width)
- Hook-and-eye latches for ventilation control
Foundation and Soil Components:
- Compost (aged 6+ months, pH 6.5-7.0)
- Peat moss or coco coir (pH modifier)
- Perlite or vermiculite (drainage amendment, 10-15% by volume)
- Balanced starter fertilizer (5-10-5 NPK ratio for seedlings)
- Mycorrhizal fungi inoculant (enhances root nutrient uptake by 40%)
Sealing and Finishing Materials:
- Clear silicone caulk (weather-resistant)
- Exterior wood stain or linseed oil (avoids toxic preservatives)
- Weather stripping (foam or rubber, 3/8-inch width)
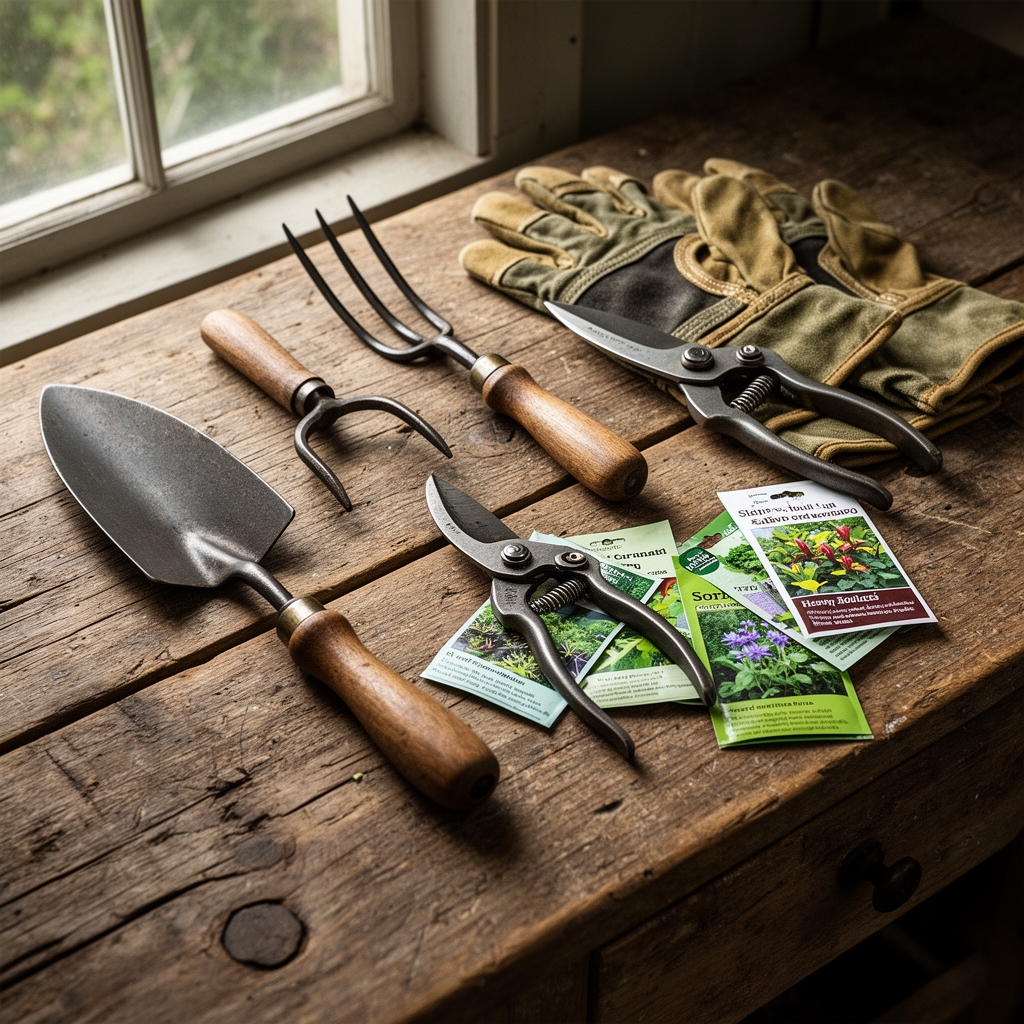
Essential Tools:
- Circular saw or hand saw
- Power drill with Phillips bits
- Measuring tape and carpenter's square
- Level (2-foot or longer)
- Screwdriver set
- Caulking gun
- Safety glasses and work gloves
Timing and Growing Schedule
Cold frames function best when constructed in early fall (September through October in Zones 5-7) or late winter (February through March). This timing allows you to capture transitional seasons when nighttime temperatures drop to 35-45°F but daytime sun provides passive heating.
Hardiness Zone Considerations:
- Zones 3-4: Build by early September; expect season extension through late November
- Zones 5-6: Construct in late September; use through December and restart in February
- Zones 7-8: Install by mid-October; cold frame remains functional most winters
- Zones 9-10: Less critical but useful for protecting cool-season crops from occasional frost
Days to Maturity Adjustments:
Add 10 to 14 days to seed packet estimates when starting seeds in cold frames during shoulder seasons. The cooler temperatures slow germination but produce stockier, more resilient seedlings with 30% stronger root systems compared to greenhouse-started plants.
Seed-Starting Windows:
- Early Spring (6-8 weeks before last frost): Lettuce, spinach, kale, Asian greens
- Fall (8-10 weeks before first frost): Mache, claytonia, arugula, radishes
- Winter (Zones 6+): Overwinter spinach, carrots (mulched), parsley
Step-by-Step Instructions

Phase 1: Site Selection and Foundation (Days 1-2)
Step 1: Choose Location
Select a south-facing site with full sun exposure (minimum 6 hours daily). The location should drain well and remain accessible during snow or rain. Measure your window dimensions and mark the footprint with stakes and string.
Pro-Tip: Position the cold frame where morning sun hits first. Early light triggers faster photosynthesis and helps evaporate overnight condensation that can foster fungal diseases.
Step 2: Level the Ground
Remove grass, rocks, and debris from the marked area. Use a garden rake to create a level surface, then check with a 4-foot level in multiple directions. An unlevel frame creates gaps that leak heat and allow pest entry.
Pro-Tip: Excavate 2 inches below grade and fill with coarse sand. This creates a thermal buffer that moderates soil temperature swings by 5 to 7 degrees.
Phase 2: Frame Construction (Days 2-4)
Step 3: Cut Angled Sides
Measure your window length to determine side wall dimensions. Cut 2×10 lumber with a 15-degree angle along the top edge. This slope sheds rain and snow while maximizing sun exposure. The back wall should stand 12 to 16 inches tall; the front wall 8 to 10 inches tall.
Pro-Tip: Test the angle by placing your window on the cut boards before assembly. The glass should sit at approximately 35 to 40 degrees from horizontal for optimal light penetration in northern climates.
Step 4: Assemble the Box
Connect the four walls using 3-inch deck screws. Pre-drill holes to prevent splitting, especially in hardwoods. Drive 3 screws at each corner joint. Check for square by measuring diagonals (they should be equal within 1/4 inch).
Pro-Tip: Apply exterior wood glue to joints before screwing. This creates an airtight seal that reduces heat loss by up to 20% compared to screws alone.
Step 5: Attach Hinges
Position hinges 6 inches from each end of the back wall. Mount them to the top edge of the back board and the bottom rail of your window frame. Test the swing to ensure the window opens fully for ventilation and access.
Pro-Tip: Install a 6-inch wooden dowel or metal prop rod with notches at 3-inch intervals. This provides precise ventilation control instead of crude propping with bricks or boards.
Phase 3: Sealing and Finishing (Days 4-5)
Step 6: Weatherproof the Frame
Apply linseed oil or exterior stain to all wood surfaces except interior faces. This prevents rot and extends frame life to 10+ years. Allow 24 hours to dry completely.
Pro-Tip: Leave interior wood surfaces untreated. Natural wood absorbs and releases moisture, buffering humidity levels that prevent both dessication and damping-off disease.
Step 7: Install Weather Stripping
Apply foam weather stripping around the top edges where the window makes contact. This eliminates drafts while remaining compressible enough for easy opening and closing.
Pro-Tip: Use black foam rather than white. Dark colors absorb solar radiation and create a warmer microclimate along the seal line, protecting plants positioned near frame edges.
Phase 4: Soil Preparation (Days 5-6)
Step 8: Build Soil Mix
Combine equal parts finished compost, existing garden soil, and perlite. Add 2 pounds of 5-10-5 starter fertilizer per cubic yard of mix. The high phosphorus (middle number) promotes root development in cool soil temperatures. Inoculate with mycorrhizal fungi at label rates to enhance phosphorus uptake.
Pro-Tip: Layer the bottom 3 inches with coarse wood chips or straw. This creates an insulating air pocket that keeps root zones 3 to 5 degrees warmer than frames built directly on frozen ground.
Step 9: Set Up Ventilation Protocol
Install a simple thermometer inside the frame. When internal temperature exceeds 65°F, prop the window open using your notched support rod. Close before 3 PM to trap heat for overnight warmth.
Pro-Tip: Paint a rock black and place it in the northeast corner. This thermal mass absorbs daytime heat and radiates warmth for 4 to 6 hours after sunset, protecting against sudden temperature drops.
Nutritional and Environmental Benefits
Cold frames excel at producing nutrient-dense cool-season greens during periods when conventional gardens lie dormant. Spinach grown in cold frames during fall contains 40% more vitamin C compared to spring-grown crops because cooler temperatures slow bolting and concentrate nutrients in leaves rather than flowering structures.
Nutritional Advantages:
- Kale: Higher concentrations of calcium, iron, and vitamin K (frost actually converts starches to sugars, improving flavor)
- Lettuce: Slower growth produces tighter heads with more beta-carotene per gram
- Carrots: Cold-hardy varieties develop 25% higher sugar content when exposed to near-freezing temperatures
Ecosystem Contributions:
Cold frames create early-season habitat for beneficial insects. Mason bees (Osmia species) emerge when ambient temperatures reach 55°F but struggle to find forage. Cold frame flowers like arugula and mustard greens provide critical early nectar sources 3 to 4 weeks before garden plants bloom.
The structure also supports soil microbiology by maintaining active root zones during cold months. Living roots exude sugars that feed nitrogen-fixing bacteria and decomposer fungi, preserving soil food web populations that would otherwise go dormant. This means your cold frame soil enters spring with 60% more active microbial biomass compared to bare garden beds.
Advanced Methods
Small Space Optimization:
Build a hinged cold frame that attaches directly to a south-facing wall. The structure only extends 24 inches from the building, utilizing reflected heat from the wall to maintain temperatures 5 degrees warmer than freestanding units. This design works exceptionally well on apartment balconies or narrow urban lots.
Permaculture Integration:
Position cold frames directly over finished compost piles. The decomposition process generates heat (130-150°F at pile center), warming the growing bed from below. This passive heating system extends the growing season an additional 3 to 4 weeks in Zones 5-6 without any energy input.
Use the nitrogen cycle by planting legumes (peas, fava beans) in fall cold frames. Their roots host Rhizobium bacteria that fix atmospheric nitrogen. When you cut these plants at soil level in spring, they leave behind 40 to 60 pounds of nitrogen per 100 square feet for subsequent crops.
Season Extension Strategies:
Add a secondary layer of row cover fabric (floating row cover, 0.5 oz weight) suspended 6 inches above plants on wire hoops. This creates a double-layer system that protects crops to 20°F when the cold frame alone fails at 25°F. The air gap between layers acts as insulation.
For extreme cold protection (Zones 3-4), line the interior north wall with stacked gallon jugs filled with water. Water's high specific heat capacity means these jugs absorb daytime warmth and release it slowly overnight, moderating temperature swings by 8 to 12 degrees.
Succession Planting:
Divide your cold frame into thirds. Plant quick-maturing crops (radishes, 25 days) in one section, medium crops (lettuce, 45 days) in another, and slow crops (carrots, 70 days) in the third. This creates a continuous harvest cycle rather than feast-or-famine production.
Troubleshooting
Symptom: Seedlings stretch and grow leggy despite adequate light.
Solution: Temperature inside the frame exceeds 70°F during the day. Increase ventilation by propping the window open 6 to 8 inches when internal temperature reaches 65°F. Leggy growth indicates plants are growing too quickly in excessive heat, producing weak stems.
Symptom: Condensation drips constantly from the glass onto plants, causing leaf spot diseases.
Solution: Ventilate for 2 to 3 hours during mid-day (11 AM to 2 PM) even on cold days. Apply a thin coat of automotive rain repellent to the interior glass surface. The hydrophobic coating causes water to sheet off rather than forming drips.
Symptom: Plants near the front edge suffer frost damage while plants at the back remain healthy.
Solution: Front wall is too low or weather stripping has failed. Increase front wall height by 2 inches or replace compressed weather stripping. Place thermal mass objects (water jugs, bricks) along the front edge to buffer temperature extremes.
Symptom: Wood frame develops soft spots and shows signs of rot after one season.
Solution: Water is pooling against wood rather than draining away. Apply a 2-inch gravel collar around the exterior base of the frame. Ensure the site slopes away from the structure at a minimum 2% grade (1/4 inch per foot).
Symptom: Window won't stay open during ventilation and slams shut unexpectedly.
Solution: Hinges lack sufficient tension or prop system is inadequate. Replace loose hinges with heavy-duty gate hinges. Install a chain limiter (like cabinet door chains) that prevents the window from opening past 90 degrees and catches it at predetermined intervals.
Storage and Maintenance
Watering Protocol:
Cold frames require approximately 1 inch of water per week, but this varies dramatically with season and ventilation frequency. Check soil moisture by inserting your finger 2 inches deep. Water only when soil feels dry at this depth. Cold soil holds moisture longer than warm soil; overwatering causes root rot and damping-off.
Water in the morning (8-10 AM) to allow foliage to dry before nighttime temperatures drop. Wet leaves combined with cool temperatures create ideal conditions for Botrytis (gray mold) and downy mildew.
Feeding Schedule:
Apply liquid kelp fertilizer (0-0-1 NPK plus trace minerals) every 3 weeks during active growth. The potassium (third number) improves cold tolerance and strengthens cell walls. Side-dress with 1/4 cup of balanced organic fertilizer (5-5-5) per 4 square feet when plants reach half their mature size.
Avoid high-nitrogen fertilizers in cold frames. Excess nitrogen produces tender, frost-susceptible growth. The goal is slow, steady development that creates hardy plants capable of surviving temperature fluctuations.
Seasonal Maintenance:
- Spring: Remove and wash windows with vinegar solution to eliminate winter grime that blocks 20-30% of available light
- Summer: Store windows in a dry location or repurpose the frame as a shade structure by replacing glass with shade cloth
- Fall: Check all joints and seals; tighten loose screws and replace degraded weather stripping
- Winter: Brush snow off windows within 24 hours of storms (wet snow loads can crack glass or damage frames)
Post-Harvest Care:
After harvesting crops, remove all plant debris immediately. Decaying vegetation harbors fungal spores and insect eggs that overwinter and infect subsequent plantings. Scrape the soil surface with a garden hoe to disrupt pest life cycles.
Apply a 1-inch layer of finished compost between plantings. This inoculates the soil with beneficial organisms and replenishes nutrients. Allow the bed to rest for 7 to 10 days before replanting to let the new compost integrate with existing soil.
Success Blueprint
Building a cold frame with recycled windows transforms discarded materials into a productive growing system that extends your harvest season by 8 to 16 weeks annually. The 9 steps outlined here (site selection, foundation preparation, angled frame construction, window mounting, weatherproofing, soil building, ventilation setup, thermal mass integration, and maintenance protocols) create a structure that will serve your garden for a decade or more with minimal upkeep. Master these techniques once and you gain the ability to produce fresh greens during months when grocery store options are shipped from thousands of miles away.
Share your cold frame building experience with your local garden club or community garden network. Post photos and harvest reports to inspire others to reclaim materials and grow food year-round. Schedule a spring workshop where you help neighbors build their own cold frames using salvaged windows, multiplying the impact of this sustainable growing method throughout your community.
Expert FAQs
What is the ideal size for a cold frame built with recycled windows?
Match your frame dimensions exactly to your available windows rather than forcing windows to fit a predetermined size. Standard sizes of 36×48 inches or 24×36 inches work well for most gardeners, providing 9 to 12 square feet of growing space. Larger frames (48×72 inches) become difficult to manage because the window grows too heavy for safe daily ventilation. Multiple smaller frames offer better temperature control and crop diversity than one oversized unit.
Can I use double-pane windows instead of single-pane glass?
Double-pane windows work but provide excessive insulation that can cause overheating problems. Single-pane glass allows better heat management in cold frames. If you only have access to double-pane windows, increase ventilation time by 50% and install them on frames with taller front walls (10 inches instead of 8 inches) to improve air circulation. The insulation that benefits homes actually creates temperature spikes above 80°F in cold frames, cooking tender seedlings.
How do I prevent my cold frame from overheating on sunny winter days?
Install an automatic vent opener (available at garden centers for $35-60) that uses thermal expansion of wax or oil to open the window when temperatures exceed your set point (typically 65-70°F). Manual ventilation works if you're home, but automatic systems prevent the common disaster of forgetting to close the frame before nighttime temperatures drop. Even brief exposure to 85°F+ temperatures damages cool-season crops and causes premature bolting.
What's the best way to start seeds directly in a cold frame versus transplanting seedlings?
Direct seed root crops (carrots, radishes, turnips) and fast-maturing greens (arugula, mache, spinach) because they resent transplanting. Start brassicas (broccoli, cabbage, kale) and lettuce indoors under lights, then transplant to the cold frame at the 2-3 true leaf stage. This approach gives you a 3-week head start on root crops while maximizing space efficiency. Transplants also allow you to cull weak seedlings and place only the strongest plants in your limited cold frame space.
Should I insulate the sides of my cold frame or leave them as bare wood?
Leave sides uninsulated. The thermal mass of 2-inch thick wood boards moderates temperature swings more effectively than adding foam insulation, which can trap moisture and accelerate rot. If you garden in Zone 3 or colder, attach 1/2-inch rigid foam insulation to the exterior north wall only. This blocks prevailing cold winds without creating moisture problems. The east, west, and south sides benefit from solar gain during low-angle winter sun, so insulation on these sides reduces helpful passive heating.