6 Steps to Install a Gravel Path Between Vegetable Beds
Walking barefoot over muddy vegetable paths in spring leaves boots caked in clay and carrots splattered with soil. The solution lies in well-executed steps for installing a gravel path between vegetable beds that transform a garden into a clean, accessible growing space. Proper gravel paths prevent soil compaction, reduce weed pressure, and allow year-round access regardless of precipitation. The installation process draws on principles of soil mechanics and drainage engineering to create permanent infrastructure that supports both root development in adjacent beds and mycorrhizal fungi networks.
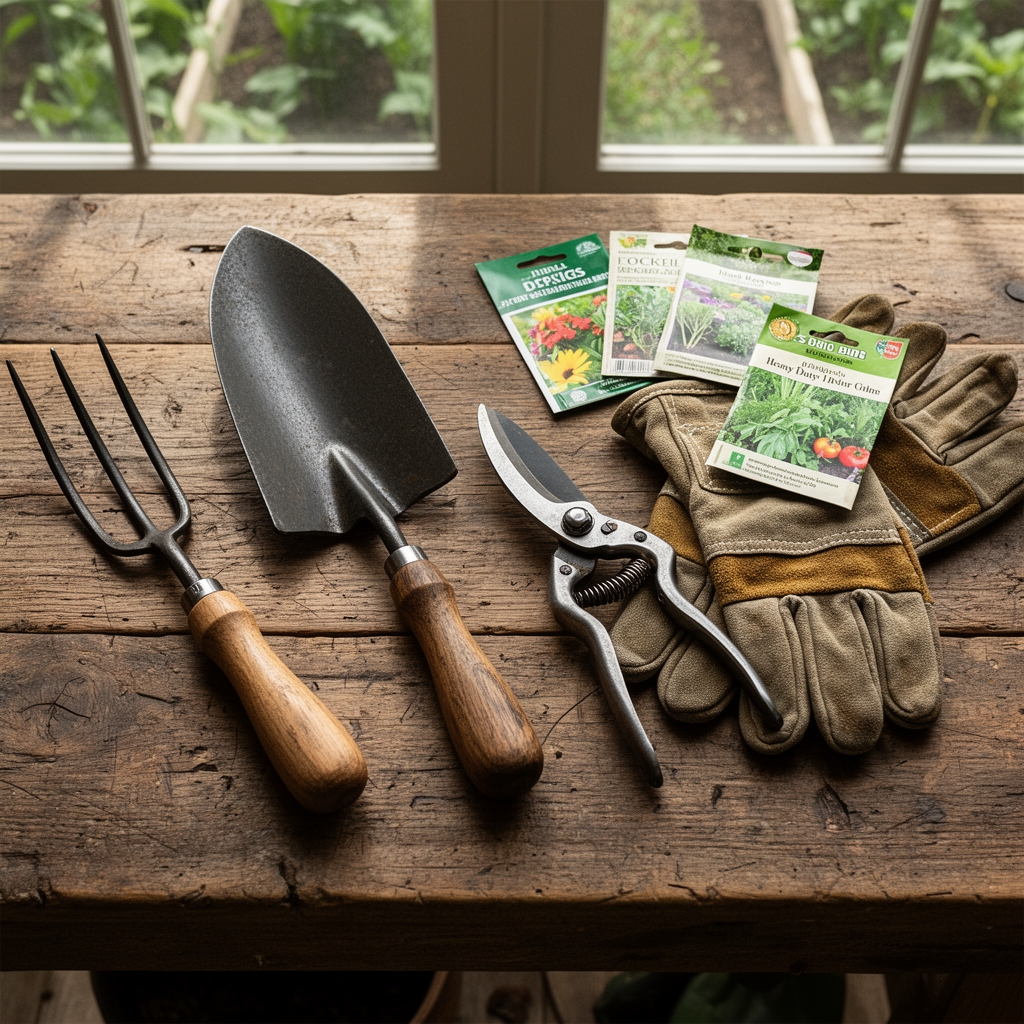
Materials
Successful path construction requires landscape fabric with a minimum 3-ounce weight to suppress perennial weeds while maintaining soil gas exchange. Select crushed angular gravel rather than rounded pea gravel. Angular stones lock together through mechanical friction, preventing lateral migration into beds.
For edging, use untreated cedar or black locust lumber milled to 2-inch by 6-inch dimensions. These rot-resistant species last 15-20 years without chemical preservatives that could leach into vegetable beds. Galvanized landscape staples in 8-inch lengths secure fabric to soil.
The gravel itself should be three-quarter-inch crushed limestone or granite. Limestone slowly releases calcium, beneficial for brassicas and nightshades. Calculate 2 cubic yards per 100 square feet of path at 3-inch depth.
Optional amendments include rock phosphate at 5 pounds per 100 square feet applied to bed edges before path installation. This addresses the slight phosphorus tie-up that occurs as gravel paths age and their cation exchange capacity increases.
Timing
Install gravel paths during dry periods when soil moisture content drops below 40 percent. Wet soil compacts irreversibly under foot traffic during construction, creating anaerobic pockets that disrupt auxin distribution in nearby vegetable roots.
In Zones 3-5, optimal installation occurs from late August through October after main harvest concludes. The freeze-thaw cycle that follows initial installation actually improves path stability by settling gravel into substrate.
Zones 6-8 allow installation from September through November. Avoid winter installation when frost heaving can displace edging boards.
Zones 9-11 should target November through February when reduced evapotranspiration allows soil to reach appropriate moisture levels for excavation.
Phases
Begin with layout using mason's twine stretched between stakes. Path width should measure 24 inches minimum, 30 inches preferred. This accommodates wheelbarrows and allows comfortable passage without compressing bed edges.
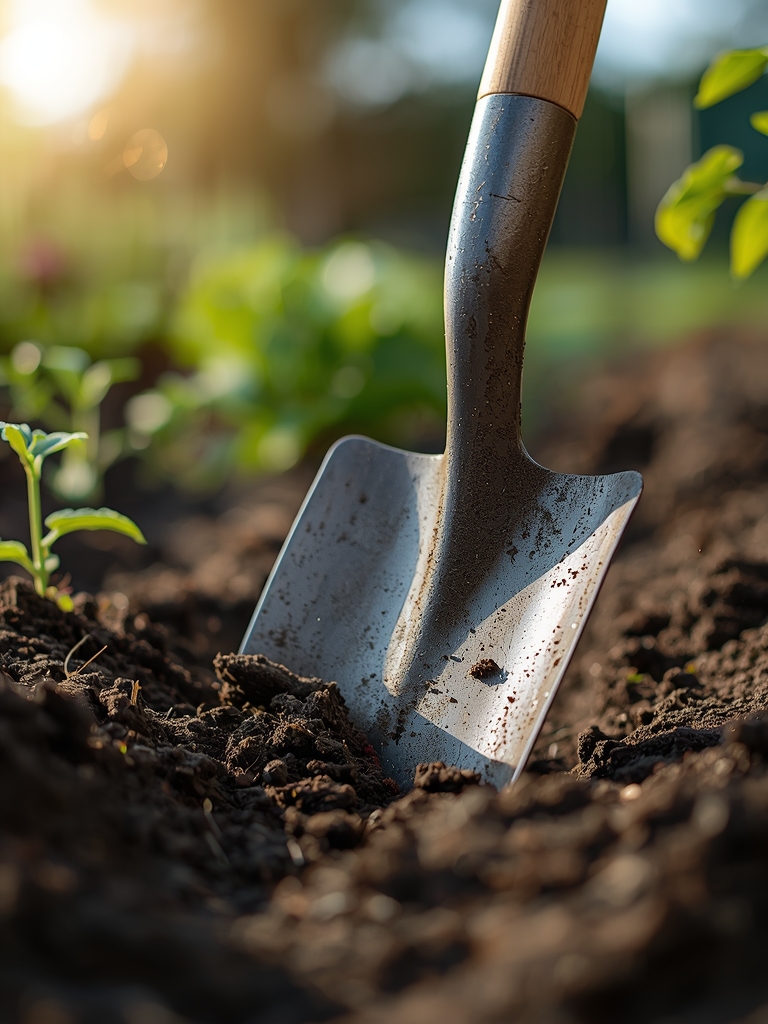
Phase 1: Excavation and Base Preparation
Remove existing vegetation and soil to 4-inch depth. This depth accommodates 1 inch of coarse sand base plus 3 inches of gravel while keeping path surface level with or slightly below bed height.
Examine excavated soil texture. Clay content above 40 percent requires additional drainage measures. Install perforated drain tile along path center, sloping 1 inch per 10 feet toward designated outlet.
Level the excavated trench using a 4-foot builder's level. Variations exceeding one-quarter inch per 4 feet create persistent puddles.
Pro-Tip: Spray exposed soil base with compost tea inoculated with Trichoderma harzianum at 1 cup per gallon. This beneficial fungus colonizes path edges and suppresses soil-borne pathogens that might otherwise migrate into beds.

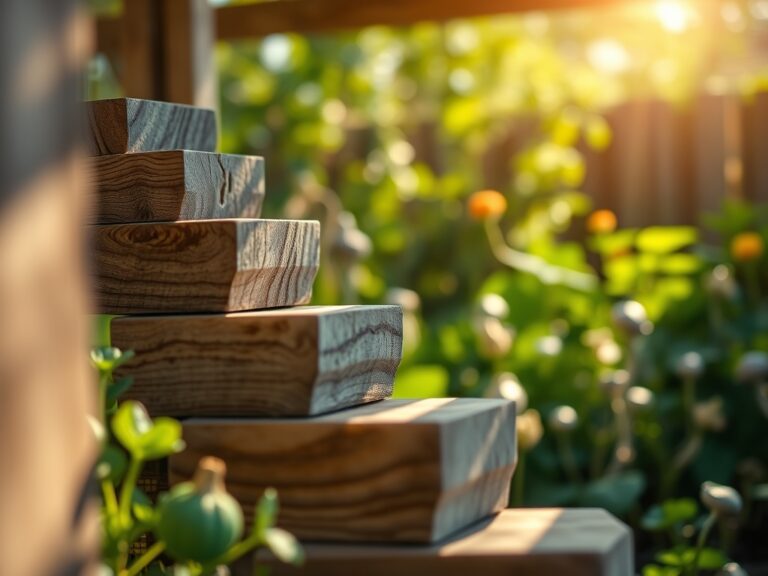
Phase 2: Edging Installation
Set lumber edging on-edge along path perimeter. Drive 12-inch galvanized spikes through pre-drilled holes every 3 feet. Spike heads should sit flush with board tops.
Miter corners at 45-degree angles for professional appearance and structural integrity. Back-fill exterior edges with excavated soil tamped firmly.
Pro-Tip: Apply raw linseed oil to edging boards before installation. Two coats increase longevity by 40 percent without introducing toxic compounds near edible crops.
Phase 3: Fabric and Gravel Application
Spread coarse builder's sand 1 inch deep across path base. This layer cushions landscape fabric and prevents punctures from underlying stones.
Roll landscape fabric along path length with 6-inch overlaps at seams. Secure fabric every 2 feet using landscape staples driven at 45-degree angles.
Distribute gravel in two lifts. Spread first 1.5-inch layer and compact using a hand tamper or plate compactor. Add final 1.5-inch layer without compaction to maintain surface drainage.
Pro-Tip: Mix 10 percent coarse sand with final gravel layer. Sand particles fill interstitial spaces, creating firmer walking surface while maintaining permeability above 3 inches per hour.
Troubleshooting
Symptom: Gravel migrates into vegetable beds within first growing season.
Solution: Edging boards sit too low. Boards must extend 1 inch above final gravel surface. Retrofit by adding second board tier or replace with deeper stock.
Symptom: Puddles persist 24 hours after rain events.
Solution: Indicates compacted base or inadequate slope. Remove gravel, perforate landscape fabric every 12 inches using soil knife, add 1-inch coarse sand layer, reinstall gravel.
Symptom: Perennial weeds emerge through gravel (dock, bindweed, quackgrass).
Solution: Landscape fabric weight insufficient or installation gaps present. Remove gravel, apply additional fabric layer in perpendicular orientation, reinstall gravel.
Symptom: Path surface becomes uneven with depressions.
Solution: Inadequate initial compaction. Rake gravel aside, add base material to depressions, compact thoroughly, redistribute gravel maintaining 3-inch minimum depth.
Symptom: Gravel discoloration or algae growth in shaded paths.
Solution: Excessive nitrogen from adjacent beds. Install 4-inch aluminum flashing vertically along bed edges to block lateral nutrient movement. Scrape affected gravel and sun-dry before reinstalling.
Maintenance
Rake paths monthly during growing season to redistribute gravel and prevent wear patterns. This 10-minute task extends path life by preventing base exposure.
Add 0.5 inch supplemental gravel annually each spring. Foot traffic and freeze-thaw cycles cause 15-20 percent gravel loss per year through gradual migration and breakdown.
Edge paths twice yearly using a half-moon edger or sharp spade. Maintain clean line between gravel and bed soil to prevent crossover.
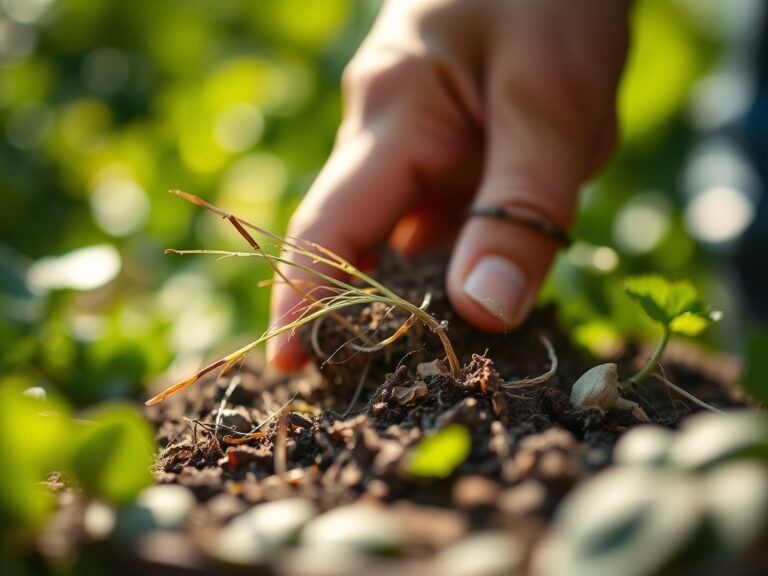
Remove any volunteer vegetation immediately. Even small weeds compromise fabric integrity through root penetration.
Apply corn gluten meal at 20 pounds per 100 square feet in early spring as pre-emergent weed control. This organic option prevents seed germination for 6-8 weeks without affecting established plants.
Pressure-wash gravel every 2-3 years to remove accumulated organic matter. This restores drainage capacity and fresh appearance.
FAQ
How deep should gravel paths be between raised beds?
Three inches of gravel over 1 inch of sand provides optimal balance between stability and drainage. Depths below 2.5 inches expose fabric to UV degradation and foot wear.
What prevents landscape fabric from degrading?
Continuous gravel cover blocks ultraviolet radiation, the primary fabric breakdown mechanism. Properly installed 3-inch gravel layer provides 8-12 years fabric life.
Can gravel paths affect soil pH in adjacent beds?
Limestone gravel raises bed edge pH by 0.2-0.4 units over 3-5 years within 6 inches of path. Use granite gravel near blueberries or acid-preferring crops.
Should paths slope toward or away from beds?
Paths should slope away from beds at 1-2 percent grade to prevent nutrient runoff from irrigated beds accumulating in paths.
How wide should paths be for wheelchair accessibility?
Accessible paths require 36-inch minimum width with firm, stable gravel compacted to resist wheel displacement. Use gravel-sand mix with 20 percent sand content for ADA compliance.