9 Steps to Buff Scratches Out of Plastic Garden Pots
The scent of damp humus and the high turgor pressure of a well hydrated leaf define a successful greenhouse. When high density polyethylene or polypropylene containers show wear, they disrupt the professional aesthetic of a nursery. Learning the steps for buffing scratches out of plastic pots allows a grower to maintain equipment longevity without compromising the sterile environment required for sensitive root systems. Surface abrasions on plastic are more than cosmetic issues; they create micro-fissures where pathogens like Pythium or Fusarium can colonize, evading standard sterilization protocols. Restoring a smooth surface reduces the surface area available for biofilm accumulation. This process requires a systematic approach to abrasion and heat application to return the polymer to its original state. By following these technical protocols, you ensure that your containers remain as functional and clean as the sterile medium they hold. Maintaining the integrity of your hard goods is as vital as managing the NPK ratios in your fertigation lines.
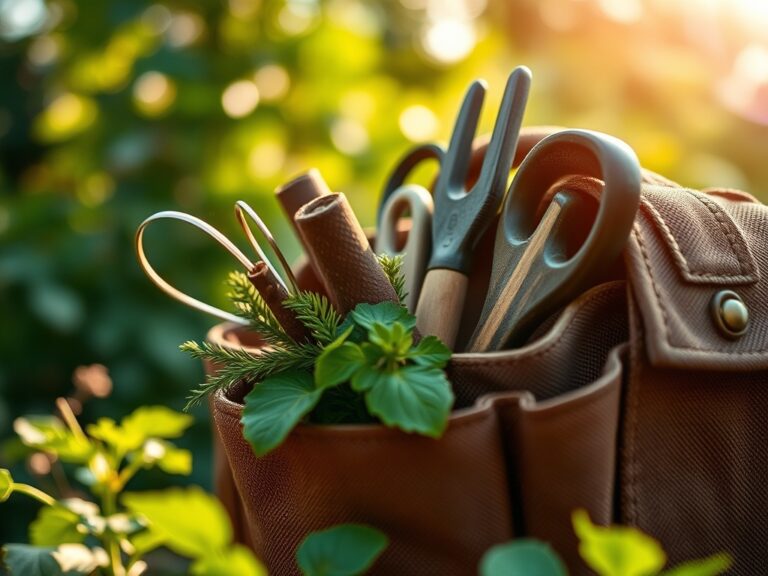
Materials:
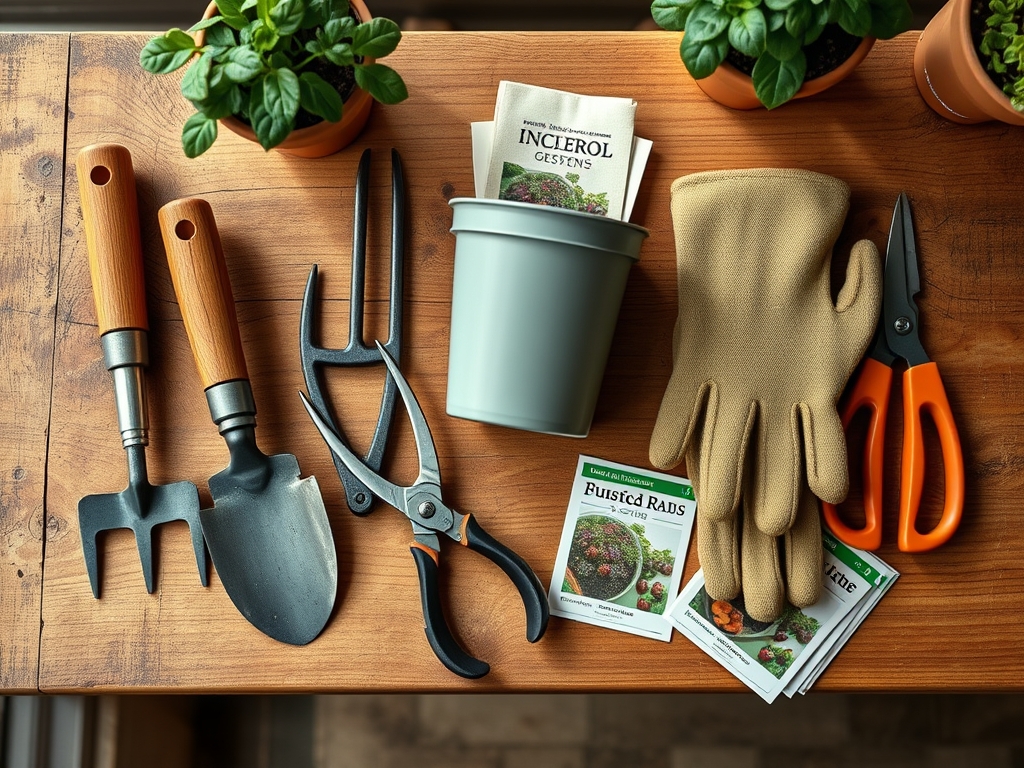
Restoring plastic containers requires a clean workspace free of particulate matter that could cause secondary scratching. You will need wet-dry sandpaper in **400, 800, and 1500 grit** increments. A heat gun with adjustable settings between **200 and 1000 degrees Fahrenheit** is necessary for thermal smoothing. For the final polish, utilize a plastic buffing compound and a microfiber cloth.
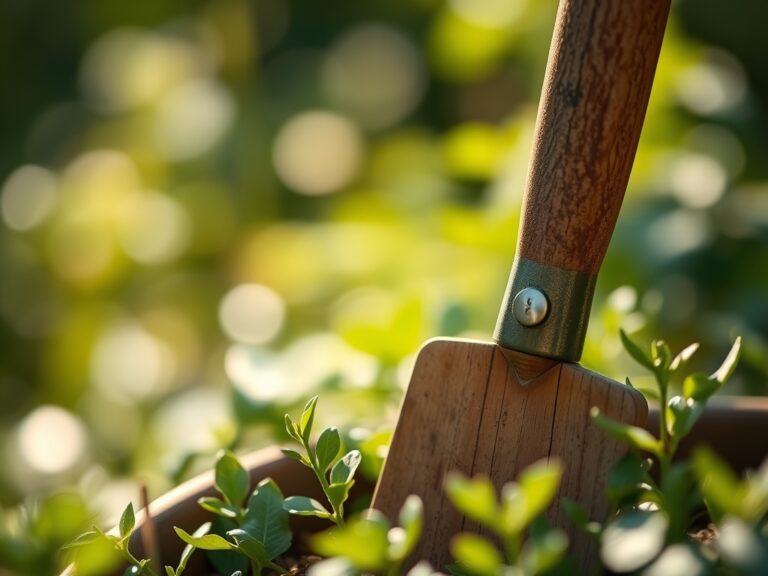
While the pots are empty, prepare your potting substrate. The ideal medium for most nursery stock is a friable loam with a pH between 5.8 and 6.5. This substrate should have a high Cation Exchange Capacity (CEC) to retain essential nutrients. Aim for an initial NPK ratio of 10-10-10 for general purpose growth or 5-10-10 for root development in new transplants. The texture must be porous enough to allow for a 20 percent oxygen diffusion rate within the rhizosphere.
Timing:
The restoration of garden pots must occur during the dormant season or the window between the first autumn frost and the spring thaw. In Hardiness Zones 5 through 7, this typically falls between November and March. Performing this maintenance during the growing season risks disrupting the biological clock of the plant. When a plant transitions from the vegetative stage to the reproductive stage, its metabolic energy is focused on flower and fruit production. Moving a plant to a newly buffed pot during this high-stress period can trigger abscission, where the plant drops leaves or buds to conserve resources. Ensure all mechanical repairs are completed before the photoperiod increases to 12 hours of light, which signals the start of the spring growth surge.
Phases:
Sowing and Preparation
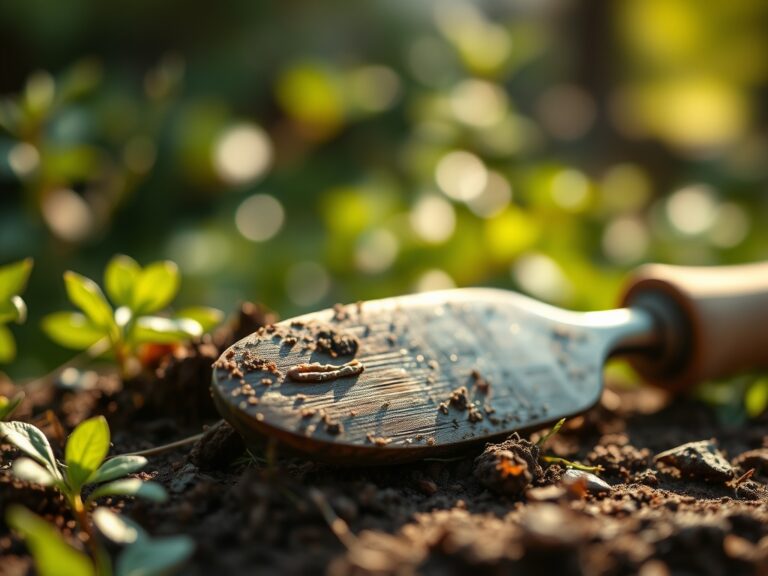
Begin by cleaning the pot with a 10 percent bleach solution to eliminate dormant fungal spores. Use the 400-grit sandpaper to level the ridges of deep scratches. Always sand in a circular motion to avoid creating linear grooves that catch the light. Once the surface is level, progress to the 800-grit and finally the 1500-grit for a satin finish.
Pro-Tip: Smoothing the interior rim of the pot reduces friction during future transplanting. This protects the root hairs, which are the primary sites for water and nutrient uptake through osmosis; damaging these microscopic structures can lead to immediate wilting.
Transplanting and Thermal Smoothing
After sanding, use the heat gun on its lowest setting. Move the heat source constantly to avoid melting the plastic or off-gassing toxic fumes. The heat causes the polymer chains to relax and flow into the microscopic scratches left by the sandpaper. This creates a non-porous surface that resists salt buildup from synthetic fertilizers.
Pro-Tip: A smooth surface prevents the "root-bound" spiral effect. In rough-textured pots, roots often follow the grooves of scratches, leading to thigmotropism, where the root grows in response to touch. A smooth surface encourages the root to deflect and continue searching for the nutrient-rich rhizosphere.
Establishing the Finish
Apply a thin layer of plastic polish or a food-grade mineral oil to the exterior. This creates a hydrophobic barrier that prevents water spots and UV degradation. Once the pot is restored, fill it with your prepared friable loam and settle the medium by watering until the field capacity is reached.
Pro-Tip: Maintaining the external integrity of the pot regulates the temperature of the root zone. Scratched, dark plastics absorb uneven amounts of thermal energy, which can lead to thermomorphogenesis, altering the plant's physical structure and potentially stunted growth.
The Clinic:
Observe the physical state of your plants to diagnose underlying issues.
- Symptom: Interveinal chlorosis on young leaves. Solution: This indicates an Iron deficiency, often caused by a pH above 7.0. Lower the pH using elemental sulfur.
- Symptom: Purpling of the lower foliage. Solution: This is a classic sign of Phosphorus deficiency. Check if soil temperatures are below 55 degrees Fahrenheit, as cold soil inhibits Phosphorus uptake.
- Symptom: Marginal leaf burn on older leaves. Solution: This suggests Potassium deficiency or salt accumulation. Flush the pot with three times the volume of the container in distilled water to leach excess salts.
- Symptom: Stunted growth with pale green leaves (Nitrogen chlorosis). Fix-It: Apply a quick-release nitrate-based fertilizer at a concentration of 200 ppm (parts per million) to rapidly restore chlorophyll production.
Maintenance:
Precision is the hallmark of a master horticulturist. Use a soil moisture meter daily to ensure the substrate remains at 60 to 70 percent of its water-holding capacity. For most woody perennials in 5-gallon pots, provide 1.5 inches of water per week applied directly at the drip line. Use a hori-hori knife to check for soil compaction every three months; if the blade cannot penetrate 4 inches with ease, the soil requires aeration. Prune any necrotic tissue using bypass pruners that have been sterilized with isopropyl alcohol to prevent the spread of systemic pathogens. Monitor the Cation Exchange Capacity annually by sending a soil sample to a local extension office to ensure the medium can still hold the ammonium and potassium ions necessary for sustained growth.
The Yield:
When harvesting from containers, timing is dictated by the senescence of the plant. For herbs and leafy greens, harvest in the early morning when turgor pressure is at its peak; this ensures the cell walls are fully distended with water. Use sharp snips to make clean cuts at a 45-degree angle to maximize the surface area for callous formation on the mother plant. Immediately submerge the harvested material in 40-degree Fahrenheit water to remove field heat and slow the metabolic rate. This post-harvest handling preserves the volatile oils and sugars, ensuring "day-one" freshness for up to 72 hours.
FAQ:
Can I use a hair dryer instead of a heat gun?
Most hair dryers do not reach the 300 degree Fahrenheit threshold required to manipulate the molecular structure of industrial plastics. A dedicated heat gun provides the necessary thermal energy for effective polymer smoothing and scratch removal.
How do I know if a scratch is too deep to fix?
If a scratch penetrates more than 25 percent of the container wall thickness, the structural integrity is compromised. In these cases, the pot may fail under the weight of wet soil and should be recycled rather than buffed.
Will buffing the pot affect the plants inside?
Buffing must be performed on empty containers. The friction from sanding and the heat from the gun will raise the internal temperature, potentially causing thermal death to the root system or melting the delicate root hairs.
Does the color of the plastic pot matter?
Yes. Darker plastics have a higher thermal mass and can increase root zone temperatures by 10 to 15 degrees. Buffing these pots helps maintain a consistent Albedo effect, reflecting some light and preventing root overheating.