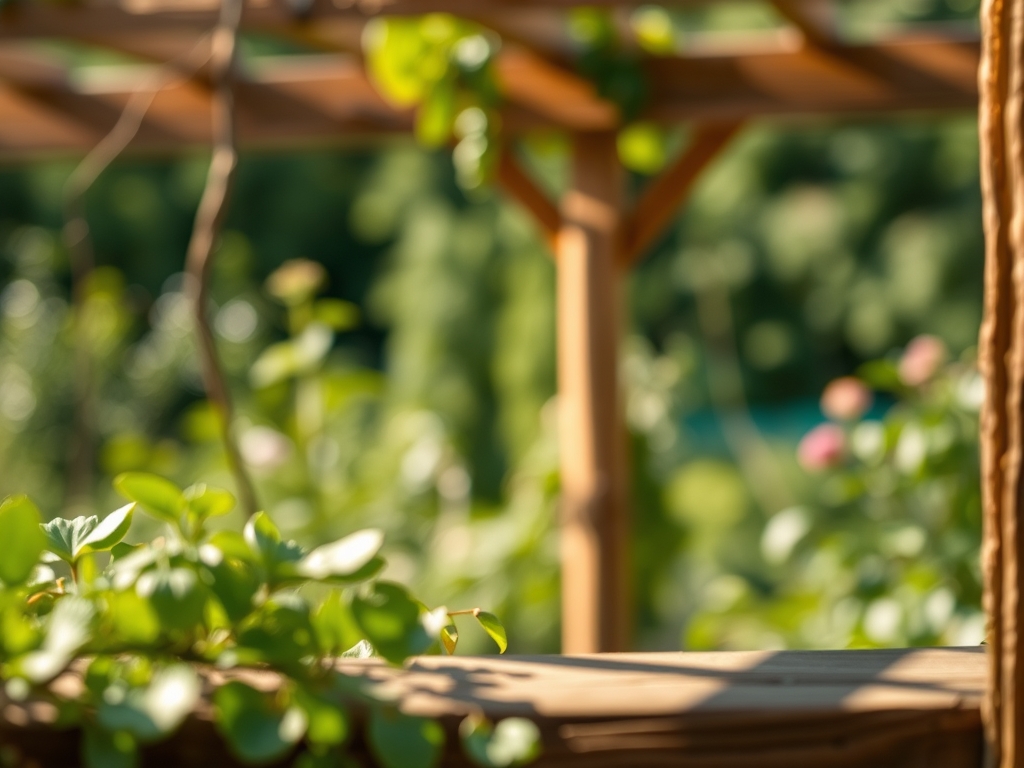
6 Shading Steps to Build a Custom Vegetable Pergola
Crushing a handful of friable loam reveals the metallic scent of geosmin; it is the smell of a healthy rhizosphere ready for production. When turgor pressure is high, a leaf feels rigid and cool to the touch because the vascular system is fully hydrated. Achieving this level of plant health in high-heat environments requires precise light management. Mastering the steps for building a vegetable garden pergola allows a grower to manipulate the microclimate and extend the growing season by reducing solar radiation by up to 30 percent. This structure is not a decorative element; it is a functional tool for thermal regulation. By controlling the photoperiod and ambient temperature, you prevent premature senescence and bolting in sensitive crops. A properly engineered pergola mitigates the impact of ultraviolet stress on cellular membranes. Success depends on structural integrity and an intimate understanding of soil chemistry. Without a stable foundation and nutrient-dense substrate, the most sophisticated shading system will fail to produce high-density yields. This guide provides the technical framework for constructing a productive horticultural canopy from the ground up.
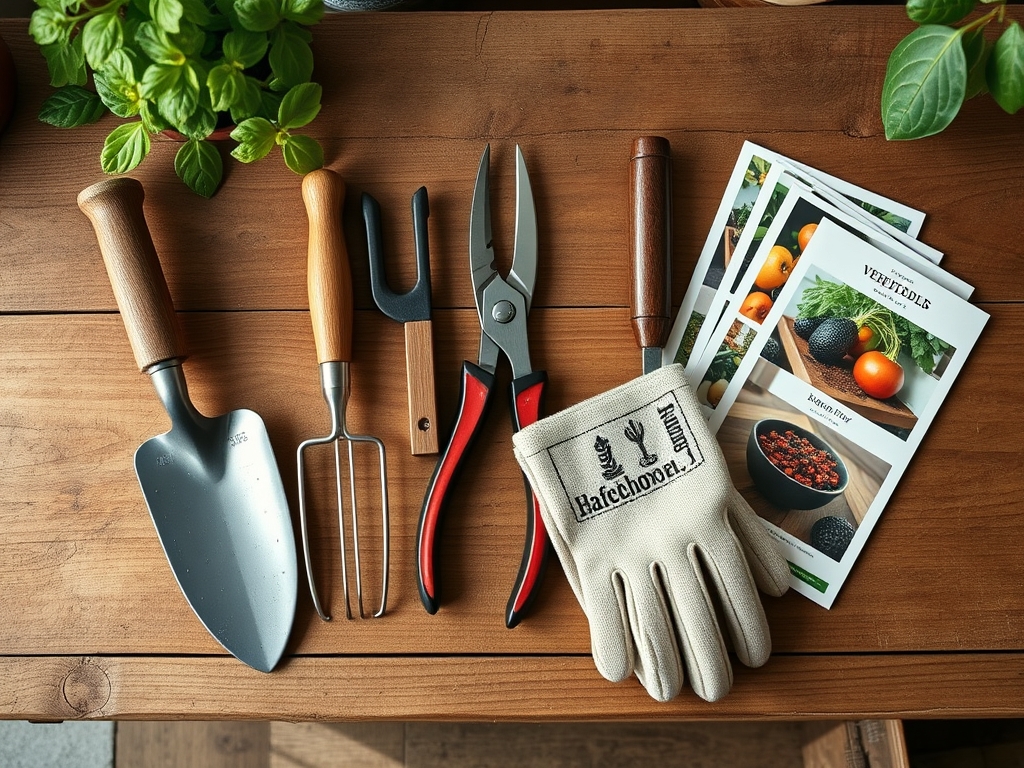
Materials
Construction begins with the soil profile. The ideal substrate is a **friable loam** with a Cation Exchange Capacity (CEC) between **15 and 25 meq/100g**. This ensures the soil can retain and exchange essential cations like Calcium (Ca2+) and Magnesium (Mg2+). The target **pH level is 6.2 to 6.8** to maximize nutrient bioavailability. For the base fertilization, use an NPK ratio of **5-10-10** for root establishment. This lower nitrogen concentration prevents excessive vegetative growth while the structural root system develops.
Hardware requirements include 6×6 pressure-treated timber for vertical posts and 2×8 joists for the overhead rafters. For the shading element, utilize a 40 percent density HDPE monofilament shade cloth. This material is UV-stabilized and provides consistent light diffusion without trapping heat. Use 316-grade stainless steel fasteners to prevent corrosion from organic fertilizers and high humidity.
Timing
Timing is dictated by the USDA Hardiness Zone and the specific frost-date windows of your region. In Zones 7 through 9, construction should conclude four weeks before the average last frost date. This allows the soil to settle before the biological clock of the plant initiates the transition from the vegetative stage to the reproductive stage.
The biological clock is regulated by the photoperiod. As day length increases, plants with high auxin levels will begin rapid cell elongation. For cool-season crops like spinach or brassicas, the pergola must be operational before the soil temperature reaches 75 degrees Fahrenheit. If the soil exceeds this threshold, the plant will prioritize seed production over leaf biomass, leading to bitter flavors and tough textures.
Phases
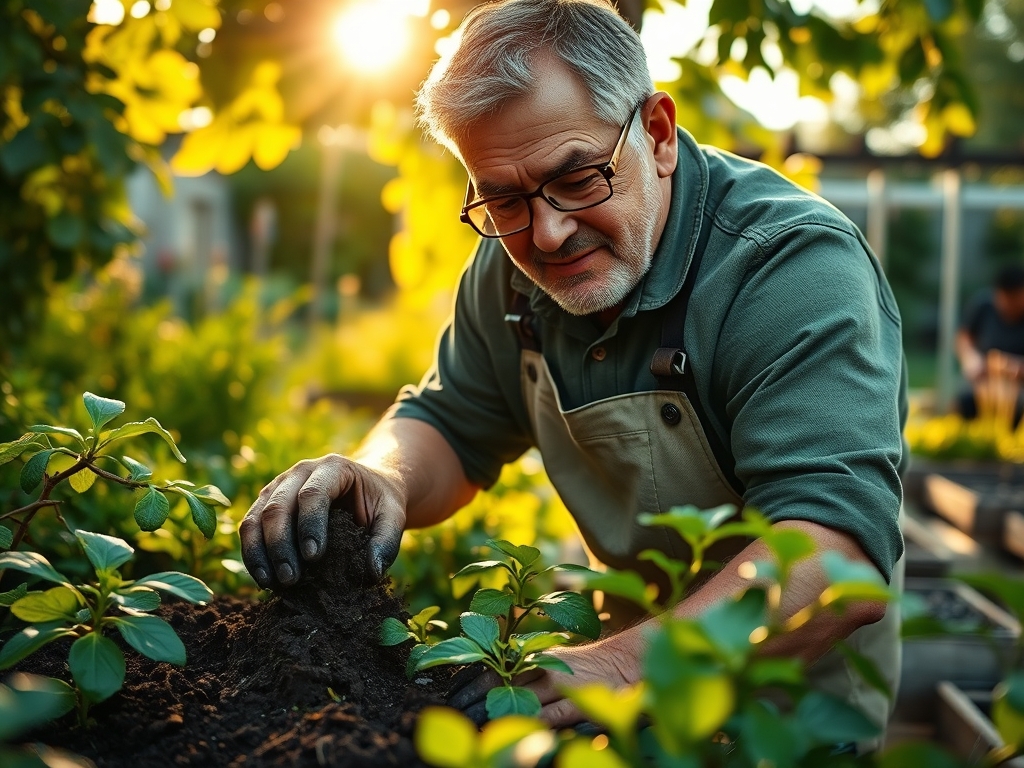
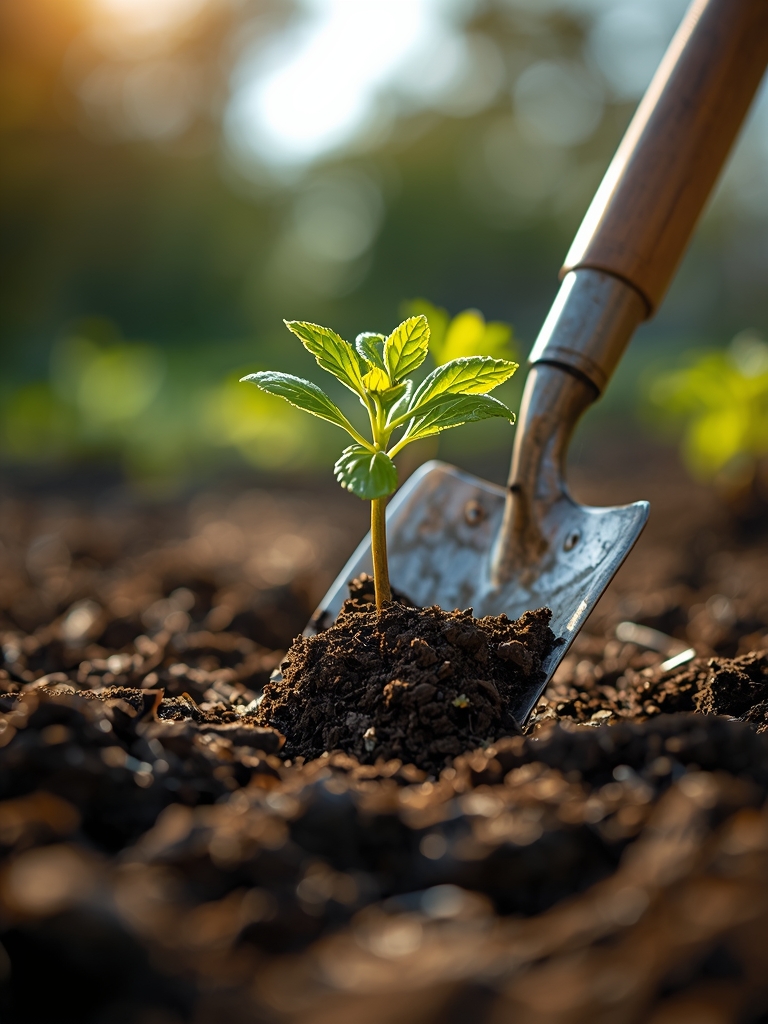
Sowing and Site Preparation
Excavate post holes to a depth of 36 inches to ensure they sit below the frost line. Backfill with 3/4-inch crushed stone for drainage before pouring concrete. While the structure cures, prepare the planting beds by tilling in organic matter to a depth of 12 inches.
Pro-Tip: Incorporate mycorrhizal fungi into the sowing furrows. This creates a symbiotic relationship where the fungi extend the root reach by up to 100 times, significantly increasing phosphorus uptake through a process called mycorrhizal symbiosis.
Transplanting
When moving seedlings from the nursery to the pergola, ensure the root ball is saturated to maintain turgor pressure. Space plants according to their mature width to allow for laminar airflow, which reduces the risk of fungal pathogens.
Pro-Tip: Use a transplant solution high in phosphorus (e.g., 10-52-10) to stimulate immediate root branching. This helps the plant overcome transplant shock by rapidly re-establishing the link between the roots and the soil's moisture reserves.
Establishing the Canopy
Once the structure is stable, install the shade cloth. Secure it with bungee toggles to allow for movement during high-wind events. The cloth should be positioned at least 8 feet above the soil surface to prevent heat pockets from forming near the foliage.
Pro-Tip: Practice auxin suppression by pinching off the terminal buds of vining crops. This redirects the plant's energy toward lateral branching, creating a thicker, more productive canopy that utilizes the pergola's vertical space.
The Clinic
Physiological disorders often manifest when the environment is poorly managed. Monitor your plants for the following symptoms:
- Blossom End Rot: This appears as a dark, sunken spot on the fruit base. It is caused by a Calcium deficiency resulting from inconsistent transpiration. Solution: Maintain consistent soil moisture and apply a foliar calcium spray.
- Nitrogen Chlorosis: Identified by the yellowing of older, lower leaves while the veins remain green. Solution: Side-dress with a high-nitrogen organic fertilizer like blood meal (12-0-0).
- Sunscald: White, papery patches on the fruit or leaves. Solution: Increase the shade cloth density to 50 percent or adjust the angle of the pergola slats to block mid-day solar radiation.
- Interveinal Necrosis: Brown spots between leaf veins, often indicating a Magnesium deficiency. Solution: Apply Epsom salts (Magnesium Sulfate) at a rate of 1 tablespoon per gallon of water.
Maintenance
Precision maintenance is the difference between a surviving garden and a thriving one. Use a soil moisture meter daily to ensure the rhizosphere remains at 60 to 80 percent field capacity. Apply 1.5 inches of water per week directly at the drip line using a soaker hose to minimize leaf wetness.
Keep a hori-hori knife sharpened for weeding; its serrated edge allows for deep root extraction without disturbing the primary crop. Use bypass pruners for all harvesting and maintenance cuts. A clean, scissor-like cut heals faster than a crushed stem, reducing the entry points for bacteria. Sanitize tools with 70 percent isopropyl alcohol between every plant to prevent the spread of systemic viruses.
The Yield
Harvesting is a race against enzymatic degradation. For most fruiting vegetables, harvest in the early morning when the plant is at peak turgor. Use your bypass pruners to cut the stem; never pull the fruit, as this can cause micro-tears in the vascular tissue.
To maintain "day-one" freshness, immediately move the harvest into a shaded area to remove field heat. For leafy greens, submerge them in 40-degree Fahrenheit water for ten minutes. This process, known as hydro-cooling, halts the respiration rate and locks in the cellular structure. Store the produce in a high-humidity environment to prevent wilting through transpiration.
FAQ
What is the best wood for a vegetable pergola?
Western Red Cedar or Black Locust are superior choices. They contain natural tannins and oils that resist rot and insect infestation without the need for chemical treatments that could leach into the organic soil profile.
How much shade do vegetables actually need?
Most "full sun" vegetables benefit from 20 to 40 percent shade during peak afternoon hours. This reduction in solar intensity lowers leaf temperature, prevents wilting, and maintains the rate of photosynthesis during extreme heat waves.
Can I grow climbing vegetables on the pergola?
Yes. Pole beans, cucumbers, and small squash varieties utilize the vertical structure. This increases laminar airflow around the fruit and foliage, which significantly reduces the incidence of powdery mildew and other moisture-dependent fungal pathogens.
How deep should the pergola posts be?
Posts must be set at least 36 inches deep or below the local frost line. Proper anchoring prevents structural shifting during soil expansion and contraction, ensuring the pergola remains level and safe for supporting heavy climbing vine biomass.