7 Site-Prep Steps to Prepare a Vegetable Allotment
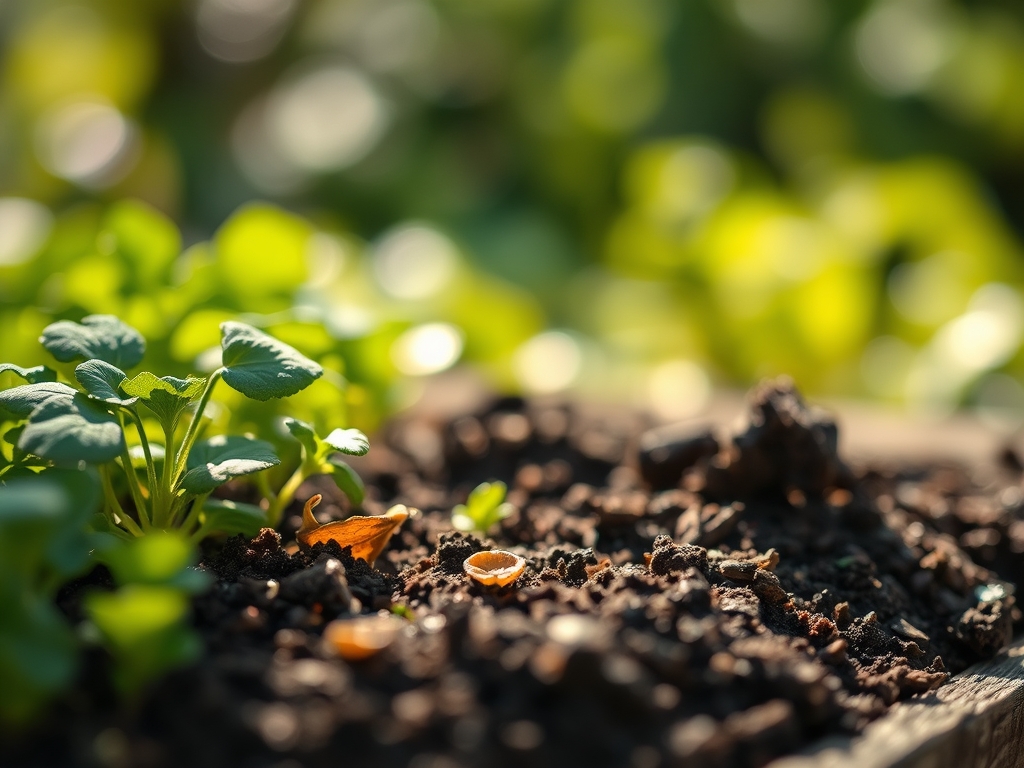
Damp earth releases geosmin as the spade breaks the surface; the scent signals a transition from dormant field to active rhizosphere. Success in the harvest begins with the cellular turgor of a healthy seedling, which relies entirely on the structural integrity of the site. Learning how to prepare a garden for a vegetable allotment requires a shift from casual planting to systematic soil engineering. You are building a biological engine that must sustain high metabolic rates for six months.
The initial phase involves clearing perennial weeds and assessing the physical architecture of the plot. A site with poor drainage or compacted subsoil will lead to root hypoxia, regardless of how much fertilizer you apply. You must aim for a soil structure that balances macropores for aeration and micropores for water retention. This balance ensures that oxygen reaches the root zone while capillary action maintains moisture levels during peak solar radiation. Every decision made during site preparation dictates the nutrient density and caloric output of the final crop.
Materials:

The ideal substrate is a friable loam consisting of roughly 40 percent sand, 40 percent silt, and 20 percent clay. This ratio provides a high Cation Exchange Capacity (CEC), allowing the soil to hold onto positively charged nutrients like Potassium and Magnesium. You must target a soil pH between 6.2 and 6.8 for most vegetable crops; this range ensures maximum bioavailability of phosphorus.
For base fertilization, utilize an NPK ratio of 5-10-10 for root crops or 10-10-10 for general leafy greens. Nitrogen (N) drives vegetative growth and chlorophyll production. Phosphorus (P) is critical for ATP energy transfer and root development. Potassium (K) regulates stomatal opening and water use efficiency. Have calcitic lime on hand if your pH is below 6.0, or elemental sulfur if it exceeds 7.5. You will also need well-rotted organic matter with a Carbon-to-Nitrogen (C:N) ratio of 25:1 to fuel microbial activity without causing nitrogen immobilization.
Timing:
Vegetable allotments operate on a strict biological clock governed by Hardiness Zones and photoperiods. In Zones 5 through 7, the primary window for site preparation opens 4 to 6 weeks before the last predicted frost date. Soil temperature is a more accurate metric than calendar dates; most nitrifying bacteria do not become active until the soil reaches 50 degrees Fahrenheit (10 Celsius).
The transition from the vegetative stage to the reproductive stage is often triggered by day length. For example, alliums like onions require specific photoperiods to begin bulbing. If you miss the planting window by even 14 days, the plant may not accumulate enough leaf area to support a significant harvest before senescence begins. Monitor the Growing Degree Days (GDD) for your specific region to track the heat accumulation necessary for crop maturity.
Phases:
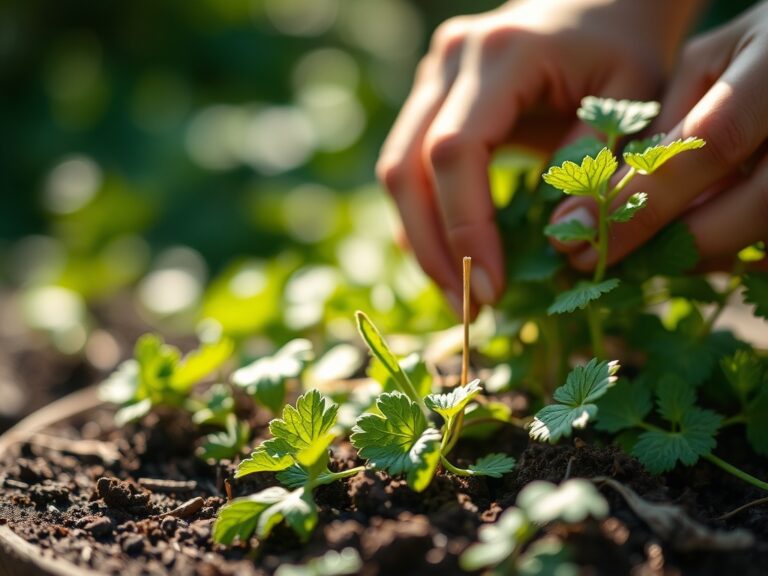
Sowing and Soil Contact
Direct sowing requires a fine tilth. Large clods of earth create air pockets that dehydrate emerging radicles. Ensure the seed is buried at a depth of 3 times its diameter to maintain consistent moisture.
Pro-Tip: Proper seed-to-soil contact is essential because of imbibition. The seed must rapidly absorb water to activate metabolic enzymes; air gaps stop this hydraulic link and cause germination failure.
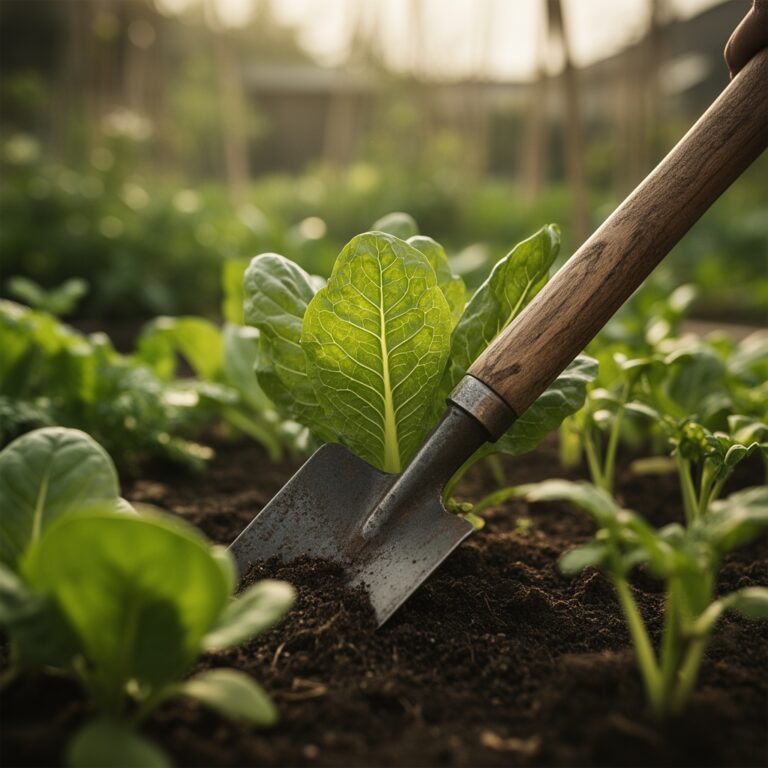
Transplanting and Root Integration
When moving seedlings from trays to the allotment, minimize root disturbance. Dig a hole twice the width of the root ball. Set the plant at the same depth it grew in the container, except for Solanaceous crops like tomatoes, which can develop adventitious roots along the stem.
Pro-Tip: Water transplants with a seaweed-based solution to reduce transplant shock. This encourages mycorrhizal symbiosis, where beneficial fungi extend the root system's reach for phosphorus and water.
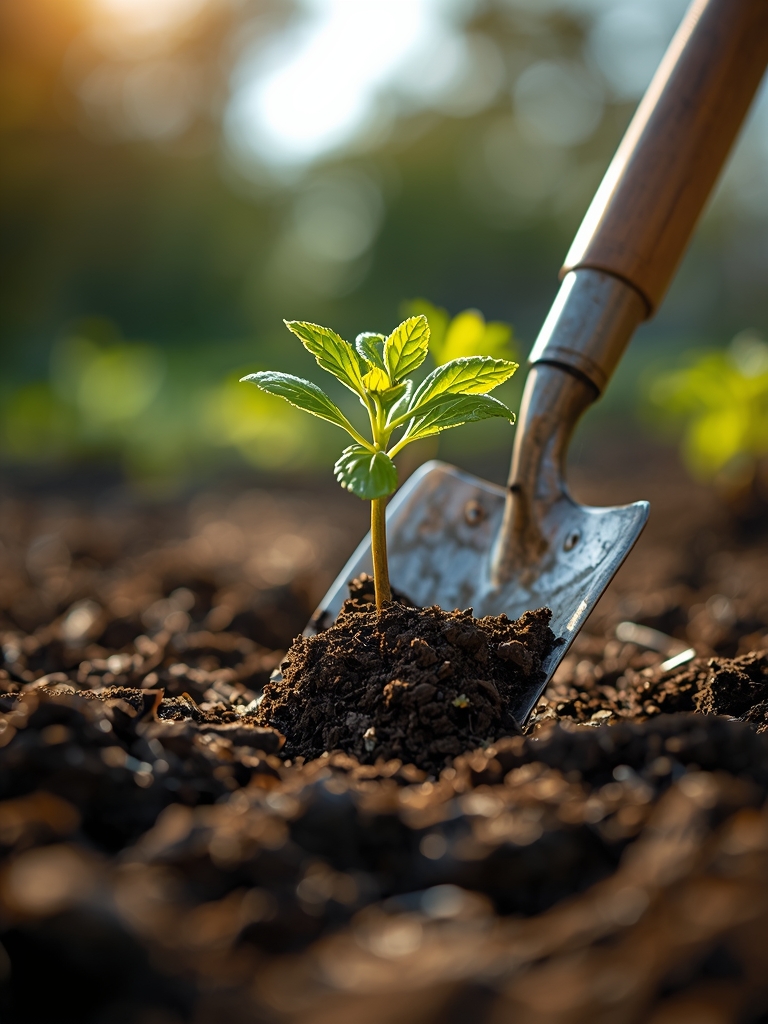
Establishing and Canopy Closure
Once plants are in the ground, the goal is rapid canopy closure to shade the soil and suppress weed germination. Maintain a consistent moisture profile to prevent physiological stress.
Pro-Tip: Avoid excessive nitrogen application during the early establishment of fruit-bearing crops. High nitrogen levels can cause auxin suppression of reproductive buds, leading to lush foliage but zero fruit set.
The Clinic:
Vegetable crops often exhibit physiological disorders that are not caused by pathogens but by environmental or nutritional imbalances.
- Symptom: Blossom End Rot (dark, leathery spots on the bottom of fruit).
- Solution: This is a Calcium deficiency usually caused by inconsistent watering. Maintain steady soil moisture to ensure the transpiration stream carries calcium to the distal end of the fruit.
- Symptom: Interveinal Chlorosis (yellowing between green leaf veins).
- Solution: This indicates a Magnesium deficiency. Apply a foliar spray of Epsom salts (Magnesium Sulfate) at a rate of 1 tablespoon per gallon for rapid uptake.
- Symptom: Purpling of older leaves.
- Solution: This is a classic sign of Phosphorus deficiency, often occurring in cold, wet soils where roots cannot effectively uptake the nutrient.
Fix-It for Nitrogen Chlorosis: If the entire plant turns pale green or yellow, starting from the bottom, apply a high-nitrogen liquid feed (such as fish emulsion) to provide an immediate nitrate (NO3-) boost to the rhizosphere.
Maintenance:
Precision maintenance is the difference between a surviving plant and a thriving one. Use a soil moisture meter to ensure the root zone stays between 60 and 80 percent field capacity. Most vegetables require 1.5 inches of water per week, delivered at the drip line rather than over the foliage to prevent fungal spores from germinating.
Keep a hori-hori knife sharpened for precision weeding; its serrated edge allows you to cut taproots deep underground without disturbing the lateral roots of your crops. Use bypass pruners for clean cuts on woody stems like peppers or eggplants; anvil pruners can crush vascular tissue and invite disease. Monitor for pests daily; early manual removal is more effective than late chemical intervention.
The Yield:
Harvesting is a technical process. For leafy greens, harvest in the early morning when turgor pressure is at its highest; this ensures the leaves are crisp and have a longer shelf life. For fruiting crops like beans or zucchini, frequent harvesting prevents the plant from entering its final reproductive phase, effectively "tricking" it into producing more flowers to ensure seed production.
Post-harvest handling is critical. Remove field heat immediately by placing produce in a cool, shaded area. For crops like carrots or beets, remove the green tops immediately after pulling; the leaves will continue to draw moisture from the root via transpiration, causing the vegetable to go limp within hours.
FAQ:
How do I fix heavy clay soil for vegetables?
Incorporate 3 to 4 inches of well-rotted organic matter annually. This improves flocculation, where clay particles clump into larger aggregates. This process increases macropore space for drainage and root penetration without destroying the soil's natural mineral richness.
What is the best way to test soil pH at home?
Use a calibrated electronic pH probe or a liquid reagent kit. Take samples from five different spots at a 6-inch depth. Mix them in a clean bucket to get an average reading of the entire allotment's chemical profile.
Why are my vegetable seeds not germinating?
The most common causes are low soil temperature or improper sowing depth. Use a soil thermometer to ensure the ground is at least 50 degrees Fahrenheit. Ensure the soil remains consistently moist but not saturated to avoid fungal damping-off.
How often should I fertilize my allotment?
Apply a base layer of compost and slow-release granular fertilizer at planting. Follow up with a liquid "side-dress" every 3 to 4 weeks during the active growing season. Stop fertilization once the plant reaches full maturity to avoid soft, late-season growth.