6 Steps to Prepare a Secure Custom Garden Statue Base
The smell of damp, anaerobic soil often signals poor drainage that can undermine a landscape project before the first stone is set. A healthy garden relies on the turgor pressure of its flora; however, structural integrity depends on the geological stability of the substrate. When you learn how to prepare a site for a garden statue, you are managing soil compaction and hydrostatic pressure. A heavy stone ornament placed on loose, friable loam will sink, tilting as the Cation Exchange Capacity (CEC) shifts with moisture levels. Proper site preparation requires an understanding of the local water table and the structural load-bearing capacity of the rhizosphere. You must calculate the weight of the object against the shear strength of the soil to prevent uneven settling.
Materials:
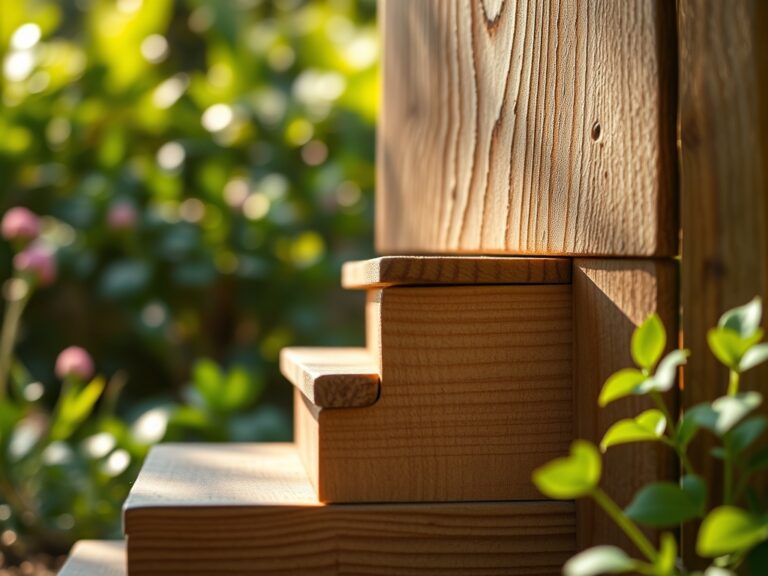
The foundation begins with a substrate that balances drainage and stability. For a permanent installation, you require 3/4-inch crushed angular stone for the base layer. Unlike rounded pea gravel, angular stone locks together under pressure. The surrounding soil should ideally be a friable loam with a pH between 6.0 and 7.0. While the statue itself is inorganic, the surrounding vegetation requires specific nutrient density to thrive under the stress of construction.
Incorporate a balanced organic fertilizer with an NPK ratio of 5-5-5 into the top six inches of the peripheral soil. This ensures that the rhizosphere remains active and can support ground-cover plants that prevent erosion around the base. If the soil is heavy clay, the CEC will be high, meaning it retains water and expands. In these conditions, you must use a geotextile fabric to separate the native soil from your structural gravel to prevent the "pumping" of fines into the drainage layer.
Timing:
The biological clock of your garden dictates the installation window. In Hardiness Zones 4 through 7, the ideal time for site preparation is late autumn or early spring when the ground is not frozen but the plants are in senescence or early dormancy. This timing avoids the peak vegetative growth stage where high turgor pressure makes roots more susceptible to crush damage from heavy equipment.
Avoid installation during the spring thaw when the soil is at its saturation point. Working wet soil destroys the soil structure, leading to compaction that prevents oxygen from reaching microbial life. Wait until the soil temperature reaches a consistent 50 degrees Fahrenheit. This temperature marks the transition from dormancy to active root growth, allowing any peripheral plantings to establish their root systems before the heat of the summer increases transpiration rates.
Phases:
Sowing the Foundation
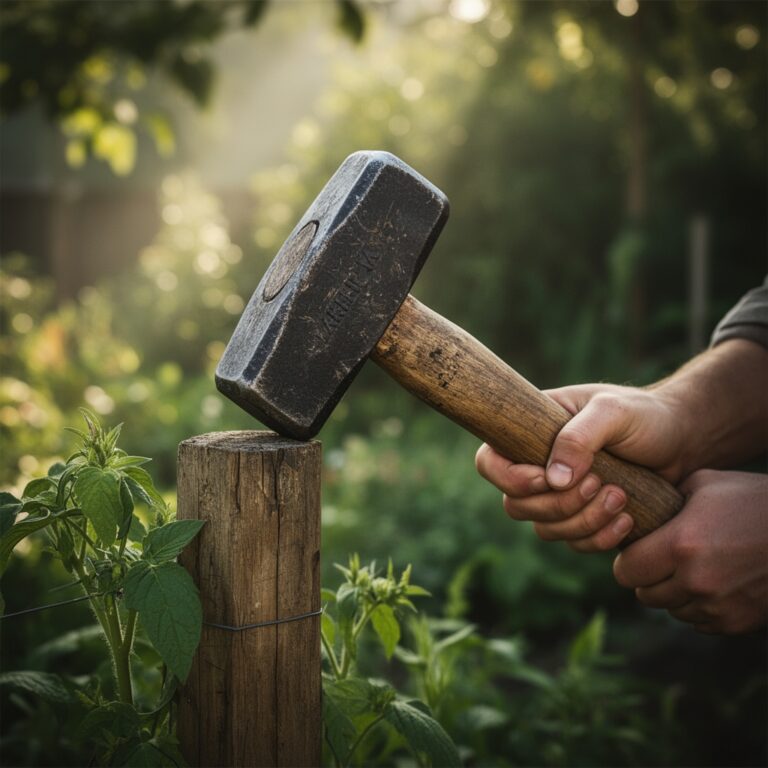
Excavate the site to a depth of 8 to 12 inches, depending on the weight of the statue. The hole should be twice the width of the statue's base to distribute the load. Remove all organic debris, including roots and decomposing mulch, which will create voids as they rot. Level the bottom of the pit and compact the native subsoil using a hand tamper.
Pro-Tip: Proper compaction prevents the disruption of mycorrhizal symbiosis in the surrounding area. By creating a stable, localized footprint, you prevent the soil from shifting and shearing the delicate fungal hyphae that provide nutrients to nearby plants.
Transplanting the Support Layers
Fill the excavation with 6 inches of crushed stone, leveling it in 2-inch lifts. Each lift must be compacted thoroughly. If the statue exceeds 200 pounds, consider a secondary layer of fines or stone dust on top of the gravel to create a perfectly level surface. Use a spirit level to check the horizontal plane in four directions.
Pro-Tip: Leveling the base prevents phototropism issues in surrounding vertical plants. If a statue leans, it can create uneven shade patterns, forcing nearby plants to expend energy curving their stems toward the light, which weakens their structural cellulose.
Establishing the Perimeter
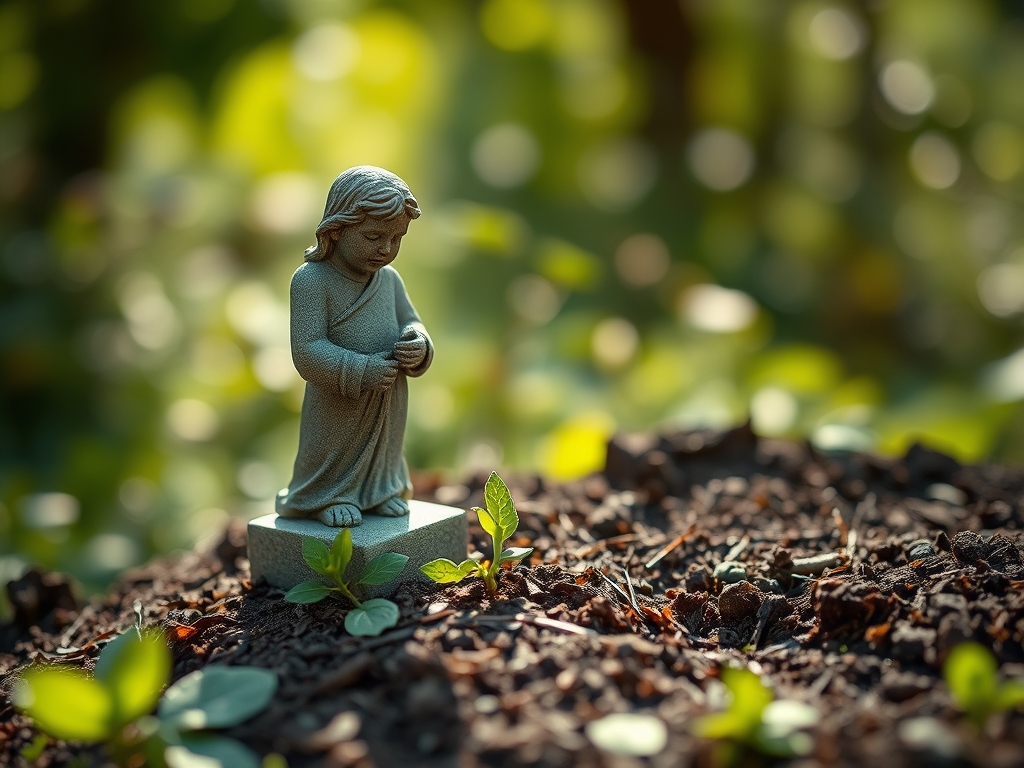
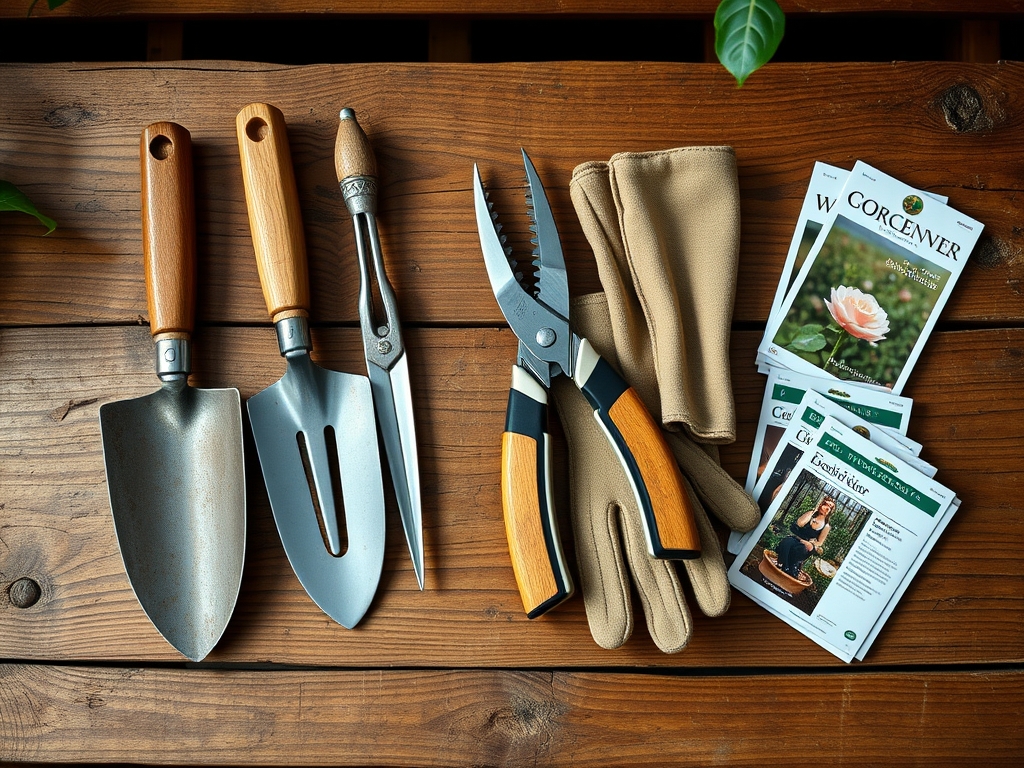
Once the statue is set, backfill the edges with a mix of native soil and composted organic matter. Use a hori-hori knife to slit the soil and tuck in low-growing ground covers like Thymus serpyllum. Firm the soil by hand to remove air pockets without over-compacting the root zone.
Pro-Tip: Establishing ground cover immediately suppresses auxin production in weed seeds by blocking light. This biological competition ensures that your statue base is not undermined by the aggressive taproots of invasive species.
The Clinic:
Even with a solid base, the surrounding environment can show signs of physiological distress.
- Symptom: Yellowing of lower leaves on surrounding plants (Nitrogen Chlorosis).
- Solution: Apply a high-nitrogen liquid feed with an NPK of 10-0-0 to compensate for the nitrogen tie-up that occurs when soil is disturbed.
- Symptom: Stunted growth and purple-tinted foliage.
- Solution: This indicates a phosphorus deficiency, often caused by cold soil or high pH. Adjust the pH to 6.5 using elemental sulfur.
- Symptom: Water pooling around the statue base after rain.
- Solution: The site has poor infiltration. Use a soil moisture meter to check the depth of saturation. You may need to install a French drain or increase the depth of the gravel sub-base.
Fix-It: If you notice iron chlorosis (yellow leaves with green veins), the soil pH is likely too alkaline, locking up micronutrients. Apply chelated iron at the drip line to restore chlorophyll production.
Maintenance:
A secure statue base requires ongoing monitoring of the surrounding ecosystem. Use a soil moisture meter twice weekly during the first growing season. Ensure the perimeter plants receive 1.5 inches of water per week at the drip line. Avoid spraying the statue directly, as the mineral runoff can alter the soil pH at the base.
Prune any encroaching vegetation using bypass pruners to maintain a 4-inch air gap between the foliage and the statue. This prevents moisture traps that lead to fungal growth and stone degradation. Every spring, check the level of the statue. If it has shifted more than 1/4 inch, use a pry bar to lift the low side and pack additional stone dust underneath.
The Yield:
While a statue does not produce a caloric yield, the "harvest" is the longevity of the landscape. A correctly prepared site prevents the need for destructive re-leveling in future seasons. If you have planted edible herbs like prostrate rosemary around the base, harvest by cutting no more than one-third of the vegetative growth at a time. To maintain "day-one" freshness, harvest in the early morning when turgor pressure is highest and the essential oils are most concentrated. Immediately place stems in a cool, shaded area to slow the rate of senescence.
FAQ:
How deep should the gravel base be for a garden statue?
For most statues, a depth of 6 to 8 inches of compacted angular stone is sufficient. For heavy pieces exceeding 300 pounds, increase the depth to 12 inches to prevent settling and ensure proper drainage.
What is the best soil type for a statue perimeter?
A well-draining sandy loam is ideal. It provides enough structural stability to support the base while maintaining a high enough Cation Exchange Capacity (CEC) to support the health of surrounding ornamental plants.
Should I use sand or gravel for the base?
Use angular crushed stone rather than sand. Sand can wash away during heavy rain events or shift under vibration. Angular stone locks together to create a rigid, permeable structural plate that resists movement.
How do I prevent weeds from growing under the statue?
Install a heavy-duty non-woven geotextile fabric between the soil and the gravel base. This creates a physical barrier that prevents weed emergence while allowing water to move vertically through the soil profile.
Can I place a statue directly on the grass?
No. Placing a statue on turf leads to soil compaction and prevents oxygen from reaching the roots. The grass will die, and the statue will eventually tilt as the organic matter underneath decomposes.