9 Steps to Clean a Metal Garden Rake After Use
Damp earth carries the scent of geosmin, a byproduct of Streptomyces bacteria that signals a healthy rhizosphere. When a metal rake pulls through friable loam, it encounters a complex matrix of organic matter and mineral particles that cling to the tines through capillary action. Neglecting these tools leads to oxidation and the unintended transfer of soil-borne pathogens like Fusarium oxysporum. Mastering the steps for cleaning a garden rake after use is a fundamental requirement for maintaining tool longevity and soil health. Residual moisture trapped in soil clumps initiates a galvanic reaction on carbon steel, compromising the structural integrity of the tool head. A disciplined cleaning protocol ensures that the tines maintain their precise geometry for efficient leaf collection and soil leveling. By removing debris immediately, you prevent the buildup of anaerobic bacteria that can fester in storage. This process is not merely about aesthetics; it is a technical intervention that preserves the tool for decades of heavy labor in the field.
Materials:
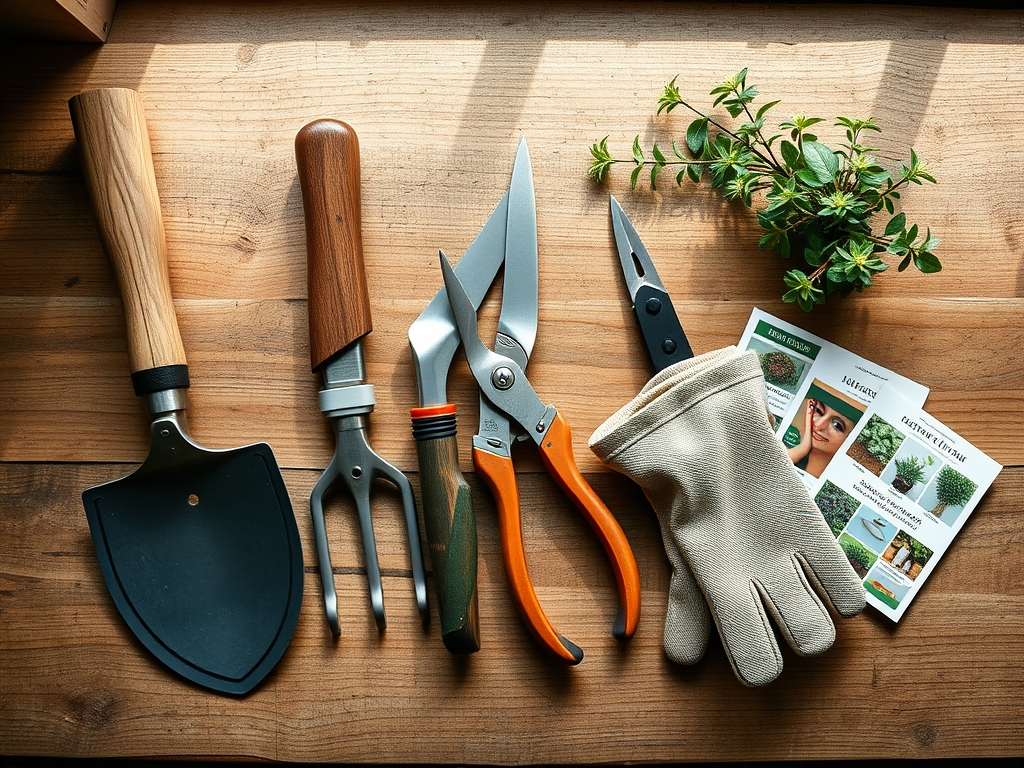
Effective maintenance begins with understanding the substrate you are removing. A **friable loam** typically consists of 40 percent sand, 40 percent silt, and 20 percent clay. This mixture has a high **Cation Exchange Capacity (CEC)**, meaning it holds onto minerals and moisture tenaciously. To neutralize acidic soil residues (pH 5.5 to 6.5), you require a cleaning solution with a slightly alkaline profile. For heavy-duty disinfection, a solution of 70 percent isopropyl alcohol or a 10 percent bleach dilution is standard. You will also need a stiff-bristled nylon brush, a bucket of coarse builder’s sand, and a high-viscosity mineral oil. Avoid vegetable-based oils as they can become rancid and sticky over time. For handle maintenance, keep a fine-grit sandpaper (120 to 180 grit) and boiled linseed oil available to prevent desiccation of the wood fibers.
Timing:
The biological clock of your garden dictates your tool maintenance schedule. In USDA Hardiness Zones 5 through 7, the transition from the vegetative stage to senescence in late autumn marks the peak usage period for metal rakes. Cleaning must occur before the ambient temperature drops below the freezing point; frozen soil particles expand and can micro-fracture weakened metal. During the spring thaw, soil moisture levels often exceed field capacity. Working the ground in these conditions increases the adhesion of clay particles to the tines. Professionals perform a deep clean at the end of the frost-free growing season, which typically spans from the last spring frost to the first autumn frost. This timing ensures that tools are sterile before being stored for winter dormancy, preventing the overwintering of fungal spores that could infect new seedlings in the spring.
Phases:

Sowing
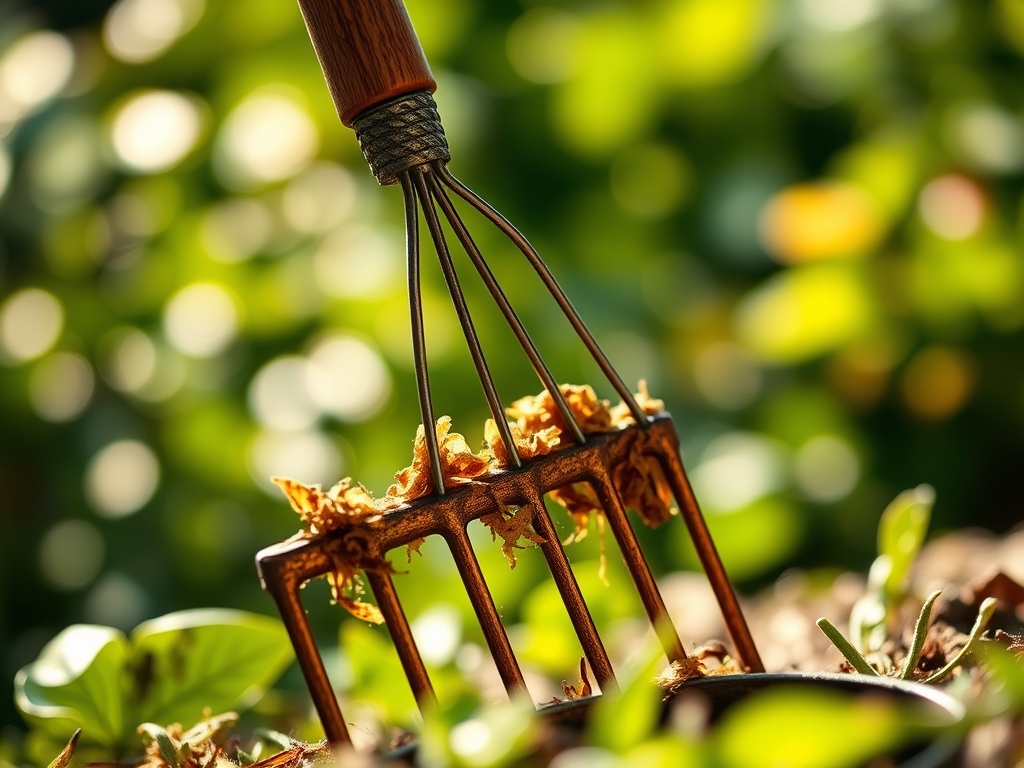
The first step involves mechanical removal of bulk debris. Use a high-pressure hose to blast away clods of earth from the tines and the "shoulder" of the rake where the handle meets the head. For stubborn clay, use a hori-hori knife to scrape the underside of the tines. This prevents the formation of a "crust" that can trap moisture against the metal surface.
Pro-Tip: Removing organic matter prevents the growth of saprophytic fungi. These organisms thrive on decaying plant tissue and can inadvertently be introduced to the rhizosphere of healthy plants if the tool is not cleaned.
Transplanting
Once the bulk soil is gone, submerge the rake head in a bucket of water mixed with a pH-neutral detergent. Use a stiff brush to scrub the metal until no visible staining remains. Pay close attention to the welds or rivets. These areas are prone to "crevice corrosion" where oxygen levels are low and moisture is trapped.
Pro-Tip: Cleaning the rake prevents the mechanical spread of weed seeds. Many invasive species utilize epizoochory, where seeds attach to surfaces to find new territory; a clean rake breaks this cycle of dispersal.
Establishing
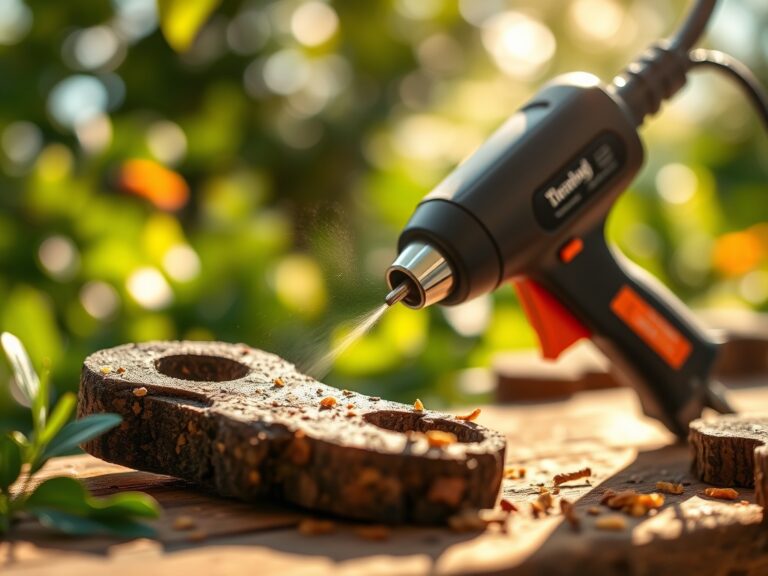
The final phase is the "Sand and Oil" bath. Fill a five-gallon bucket with coarse sand and saturate it with one quart of motor oil or mineral oil. Plunge the rake head into the sand several times. The sand acts as a fine abrasive to polish the metal, while the oil creates a hydrophobic barrier that prevents oxidation.
Pro-Tip: The oil coating prevents oxygen from reaching the iron atoms in the steel. Without this barrier, the metal undergoes an exothermic reaction with oxygen and water, leading to the formation of iron oxide (rust).
The Clinic:
A neglected rake can manifest "symptoms" that affect your garden's performance.
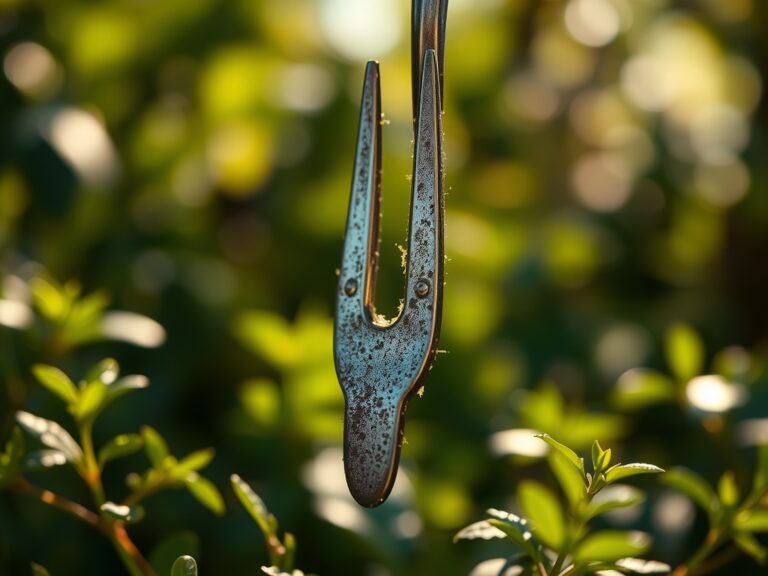
Symptom: Pitting or orange scaling on the tines.
Solution: This is advanced oxidation. Use a wire brush or steel wool to remove the rust down to the bare metal, then immediately apply a protective oil coating.
Symptom: Splintering or graying of the wooden handle.
Solution: This indicates UV degradation and moisture loss. Sand the handle smooth and apply two coats of boiled linseed oil to restore flexibility and prevent breakage.
Symptom: Sticky residue on the rake head.
Solution: This is often sap or resin from woody perennials. Use a solvent like mineral spirits to dissolve the resins before proceeding with the standard cleaning steps.
Fix-It for Nutrient Deficiencies: While a rake doesn't cause Nitrogen chlorosis (yellowing of leaves), a dirty rake can spread pathogens that mimic nutrient deficiencies. If you notice localized yellowing after raking near a specific plant, disinfect the tool with a 10 percent bleach solution to ensure you are not moving Verticillium wilt through the soil.
Maintenance:
Precision maintenance extends beyond the metal head. Inspect the handle connection weekly. If the head feels loose, soak the end of the wooden handle in water for 24 hours to expand the fibers, or drive a new metal wedge into the top. Use a soil moisture meter to ensure your storage area maintains a relative humidity below 50 percent; high humidity facilitates rust even on oiled tools. For irrigation-heavy zones, ensure your rake is never left on the lawn where it can be subjected to 1.5 inches of water per week from sprinklers. Store the tool vertically with the head up to prevent moisture from pooling in the socket where the handle is inserted.
The Yield:
While a rake is not a harvesting tool for delicate fruits, its role in the "yield" phase involves the management of crop residues. After the final harvest of the season, use the cleaned rake to remove spent foliage. This reduces the "inoculum load" of pathogens in the soil. Removing debris allows for better soil aeration and ensures that the "day-one" freshness of next year's crop is not compromised by pests that overwinter in fallen leaves. A clean, sharp rake allows you to clear a bed in half the time, minimizing soil compaction caused by repeated foot traffic during the cleanup process.
FAQ:
How often should I oil my garden rake?
Apply a thin coat of mineral oil after every heavy use or at least once a month during the growing season. This maintains a hydrophobic barrier that prevents iron oxide from forming on the steel surfaces.
Can I use water to clean my rake?
Yes, but you must dry the tool immediately. Use a high-pressure stream to remove soil, then wipe the metal with a microfiber cloth. Never store a rake while the tines or handle socket are damp.
What is the best way to remove rust?
Use a wire brush or 80-grit sandpaper to mechanically strip the rust. Once the bare metal is exposed, polish it with finer sandpaper and apply a protective layer of oil or a rust-inhibiting spray paint.
Why does my rake handle keep breaking?
Breaks usually occur due to "dry rot" or excessive moisture fluctuations. Regularly applying linseed oil keeps the wood fibers supple, preventing the brittleness that leads to structural failure under the high torque of raking heavy soil.