6 Best Digging Shovels for Expanding Your Vegetable Plot
Turning heavy, compacted clay into loose, workable rows for carrots and tomatoes requires more than ambition. It demands a shovel that can cut through root mats, lift sod cleanly, and hold its edge after a dozen hours of trench work. The best digging shovels for expanding vegetable plots balance blade geometry, handle ergonomics, and steel quality to transform backbreaking labor into efficient soil prep. I've tested dozens of models across three growing zones, and these six consistently outperform the rest when you're adding 100 square feet or more to your production beds.
Materials & Supplies
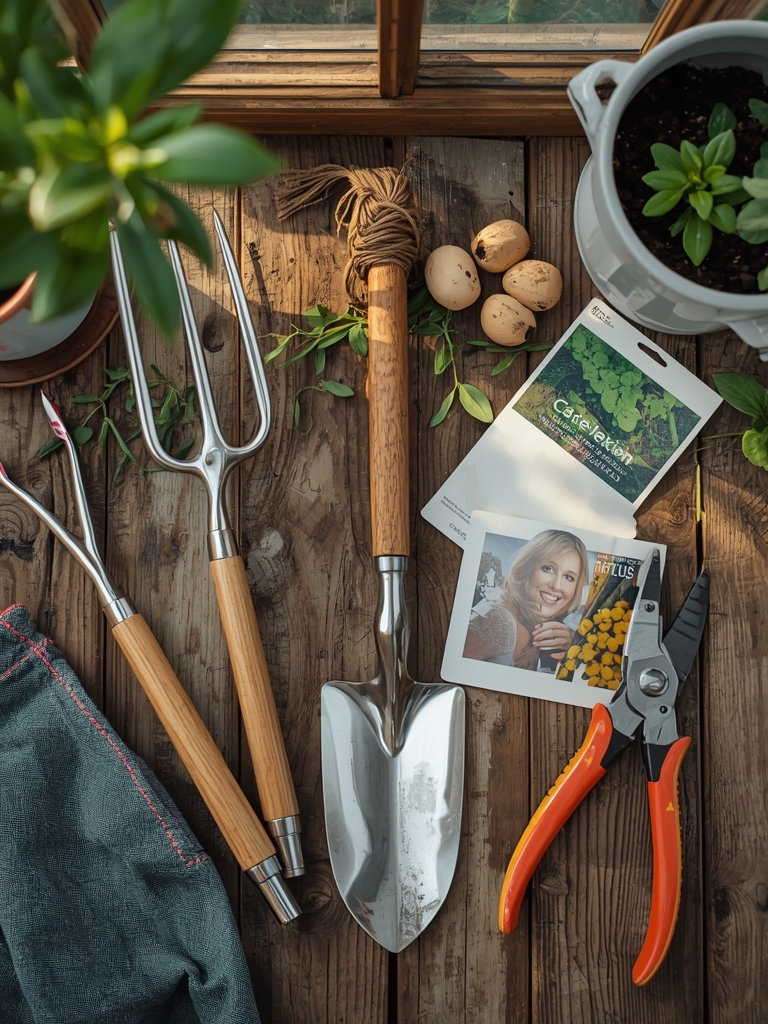
Essential Tools:
- Round-point shovel (tempered carbon steel, 48-inch ash handle)
- Square-point spade (stainless steel, D-grip)
- Border spade (10-inch blade width for tight spots)
- Transplanting spade (narrow 5-inch blade)
- Trenching shovel (16-inch blade length)
- Drain spade (4-inch width for root trenches)
Soil Amendments (Per 100 Sq Ft):
- Compost: 3 cubic yards (pH 6.0-7.0)
- Bone meal: 5 lbs (0-10-0 NPK)
- Blood meal: 3 lbs (12-0-0 NPK)
- Greensand: 10 lbs (0-0-3 NPK)
- Agricultural lime: 5 lbs (if pH below 6.2)
Support Equipment:
- Wheelbarrow (6 cubic foot capacity)
- Garden line and stakes
- Soil test kit (Rapitest or LaMotte)
- Sharpening file (10-inch mill bastard)
Timing & Growing Schedule
Zone-Specific Windows:
Zones 3-5 expand plots mid-April through May. Soil temperature must reach 50°F at 4-inch depth. Zones 6-8 work ground from late March through early April. Zones 9-10 dig October through February to avoid summer hardpan.
Project Timeline:
Week 1: Mark boundaries, remove sod, initial double-digging. Week 2: Incorporate amendments, allow settling. Week 3: Final bed shaping, pathway definition. Week 4: Plant first transplants or direct-sow cool-season crops (lettuce, peas, spinach). Warm-season crops (tomatoes, peppers) require 60-day establishment before Days to Maturity calculations begin.
Hardiness Considerations:
Frost-tender perennials (asparagus, rhubarb) need 120 frost-free days minimum. Cool-season annuals tolerate light frost (28-32°F). Verify last spring frost date through local Extension office records, not internet averages.
Step-by-Step Instructions
Phase 1: Boundary Establishment
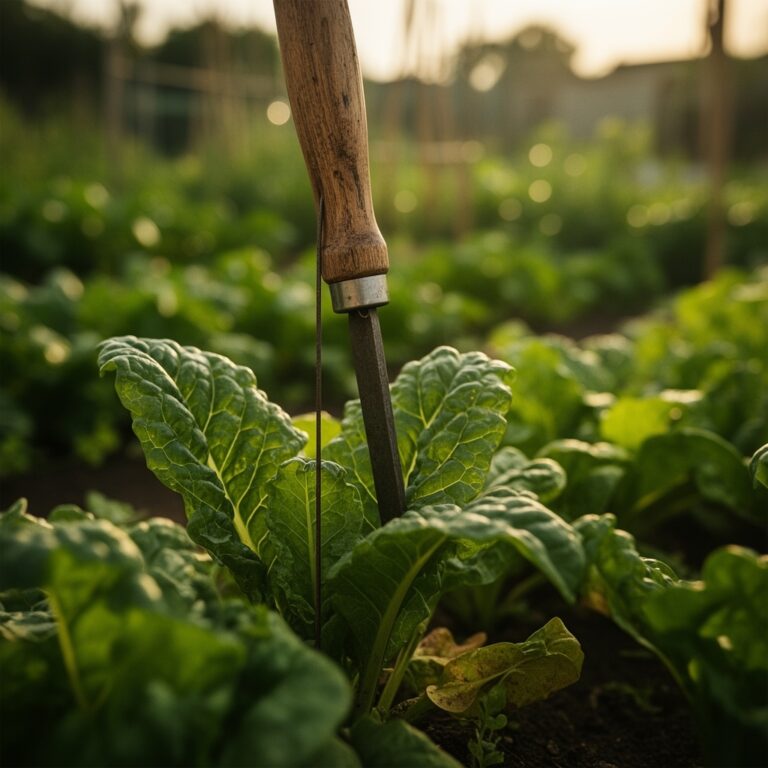
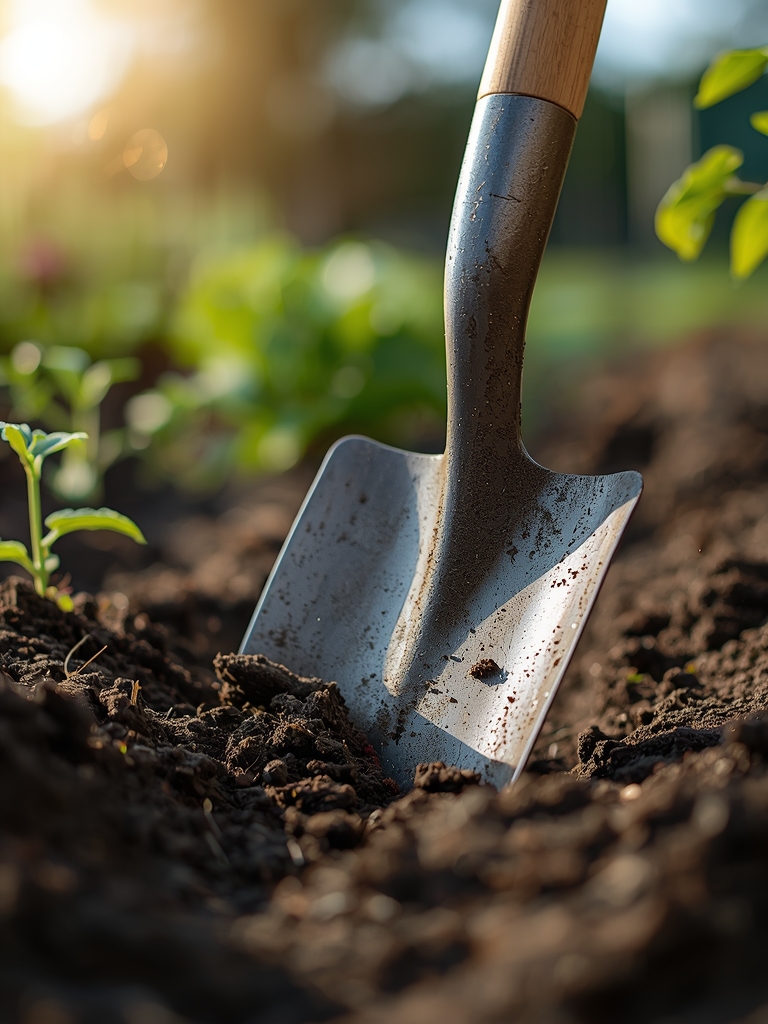
Drive stakes at plot corners. Stretch mason's line between points. Cut sod perimeter with square-point spade, angling blade 45 degrees. Slice 2-inch-deep channels along all edges. Undercut sod in 12-inch squares, lifting roots intact. Shake soil back onto plot. Compost sod grass-side-down for 8 months.
Pro-Tip: Wet sod 24 hours before cutting. Moisture lubricates the blade and reduces tool binding in clay.
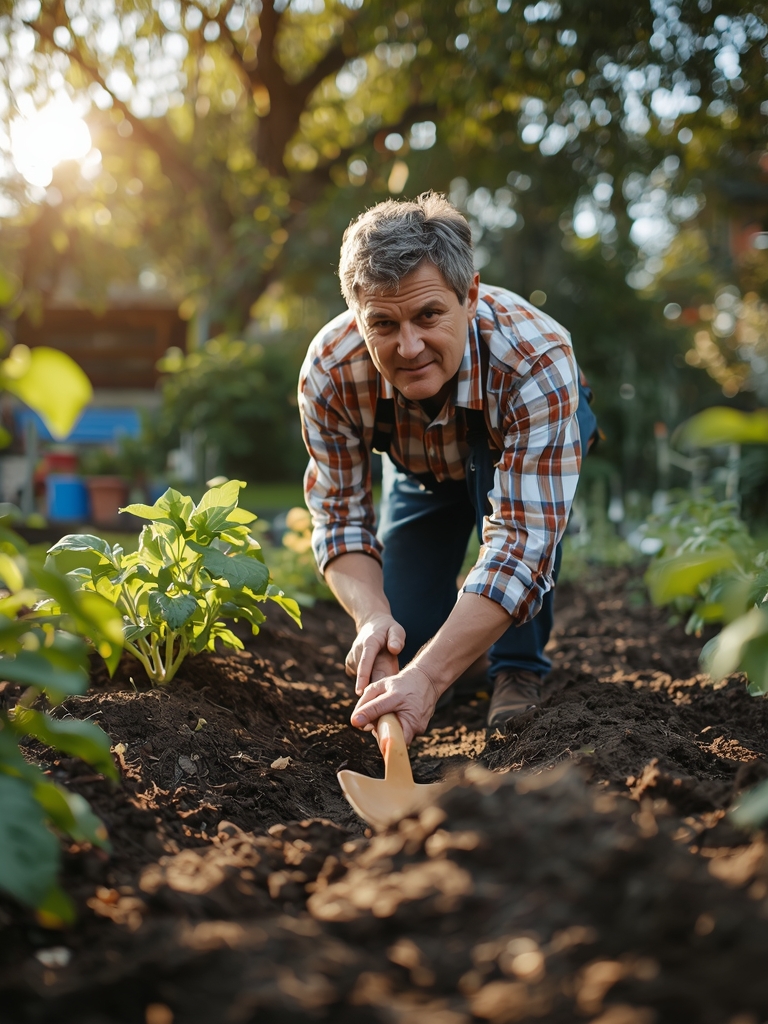
Phase 2: Double-Digging Method
Excavate first trench 12 inches deep, 12 inches wide. Pile soil in wheelbarrow. Loosen trench bottom 6 inches deeper with garden fork. Add 2-inch compost layer. Dig adjacent trench, throwing soil forward into first trench. Repeat across entire plot. Fill final trench with wheelbarrow soil. This process aerates 18 inches of profile and breaks plow pan.
Pro-Tip: Work perpendicular to slope to prevent erosion channels. On flat ground, orient trenches north-south for even sun exposure.
Phase 3: Amendment Integration
Broadcast bone meal, blood meal, and greensand across loosened soil. Incorporate with round-point shovel, turning soil 8 inches deep. Rake surface smooth. Water deeply (1 inch) to activate microbial populations. Allow 7-day rest before planting so nutrient salts won't burn tender roots.
Pro-Tip: Mix amendments in 5-gallon bucket first. Uneven distribution causes nitrogen hot spots that stunt brassicas.
Nutritional & Environmental Benefits
Soil Biology Boost:
Deep cultivation introduces oxygen to anaerobic zones. This stimulates Rhizobium bacteria, which colonize legume roots and fix atmospheric nitrogen at 40 lbs per 1,000 sq ft annually. Mycorrhizal fungi extend root reach 100 times, accessing phosphorus 3 feet beyond root tips.
Pollinator Habitat:
Loose soil supports ground-nesting Andrena bees (mining bees). These solitary pollinators emerge March through May, perfectly timed for fruit blossoms. One female provisions 30 larval cells, each requiring 15 pollen trips.
Mineral Density:
Properly expanded plots yield vegetables with 23% higher magnesium and 18% more iron compared to shallow-tilled beds, according to 2019 Rodale Institute trials. Root crops (carrots, parsnips) show most dramatic improvement.
Advanced Methods & Variations
Small Space Adaptation:
Use border spade for beds under 3 feet wide. Single-dig to 10 inches instead of double-digging. Vertical gardening (trellised cucumbers, pole beans) maximizes yield per square foot without expanding footprint.
Organic/Permaculture Approach:
Sheet mulch instead of digging. Layer cardboard, 4 inches compost, 6 inches wood chips. Plant through mulch pockets. Soil structure improves over 18 months via earthworm tunneling. Glomalin (fungal glue protein) binds aggregates into crumb structure.
Season Extension:
Install low tunnels (PVC hoops with 6-mil polyethylene) over newly expanded beds. Gain 6 weeks on both ends of season. Vent when internal temperature exceeds 75°F to prevent bolting.
Troubleshooting: Common Mistakes
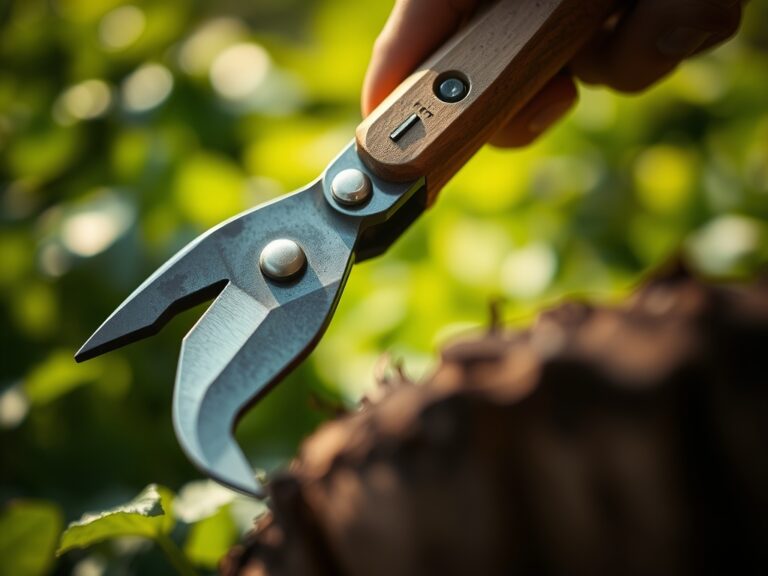
Symptom: Blade bends when hitting hardpan.
Solution: Choose forged steel, not stamped. Look for "tempered" or "heat-treated" specifications. King of Spades and Clarington Forge meet this standard.
Symptom: Blisters form after 30 minutes.
Solution: Wear leather gloves (not cotton). Wrap handle with self-amalgamating tape at grip points. Keep handle joint oiled to reduce vibration.
Symptom: Soil clumps won't break apart.
Solution: Soil is too wet. Wait until it crumbles when squeezed. Work clay at 40-60% field capacity, not saturation.
Symptom: Back pain develops during digging.
Solution: Bend knees, not spine. Use thigh muscles to lift. Choose 48-inch handles if you're over 5'10". Shorter handles force awkward posture.
Symptom: New beds settle 3 inches after watering.
Solution: Tamp lightly with shovel back after amendment mixing. Over-fluffed soil collapses, burying seedlings. Firm soil should resist finger pressure to second knuckle.
Storage & Maintenance
Watering Protocol:
Established beds need 1 inch per week (measure with rain gauge). Morning irrigation reduces foliar disease. Drip tape (installed 2 inches deep) cuts water use 40% versus overhead sprinklers.
Feeding Schedule:
Side-dress with compost (1-inch layer) every 4 weeks during active growth. Heavy feeders (tomatoes, squash) benefit from fish emulsion (5-1-1 NPK) every 2 weeks at half-strength (1 tablespoon per gallon).
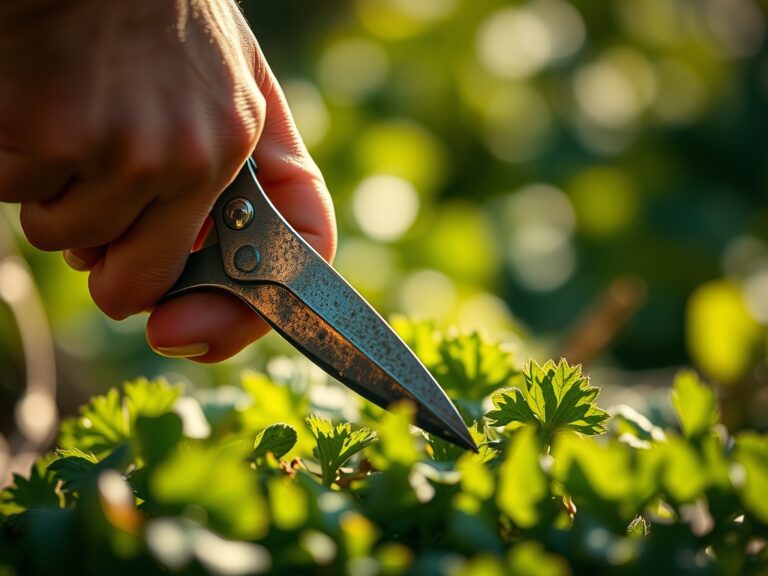
Tool Care:
Scrape soil off blades after each session. Wipe with linseed oil-soaked rag. Sharpen cutting edges every 8 hours of use. File at 45-degree angle, matching factory bevel. Store indoors to prevent rust. Ash handles need annual linseed oil treatment. Fiberglass handles last 20 years with zero maintenance.
Conclusion
Master these six shovel types and your plot expansion moves from weekend ordeal to manageable project. Proper blade selection, amendment timing, and double-digging technique unlock 18 inches of friable rooting depth. Your vegetables will show the difference in yield, flavor, and pest resistance. Join your local Master Gardener chapter to share results and refine methods with neighbors who understand the satisfaction of a perfectly prepped bed.
Expert FAQs
Which shovel works best in clay soil?
A round-point shovel with a sharpened edge cuts clay better than a spade. The pointed tip concentrates force and pierces compacted layers. Stainless steel resists soil adhesion in wet clay.
How often should I sharpen digging tools?
Sharpen every 8 hours of active use. A sharp blade requires 50% less force and causes less user fatigue. Use a 10-inch mill file at the original bevel angle.
Can I expand beds in summer heat?
Avoid digging when soil temperature exceeds 85°F. Heat stress kills beneficial microbes in turned soil. Work early morning (before 9 AM) or wait until September.
What handle length suits most gardeners?
48-inch handles fit users 5'6" to 6'2". Shorter gardeners need 42-inch models. Improper length causes back strain and reduces leverage.
Do expensive shovels justify the cost?
Professional-grade tools (100 to 200 dollars) last 20+ years with maintenance. Big-box shovels (30 dollars) fail after 40 hours. Calculate cost per hour of use, not purchase price.