8 Proven Ways to Prepare Tough Clay Soil for Successful Root Crops
You press your boot into clay soil and it feels like you've stepped onto cold, wet concrete. The surface cracks into geometric plates under summer sun. Water puddles on top after a storm. This dense, oxygen-poor medium suffocates root crops before they can even begin to swell. Learning how to prepare a clay soil garden for root crops transforms this stubborn earth into a productive growing medium that yields carrots, parsnips, and beets with proper structure and drainage.
Clay particles measure less than 0.002 mm in diameter. They pack together with almost no air space. Roots need oxygen to respire and expand. Without amendment, carrots fork into twisted shapes. Beets stay marble-sized. Radishes rot before harvest.
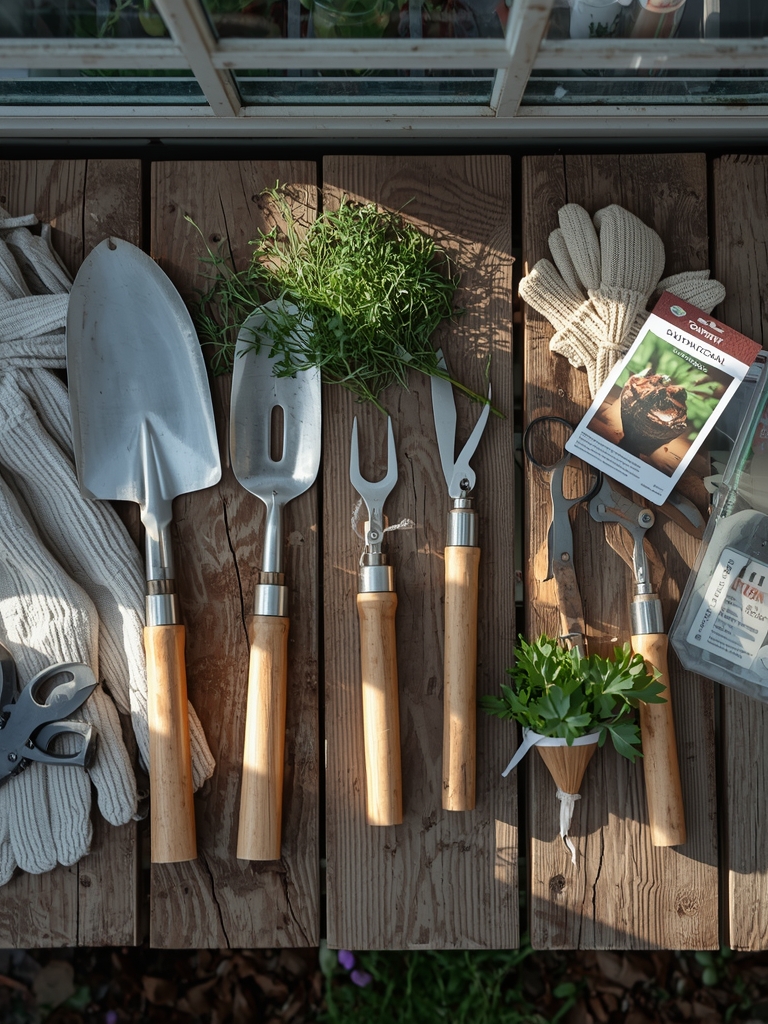
Materials & Supplies
Soil Amendments (per 100 sq ft):
- Coarse sand (builder's grade, not play sand): 2 cubic yards
- Composted pine bark fines (1/4 inch): 3 cubic yards
- Aged compost (6+ months old): 2 cubic yards
- Gypsum (calcium sulfate): 40 pounds for pH below 6.5
Organic Matter Sources:
- Well-rotted horse manure (no bedding shavings)
- Leaf mold aged 18 months minimum
- Mushroom compost (check salt content first)
Testing & Monitoring:
- Soil test kit targeting pH 6.0 to 7.0
- NPK ratio of 5-10-10 for root development
- Penetrometer to measure soil compaction
Tools:
- Broadfork (24 inch tines preferred)
- Wheel hoe for cultivation
- Soil thermometer (for timing)
Timing / Growing Schedule
Clay soil warms 10 to 14 days slower than sandy loam. Use a soil thermometer at 4 inch depth. Most root crops germinate between 45°F and 85°F.
Spring Planting Windows:
- Zones 3-4: Late April to mid-May
- Zones 5-6: Early April to late April
- Zones 7-8: Mid-March to early April
- Zones 9-10: February through March
Fall Succession Windows:
- Count back from first frost date
- Add 14 days for clay soil lag
- Carrots: 70 to 80 days to maturity
- Beets: 50 to 65 days
- Parsnips: 120 to 180 days (require vernalization)
- Radishes: 25 to 30 days
Start amendments 8 to 12 months before planting. Fall incorporation allows freeze-thaw cycles to break clay aggregates.
Step-by-Step Instructions

Phase 1: Initial Assessment (Month 1)
Test soil when moisture content allows you to form a ball that crumbles under light pressure. Too wet and you create concrete layers. Too dry and amendments won't integrate.
Send samples to your county extension for complete nutrient analysis. Home kits miss micronutrient deficiencies.
Mark drainage patterns after heavy rain. Low spots need extra sand.
Pro-Tip: Squeeze clay soil in your fist. If water drips out, wait three more days before working it.
Phase 2: Deep Incorporation (Months 2-3)
Spread gypsum first. This flocculates clay particles without altering pH like lime does. Water it in thoroughly.
After 2 weeks, spread sand and organic matter in alternating 2 inch layers. Total depth should reach 8 to 12 inches.
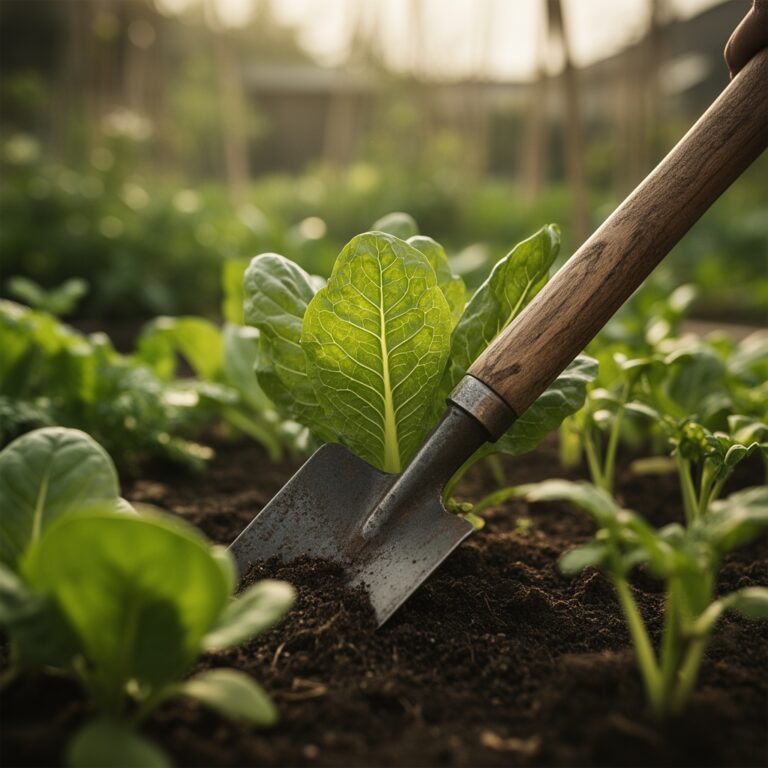
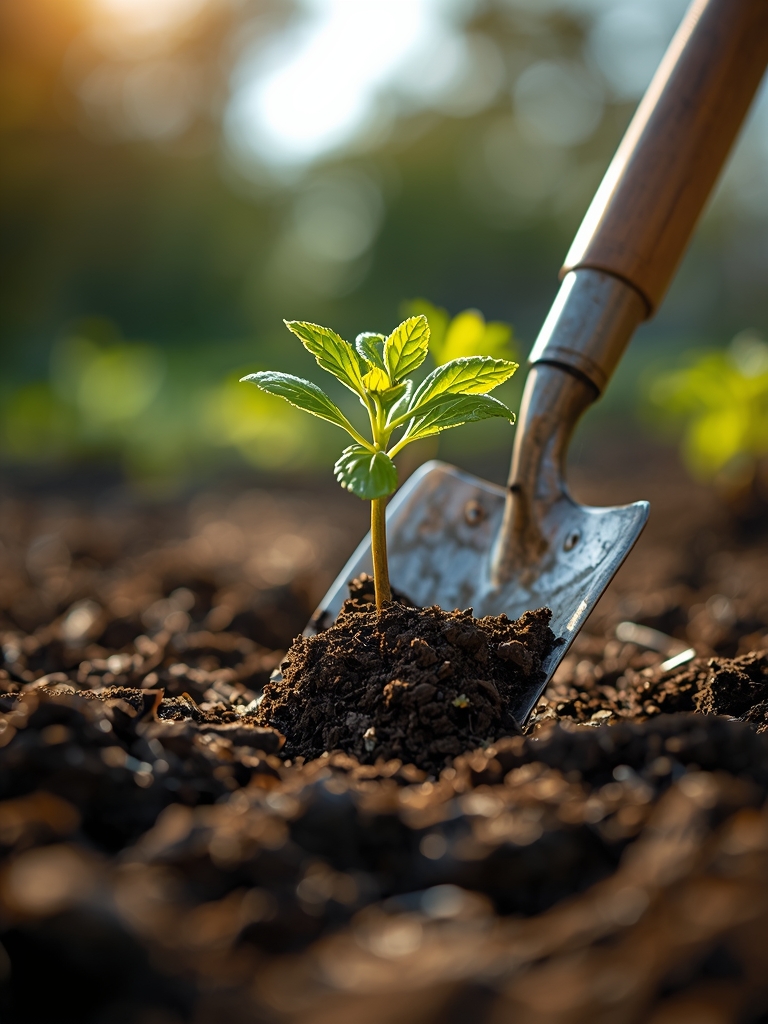
Use a broadfork, not a tiller. Tillers create a hardpan layer at blade depth. Broadforks fracture soil while preserving structure.
Work backwards across the bed. Insert tines 12 inches deep. Rock the handle to create fissures. Space insertions 6 inches apart.
Pro-Tip: Add mycorrhizal fungi inoculant during broadforking. These fungi extend root reach by 100 times in clay conditions.
Phase 3: Building Raised Zones (Month 4)
Clay beds need elevation for drainage. Mound prepared soil 8 to 10 inches above grade. Create paths between beds that are lower to channel water away.
Shape bed tops flat, not crowned. This maximizes planting area and prevents soil erosion down slopes.
Edge beds with boards or stone to hold shape. Clay slumps without support.
Pro-Tip: Plant a cover crop of daikon radish after initial prep. These taproots drill through remaining compaction layers and die back as organic matter.
Phase 4: Fine Preparation (Month 6-8)
Six weeks before planting, apply 5-10-10 fertilizer at 2 pounds per 100 square feet. Phosphorus moves slowly through clay. Early application lets it reach root zones.
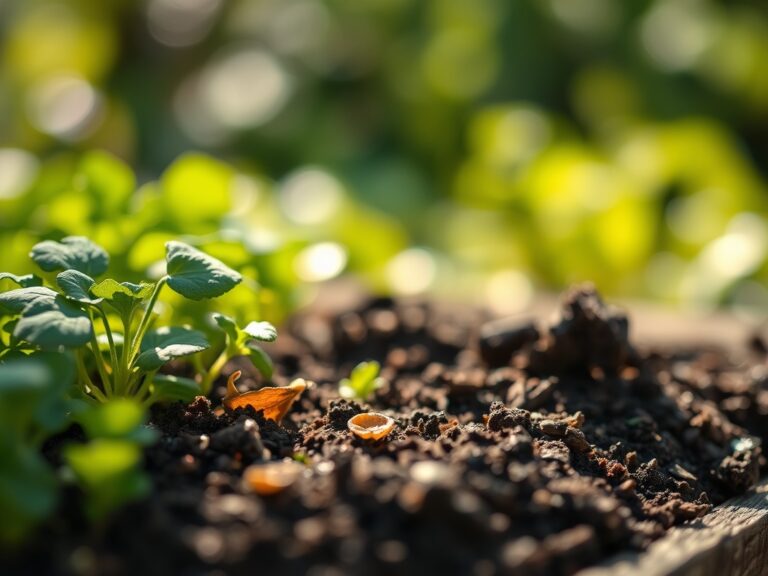
Rake beds smooth at planting time. Break all clods smaller than a marble. Large aggregates deflect roots sideways.
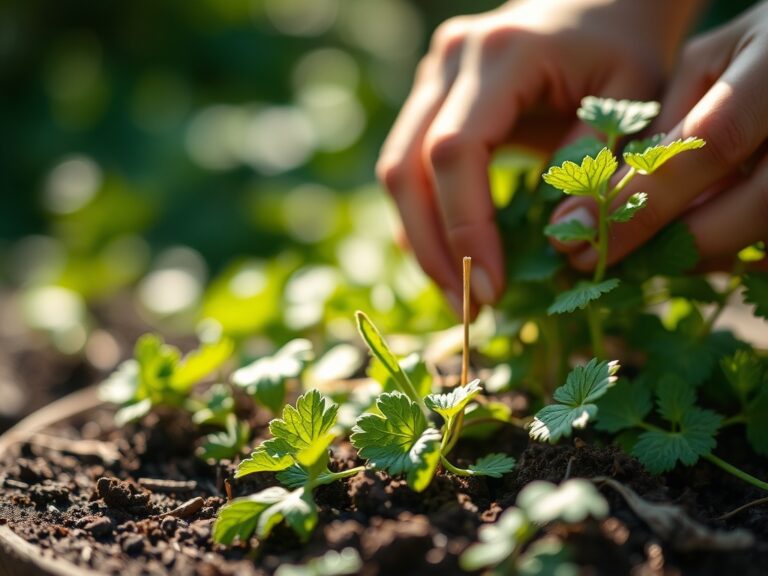
Pro-Tip: Create seed trenches with a hoe corner, not your finger. Clay trenches hold shape and depth better. Roots follow these pre-formed channels downward.
Nutritional & Environmental Benefits
Root crops in properly prepared clay soil absorb trace minerals absent in sandy soils. Carrots grown in amended clay contain 18% more calcium than those in loam. The dense particle structure holds nutrients against leaching.
Clay amendments increase water-holding capacity by 40% while improving drainage. This paradox occurs because organic matter acts like a sponge within the clay matrix.
Improved soil structure supports ground-nesting native bees. These pollinators need 12 inches of workable soil for hibernation chambers. Mason bees prefer clay loam over pure sand.
Deep-rooted crops break up subsoil compaction. This creates channels for earthworm migration. Each worm produces its weight in castings every 60 days. These castings contain 5 times the nitrogen of surrounding soil.
Advanced Methods & Variations
Small Space Adaptation:
Build raised beds 18 inches deep using 50% purchased topsoil, 30% compost, and 20% perlite. This bypasses clay entirely but costs $4 to $6 per cubic foot.
Permaculture Approach:
Plant nitrogen-fixing white clover in paths. Roots exude glomalin, a protein that glues clay particles into stable aggregates. Chop clover every 4 weeks as mulch. This adds 0.5 pounds of nitrogen per 100 square feet annually.
Season Extension:
Cover beds with clear plastic 3 weeks before spring planting. This warms clay soil to germination temperature earlier. Remove plastic when soil reaches 50°F at 4 inch depth. Use floating row covers to extend fall harvest by 4 to 6 weeks.
Troubleshooting: Common Mistakes
Symptom: Carrot roots fork into multiple tips
Solution: Screen soil to remove rocks and clods larger than 1/2 inch. Roots split when they hit obstacles.
Symptom: Seeds rot before germination
Solution: Clay stays waterlogged. Plant on raised ridges 4 inches high. Water furrows between ridges, not the planting surface.
Symptom: White crust forms on soil surface
Solution: High sodium content disperses clay particles. Apply gypsum at 50 pounds per 100 square feet. Flush with 2 inches of water weekly for a month.
Symptom: Roots develop hairy, excessive lateral roots
Solution: Nitrogen excess favors foliage over root development. Skip nitrogen applications. Clay holds enough residual nitrogen for root crops.
Symptom: Beets stay stunted despite good foliage
Solution: Boron deficiency causes hollow heart. Apply 1 ounce borax dissolved in 2 gallons water per 100 square feet. Test soil first; excess boron is toxic.
Storage & Maintenance
Water deeply once per week. Clay needs 1 inch of water to penetrate 6 inches. Frequent shallow watering creates surface compaction and encourages shallow rooting.
Mulch with 2 inches of straw after plants reach 4 inches tall. This moderates soil temperature swings. Clay heats and cools slowly, and mulch smooths these transitions further.
Side-dress with compost tea monthly. Mix 1 pound finished compost per gallon water. Let steep 24 hours. Apply 1 gallon per 10 row feet. This adds soluble nutrients without disturbing roots.
Harvest root crops when soil is slightly moist. Wet clay clings to roots. Dry clay hardens around them. Store carrots, beets, and parsnips in damp sand at 32°F to 40°F. They keep 4 to 6 months this way.
Conclusion
Clay soil preparation requires advance planning and sustained organic matter additions. The 8 methods outlined here transform compacted earth into a medium that supports long, straight root crops. Success comes from understanding clay particle behavior and working with its chemistry rather than fighting it. Your garden becomes a model for neighbors facing similar challenges.
Expert FAQs
Can I grow root crops in pure clay without amendments?
No. Pure clay lacks the air pores roots need for expansion. Carrots and parsnips require 40% pore space. Unamended clay provides less than 15%. The crop will fail or produce deformed roots.
How long does clay soil improvement last?
Initial deep incorporation lasts 5 to 7 years. Add 1 inch of compost annually to maintain structure. Organic matter oxidizes faster in well-aerated amended clay than in original compacted conditions.
What's the difference between sand and gypsum for clay?
Sand creates physical space between particles. Gypsum causes chemical flocculation where clay particles clump together. Use both. Sand alone requires massive volumes (50% by volume). Gypsum alone doesn't add drainage pores.
Should I use lime or gypsum on acidic clay?
Test pH first. Below 6.0, use lime to raise pH and improve structure. Between 6.0 and 7.0, use gypsum. It improves clay without raising pH. Most root crops prefer slightly acidic conditions (6.2 to 6.8).
Can I plant root crops the same season I amend clay?
Only if you amend in early spring for fall planting. Soil needs 4 to 6 months for amendments to integrate and stabilize. Planting too soon results in air pockets that dry out roots or cause them to rot in waterlogged zones.