6 Steps to Install a Custom Personalized Privacy Screen
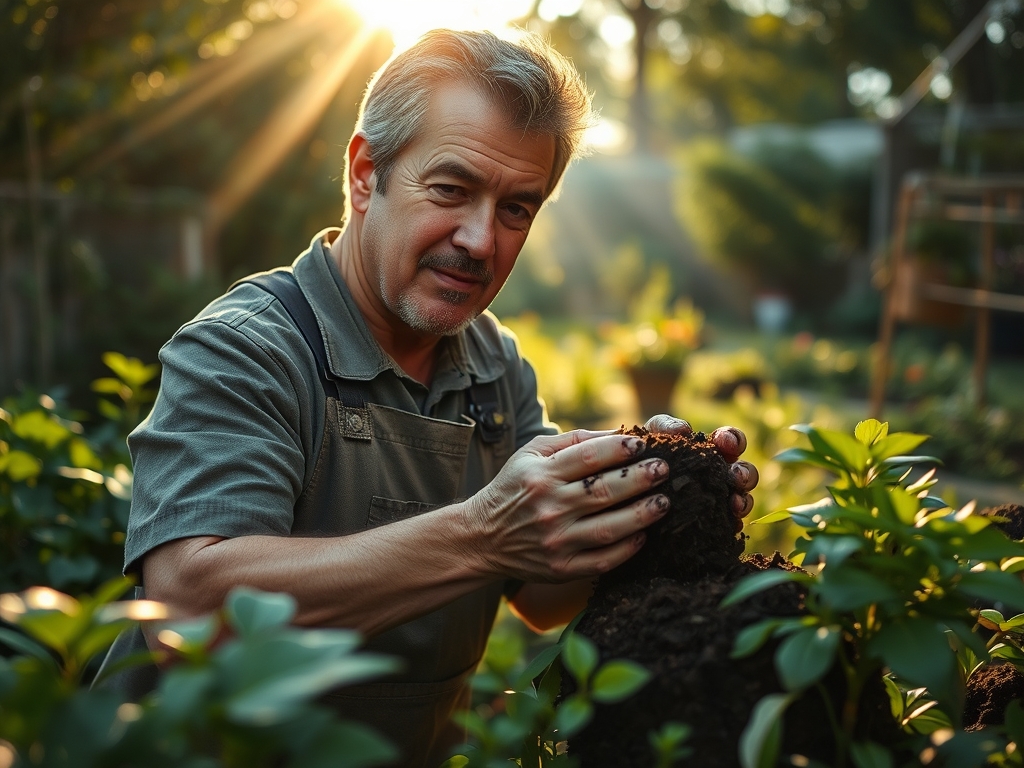
The smell of damp earth is the first indicator of a healthy rhizosphere; it is the scent of geosmin produced by Actinomycetes bacteria. When you grasp a leaf, the turgor pressure should feel firm and resilient, indicating the cellular vacuoles are fully hydrated. Achieving this level of botanical health is the foundation for a living barrier. These steps for installing a garden screen require more than just digging holes. You must synchronize the biological needs of your selected species with the physical constraints of your site. A successful screen is a functional biological machine designed to block wind, noise, and sightlines through dense foliar biomass. This process begins with understanding the chemical composition of your substrate and the genetic requirements of your cultivars. Without a data driven approach to soil preparation and plant selection, the screen will suffer from uneven growth or premature senescence. Precision in the initial installation phase ensures the screen maintains its structural integrity for decades rather than seasons.
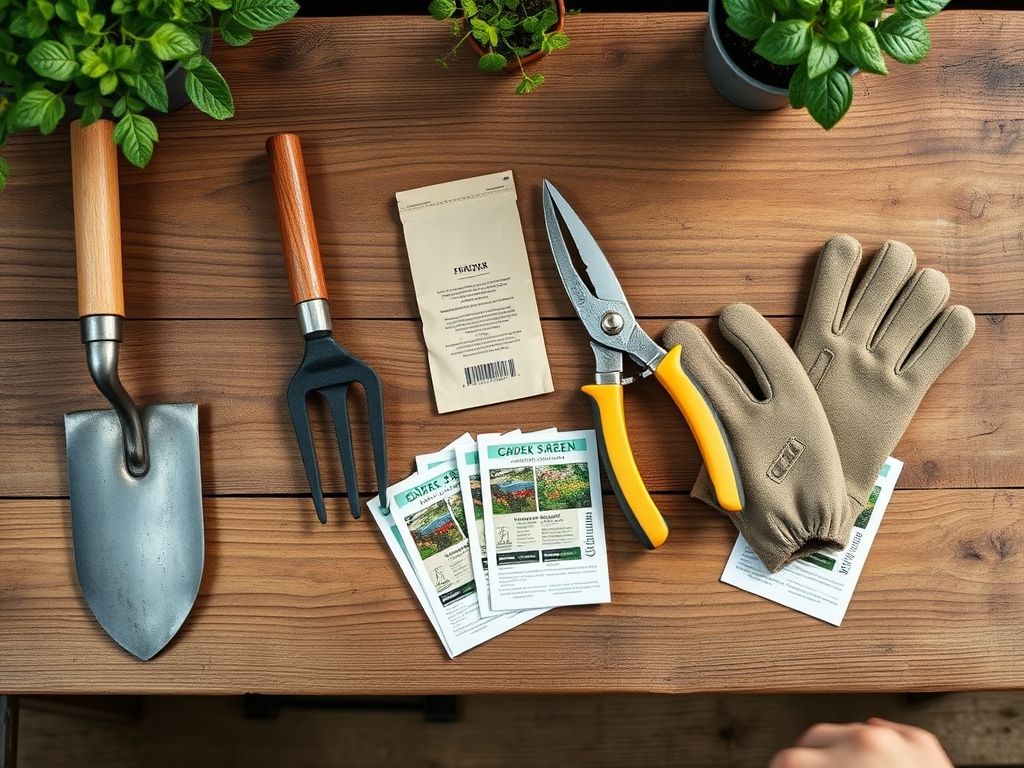
Materials:
The ideal substrate for a privacy screen is a friable loam with a Cation Exchange Capacity (CEC) between 15 and 25 meq/100g. This ensures the soil can retain and exchange essential nutrients like potassium and magnesium. Conduct a professional soil test to determine your baseline; most screening species like Thuja occidentalis or Prunus laurocerasus thrive in a pH range of 6.0 to 7.5.
For the initial planting phase, you require a specialized NPK strategy. Incorporate a slow release 10-10-10 fertilizer into the backfill to provide a balanced start. High nitrogen (N) levels are necessary for the vegetative surge required to close gaps. Phosphorus (P) is critical for ATP production and root elongation, while Potassium (K) regulates stomatal conductance and water use efficiency. Ensure you have organic matter (compost or aged manure) to improve soil structure, aiming for a 5 percent organic matter content by volume.
Timing:
Timing is dictated by the Hardiness Zone and the local frost-free window. In Zones 5 through 7, the optimal window for installation is early spring, at least three weeks before the last predicted frost, or in early autumn, at least six weeks before the ground freezes. This allows the root system to establish before the plant enters its reproductive stage or winter dormancy.
The biological clock of the plant is governed by the photoperiod. As day length increases, the plant transitions from winter dormancy to active vegetative growth. Installing during these windows maximizes the "flush" of new growth. Avoid planting during the peak of summer heat; high evapotranspiration rates can lead to permanent wilting point if the root to shoot ratio is unbalanced.
Phases:
Sowing and Preparation
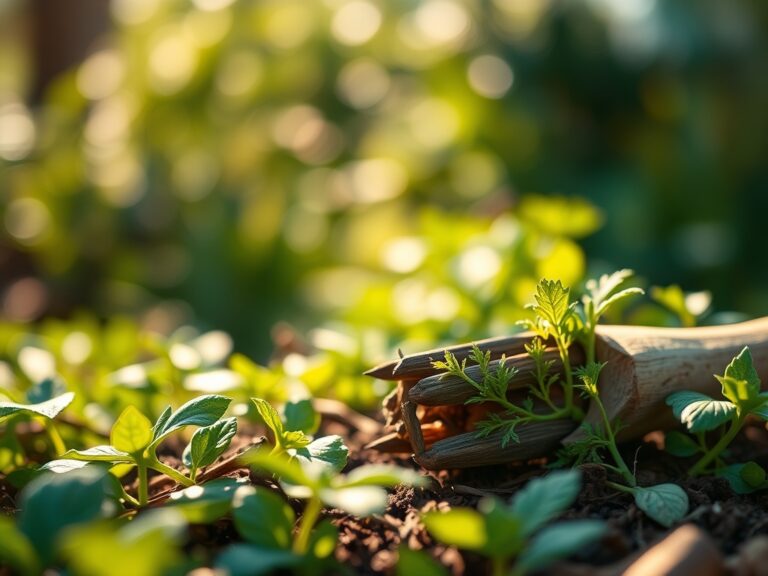
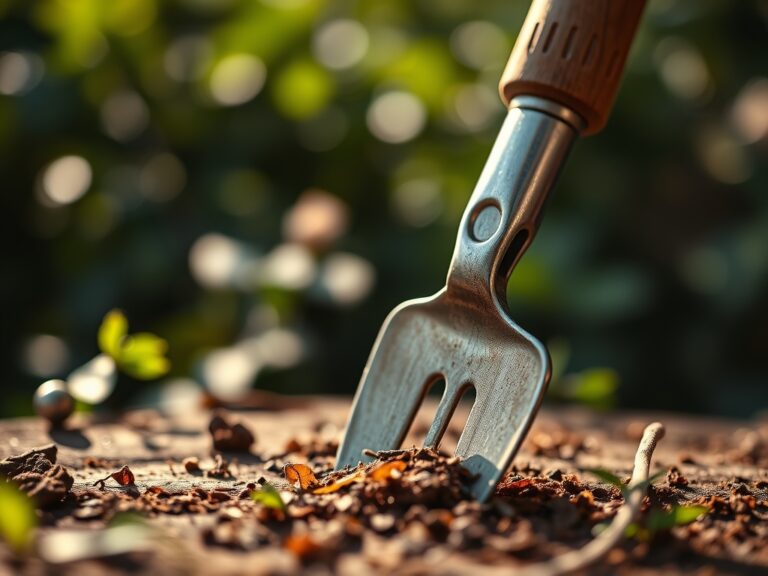
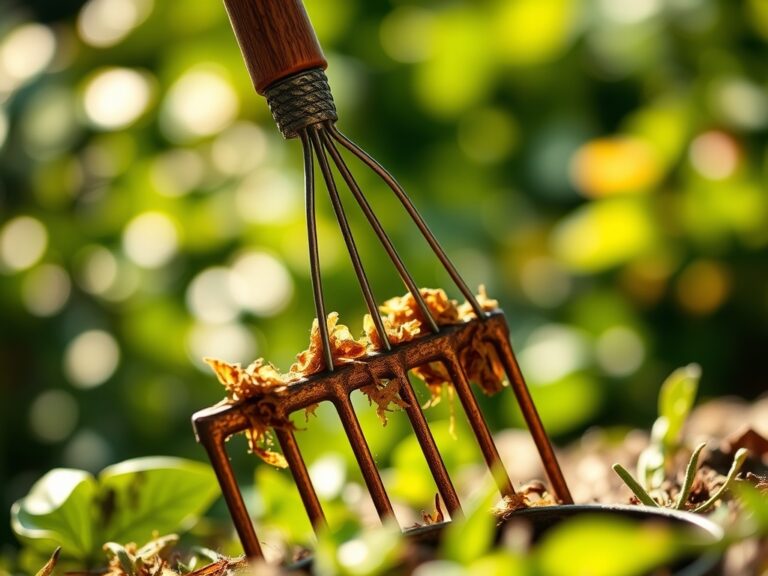
Before a single plant touches the ground, map the site. Dig a trench or individual holes two times wider than the root ball but no deeper. This creates a zone of loosened soil that encourages lateral root expansion. If using seeds for a temporary screen like Helianthus, sow at a depth of 1 inch once soil temperatures reach a consistent 60 degrees Fahrenheit.
Pro-Tip: Mycorrhizal fungi inoculation during this phase is vital. This mycorrhizal symbiosis extends the root surface area by up to 1,000 times, allowing the plant to access phosphorus and water that would otherwise be chemically or physically unavailable.
Transplanting
Remove the plant from its container and inspect for circling roots. Use a hori-hori knife to make vertical cuts in the root ball if it is pot-bound. Place the plant so the root flare is exactly at or slightly above the soil line. Deep planting leads to oxygen deprivation in the rhizosphere and eventual trunk rot.
Pro-Tip: Orient the plant so its "best side" faces the primary light source. This utilizes phototropism, where the plant naturally grows toward light, ensuring the densest foliage develops where it is most visible.
Establishing
Backfill the hole with the amended native soil and tamp down firmly to remove air pockets. Apply a 3-inch layer of arborist wood chips around the base, keeping the mulch 2 inches away from the trunk. Water immediately to settle the soil and ensure maximum root-to-soil contact.
Pro-Tip: Use a heading cut on the lead terminal if you want to encourage lateral branching. This triggers auxin suppression; by removing the dominant apical bud, you allow lateral buds to break dormancy, resulting in a thicker, wider screen.
The Clinic:
Physiological disorders often mimic disease but are usually environmental or nutritional.
- Symptom: Interveinal chlorosis (yellowing between green veins) on new growth.
Solution: This indicates an Iron (Fe) deficiency, often caused by high soil pH. Lower the pH using elemental sulfur or apply chelated iron foliar spray. - Symptom: Marginal leaf burn or browning of leaf edges.
Solution: This is often a sign of salt accumulation or drought stress. Flush the soil with 2 inches of water to leach salts and check soil moisture levels. - Symptom: Needle drop on the interior of evergreens.
Solution: This is often a natural part of senescence, but if excessive, it indicates poor light penetration. Prune exterior branches to allow photosynthetically active radiation (PAR) to reach the inner canopy.
Fix-It for Nitrogen Chlorosis: If the entire leaf turns pale green or yellow starting from the bottom of the plant, apply a quick release water soluble 20-20-20 fertilizer. Nitrogen is mobile within the plant; the organism will sacrifice older leaves to support new growth.
Maintenance:
Precision maintenance is the difference between a hedge and a wall. Use a soil moisture meter to ensure the root zone remains between 60 and 80 percent field capacity. Typically, a privacy screen requires 1.5 inches of water per week delivered at the drip line via drip irrigation to minimize foliar fungal pathogens.
Pruning should be performed with sharp bypass pruners to ensure clean cuts that heal quickly. For formal screens, prune in late spring after the first flush of growth has hardened off. Always taper the hedge so the bottom is wider than the top; this prevents the lower branches from being shaded out, which causes "leggy" growth and loss of privacy at the base.
The Yield:
While the primary yield of a privacy screen is biomass and seclusion, many screens utilize fruiting species like Laurus nobilis or Amelanchier. For laurel, harvest mature leaves in the morning when essential oil concentration is highest. For berries, harvest when the fruit reaches full color and a slight softening of the skin. To maintain "day-one" freshness for harvested greens, submerge the stems in 40 degree Fahrenheit water immediately to maintain turgor and slow the metabolic rate.
FAQ:
How far apart should I space plants for a screen?
Space plants based on their mature width. For a fast screen, space them at 75 percent of their mature spread. For example, if a shrub grows 4 feet wide, space centers at 3 feet to ensure canopy closure.
What is the fastest growing plant for privacy?
Thuja x 'Green Giant' is a top performer, capable of growing 3 feet per year under optimal conditions. It requires full sun and well drained soil with a pH between 5.5 and 7.0 to maintain maximum growth rates.
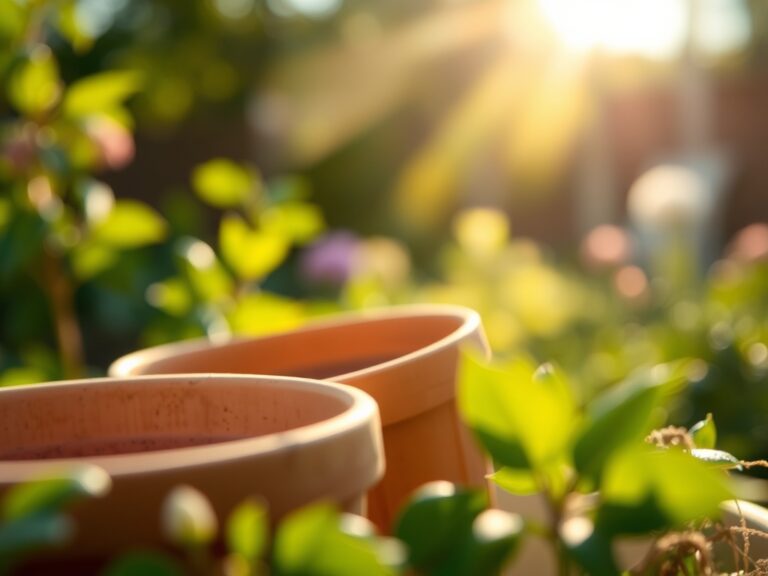
Can I install a garden screen in large containers?
Yes, provided the container holds at least 20 gallons of substrate. Use a lightweight, bark based potting mix to ensure high aeration and drainage. Monitor water levels daily as containers reach the permanent wilting point faster than field soil.
How do I stop my screen from getting too tall?
Maintain height through apical pruning. Once the plant reaches the desired height, prune the vertical leaders annually. This redirects energy to lateral growth, increasing the density of the screen while halting vertical expansion.