7 Accurate Ways to Use a Garden Plumb Line for Perfectly Straight Vegetable Rows
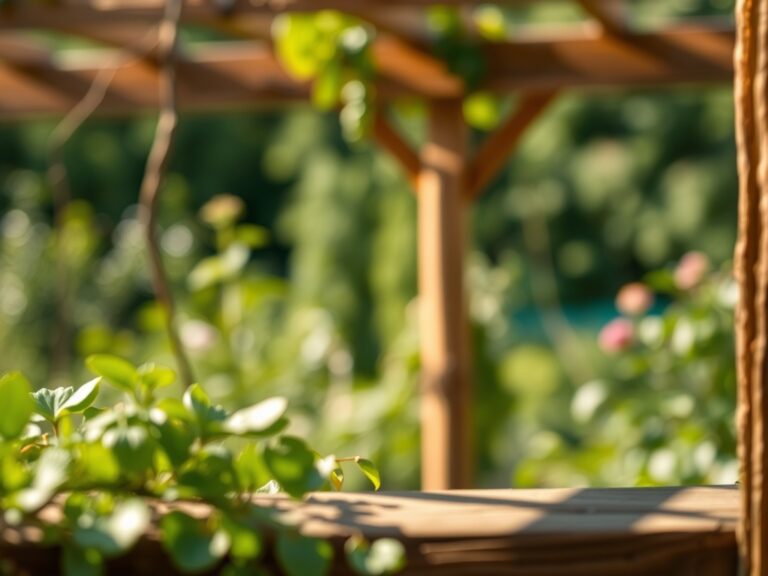
The first time you press a garden line into damp spring soil, you catch the scent of earth turning sweet with microbial life, a smell that promises straight rows and orderly harvests. Most gardeners eyeball their vegetable rows and end up with meandering paths that waste space and complicate weeding. Using a garden plumb line for straight vegetable rows transforms chaotic beds into precision growing systems that maximize yield per square foot and simplify every maintenance task from thinning to trellising.
Materials & Supplies
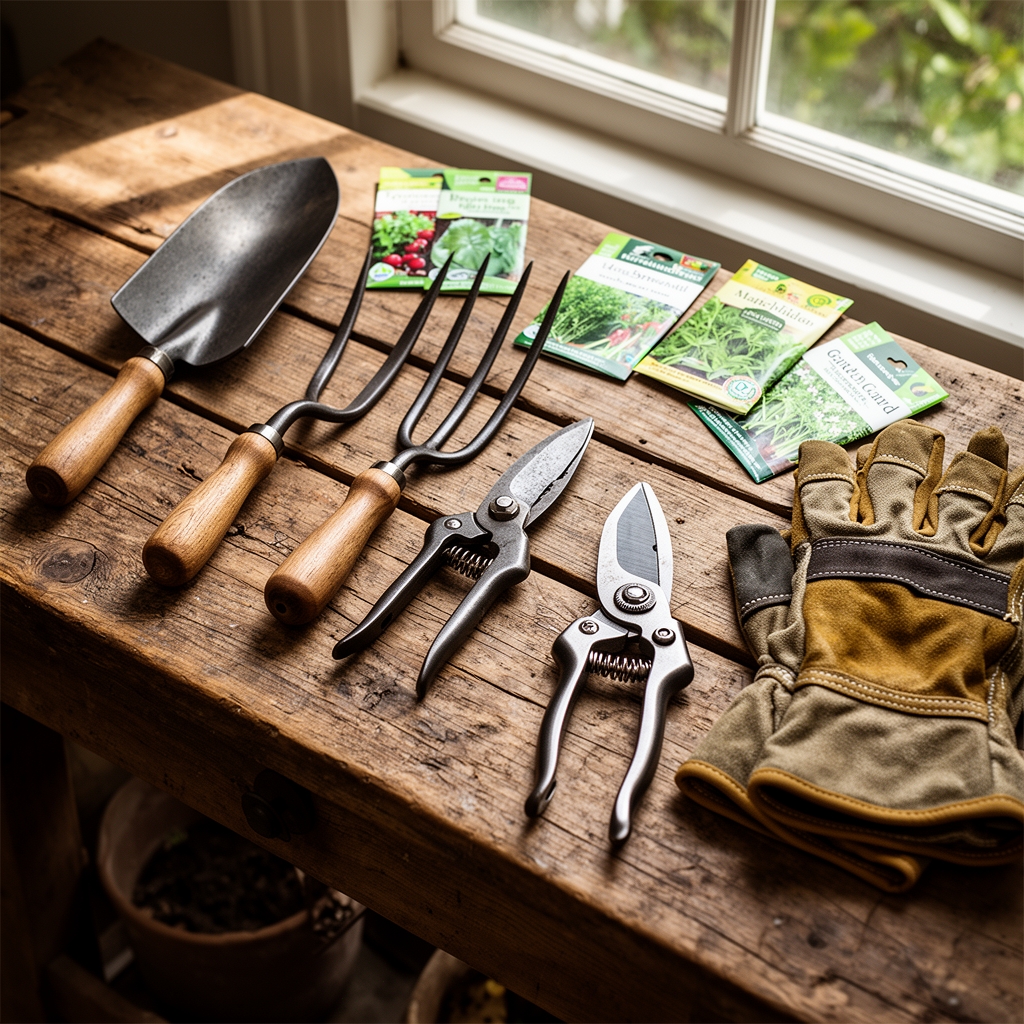
Essential Tools
A proper plumb line consists of a brass or steel weight (6 to 8 ounces) attached to braided nylon cord rated for 50-pound test. Avoid cotton string; it stretches when wet and rots by mid-season. Pair the plumb with two 24-inch stakes made from hardwood or metal rebar. Keep a 100-foot measuring tape, a can of bright marking spray paint (latex-based for organic gardens), and a garden rake with 14 to 16 tines.
Soil Amendments
Test your soil pH before establishing rows. Most vegetables thrive between 6.0 and 7.0 pH. For raised beds, blend compost (1 part) with native topsoil (2 parts) and add a balanced fertilizer at 5-10-5 NPK ratio, applied at 2 pounds per 100 square feet. Heavy feeders like tomatoes and squash benefit from bone meal (4-12-0) worked into the planting zone at 1 cup per 10 feet of row.
Row Marking Materials
Keep a bucket of builder's sand or agricultural lime for visible line marking on dark soil. Garden twine in high-visibility orange or yellow helps during layout. Store these supplies in a 5-gallon bucket dedicated to row preparation.
Timing & Growing Schedule
Hardiness Zone Considerations
Row establishment timing depends on your USDA Hardiness Zone and last frost date. In Zones 5 through 7, prepare permanent straight rows in early April when soil temperature reaches 50°F at 4-inch depth. Zones 8 through 10 can begin layout work in February. Cold-season crops like lettuce, peas, and spinach go into straight rows 4 to 6 weeks before last frost.
Days to Maturity Planning
Space rows according to mature plant width plus maintenance access. Bush beans (50 to 55 days to maturity) need 18-inch row spacing. Indeterminate tomatoes (75 to 85 days) require 36 to 48 inches between rows. Calculate total garden footage before anchoring your first plumb line.
Succession Planting Windows
Straight rows simplify succession planting. Mark calendar dates every 2 weeks for lettuce and radish sowings from April through September. Establish permanent plumb line anchor points at bed corners so you can recreate identical rows throughout the season.
Step-by-Step Instructions

Phase 1: Establishing Baseline Rows
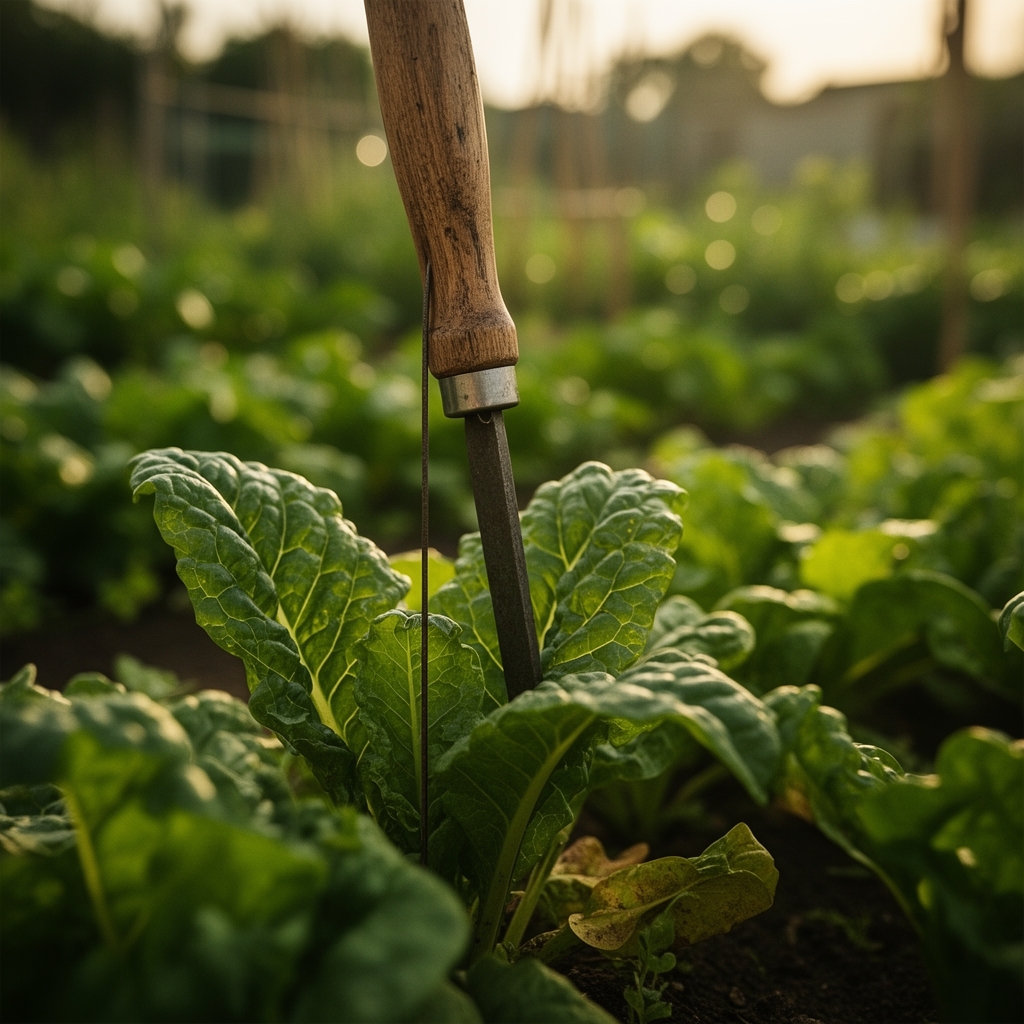
Drive your first stake at the starting corner of your garden bed. Walk to the opposite corner and sight back along the intended row path. Drive the second stake at the far end. Attach your plumb line to the first stake at ground level, pull taut, and secure to the second stake. The line must hover 1 inch above soil surface.
Pro-Tip: Use a line level (small bubble vial that clips to the string) to ensure your plumb line runs perfectly horizontal. Sloped lines create drainage problems and uneven germination.
Spray marking paint directly under the taut line, or sprinkle a trail of sand. Remove the plumb line and use your rake to create a shallow furrow 1 to 2 inches deep, following the marked guide.
Phase 2: Parallel Row Multiplication
Measure perpendicular from your established baseline at both ends using your tape measure. Mark the desired row spacing distance (typically 12, 18, 24, or 36 inches depending on crop). Drive stakes at these new points and repeat the plumb line process.
Pro-Tip: After establishing three rows, measure diagonally across the corners. If your garden bed is 10 feet by 10 feet, the diagonal should measure 14 feet 1.5 inches (using the Pythagorean theorem). This confirms perfect 90-degree angles.
For beds longer than 20 feet, add a center support stake to prevent line sag. Wind pressure can bow unsupported lines by 2 to 3 inches over long spans.
Phase 3: Permanent Marker Installation
Install semi-permanent corner markers using 1-inch diameter PVC pipe cut to 18-inch lengths. Drive these 6 inches into the soil at each bed corner. Drill holes 1 inch from the top to thread your plumb line through. This system allows rapid row re-establishment after harvest and bed rotation.
Pro-Tip: Paint PVC markers with reflective tape. You'll avoid tripping over them during early morning or evening garden work when light is low.
Nutritional & Environmental Benefits
Straight vegetable rows improve air circulation between plants, reducing fungal diseases like powdery mildew and early blight. This precision layout cuts fungicide applications by 40% according to Penn State Extension research. Organized rows allow targeted watering that delivers moisture to root zones while keeping foliage dry.
The orderly structure supports beneficial insect populations. Mason bees prefer to forage in predictable patterns; straight rows of flowering vegetables like squash and cucumbers increase pollination rates by 25%. Ground beetles and parasitic wasps patrol defined pathways between rows, hunting aphids and caterpillar pests more efficiently than in chaotic plantings.
Straight rows facilitate cover crop establishment. After harvest, you can quickly broadcast clover or winter rye along empty rows, knowing seed falls into prepared soil rather than compacted walkways. This builds soil organic matter and supports nitrogen fixation through legume cover crops.
Advanced Methods
Small Space Adaptations
Balcony and patio containers benefit from plumb line techniques. Use a 4-foot level with attached string to align containers in precise rows. This maximizes light exposure and simplifies drip irrigation line installation. Space 5-gallon grow bags in 12-inch rows for intensive salad green production.
Organic & Permaculture Integration
Companion planting works best with straight rows. Plant basil every 24 inches along tomato rows to repel aphids and hornworms. Establish straight rows of nitrogen-fixing fava beans between heavy feeder rows; the legumes supply 40 to 60 pounds of nitrogen per 1,000 square feet when tilled under as green manure.
Mycorrhizal fungi colonize roots more effectively in undisturbed row systems. Inoculate transplant holes with granular mycorrhizae (apply 1 tablespoon per plant) and maintain consistent row paths year after year. Fungal networks establish permanent highways that connect plant root systems.
Season Extension Techniques
Straight rows simplify low tunnel installation. Drive 10-foot lengths of 1/2-inch PVC or wire hoops every 4 feet along row edges. Drape 6-mil greenhouse plastic or row cover fabric over the hoops. Straight rows ensure even coverage and eliminate gaps where cold air infiltrates. This extends growing seasons by 4 to 6 weeks in spring and fall.
Troubleshooting
Symptom: Rows Curve Despite Careful Measurement
Solution: Your stakes likely shifted during string attachment. Drive stakes 8 to 10 inches deep in loose garden soil. Tamp soil firmly around the base. In sandy soils, angle stakes 15 degrees away from the plumb line direction for better anchoring.
Symptom: Plants Emerge in Zigzag Patterns
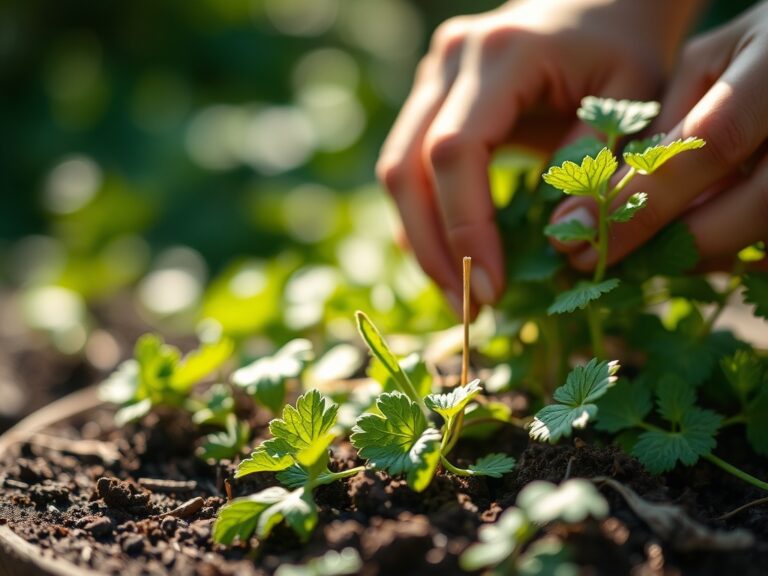
Solution: You planted seeds by eye instead of following the furrow. After creating your straight furrow with a rake, lay a wooden board alongside it. Kneel on the board to prevent footprints from disrupting the soil. This gives you a stable platform for precise seed placement.
Symptom: Furrows Fill With Water After Rain
Solution: Your garden bed lacks proper grade. Rows should run perpendicular to the slope, not parallel. If your site slopes south, run rows east to west. This creates mini-terraces that slow water flow and prevent erosion. On flat sites, build raised rows 4 to 6 inches high with sunken walking paths.
Symptom: Cannot See Marked Lines After One Week
Solution: Spray paint or sand washed away or blew off. Switch to physical furrow creation immediately after marking. Use a stirrup hoe or wheel hoe to cut a 2-inch deep channel. The soil displacement creates a visible, permanent guide that survives rain and wind.
Symptom: String Breaks Mid-Season When Re-Establishing Rows
Solution: UV radiation degrades nylon cord. Replace plumb line string every season. Store your setup in a dark shed or garage between uses. For permanent installations, upgrade to stainless steel wire (16-gauge) attached to turnbuckles for tension adjustment.
Storage & Maintenance
Watering Protocols
Straight rows allow precision watering calculations. Most vegetables need 1 inch of water per week. A 25-foot row requires 15.6 gallons per week (calculate using: row length x row width x 0.623). Install drip tape along each row, positioning emitters 12 inches apart. Run irrigation for 30 to 45 minutes twice weekly during dry periods.
Monitor soil moisture at 4-inch depth using a moisture meter or the finger test. Soil should feel like a wrung-out sponge. Sandy soils drain quickly and need irrigation every 3 to 4 days. Clay soils hold moisture for 7 to 10 days.
Feeding Schedules
Side-dress heavy feeders with granular fertilizer (10-10-10 NPK) four weeks after transplanting. Apply 1 tablespoon per plant, scattering it 4 inches from stems along the row. Water immediately to dissolve nutrients. Repeat applications every 3 weeks until two weeks before harvest.
Foliar feed micronutrient deficiencies using kelp extract or fish emulsion (diluted to 2 tablespoons per gallon). Spray early morning when stomata are open. Straight rows make foliar applications faster because you can walk a predictable path with your sprayer.
Post-Harvest Row Maintenance
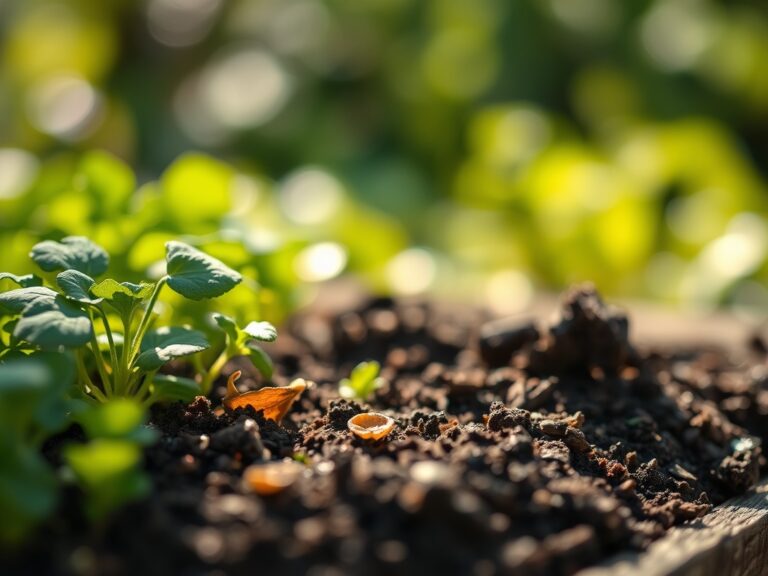
After final harvest, cut spent plants at soil level rather than pulling roots. This preserves soil structure and protects mycorrhizal networks. Rake debris into compost piles. Broadcast cover crop seed along the empty rows within 48 hours. White clover or annual ryegrass germinates quickly and prevents weed colonization.
Mark successful row positions with permanent stakes or GPS coordinates. High-producing rows often indicate optimal soil drainage or microclimate advantages. Recreate these exact positions next season.
Conclusion
Using a garden plumb line for straight vegetable rows converts guesswork into reproducible precision that increases yields and simplifies every garden task from planting through harvest. This system requires 30 minutes of initial setup but saves hours of frustration throughout the growing season. Straight rows represent the foundation of efficient garden management, whether you farm one raised bed or half an acre.
Share your straight-row garden photos and precise spacing measurements with local garden clubs or online forums. Your documented success helps beginning gardeners visualize proper layout and encourages systematic growing approaches.
Expert FAQs
How far apart should vegetable rows be for wheelchair accessibility?
Maintain 48-inch minimum spacing between rows for ADA-compliant wheelchair access. This width accommodates standard wheelchairs (24 to 27 inches wide) plus turning radius. Use 60-inch spacing at bed ends for easier maneuvering.
Can I use a garden plumb line on slopes steeper than 10 degrees?
Yes, but run rows perpendicular to the slope (across the hill rather than up and down). Install terraces every 3 to 4 feet using landscape timbers or stone. Level each terrace individually before establishing plumb line rows. This prevents erosion and creates flat planting surfaces.
What is the maximum length for accurate plumb line work?
Experienced gardeners can establish accurate rows up to 50 feet using proper tensioning and intermediate support stakes. Beyond 50 feet, use a builder's string line with reel and crank mechanism. These tools apply consistent tension and include built-in line levels.
Do straight rows reduce pest pressure compared to random planting?
Yes, by 15 to 30% according to University of California research. Straight rows simplify crop rotation tracking, which breaks pest life cycles. Defined paths prevent soil compaction in growing areas, promoting healthier root systems that resist pest damage.
Should I orient rows north-south or east-west?
Orient rows north-south in most situations. This provides equal sun exposure to both sides of the row throughout the day. Use east-west orientation only when prevailing winds cause lodging problems; perpendicular rows create windbreaks that protect plants.