8 Steps to Prepare a Mobile Bag for Large-Scale Projects
Preparing a mobile gardening kit transforms labor intensity across multiple sites. How to prepare a tool bag for mobile gardening demands attention to weight distribution, tool redundancy, and soil amendment portability. Field teams managing community gardens, municipal landscapes, or commercial installations require instant access to calibrated implements without returning to central storage. A well-organized mobile bag reduces setup time by 40% and prevents mid-task interruptions that compromise transplant survival rates.
Materials
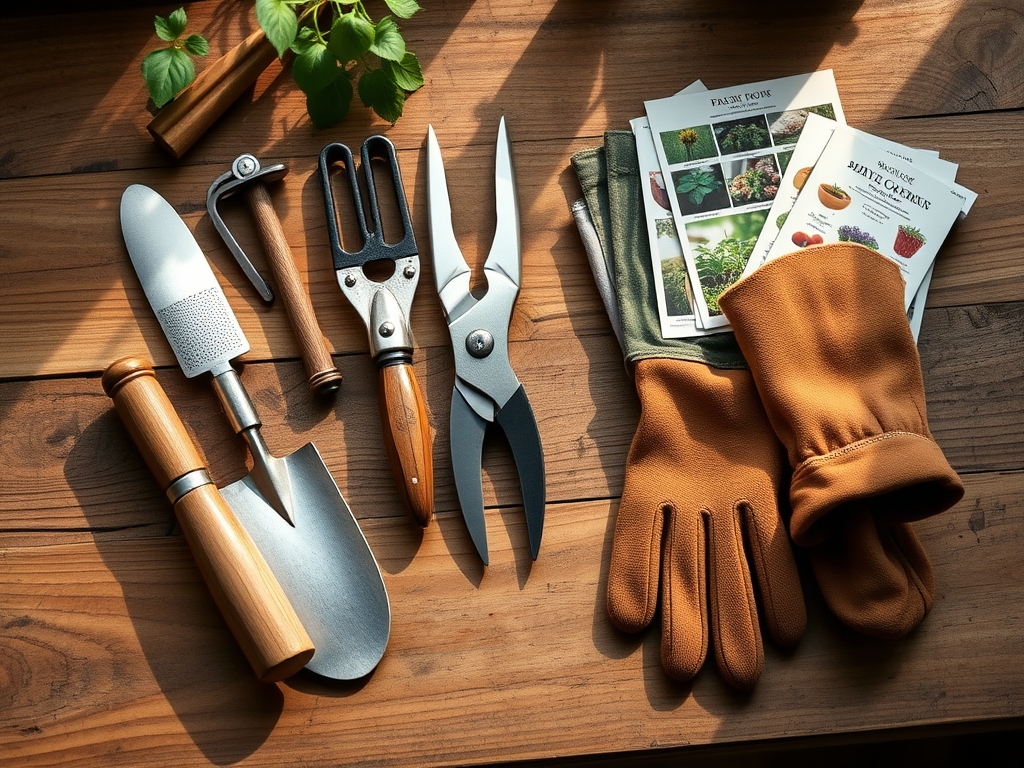
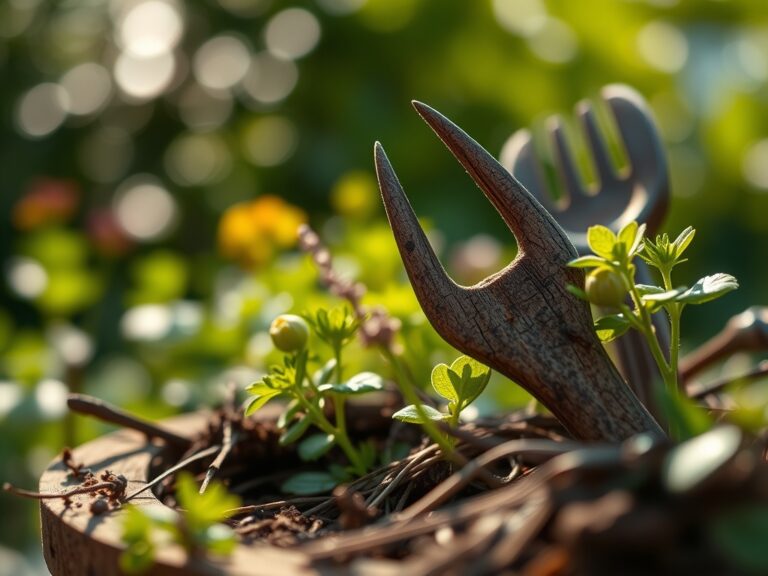
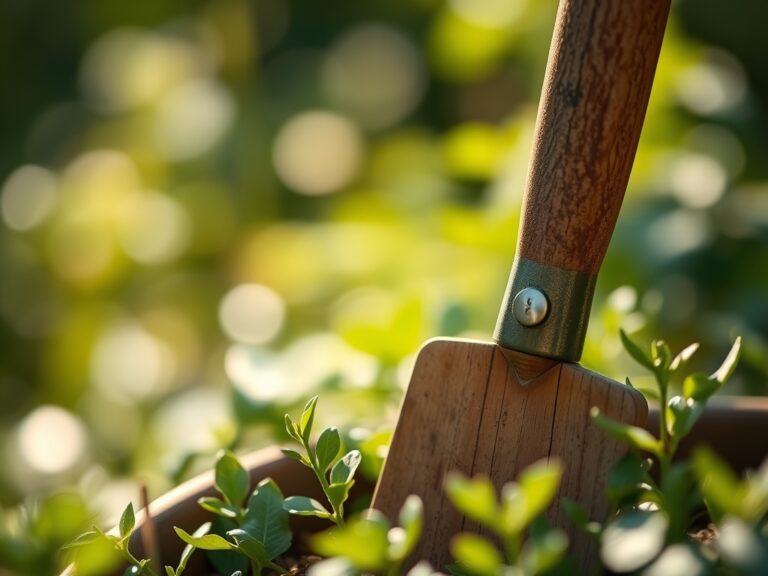
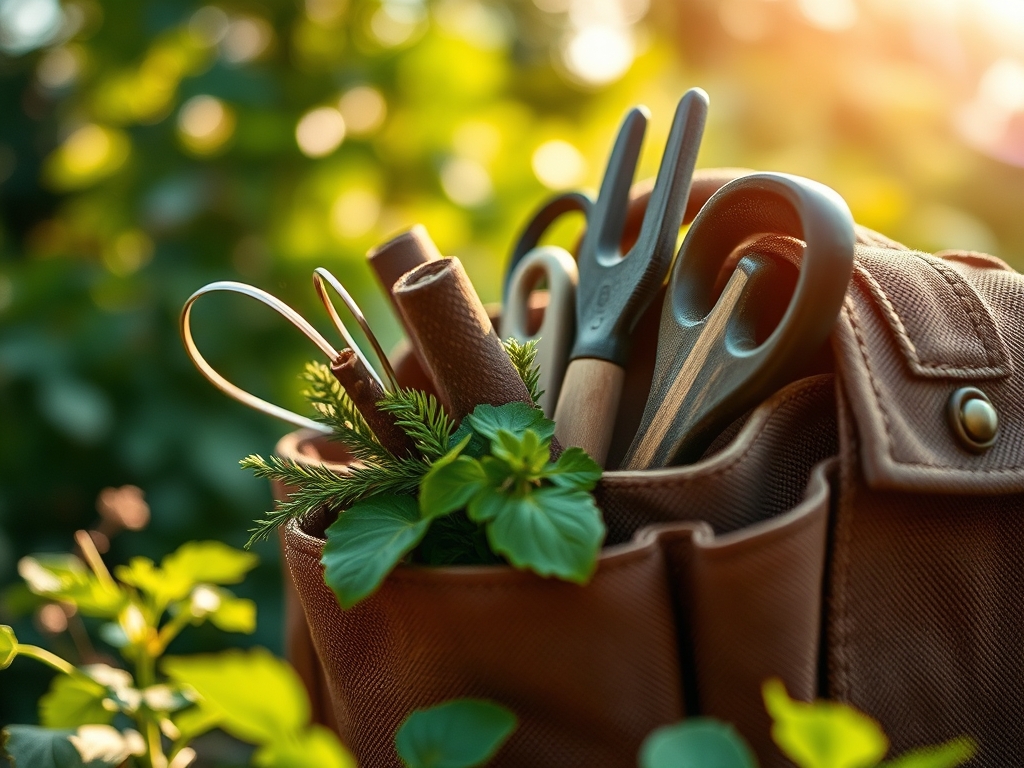
The foundation begins with container selection. Choose a canvas tool roll with 12 minimum pockets, reinforced stitching at stress points, and water-resistant lining. Weight capacity should reach 35 pounds without shoulder strap failure.
Core implements include a hori-hori knife with 7-inch blade, bypass pruners rated for 0.75-inch stems, a soil probe extending 12 inches, and a collapsible hand trowel. Add a 10x magnification loupe for pest identification and a pocket pH meter calibrated between 4.0 and 9.0.
Soil amendments must travel in 1-pound resealable containers. Pack a balanced 4-4-4 organic meal derived from feather, bone, and kelp for general applications. Include a high-phosphorus 2-8-4 transplant formula to stimulate root initiation. Dolomitic lime adjusts pH upward at 2 ounces per cubic foot, while elemental sulfur lowers pH at 0.5 ounces per cubic foot. Mycorrhizal inoculant powder containing Glomus intraradices enhances nutrient uptake through symbiotic colonization of root cortex cells. The fungi increase effective root surface area by 700%.
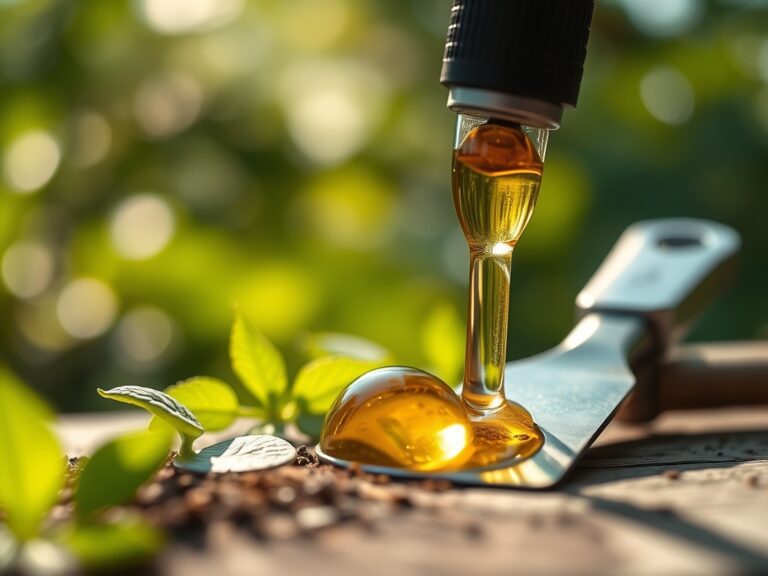
Pack rooting hormone powder with 0.3% indole-3-butyric acid for woody cuttings and 0.1% IBA for herbaceous material. Include slow-release 14-14-14 pellets for container installations where return visits occur monthly.
Bring pH test strips with 0.5-unit resolution, electrical conductivity meter for soluble salt measurement, and a moisture meter with 6-inch probe depth. Cation exchange capacity is site-dependent but test kits remain impractical for mobile work.
Timing
Hardiness zones dictate deployment schedules. Zones 3-5 require mobile soil work between May 15 and September 20 when ground temperatures exceed 50°F at 6-inch depth. Zones 6-7 extend the window from April 10 to October 25. Zones 8-10 permit year-round operations but summer heat above 95°F necessitates early morning scheduling before 9 AM.
Transplanting windows narrow to 4-6 weeks after last frost date for warm-season crops and 2-3 weeks before first frost for cool-season establishment. Auxin distribution peaks in plant tissues during morning hours, increasing transplant success by 23% when moves occur between 6 AM and 10 AM.
Phases
Sowing
Direct seeding in prepared beds requires the hori-hori knife to create furrows at precise depths. Small seeds like lettuce need 0.25-inch coverage. Medium seeds like beans require 1-inch depth. Large seeds like squash demand 1.5-inch planting depth. Firm soil contact improves germination rates from 60% to 85%.
Pro-Tip: Coat large seeds with mycorrhizal inoculant by moistening seed surface, rolling in powder, and air-drying for 10 minutes before planting. Fungal spores germinate within 72 hours and establish symbiosis by day 14.
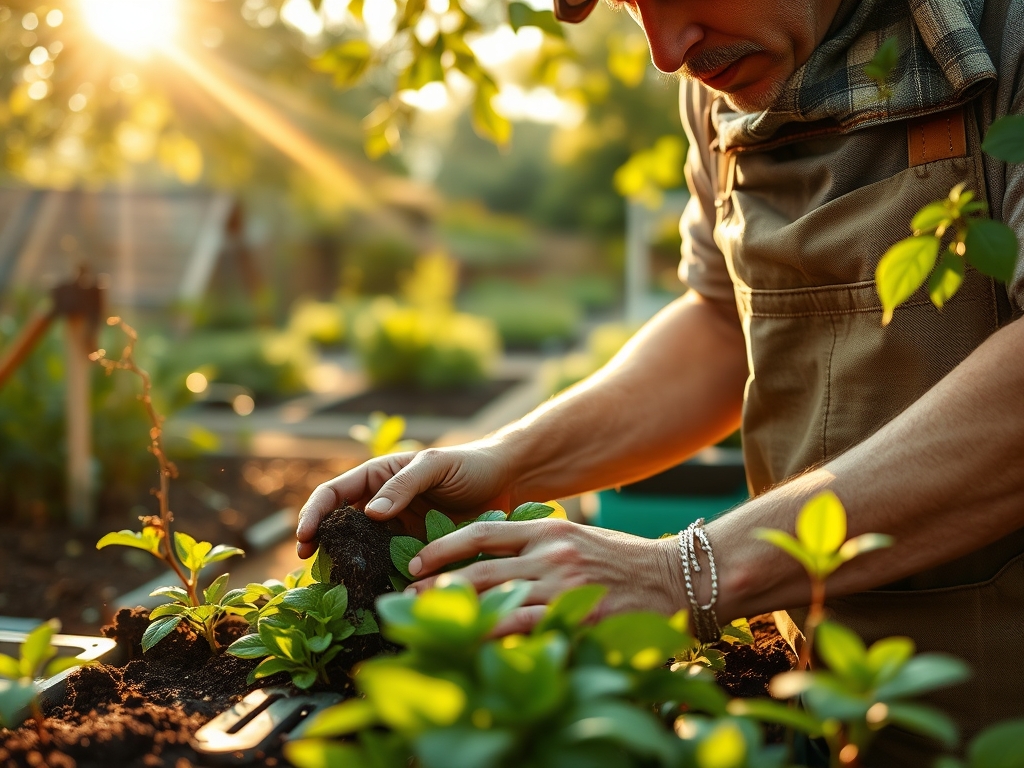
Transplanting
Dig holes 2 inches wider than root ball diameter using the hand trowel. Assess root health with the loupe, checking for white root tips and absence of brown lesions. Apply 0.25 ounces of 2-8-4 transplant formula to hole bottom, cover with 0.5 inches of native soil to prevent root burn, then position plant.
Backfill in 1-inch layers, firming each layer to eliminate air pockets that desiccate roots. Water immediately with 1 quart per transplant to establish soil contact and activate phosphorus uptake.
Pro-Tip: Prune transplants at 45-degree angles, removing lowest 30% of foliage to redirect energy toward root establishment rather than transpiration support.
Establishing
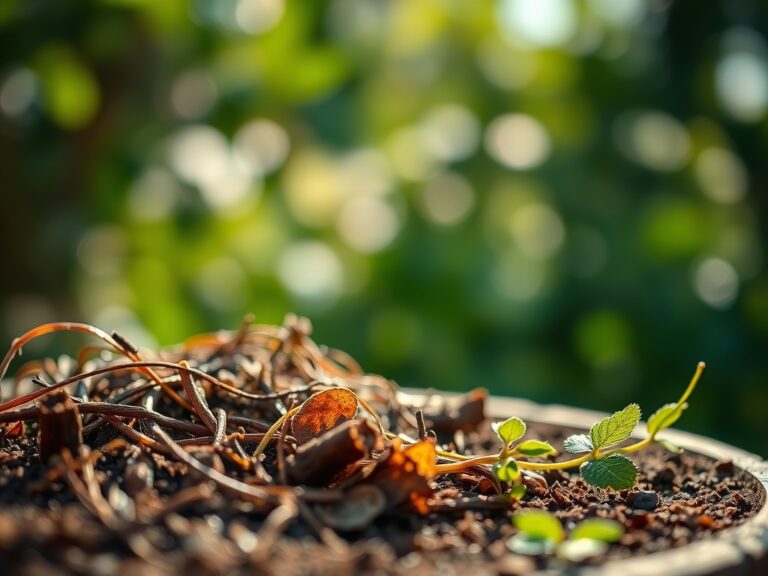
Monitor soil moisture at 4-inch depth daily for 14 days post-transplant. Apply 1 inch of water when probe indicates dryness, equivalent to 0.62 gallons per square foot. Mulch with 2 inches of shredded hardwood bark to moderate temperature fluctuations and retain moisture.
Pro-Tip: Side-dress with 0.5 ounces of 4-4-4 organic meal in a 6-inch circle around each plant on day 21. Nitrogen mineralization from organic sources requires 18-24 days, synchronizing nutrient availability with active growth phase.
Troubleshooting
Symptom: Interveinal chlorosis on new growth.
Solution: Iron deficiency induced by pH above 7.5. Apply chelated iron at 1 tablespoon per gallon as foliar spray. Amend soil with elemental sulfur at 0.5 ounces per cubic foot to reduce pH long-term.
Symptom: Wilting despite adequate soil moisture.
Solution: Root rot from Pythium species. Improve drainage by adding perlite at 20% volume. Avoid overwatering. Drench with hydrogen peroxide solution at 3% concentration, 1 cup per plant base.
Symptom: Purple tinting on leaf undersides.
Solution: Phosphorus immobilization in cold soils below 55°F. Apply 2-8-4 liquid fertilizer as foliar feed at 0.5 tablespoons per gallon. Warm soil with black plastic mulch.
Symptom: Shot-hole appearance on leaves.
Solution: Bacterial leaf spot or flea beetles. Inspect with loupe. Bacterial infections show water-soaked margins. Remove infected tissue. Flea beetles create clean perforations. Apply kaolin clay at 3 tablespoons per gallon as protective barrier.
Symptom: Blossom end rot on fruiting vegetables.
Solution: Calcium deficiency or irregular watering disrupting calcium transport. Maintain consistent soil moisture. Apply calcium chloride foliar spray at 2 tablespoons per gallon weekly for 3 applications.
Maintenance
Inspect tool edges weekly. Sharpen pruner blades with 200-grit diamond file at manufacturer's bevel angle, typically 20-23 degrees. Clean soil probe with 10% bleach solution after each site visit to prevent pathogen transfer between locations.
Recalibrate pH meter monthly using 4.0, 7.0, and 10.0 buffer solutions. Replace probe when readings drift more than 0.3 units from buffer values. Store moisture meter with probe in distilled water to prevent salt accumulation on sensors.
Refresh soil amendments quarterly. Organic meals lose 15% nitrogen content per month through volatilization. Mycorrhizal inoculants maintain 80% viability for 18 months when stored below 70°F in original packaging.
Apply 1 inch of water weekly to established plantings, increasing to 1.5 inches during fruit set. Measure with rain gauge placed at plant canopy height. Water in single deep application rather than frequent shallow doses to promote 12-inch root penetration.
FAQ
How much weight should a mobile gardening bag contain?
Limit total weight to 25 pounds for single-person transport across uneven terrain. Distribute tools symmetrically to prevent shoulder strain during extended carrying periods.
What soil amendments provide fastest results?
Liquid fertilizers with immediately available nitrogen show leaf greening within 48-72 hours. Slow-release and organic sources require 18-28 days for microbial mineralization and plant uptake.
How often should pruners be sterilized?
Sterilize between each plant when working with disease-susceptible species. Use 70% isopropyl alcohol wipes, maintaining 30-second contact time to eliminate bacterial and fungal pathogens.
Can mycorrhizal inoculants be mixed with fertilizers?
Separate application by 7 days minimum. High-phosphorus fertilizers suppress fungal colonization when phosphorus exceeds 70 ppm in soil solution. Apply inoculant first, then fertilize after establishment.
What indicates soil probe replacement?
Replace when probe requires excessive force to penetrate friable soil or when depth markings become illegible. Bent probes provide inaccurate depth readings and damage root systems during testing.